How to achieve a fully filled in first layer
Ive been trying to achieve a fully filled in first layer. When i say that i mean absolutely smooth first layer on the smooth sheet or no lines visible on the textured sheet. Have spent hours with different filaments and different z heights to try to achieve a fully filled first layer but without luck.
Often the first layer is perfect near the perimeters but when the nozzle move across the centre of the print lines appear.
Its as if near the perimeter the filament is fused to the previous line but when it moves toward the centre of the part the filament isn't. Maybe this is because near the perimeters the previous line of filament still carries some temperature so they squish together perfectly but in the centre its cooled enough so only the newly extruded line squishes.
Have tried increasing extrusion multiplier until stringing and also read about reducing extrusion width on first layer which helps a lot as it effectively increases the resolution. More lines but they are smaller. Dont think you can increase extrusion on just the first layer?
Any thoughts on this would be great. An any pictures of perfect first layer would also be great to see.
Best Answer by bobstro:
Ive been trying to achieve a fully filled in first layer. When i say that i mean absolutely smooth first layer on the smooth sheet or no lines visible on the textured sheet. Have spent hours with different filaments and different z heights to try to achieve a fully filled first layer but without luck.
Often the first layer is perfect near the perimeters but when the nozzle move across the centre of the print lines appear.
Its as if near the perimeter the filament is fused to the previous line but when it moves toward the centre of the part the filament isn't. Maybe this is because near the perimeters the previous line of filament still carries some temperature so they squish together perfectly but in the centre its cooled enough so only the newly extruded line squishes.
I think this is a separate issue. Troubleshoot them one at a time:
- The gaps between 1st layer extrusions indicates your Live-Z setting it too high (not negative enough). Use Jeff's "Life Adjust" calibration print to adjust it until you get that even top layer with no gaps. When you lift the 75x75 square, it should come off as one piece and not be easy to tug apart.
- The line as the nozzle moves across the bed is addressed with z-lift. You can adjust this under Printer Settings->Extruder 1->Retractions->Lift Z. This will raise the nozzle before moving over previously printed parts, and is used to reduce that scarring effect.
- Although you can adjust z-lift, you should try to figure out why it's happening. It's likely a bit of ooze is dripping out of the nozzle and gets dragged across the top surfaces. What filament are you using? If not using a Prusa filament or one that exactly matches a filament profile, it's likely you need to tune the filament profile. It's easy to do.
Have tried increasing extrusion multiplier until stringing and also read about reducing extrusion width on first layer which helps a lot as it effectively increases the resolution. More lines but they are smaller. Dont think you can increase extrusion on just the first layer?
I think this explains your scarring issue. Do not try to fix 1st layer issues with a lot of over-extrusion. Any over-extrusion will carry into your entire print and result in poor vertical walls and horrid supports. Set the extrusion multiplier to 1 for the 1st layer Live-Z adjustments.
Get your Live-Z right 1st. Then look at Prusa's guide on calibrating your extrusion multiplier for your filament. Filament gets runnier as it is heated, so you might consider reducing your nozzle temp 5-10C. What filament are you using and what temperatures are you printing with?
Any thoughts on this would be great. An any pictures of perfect first layer would also be great to see.
I've got some notes here on Live-Z calibration (using Jeff's approach) and more notes on extrusion multiplier calibration here.
RE: How to achieve a fully filled in first layer
I usually do not have any obvious lines on the textured sheet.
On the smooth sheet, I've done the 3x3 Z calibration and I'm looking at a print now, and if you look closely you can see the perimeter margin, but it's not obvious from a foot away. I just tried to take a quick photo of it to post here but it does not show up very well at all in the photo.
Often times lowering the Z will fill in lines.
RE: How to achieve a fully filled in first layer
@jsw
Yeah. Thanks for that. I wondered if increased bed temperatures would help?
RE: How to achieve a fully filled in first layer
I'm assuming PLA here. Some say that increasing the bed temp to maybe 70C or so helps with adhesion. My experience is that it does not really make that much difference, if any.
RE: How to achieve a fully filled in first layer
@jsw
Yes I'm currently using PLA. You see i know it is possible because the Prusa mini LCD cover is printed with a textured sheet and there are no lines on the surface at all although that is printed with PETG which i have also tried.
RE: How to achieve a fully filled in first layer
Ive been trying to achieve a fully filled in first layer. When i say that i mean absolutely smooth first layer on the smooth sheet or no lines visible on the textured sheet. Have spent hours with different filaments and different z heights to try to achieve a fully filled first layer but without luck.
Often the first layer is perfect near the perimeters but when the nozzle move across the centre of the print lines appear.
Its as if near the perimeter the filament is fused to the previous line but when it moves toward the centre of the part the filament isn't. Maybe this is because near the perimeters the previous line of filament still carries some temperature so they squish together perfectly but in the centre its cooled enough so only the newly extruded line squishes.
I think this is a separate issue. Troubleshoot them one at a time:
- The gaps between 1st layer extrusions indicates your Live-Z setting it too high (not negative enough). Use Jeff's "Life Adjust" calibration print to adjust it until you get that even top layer with no gaps. When you lift the 75x75 square, it should come off as one piece and not be easy to tug apart.
- The line as the nozzle moves across the bed is addressed with z-lift. You can adjust this under Printer Settings->Extruder 1->Retractions->Lift Z. This will raise the nozzle before moving over previously printed parts, and is used to reduce that scarring effect.
- Although you can adjust z-lift, you should try to figure out why it's happening. It's likely a bit of ooze is dripping out of the nozzle and gets dragged across the top surfaces. What filament are you using? If not using a Prusa filament or one that exactly matches a filament profile, it's likely you need to tune the filament profile. It's easy to do.
Have tried increasing extrusion multiplier until stringing and also read about reducing extrusion width on first layer which helps a lot as it effectively increases the resolution. More lines but they are smaller. Dont think you can increase extrusion on just the first layer?
I think this explains your scarring issue. Do not try to fix 1st layer issues with a lot of over-extrusion. Any over-extrusion will carry into your entire print and result in poor vertical walls and horrid supports. Set the extrusion multiplier to 1 for the 1st layer Live-Z adjustments.
Get your Live-Z right 1st. Then look at Prusa's guide on calibrating your extrusion multiplier for your filament. Filament gets runnier as it is heated, so you might consider reducing your nozzle temp 5-10C. What filament are you using and what temperatures are you printing with?
Any thoughts on this would be great. An any pictures of perfect first layer would also be great to see.
I've got some notes here on Live-Z calibration (using Jeff's approach) and more notes on extrusion multiplier calibration here.
RE: How to achieve a fully filled in first layer
@bobstro
Thank you for your indeptht reply. I have actually been using the life adjust method. Its much better i agree but it think my problem has more been identifying when the nozzle is at the correct height setting. This takes some experience i guess.
I am currently using an expensive ColorFabb Colour on Demand PLA. It should be good stuff and does seem to be. Have also used Prusament which is great but not enough colors.
Ive had some success today and it seems stupid when i say it but i realised that one way to remove the lines was to remove the lines and use a different pattern for the bottom infill. See the picture for before and after. The best pattern in my mind to really break up the stripes was the Hilbert pattern. Here are the results. An almost perfect bottom layer on a textured sheet although one corner has lifted which could still indicate the Z is too high.
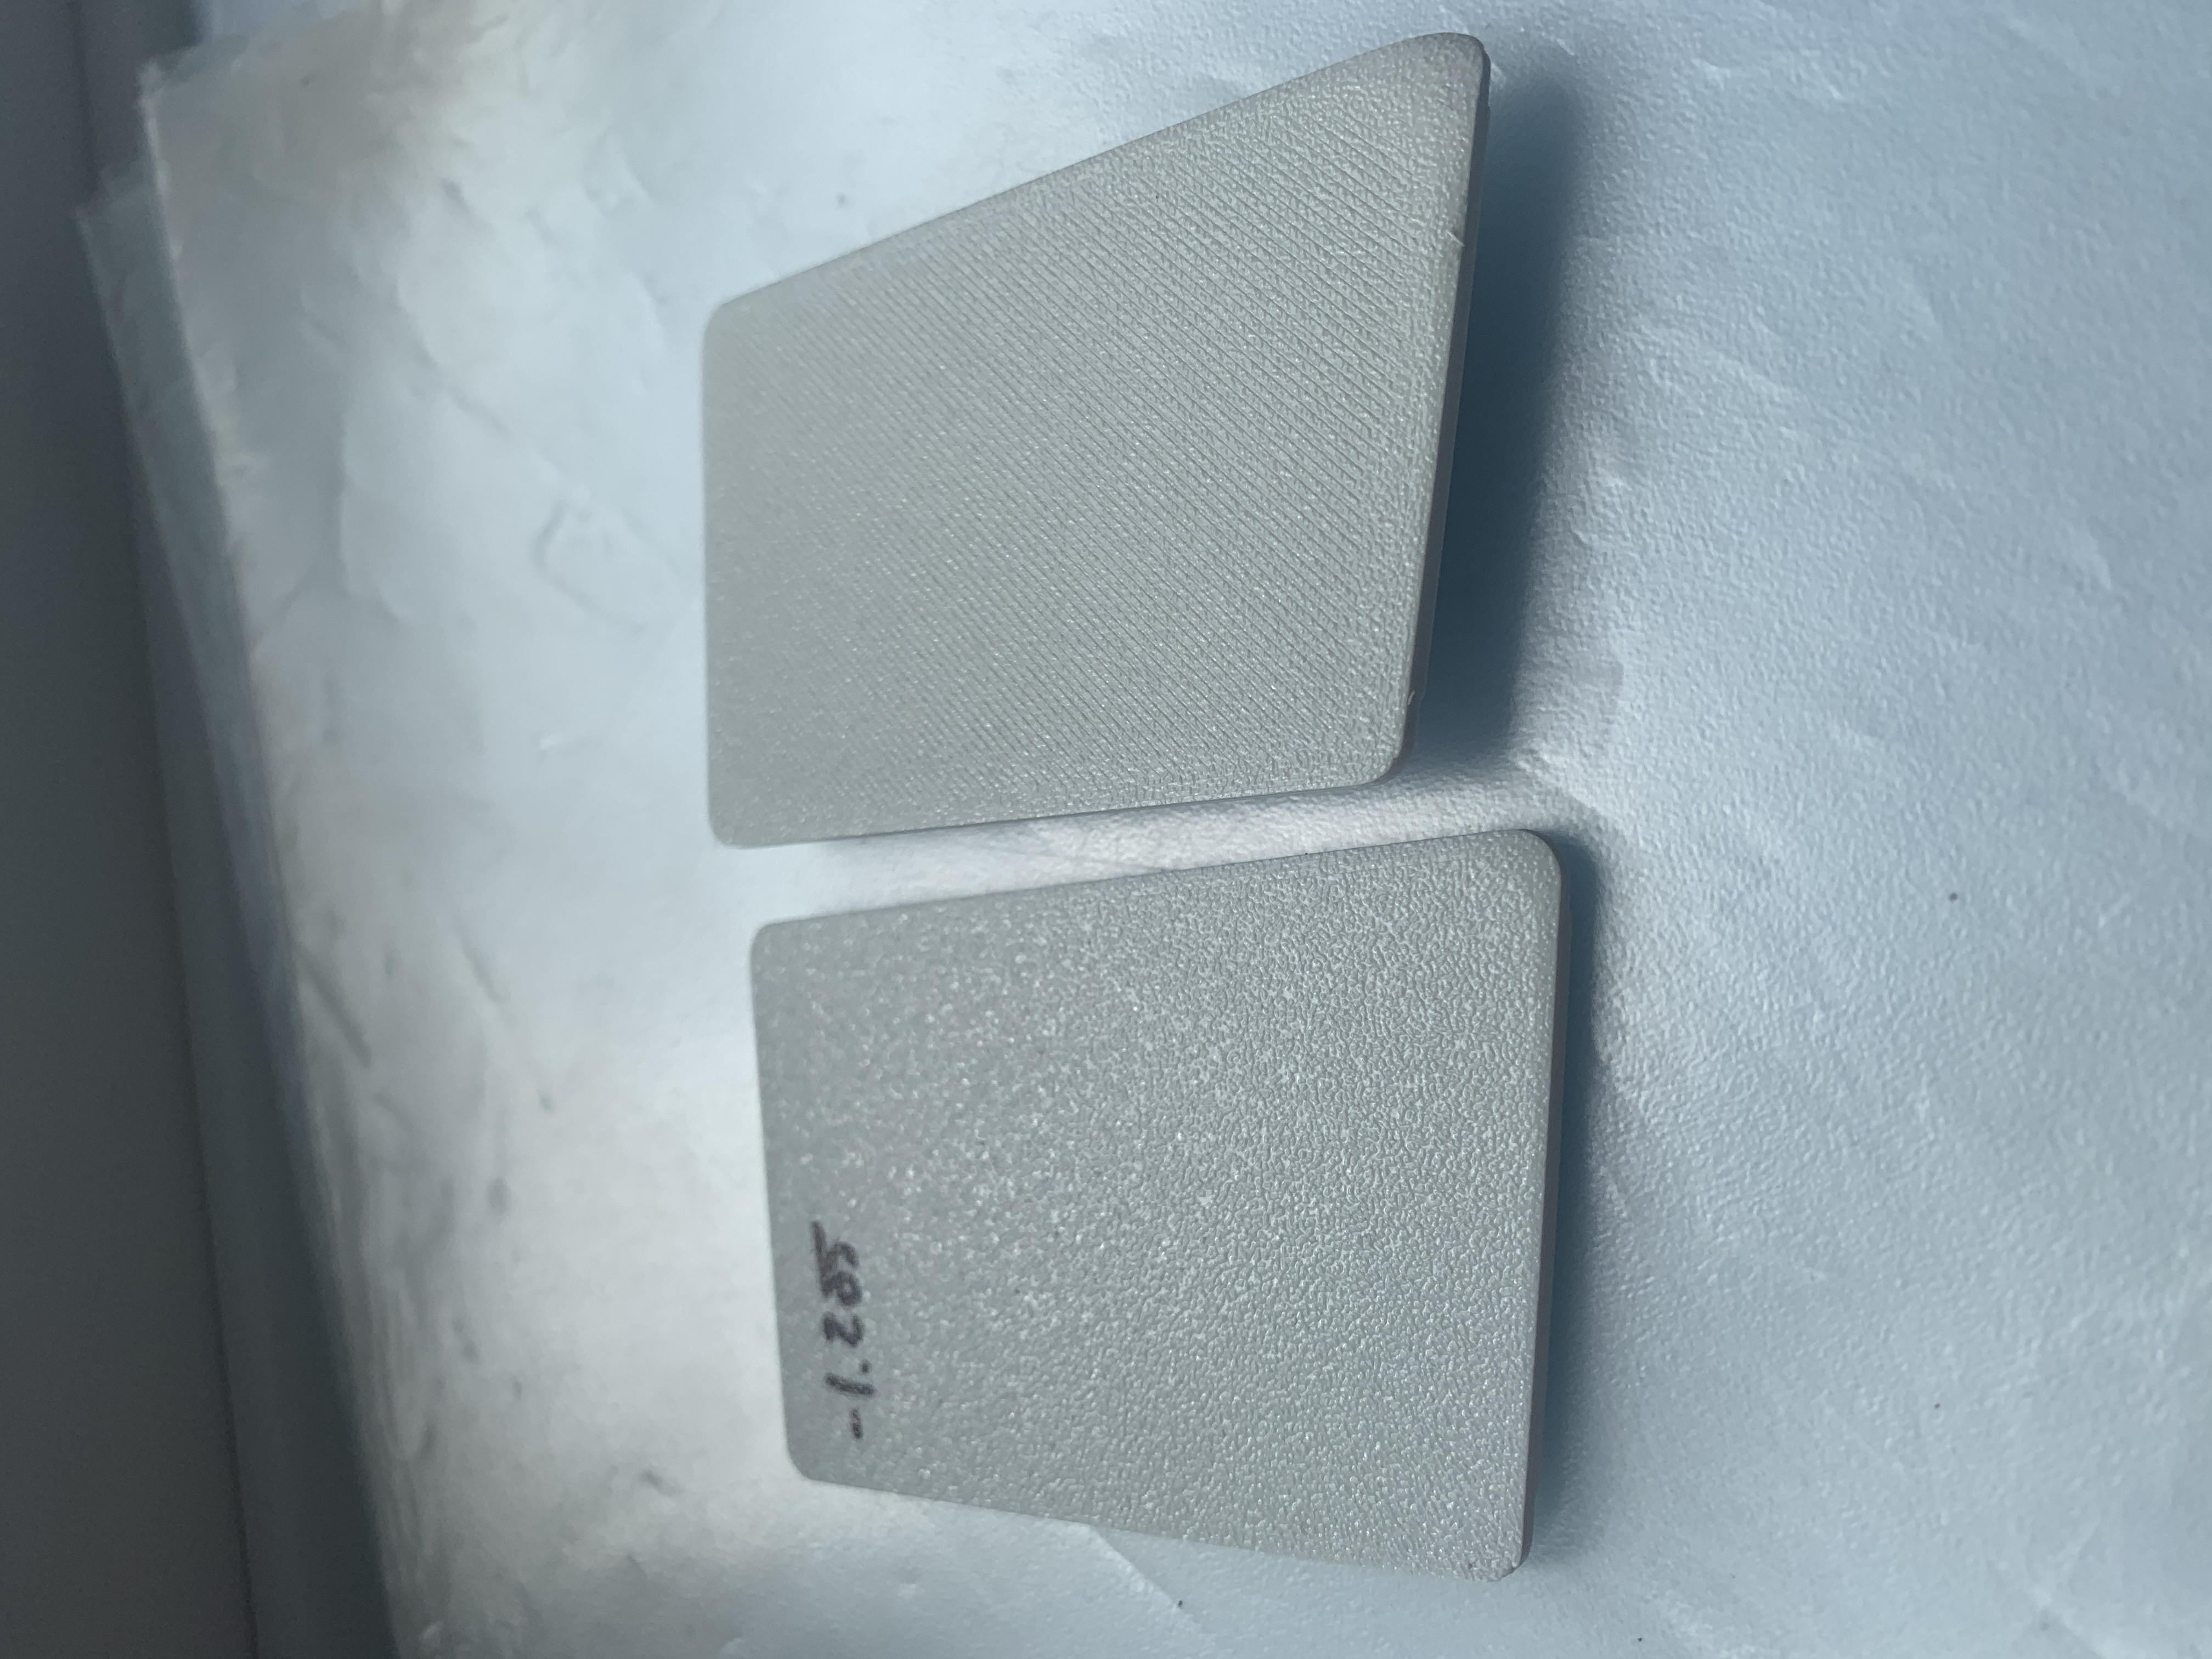
On the right the original issue using rectilinear pattern. Its fully filled in. One corner has lifted and stripes but otherwise ok.
On the left the last print using the Hilbert Pattern. Fully filled in. One corner lifted. Almost perfect.
Not sure if this would work with the smooth sheet or if this is just cheating.
RE: How to achieve a fully filled in first layer
[...] I am currently using an expensive ColorFabb Colour on Demand PLA. It should be good stuff and does seem to be. Have also used Prusament which is great but not enough colors.
Oh man, don't use the good stuff for these calibration prints! Basic PLA is fine. Once you get your Live-Z set correctly, you can make fine adjustments for specific filaments with the extrusion multiplier and filament diameter settings in your filament settings profile.
Ive had some success today and it seems stupid when i say it but i realised that one way to remove the lines was to remove the lines and use a different pattern for the bottom infill.
That works, but you want "worst case" for calibration. Stick to rectilinear using the "Life Adjust" method.
See the picture for before and after. The best pattern in my mind to really break up the stripes was the Hilbert pattern. Here are the results. An almost perfect bottom layer on a textured sheet although one corner has lifted which could still indicate the Z is too high.
Wait a sec. If only one corner is lifting, that more than likely is an adhesion issue, not Live-Z. Particularly if the lifted bit printed correctly. I can't stress the importance of adhesion enough. You need a really clean bed THEN do Live-Z calibration.
On the right the original issue using rectilinear pattern. Its fully filled in. One corner has lifted and stripes but otherwise ok.
On the left the last print using the Hilbert Pattern. Fully filled in. One corner lifted. Almost perfect.
Play with those patterns once you get a good Live-Z. You're close.
Not sure if this would work with the smooth sheet or if this is just cheating.
Many people, myself included, have poor luck with PLA adhesion on the textured sheet. A good cleaning with dish soap under a hot kitchen sink can help in some cases. If you have the option, I'd recommend trying it on a smooth sheet first. Once you see Live-Z done properly, you'll recognize it quickly and be able to adjust it in seconds. Get it working on the smooth first, then try to repeat the process on the textured sheet.
Stick with it. Realizing that these 2 steps were critical was a real turning point for me early on. Joan will set you on the right path! Good luck with it.
RE: How to achieve a fully filled in first layer
@wurke-3d
I have been pulling my hair out over the same issue. I think Hilbert might be the solution, because in my case very small bottom fill moves become perfectly smooth and larger lines are visible, almost exactly like your "before" pic. Testing today...
RE: How to achieve a fully filled in first layer
I had first layer issues when I first got my mini. It felt like I couldn't ever get it right. Two things helped me get it spot on every time - making sure the bed was perfectly level, and dealing with the Mini's less than perfect PINDA probe.
You don't have any real way to fix the bed level on a Mini, but generally they come out the factory fairly close to decent. I ended up applying this mod ( https://forum.prusa3d.com/forum/user-mods-octoprint-enclosures-nozzles/prusa-mini-silicone-bed-leveling-mod/) to get it close to perfect. It looks involved, but once I had the parts it took only an hour or two to do. Even without modding, it's worth using a bed level visualiser to see if there are any issues. The mesh bed levelling can compensate for some variation, but it has its limits.
The original PINDA probe is not temperature compensated, which can lead to inconsistent results when doing bed levelling. The issue with the PINDA probe was recently solved with Prusa's new Super PINDA. However, a good work around if you don't have one (like me) is to do a little pre-heating before printing. I generally home the printer, then set it to pre-heat. I'll then leave it for about 5 minutes and then start the print. You can automate this by adding the gcode into your slicer profile so it does it at the start of every print.
Pre-heating my PINDA was the biggest factor in getting good first layers. I hated printing with PETG as first layers were always bad, until I found this work around. Now PETG is my go-to filament!
RE:
The best pattern in my mind to really break up the stripes was the Hilbert pattern.
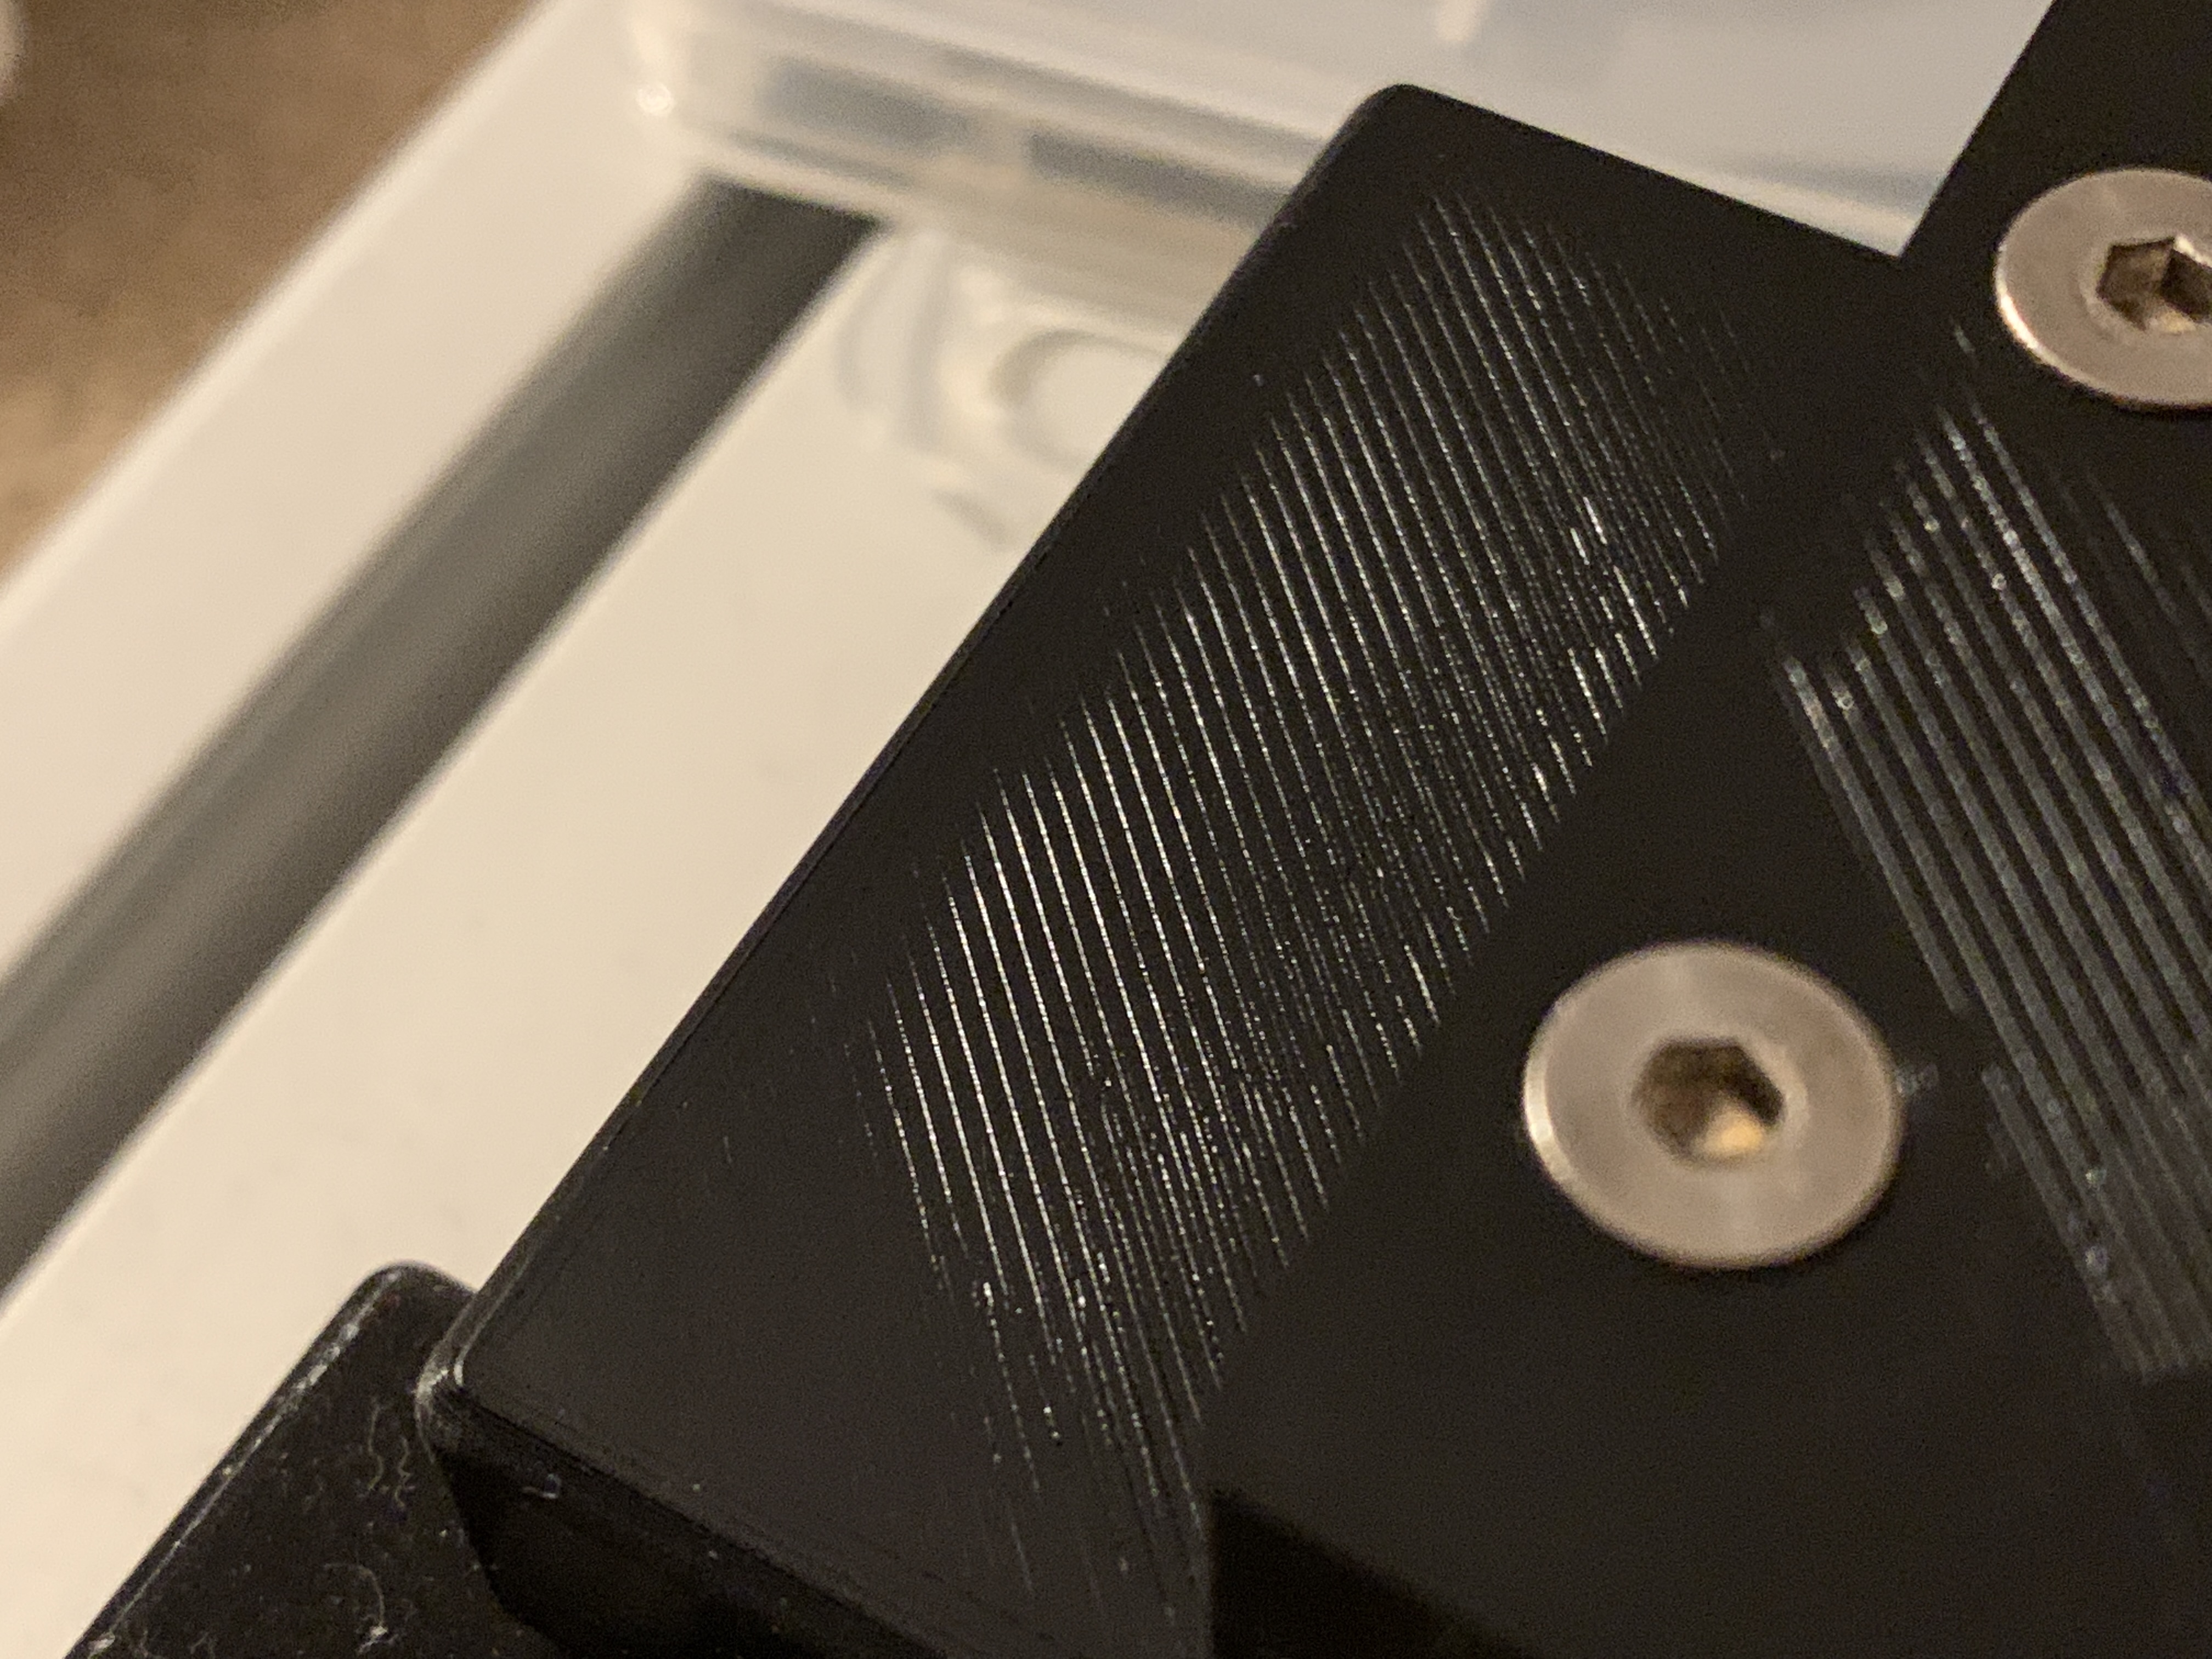
A few years later, but after getting the Core One with really consistent 1st layers and buying one of these carbon-look sheets, I really wanted to get rid of the lines.
This post was the only one in over an hour of searching, that really got rid of them!
I now have some lines all over the place that look a bit like "scratches", but they give some kind of "used look" to the fake-carbon-look, which is fine.
Another benefit: the reflexions from the surface are way more uniform now.
I'll play around with the settings to get rid of these other kind lines and report back.
I've attached a photo, comparing 'Monotonic Lines' vs 'Hilbert Curve'. Worst lighting possible to really show the difference.