Annoying zits on walls Prusa Mini
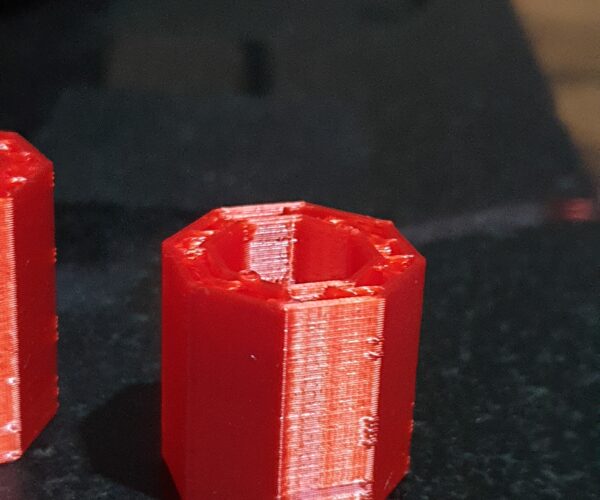
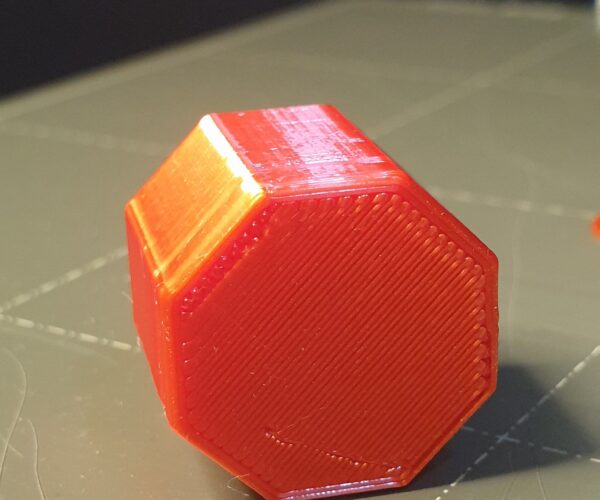
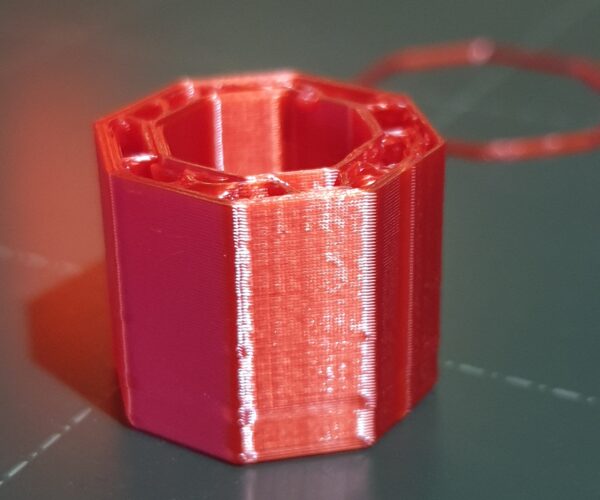
I have been printing for a good few months and now im trying to fine tune my prusa mini and ive been trying to get rid of these zits. My guess its when its starting a new layer (could be wrong). I have tried turning retraction up and down, extrusion at 0.9 and 1.1 and turnign off wipe while layer change. I am using the stock prusa settings for prusa pla and esun pla ( im using esun silk pla) if you could help id be very greatful :).
Seam Position
I think this is indeed the seam (layer start/end point). I'll let others give you tips to reduce it (I think playing with retraction and the extrusion multiplier are indeed a good starting point) but know that you can position it where you want using the Print Settings > Layers and Perimeters > Seam Position. Using for example the "Rear" setting, you can have your seam aligned on the rear of the part instead of being dispersed around the part at seemingly random locations. This may look better depending on the part you're printing. You can also use seam painting to put the seam exactly where you want.
PETG and others
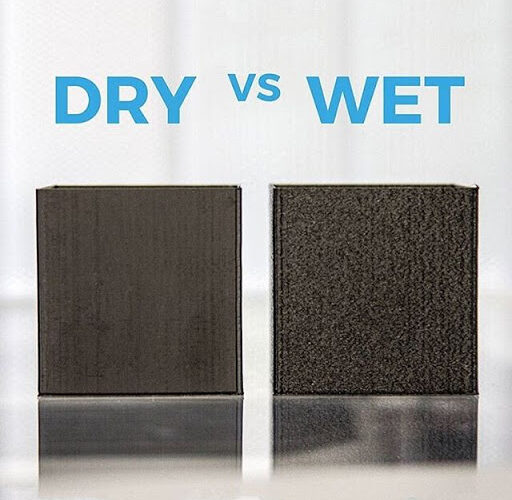
This can happen with wet filament.
--------------------
Chuck H
3D Printer Review Blog
RE: PETG and others
Doesn't look like wet filament to me, though. AFAIK (extremely) wet filament causes more of a "sandy" finish with lots of very small surface imperfections everywhere rather than more pronounced and defined zits like this. What's more, in the picture they seem to occur only on edges which points strongly to the seam.
Source: https://www.matterhackers.com/news/filament-and-water
Wet
You may be right. The easy way to tell is dry it. No difference and it is not wet.
--------------------
Chuck H
3D Printer Review Blog
.
I tried that i have a sunlu dryer box and dried it for 6 hours after a few attempts just to make sure. Ill do the rear seam and see what happens.
I was going to suggest something similar. Paint on a seam.
Doesn't look like wet filament to me.
Formerly known on this forum as @fuchsr -- https://foxrun3d.com/


