Hot-end assembly
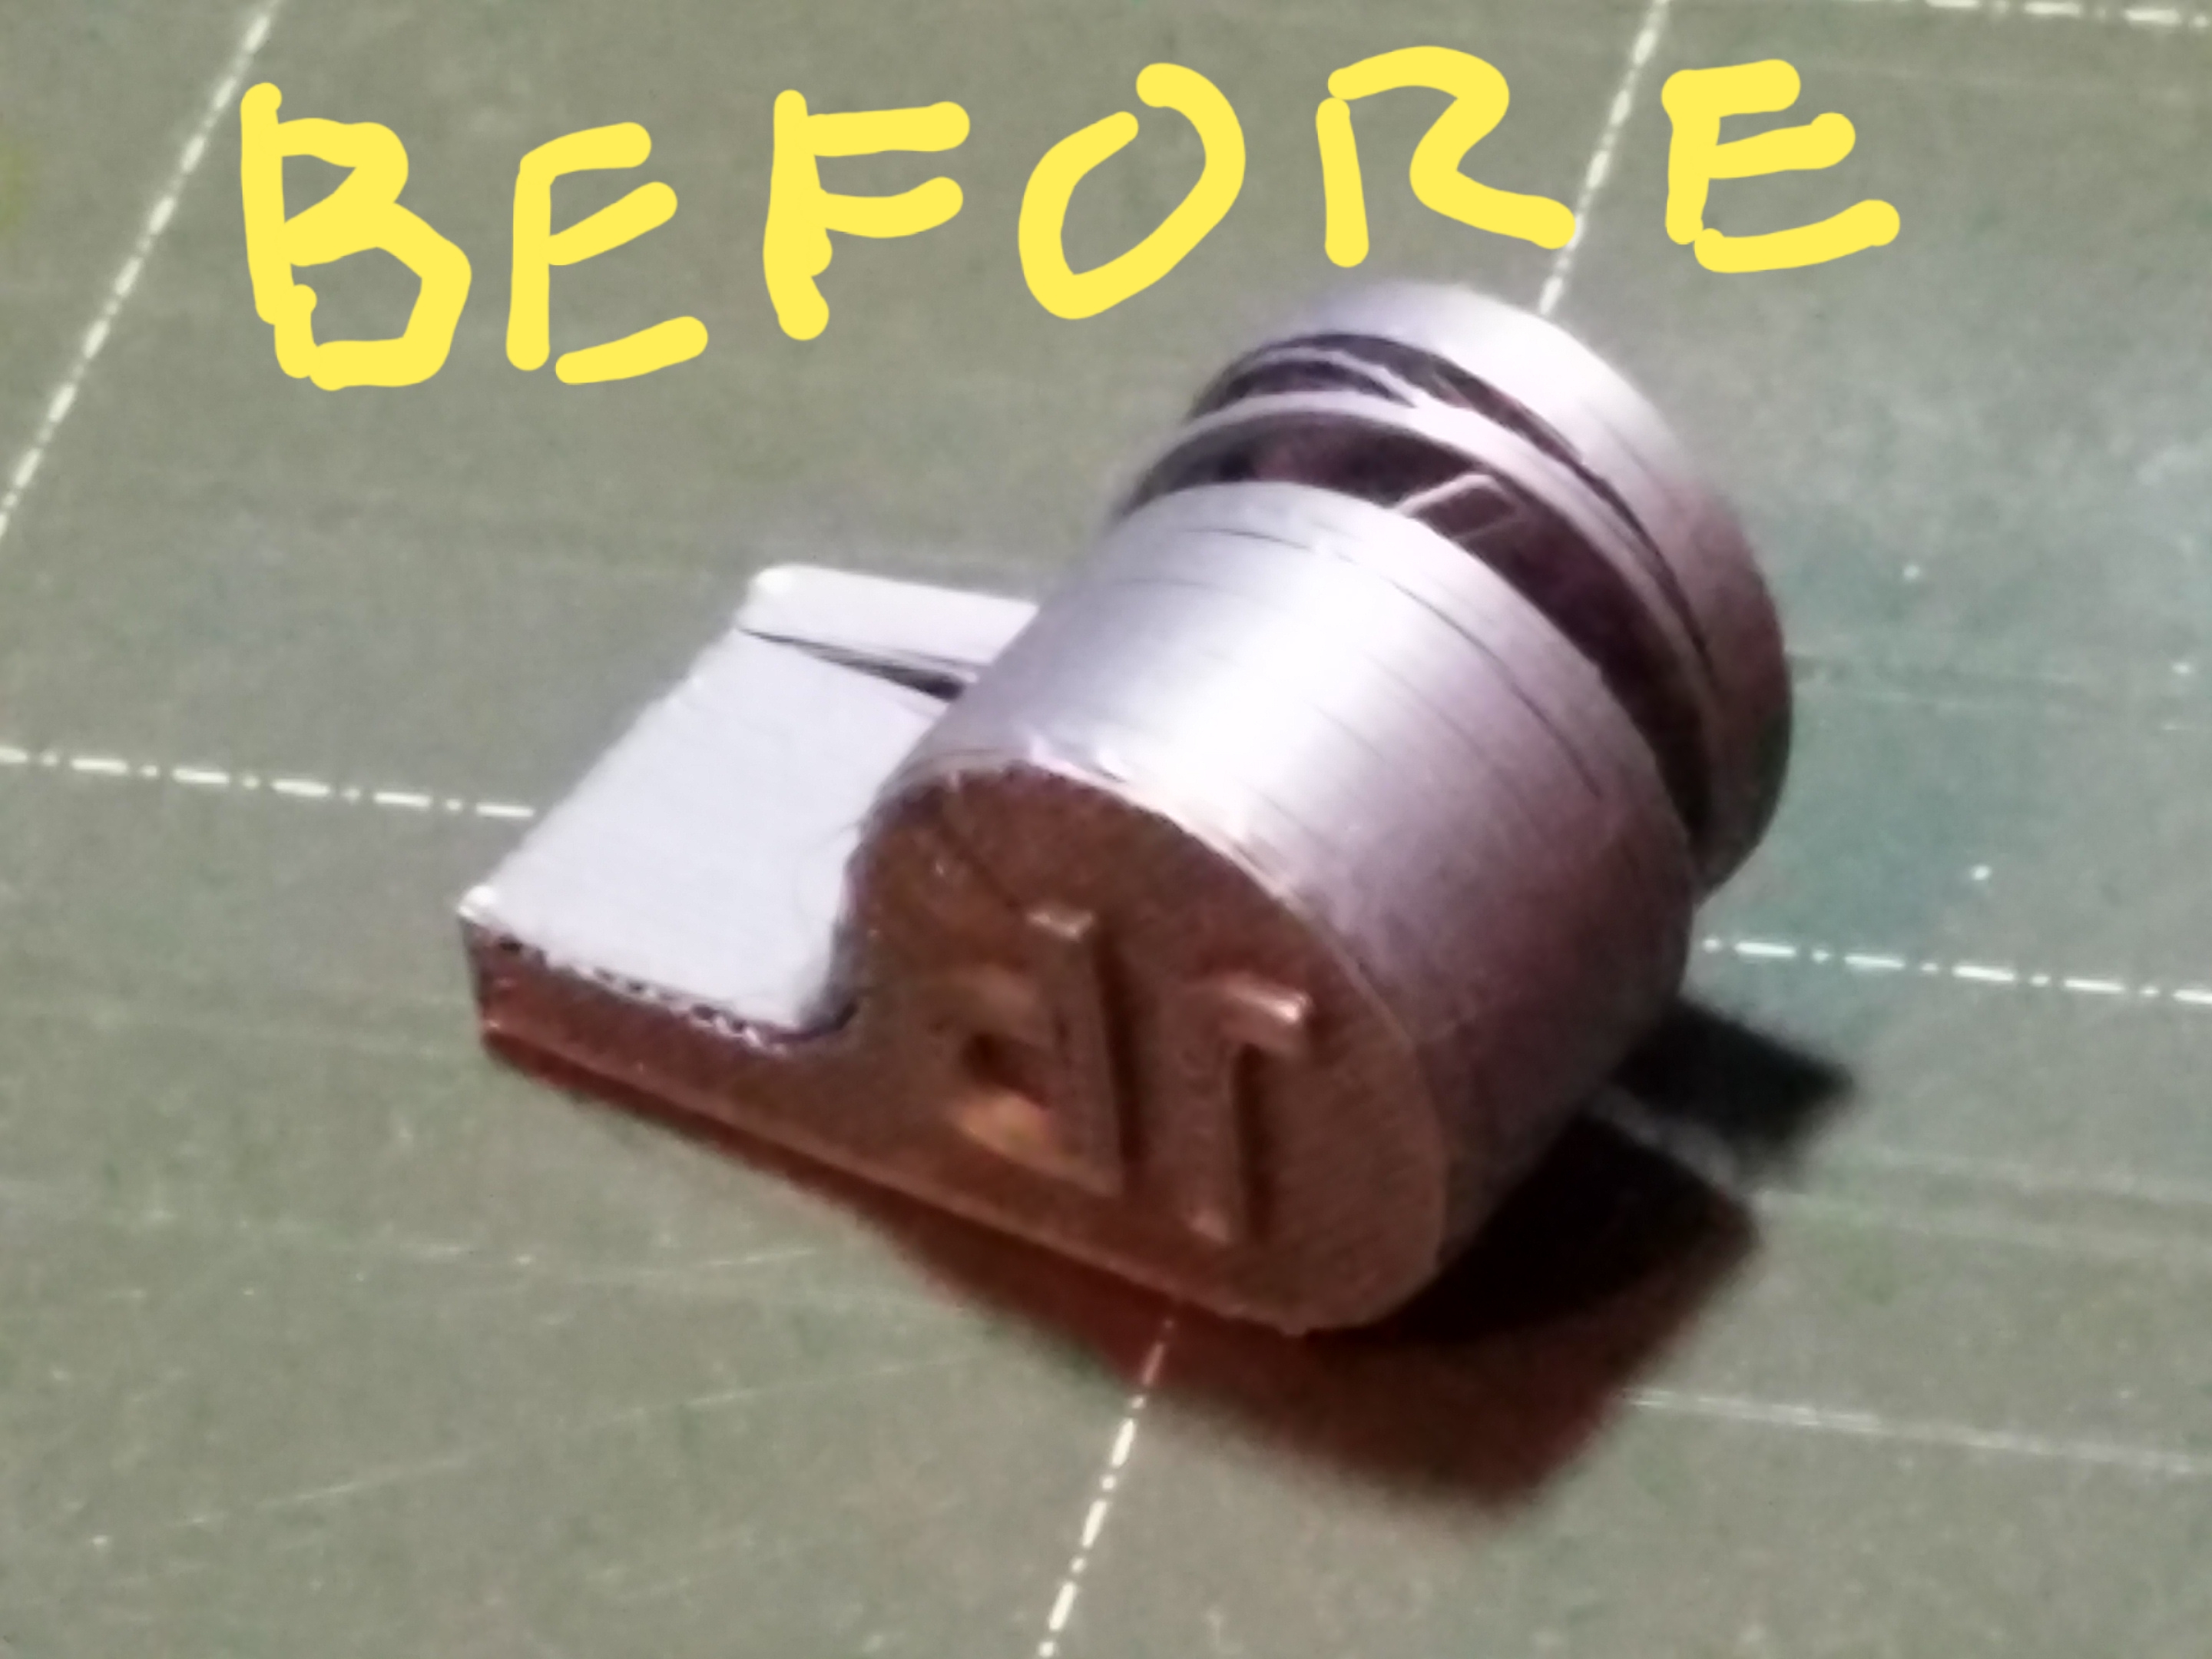
Continuing extrusion problems caused me to disassemble the hot end in an effort to clear any possible blockages. Unfortunately, it did occur to me to document the distance between the heater block and the end of the riser tube. (See photo.) I now realize this distance may be critical. What is the factory specification for this distance?
Hear ye, Hear ye! Step right up folks and get your Government salvation here! Less than $.002 per word! Amazon.com/dp/B0B8XMMFP4
RE: Hot-end assembly
Also, what is the specified size of the hole in the end that threads into the heater block?
Hear ye, Hear ye! Step right up folks and get your Government salvation here! Less than $.002 per word! Amazon.com/dp/B0B8XMMFP4
RE: Hot-end assembly
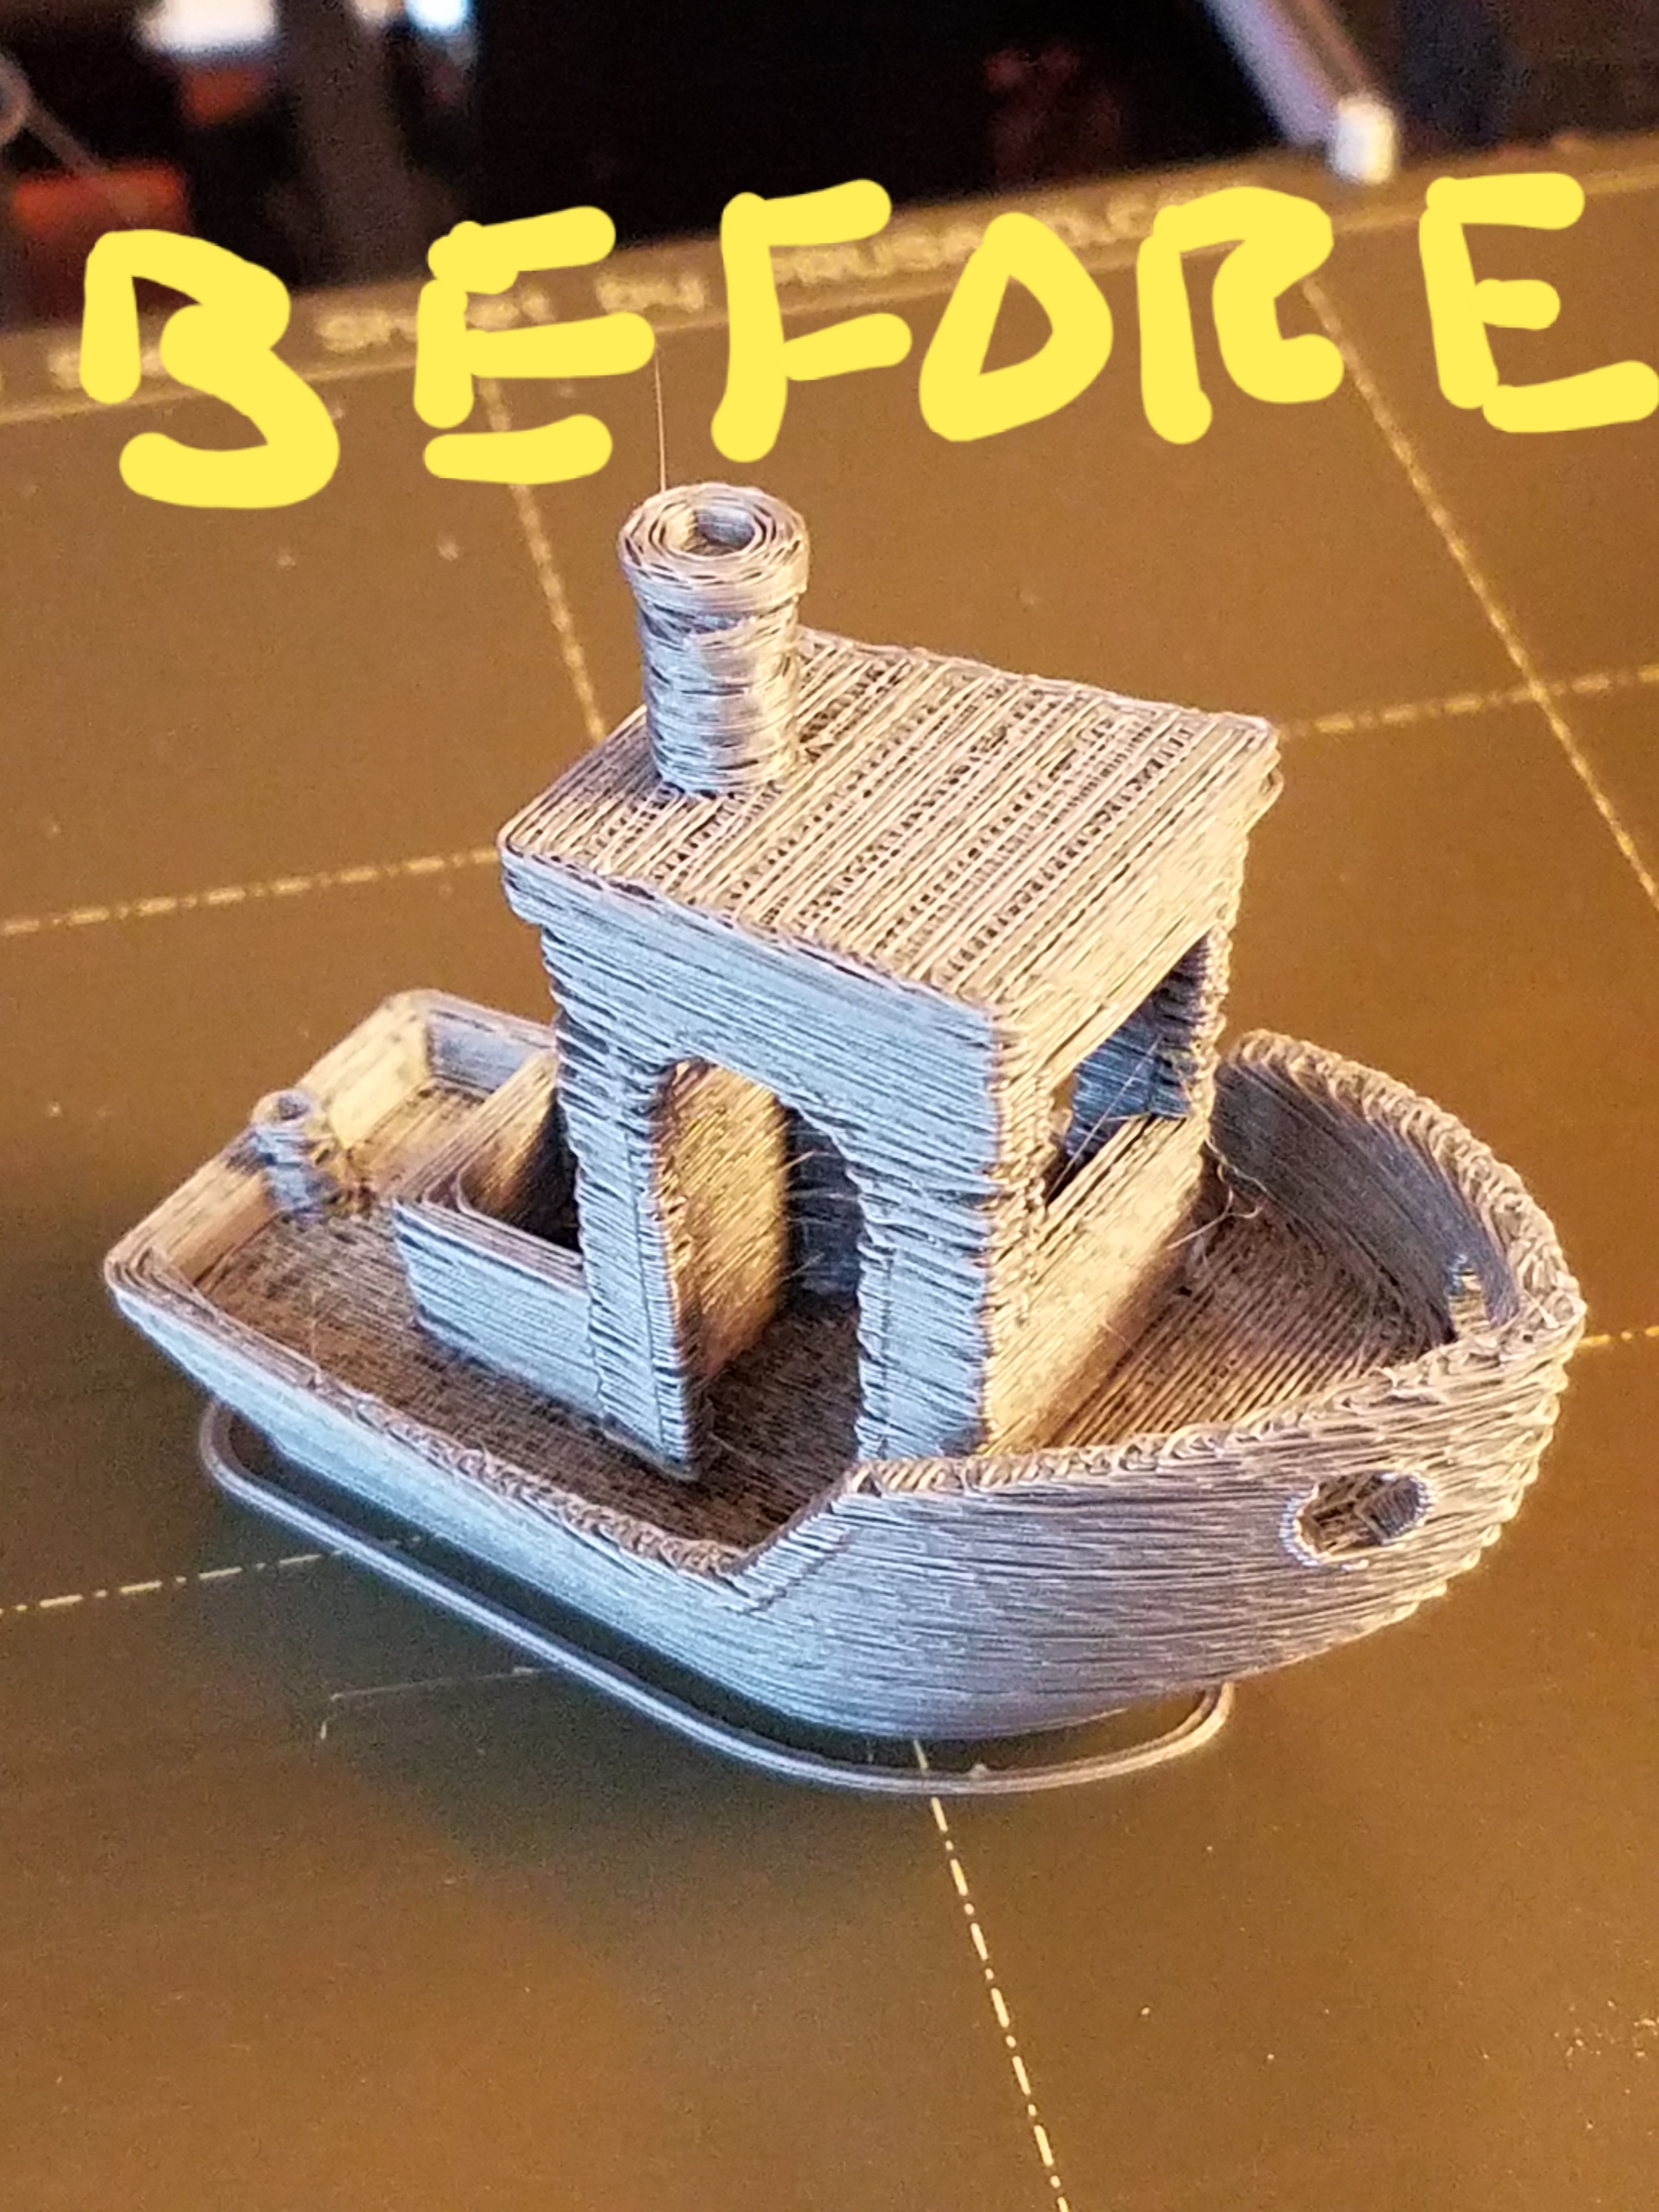
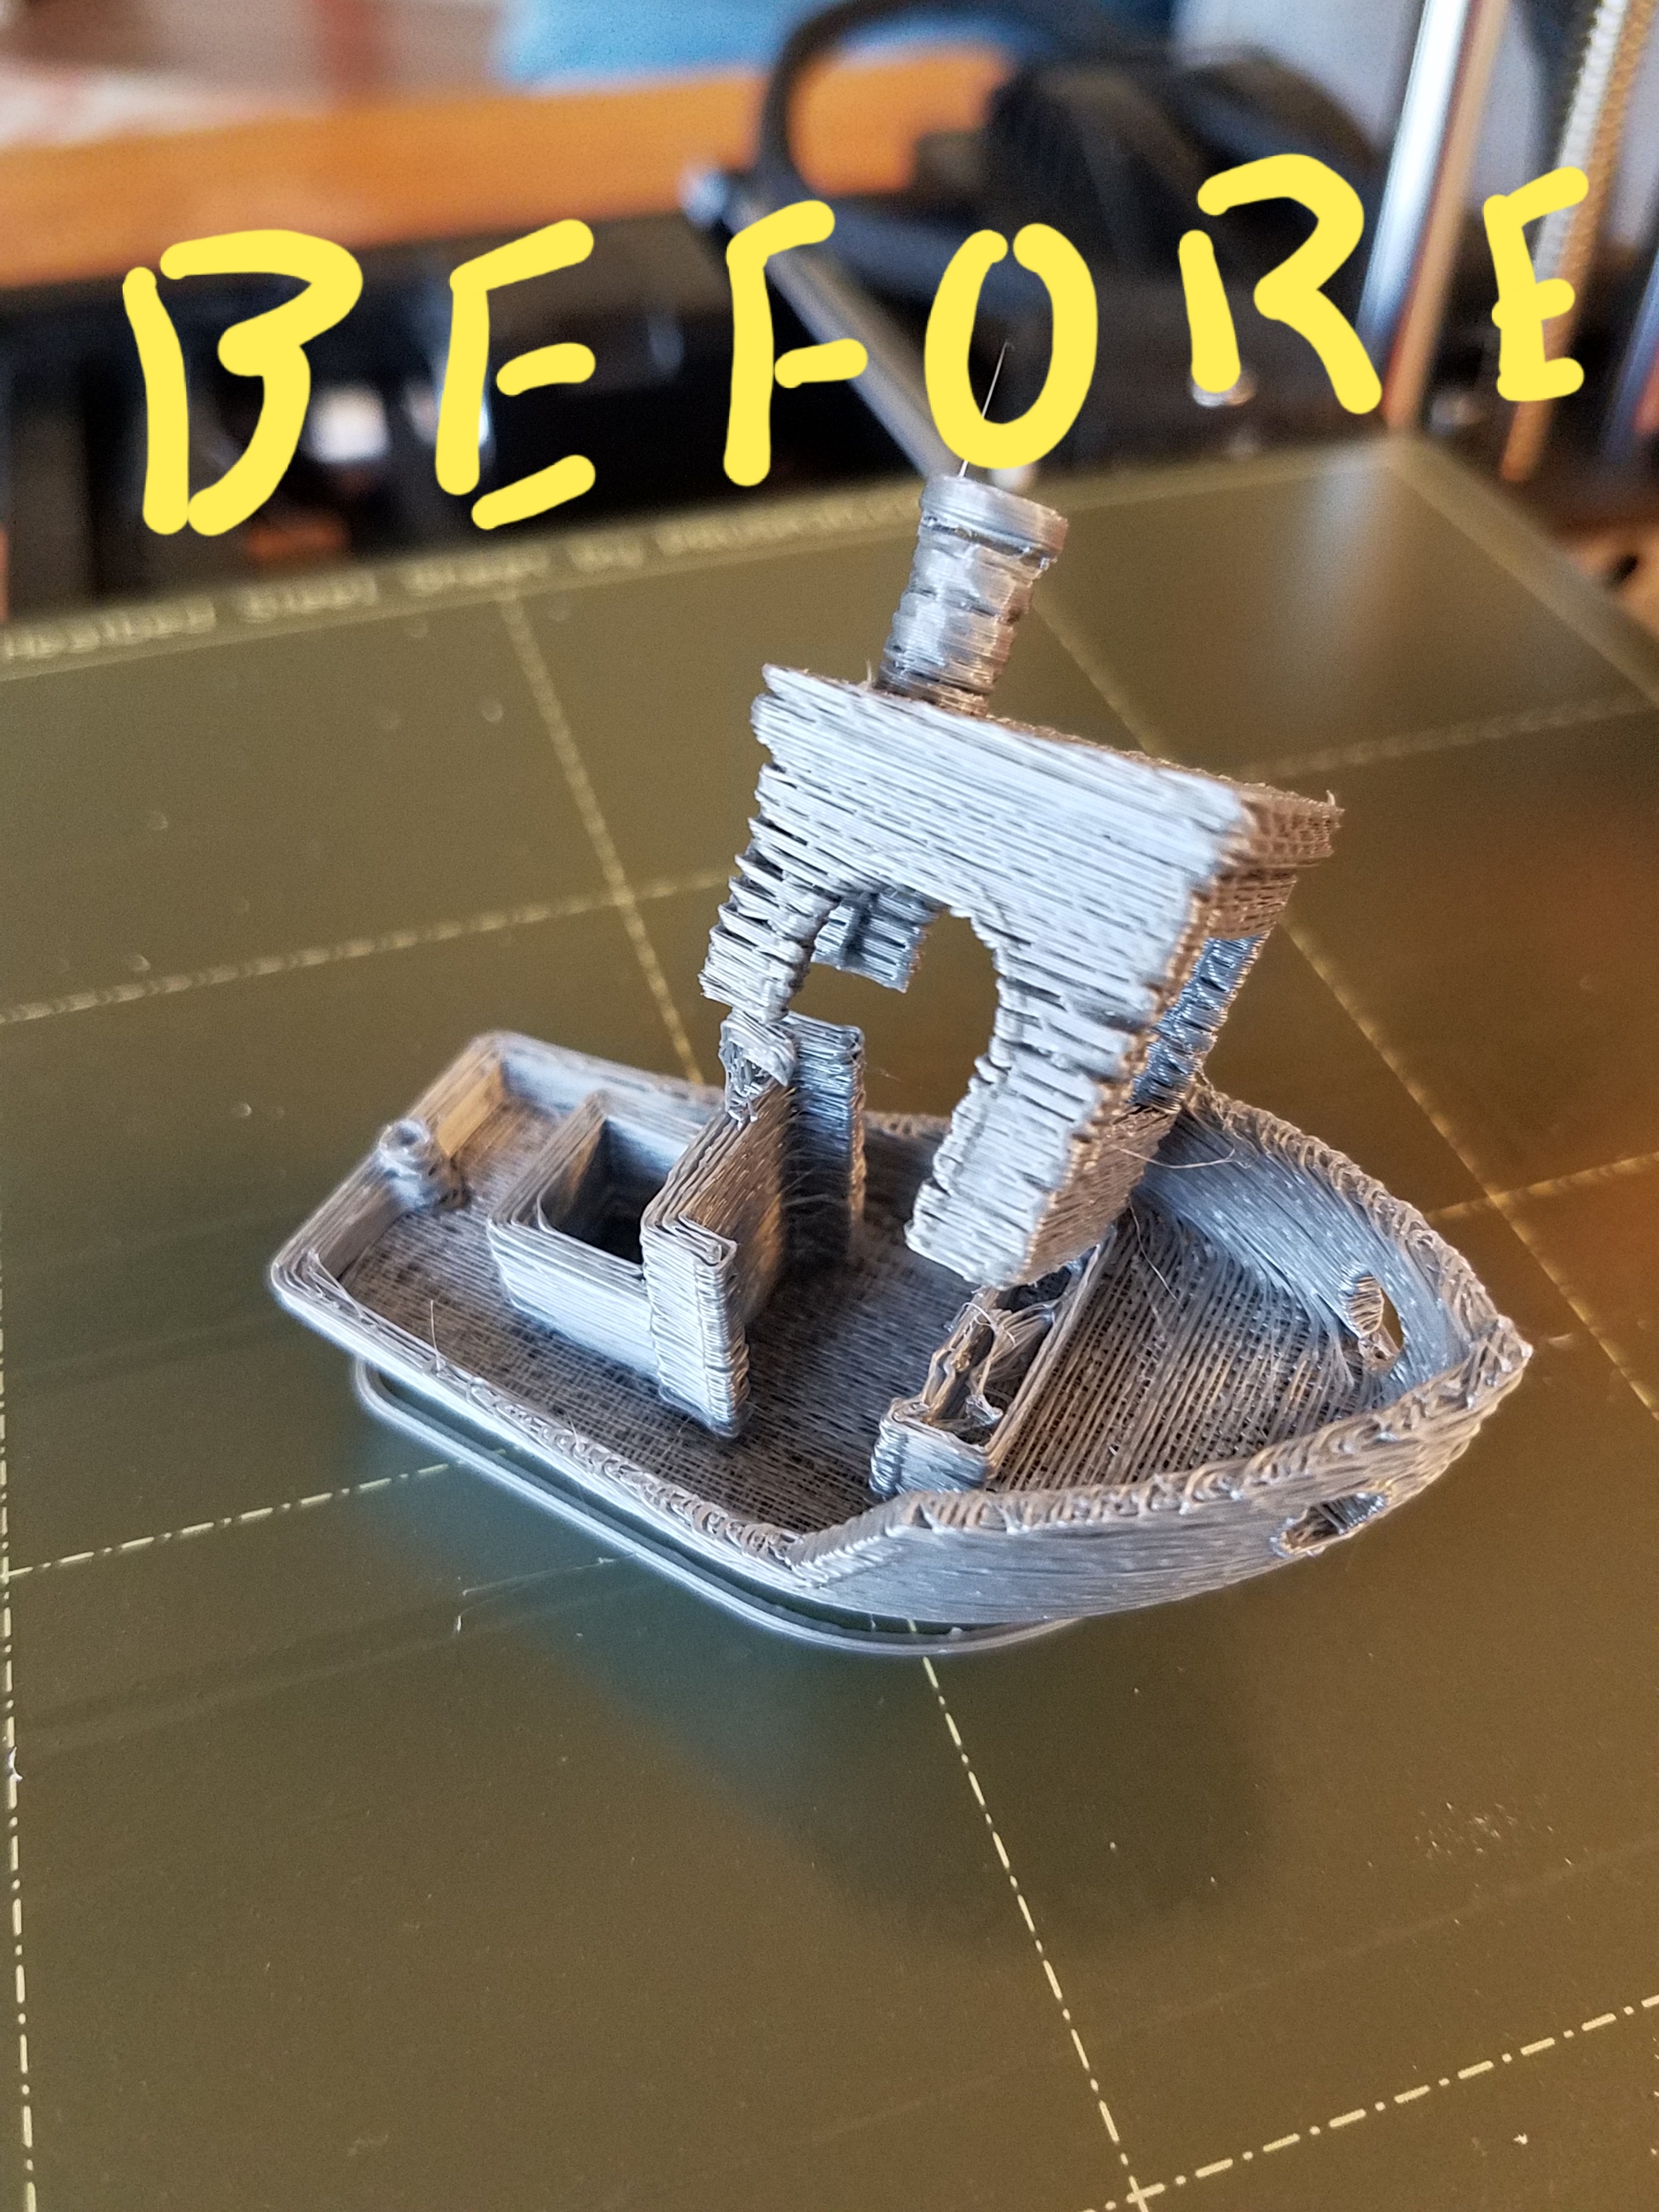
Well, this has been quite the learning experience, but I think I may have discovered something that may explain a lot of the extrusion problems many folks have been having. And I have had them all : Perfect First-Layer calibration prints followed by "banded" first layer prints of actual objects

that get progressively worse, layer after layer, frequently failing to extrude altogether after 10-12 layers; loud irregular clicking sounds from the extruder module; filaments that get stuck in the hot end and will not unload, requiring disassembly of the extruder-to-hot end bowden tube, time after time after time; poor layer-to-layer adhesion; long segments of chewed up filament that have to be discarded; continual adjustment of the extruder idler/pressure roller from one end of its range to the other. Several complete disassembles and cleanings of the extruder. At least three firmware upgrades, finally arriving at 4.0.4. Carefully performing the hot-end "lift" procedure. Liberal and frequent use of the acupuncture needle. Changed the nozzle. Nothing. Helped.
And this was all with Prusament, not some off-brand. This was all the more frustrating because this is one of two Minis I bought, with great fanfare and recommendation, to be used by the makerspace I belong to. The first was for my own personal use and has given me no problems whatsoever. I have spent the better part of a month since receiving this unit, becoming more and more embarrassed at my inability to get it operating correctly.
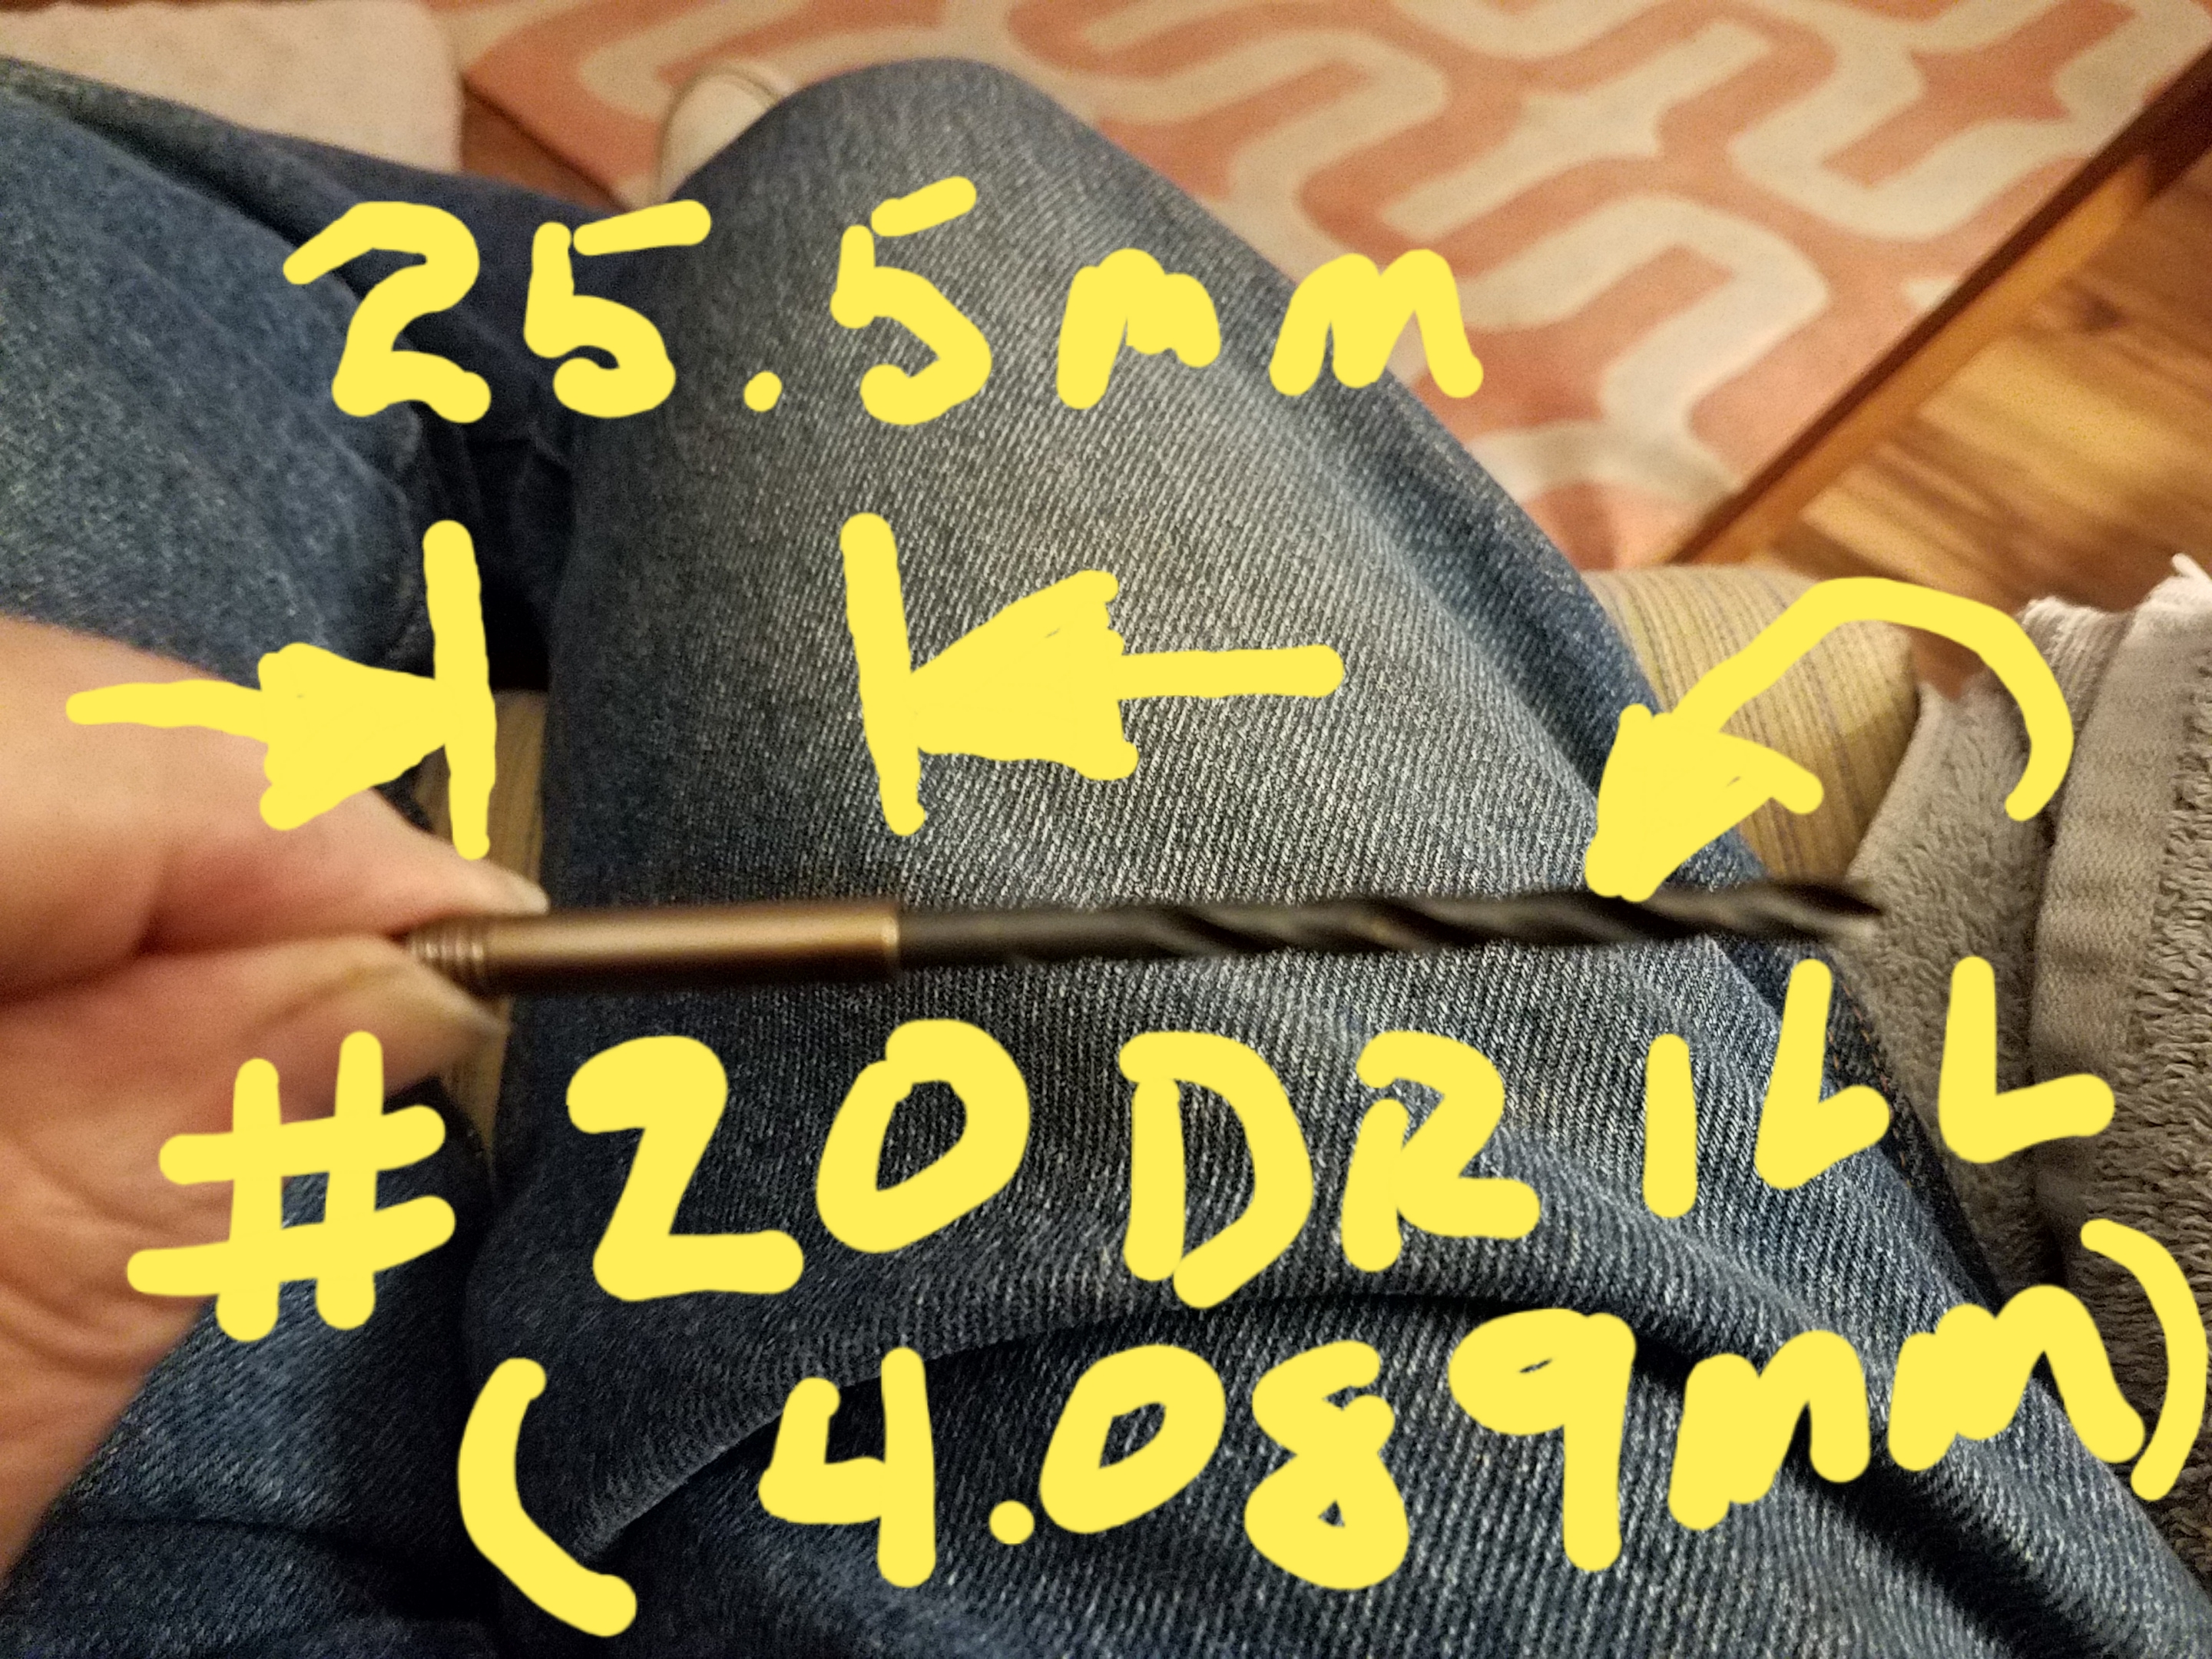
I finally decided to do a total disassembly and cleaning of the hot-end assembly. When I finally got everything apart, and even though I had performed the "visual" inspection of the heat-break/riser tube (for clogging) and the "lift" procedure, I came to discover that, despite all previous efforts, there was apparently still a large amount of impacted filament in that tube. Apparently, the 43+mm PTFE tube in the heat break was being displaced upward little-by-little, by "leaking" filament, despite the lift procedure. Then began the difficult process of clearing it thoroughly. Since the heater block was now completely disassembled, it was no longer possible to heat up this tube with the normal heater element, so I took a butane "pencil" torch, frequently used for soldering. With the soldering tip removed, it was possible to adjust the torch to have a 3/4" long precise flame. Directing this flame onto the riser tube, the impacted filament both melted and burned, mostly clearing the tube, however, when cooled, I found that it was still not possible to get the PTFE tube to "bottom-out" within it. I then began to introduce drill bits into the tube, very carefully and progressively removing the remaining impacted filament. I believe I started with a #25 bit and went larger and larger, finally arriving at a #20 bit before it would bottom out. #20 has a nominal diameter of 4.089mm while mine measures 4.05mm. To be sure ALL of the impacted filament has been removed, reverse the drill bit so the straight, non-fluted end goes into the tube. It MUST go a distance of at least 25.5mm before it bottoms out, otherwise there is still filament residue to be removed.
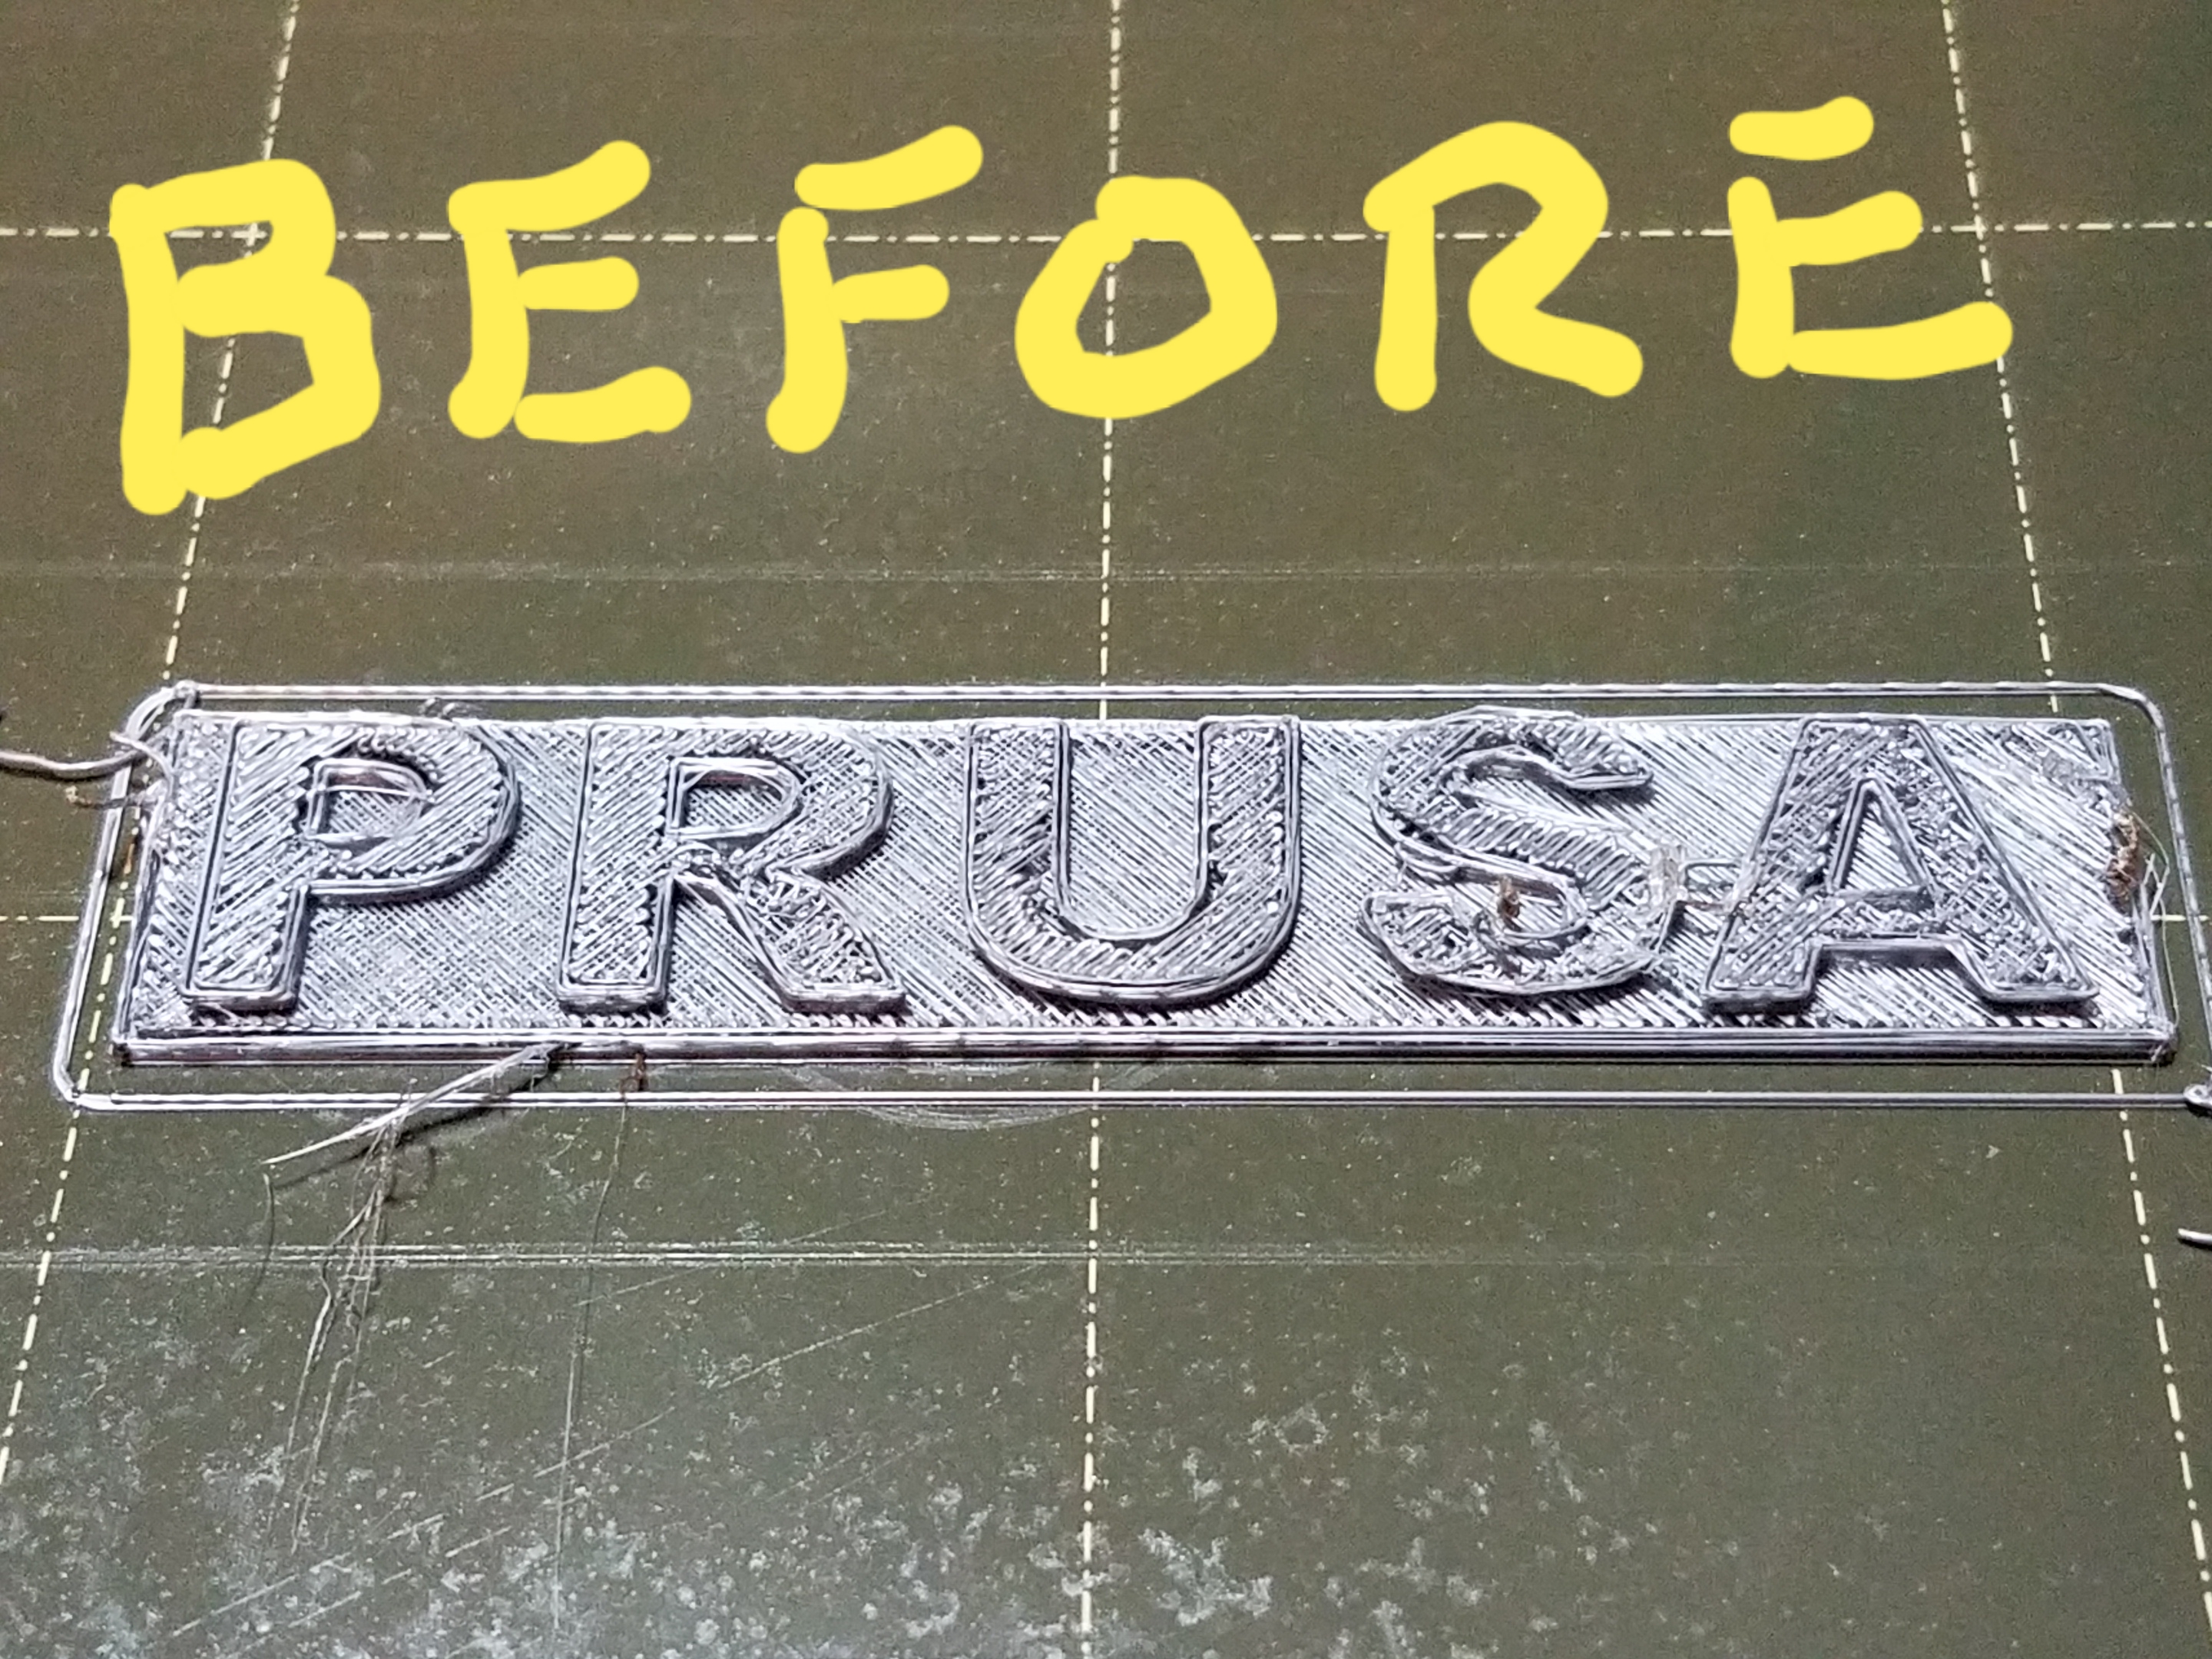
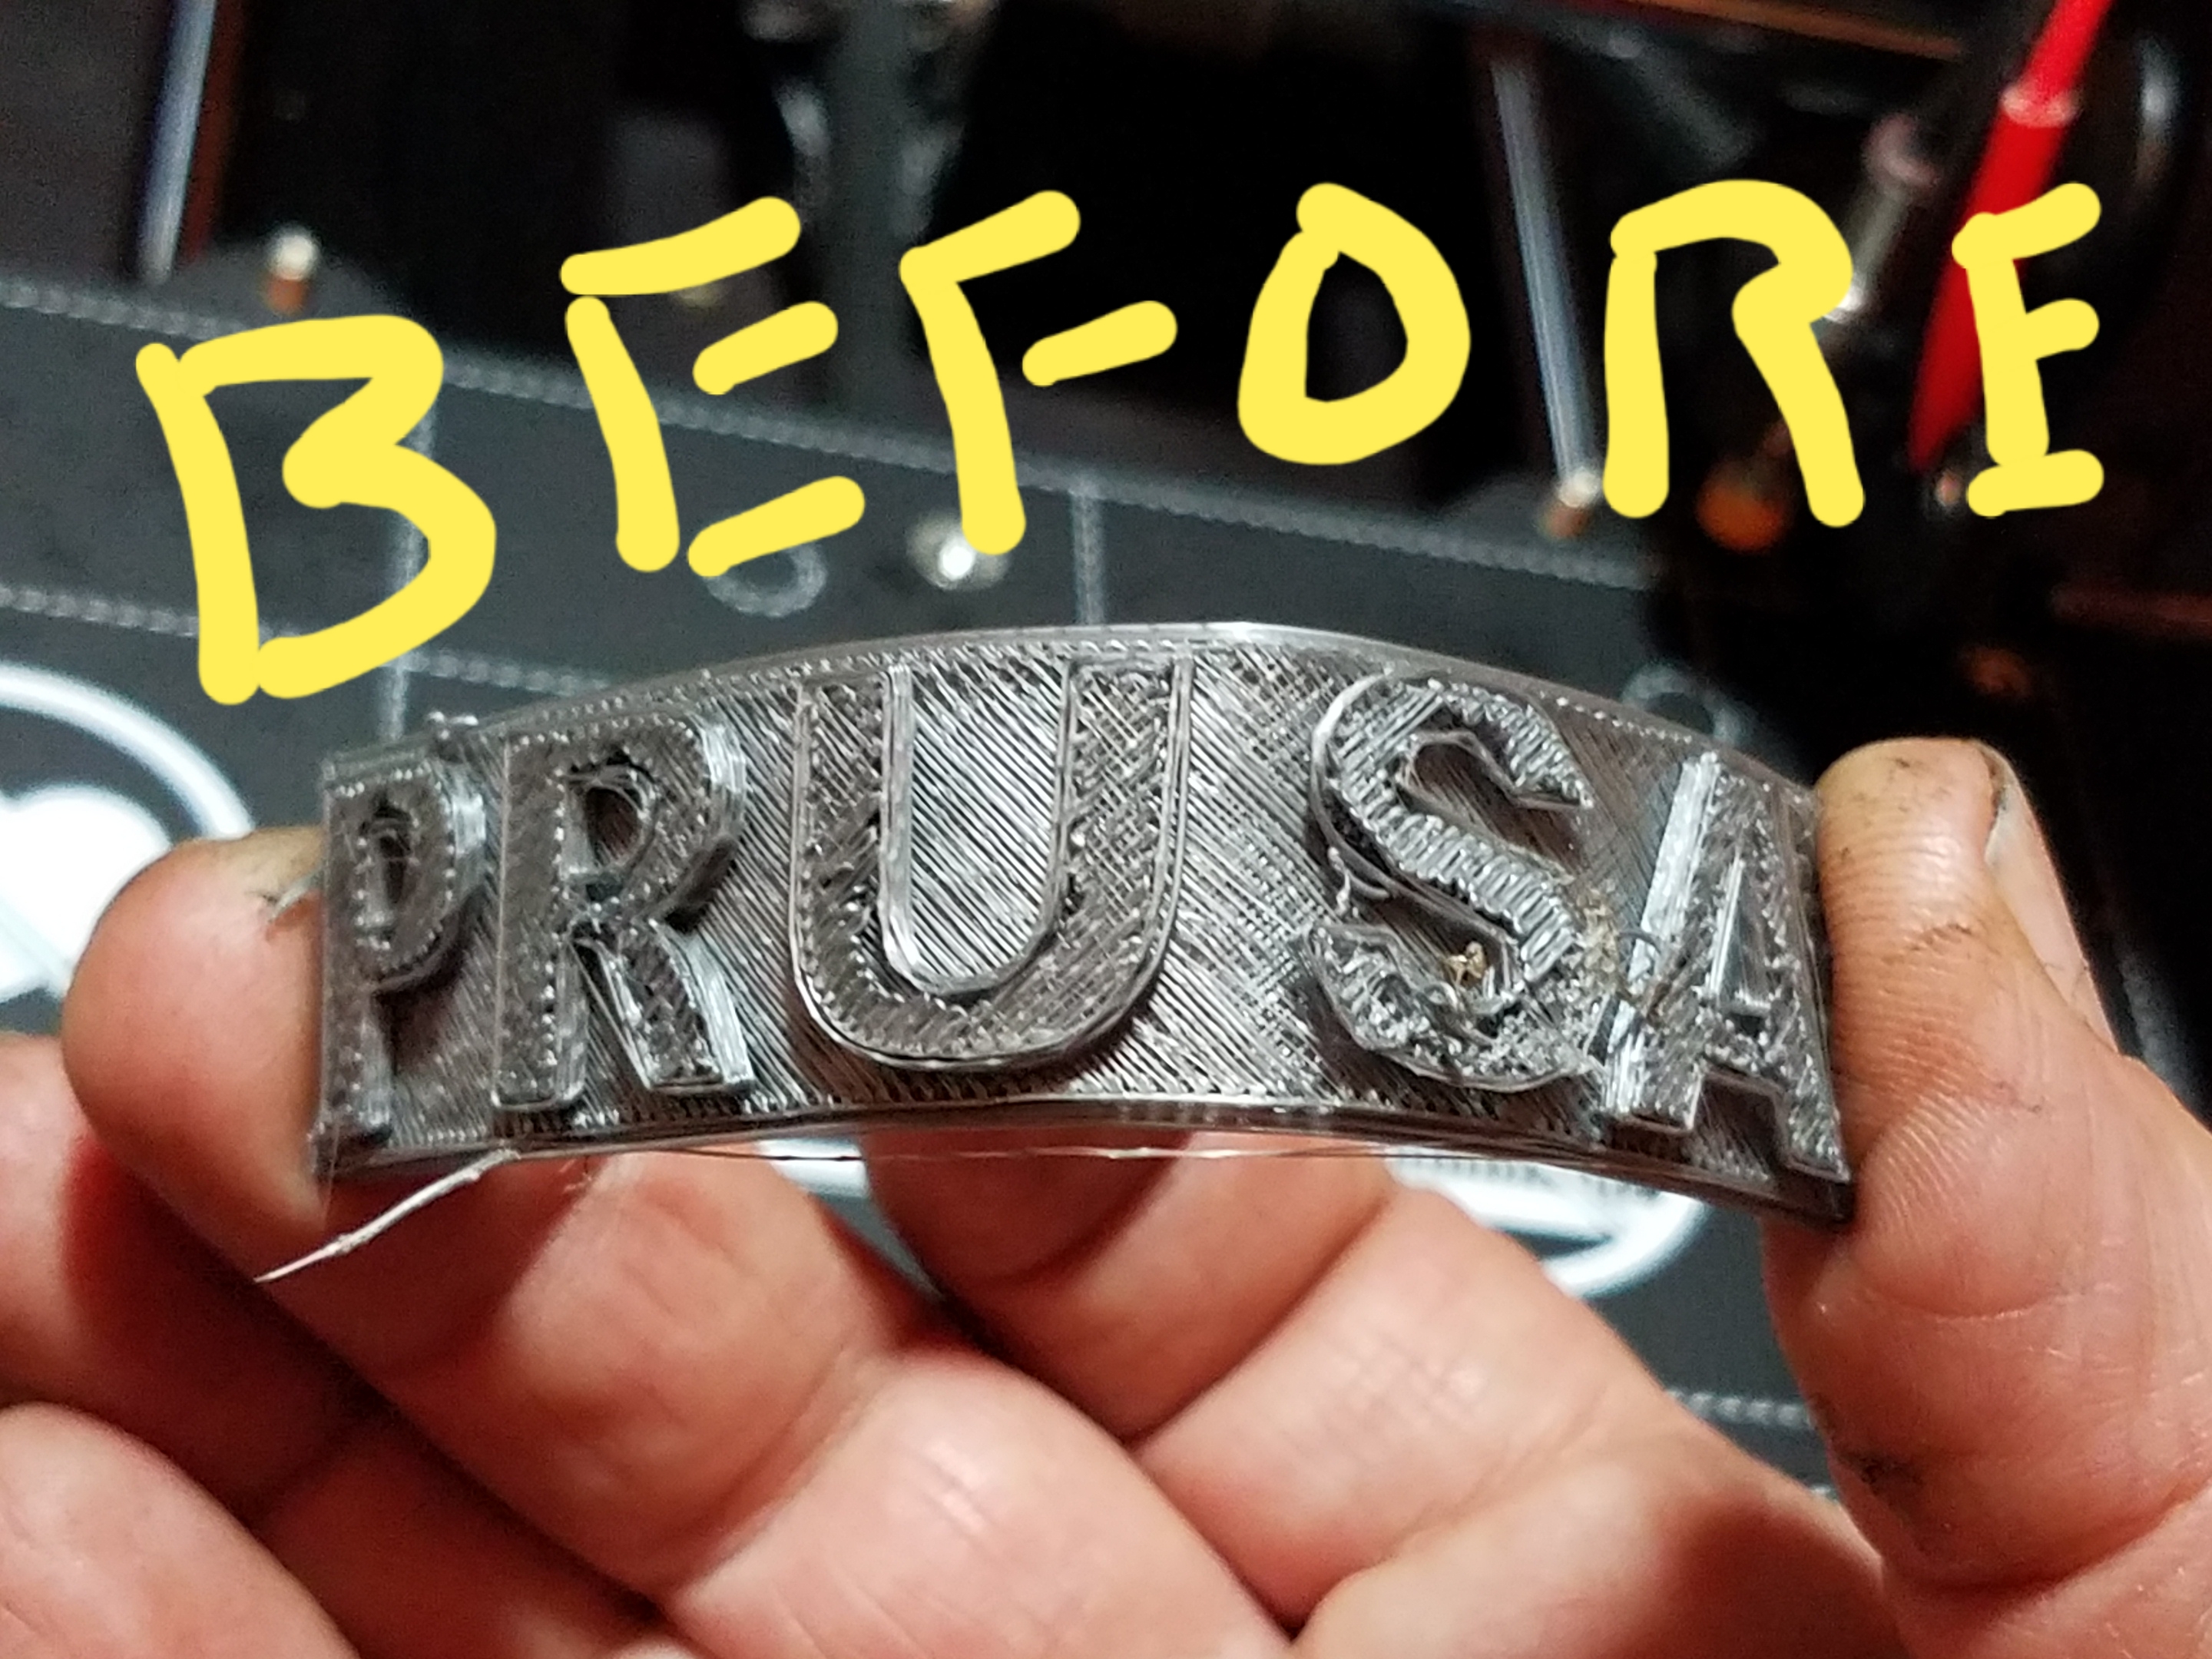
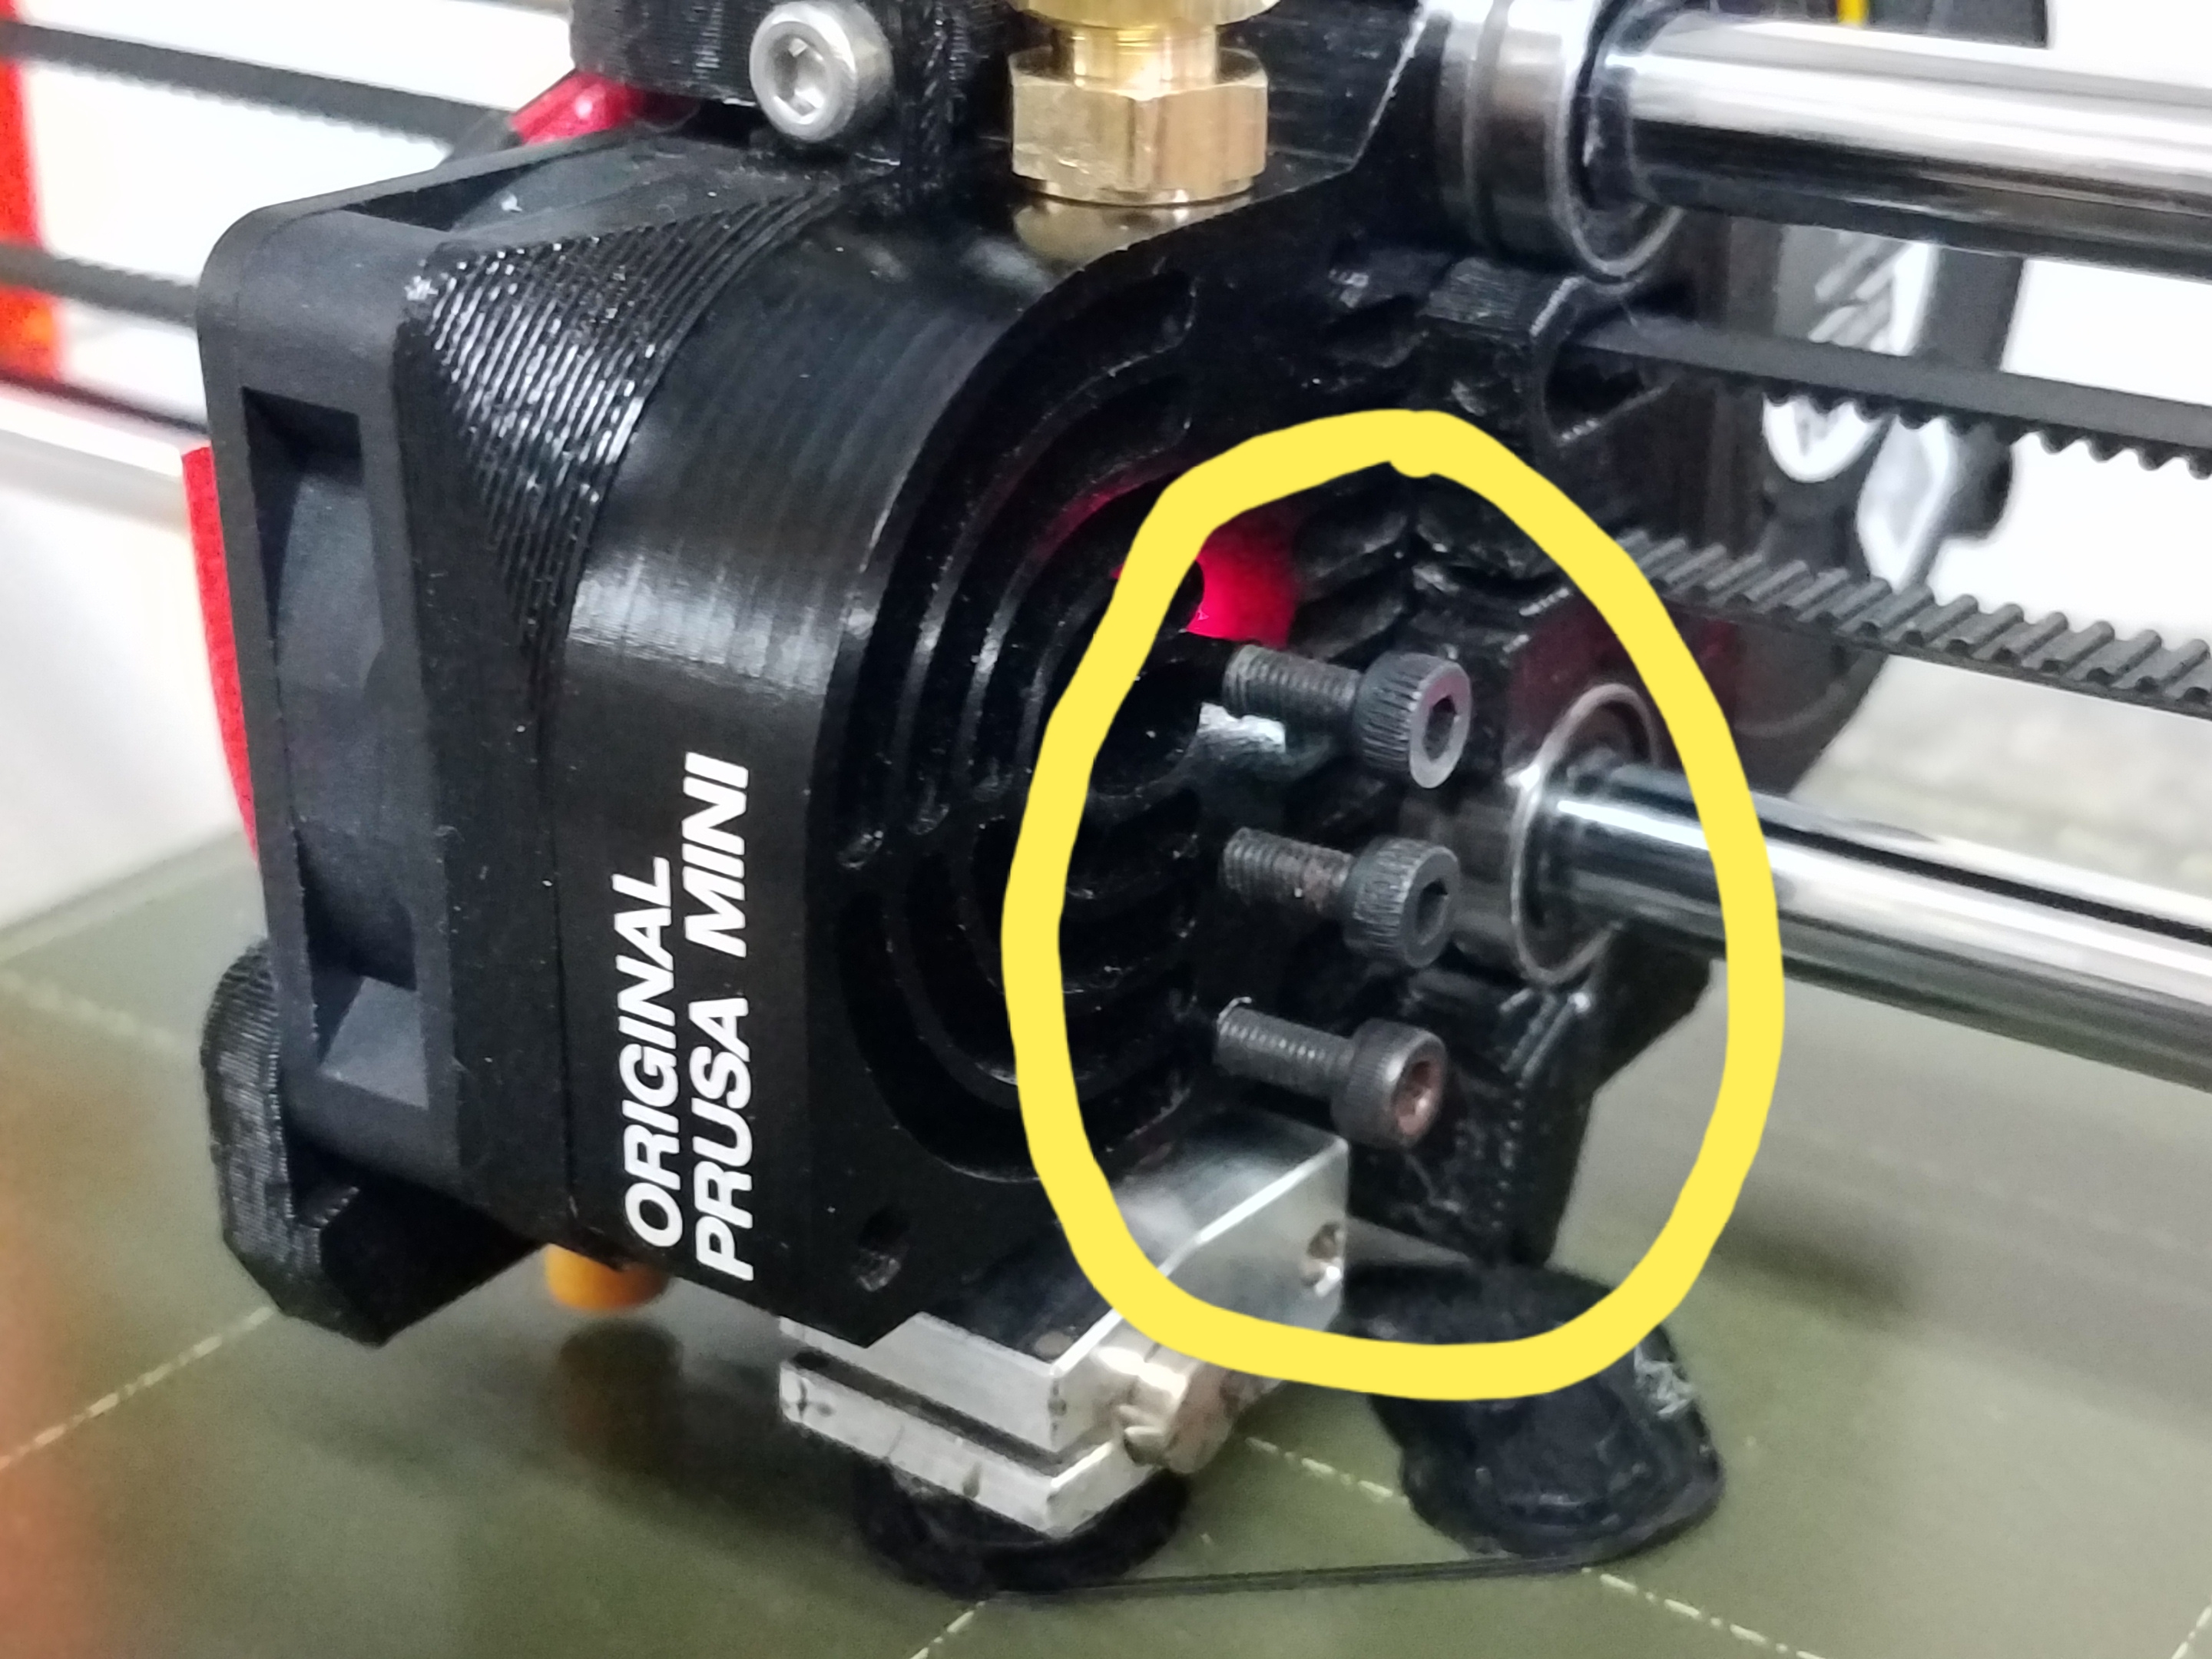
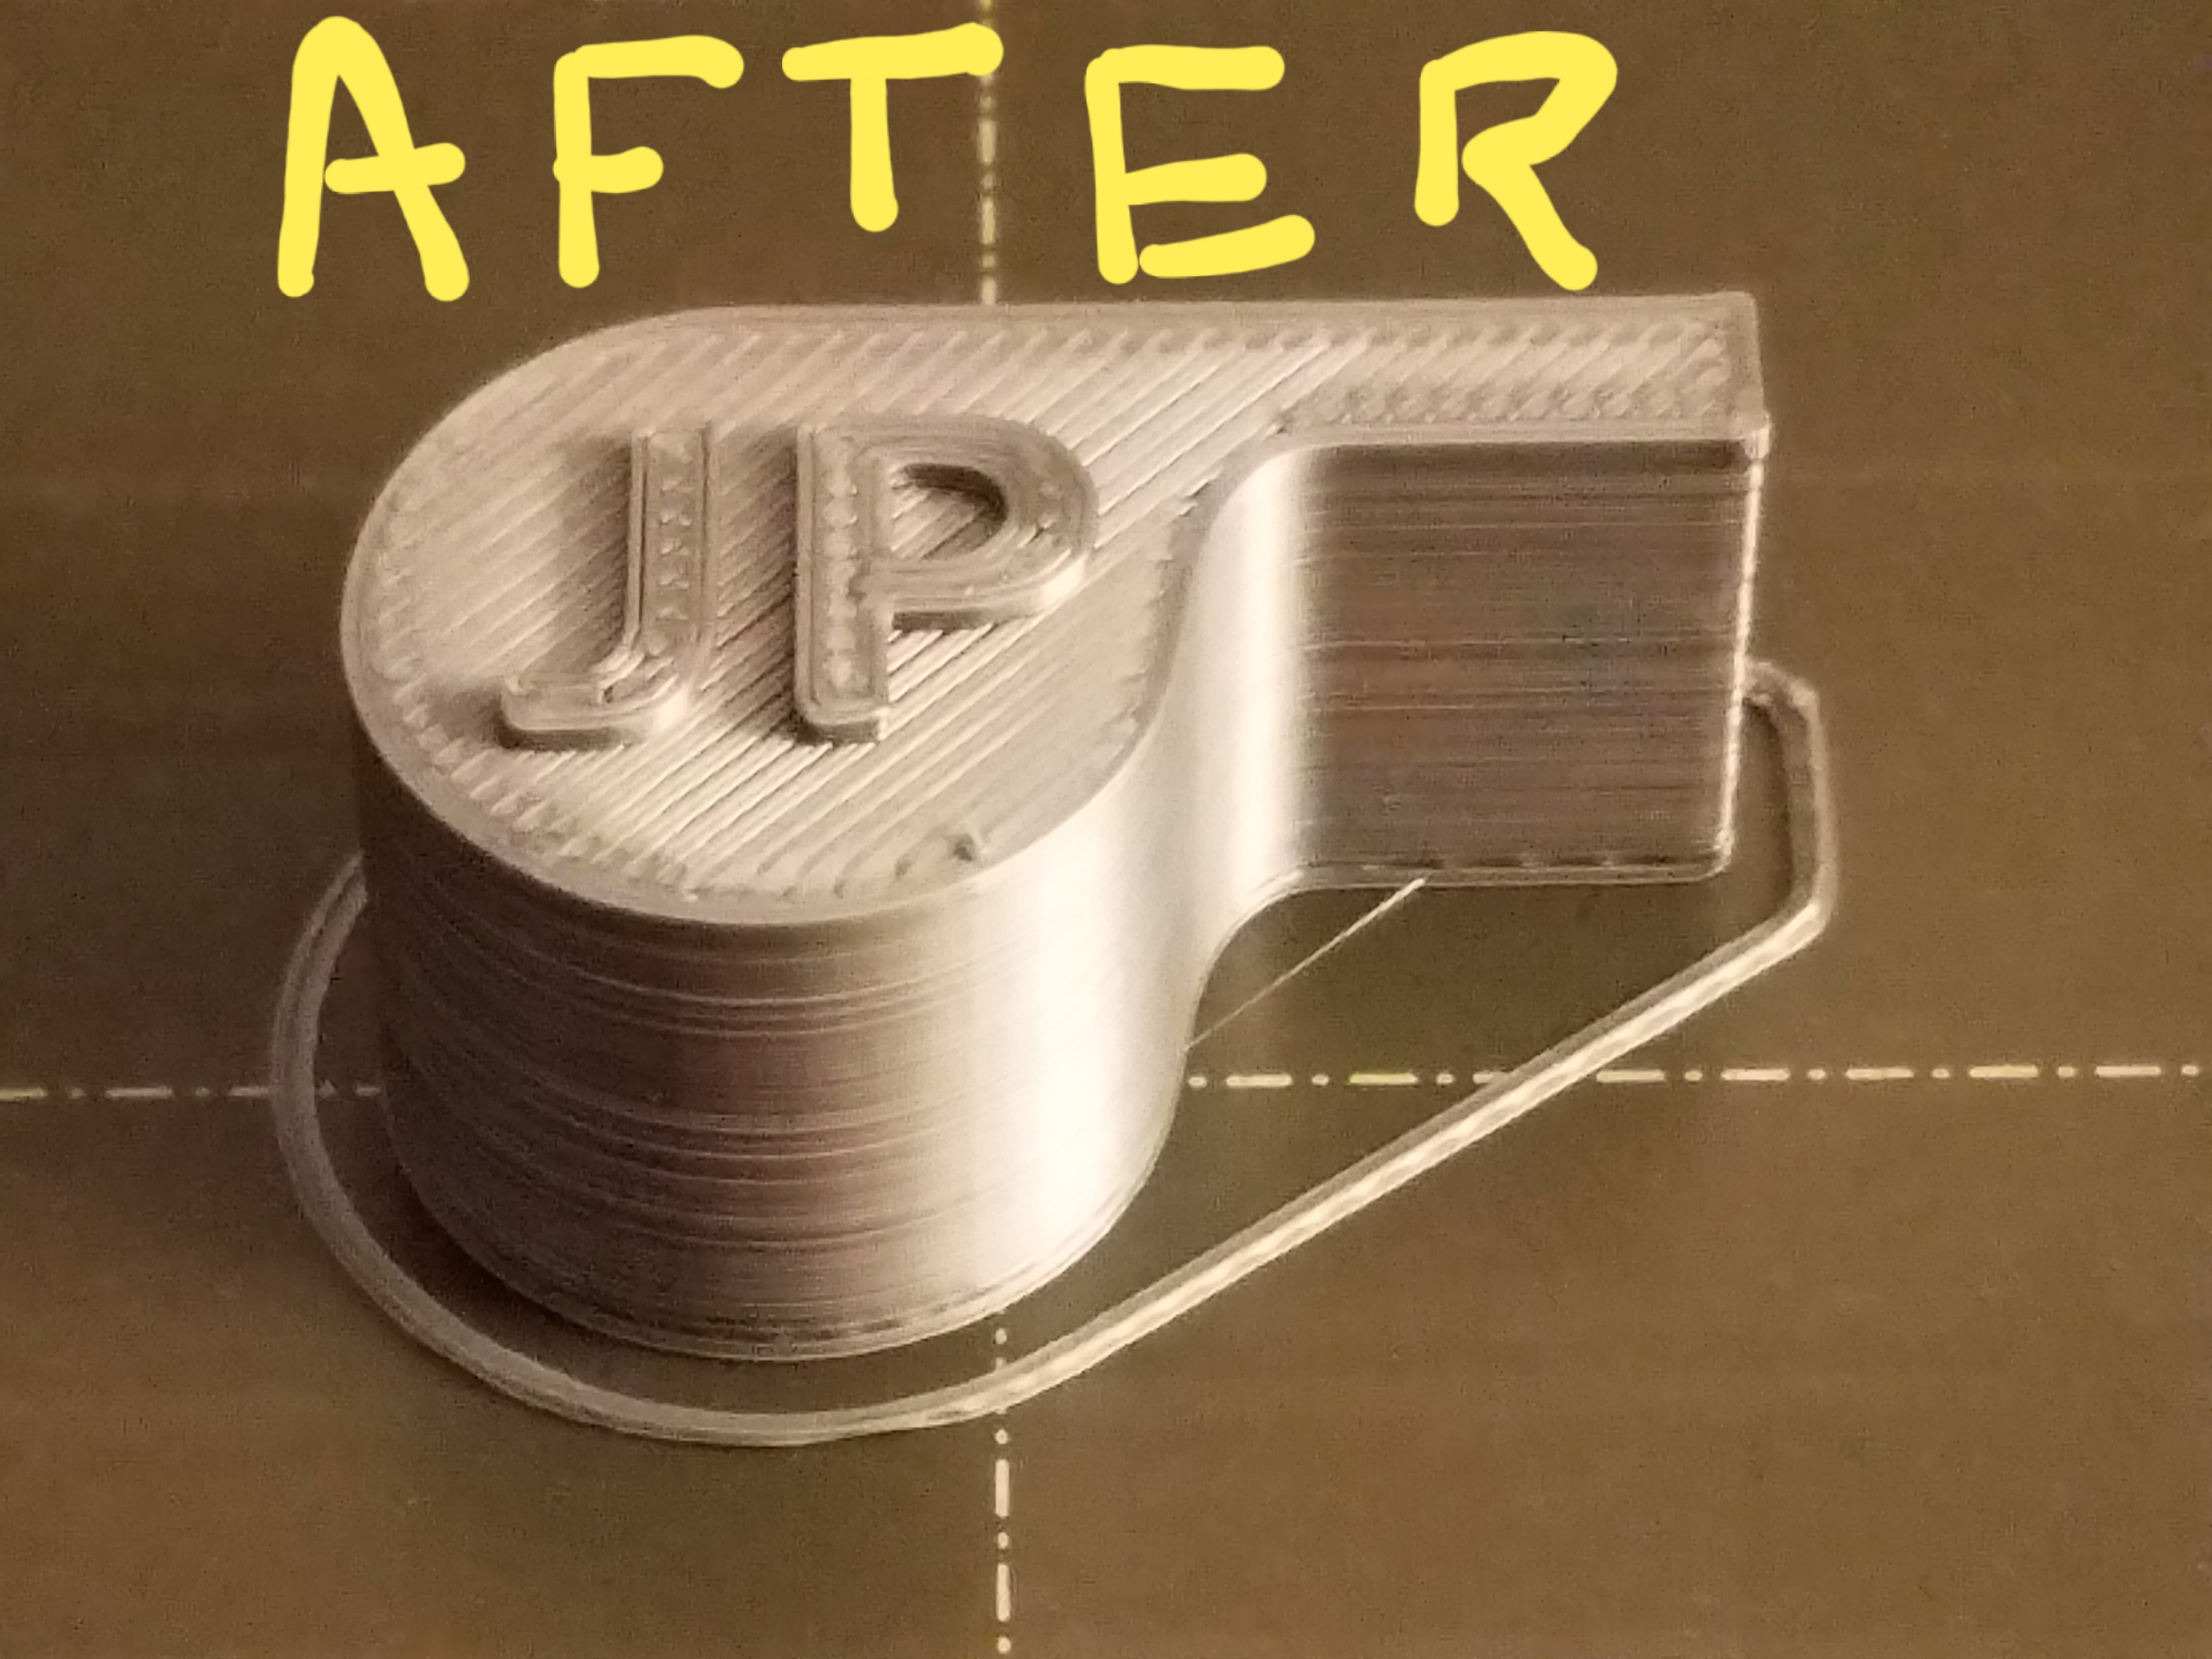
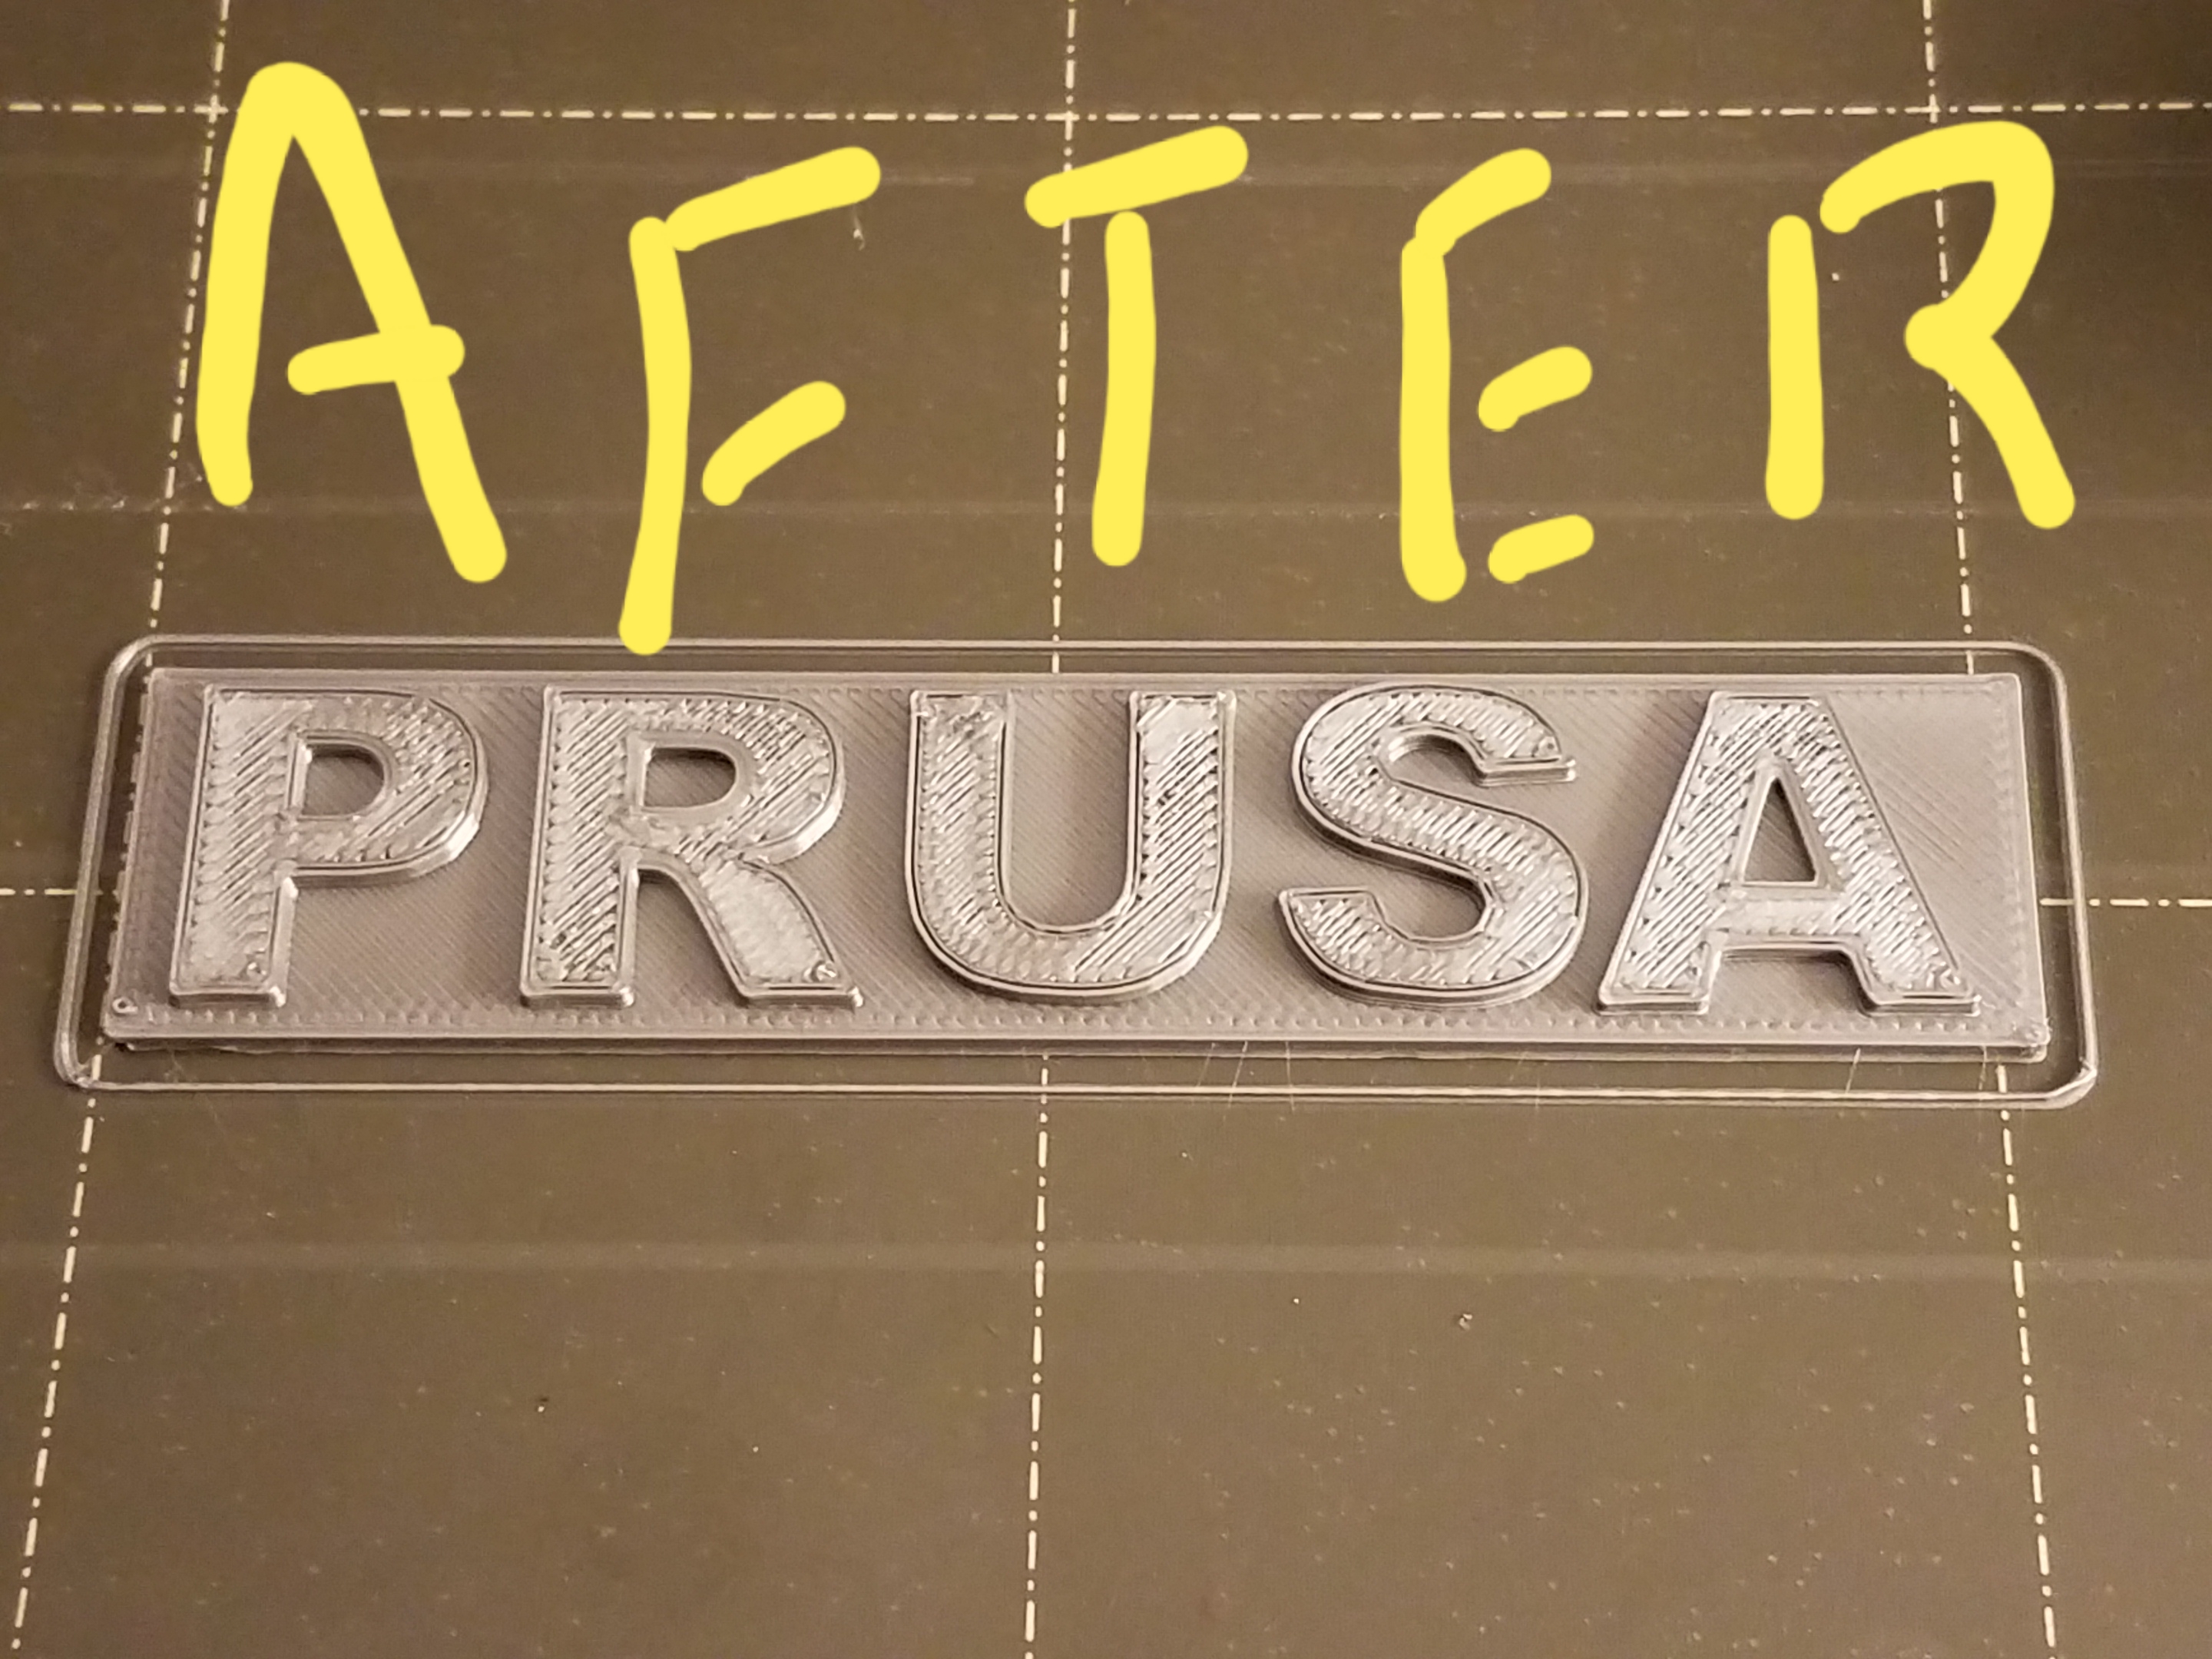
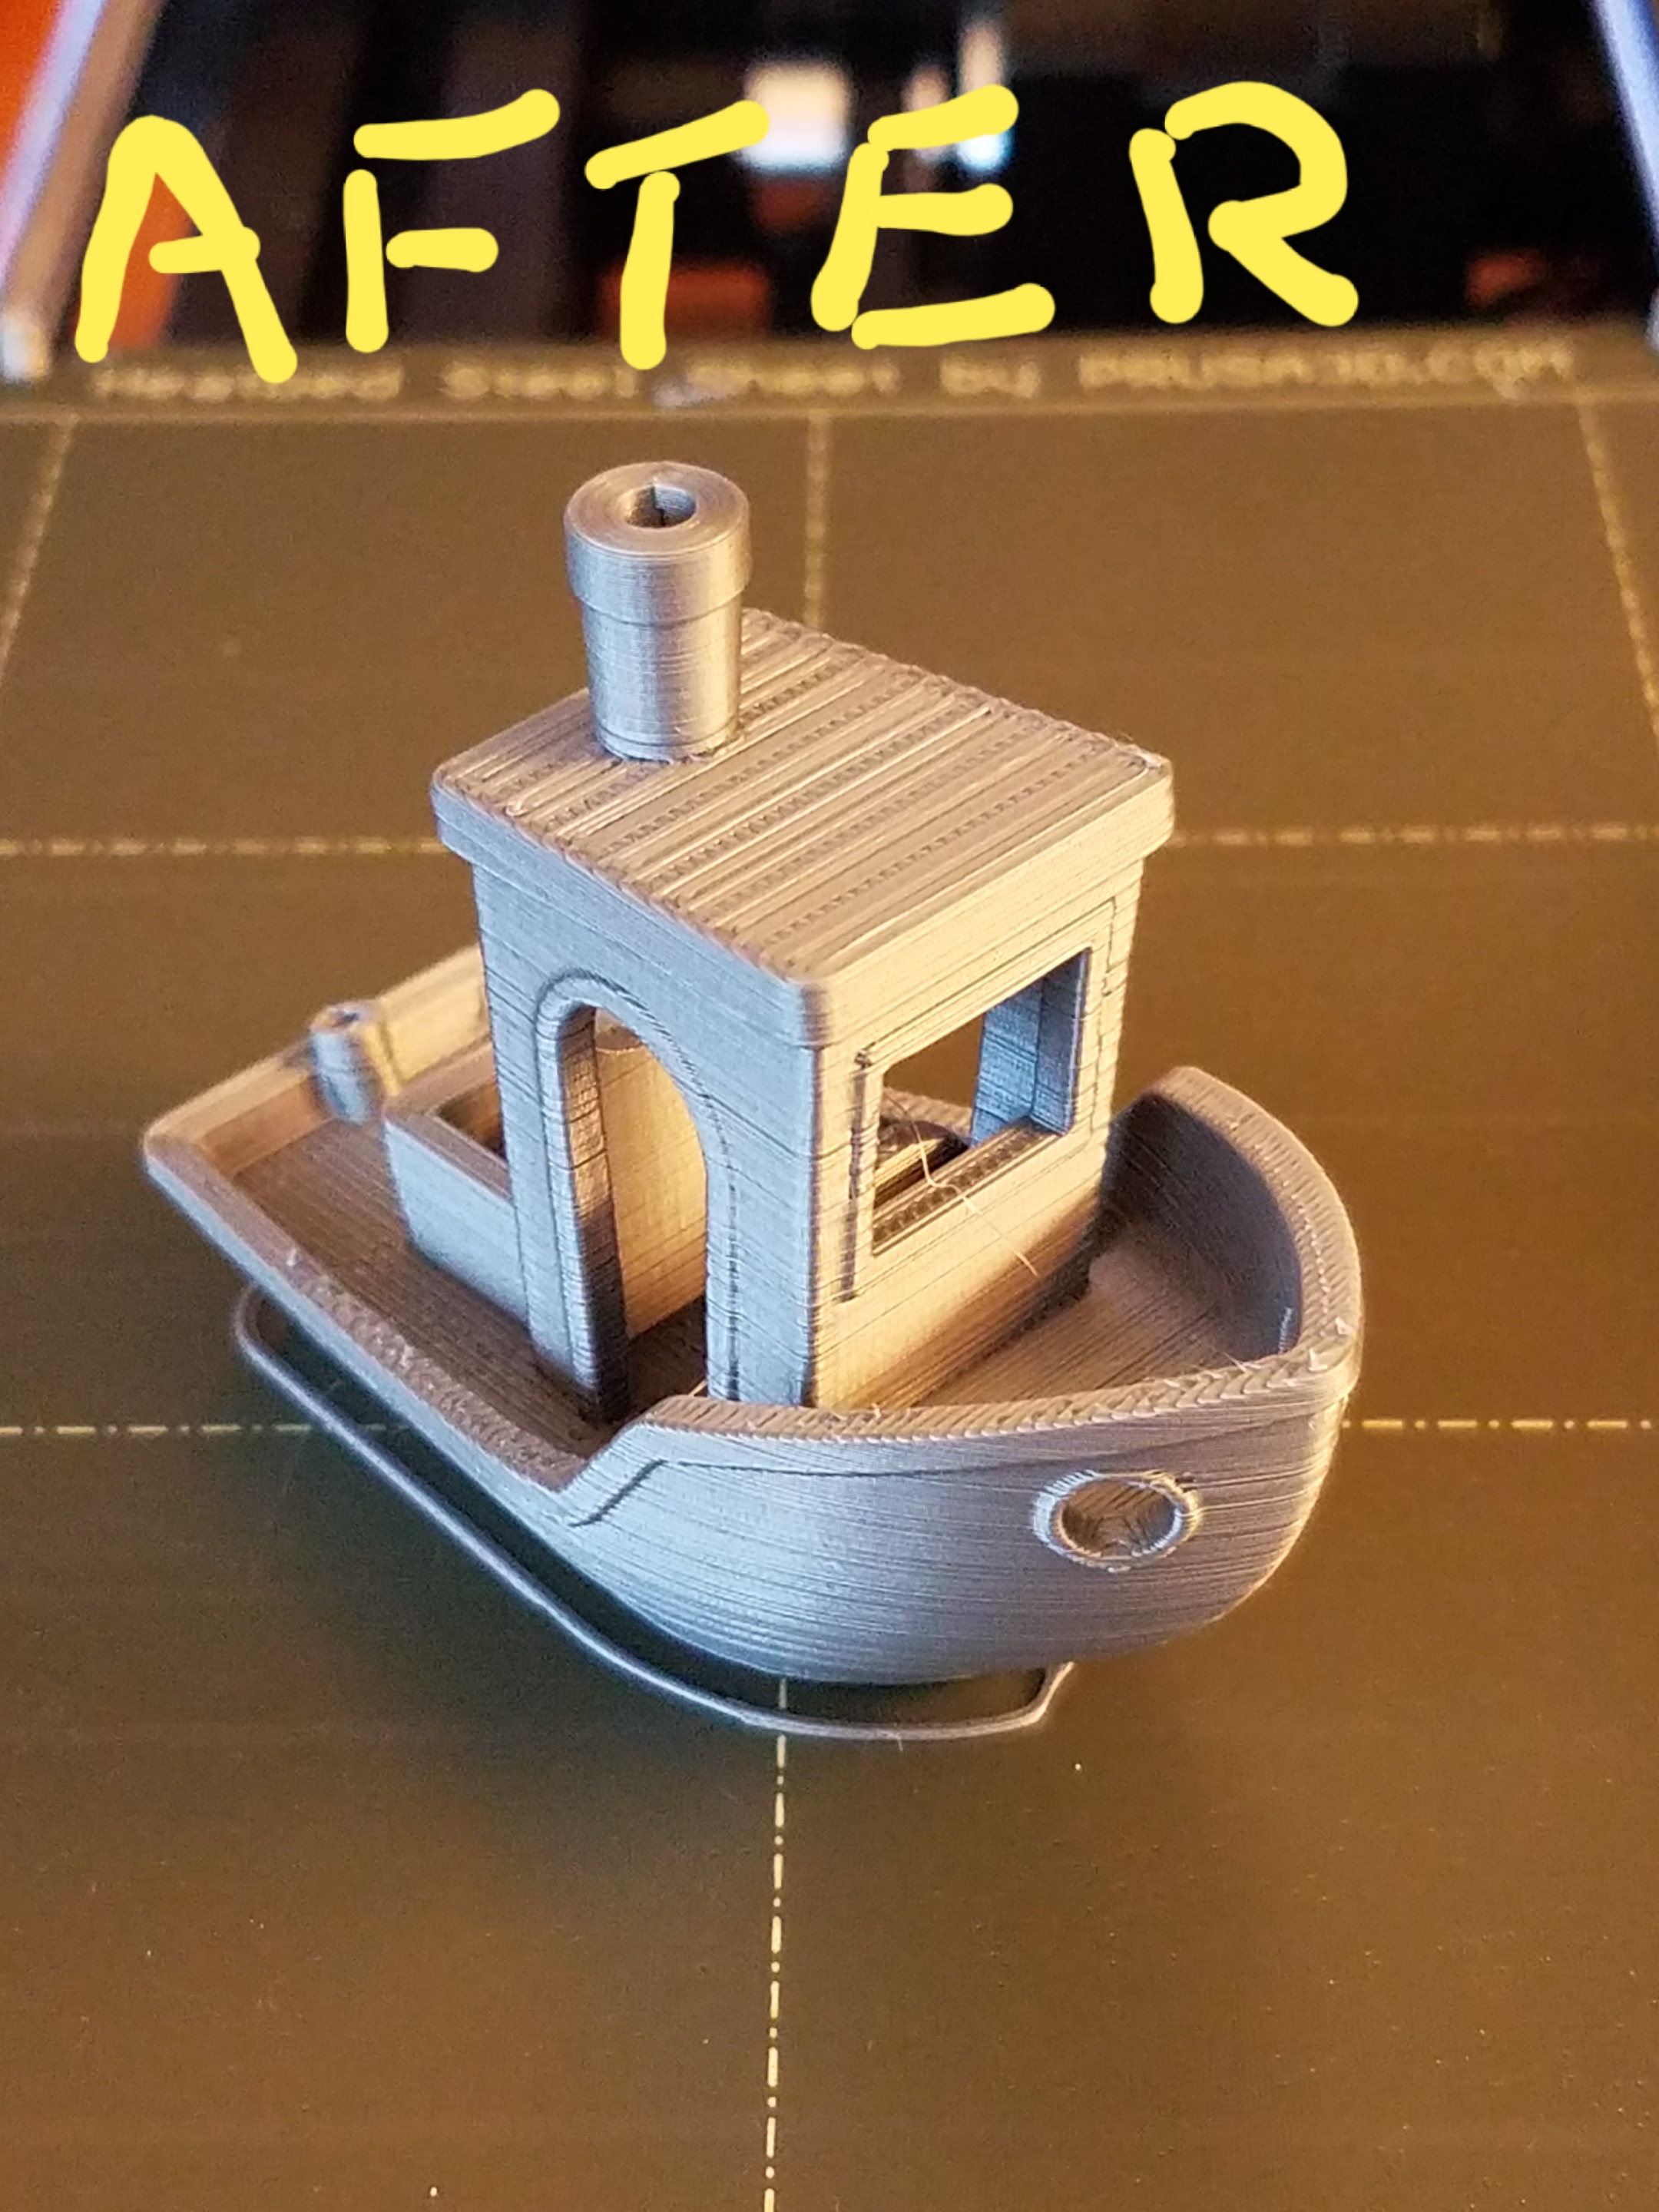
Careful reassembly of the hot end followed, paying careful attention to the 0.5mm gap between the top "flat" of the nozzle and the underside of the heater block, and insuring NO gaps between the inside top of the nozzle and the riser tube, or the PTFE tube and the top bowden tube fitting. Perhaps significantly, although the assembly procedure specifies the application of "thermal compound" to the outside of the riser tube before inserting it into the heat break, there was NO evidence that this material had been used during the factory assembly. How much difference that made in the improved results I obtained, I cannot say, but the differences are dramatic. The "Before" pictures are above, the "After" below, all of which are self-explanatory. At this same time, in order to apply the maximum torque to the three "grub" screws holding the hot end together, I decided to replace the puny and easily stripped 1.5mm socket set screws with much beefier 3mm socket head screws that take a 2.5mm hex wrench, and can be torqued to much higher values without being stripped out by the 1.5mm wrench. The picture shows screws that are longer than needed but I didn't have shorter ones on-hand.
I believe I now have the machine adjusted ALMOST to its theoretical best performance, although it still seems my other (personal) machine makes somewhat smoother first and top layers.
Now, if we can ONLY get a firmware version that allows direct filament changes from the "Pause/Tune/Change filament sub-menu....
Hear ye, Hear ye! Step right up folks and get your Government salvation here! Less than $.002 per word! Amazon.com/dp/B0B8XMMFP4
RE: Hot-end assembly
Oops, almost forgot, maybe best of all: NO MORE CLICKING!!
Hear ye, Hear ye! Step right up folks and get your Government salvation here! Less than $.002 per word! Amazon.com/dp/B0B8XMMFP4
RE: Hot-end assembly
And one more thing: DO NOT OVER-TORQUE the compression fittings of the bowden tube. Finger tighten only, followed by a tiny additional torque using the 10mm wrench. When over-torqued, the "olive" of the fitting will constrict the I.D. of the tube and introduce high friction values between the tube and filament that may contribute to underextrusion problems. At this point, I have had to drill out the regions of the tube surrounded by the olive to the size of a #44 drill bit. To my mind, the retention of the tube in the structures should have been by using "festo" fittings. These provide retention without reducing the I.D. of the tube. After all, there IS a festo fitting in the Mini's spare parts bag (which I have noted in a different posting), but it is not actually used in the Mini. Why is it in the spare parts bag?
Hear ye, Hear ye! Step right up folks and get your Government salvation here! Less than $.002 per word! Amazon.com/dp/B0B8XMMFP4
RE: Hot-end assembly
 Well, I officially take it all back. Yesterday I had this puppy dialed-in like a champ. Today, I turn it back on without changing ANYTHING, and this is the crap I get. Ready to send this lemon back.
Hear ye, Hear ye! Step right up folks and get your Government salvation here! Less than $.002 per word! Amazon.com/dp/B0B8XMMFP4
RE: Hot-end assembly
Just to say both of these fixes were documented by me a few weeks ago, if you are interested.
RE: Hot-end assembly
Looked for your "documentation, didn't find it. Care to provide a link? So, what adjustment would explain this first layer calibration failure? Obviously (or maybe not) I am not trying to change the height while the small rectangular box is being "drawn", so this has to be an extrusion issue, not a height issue, right?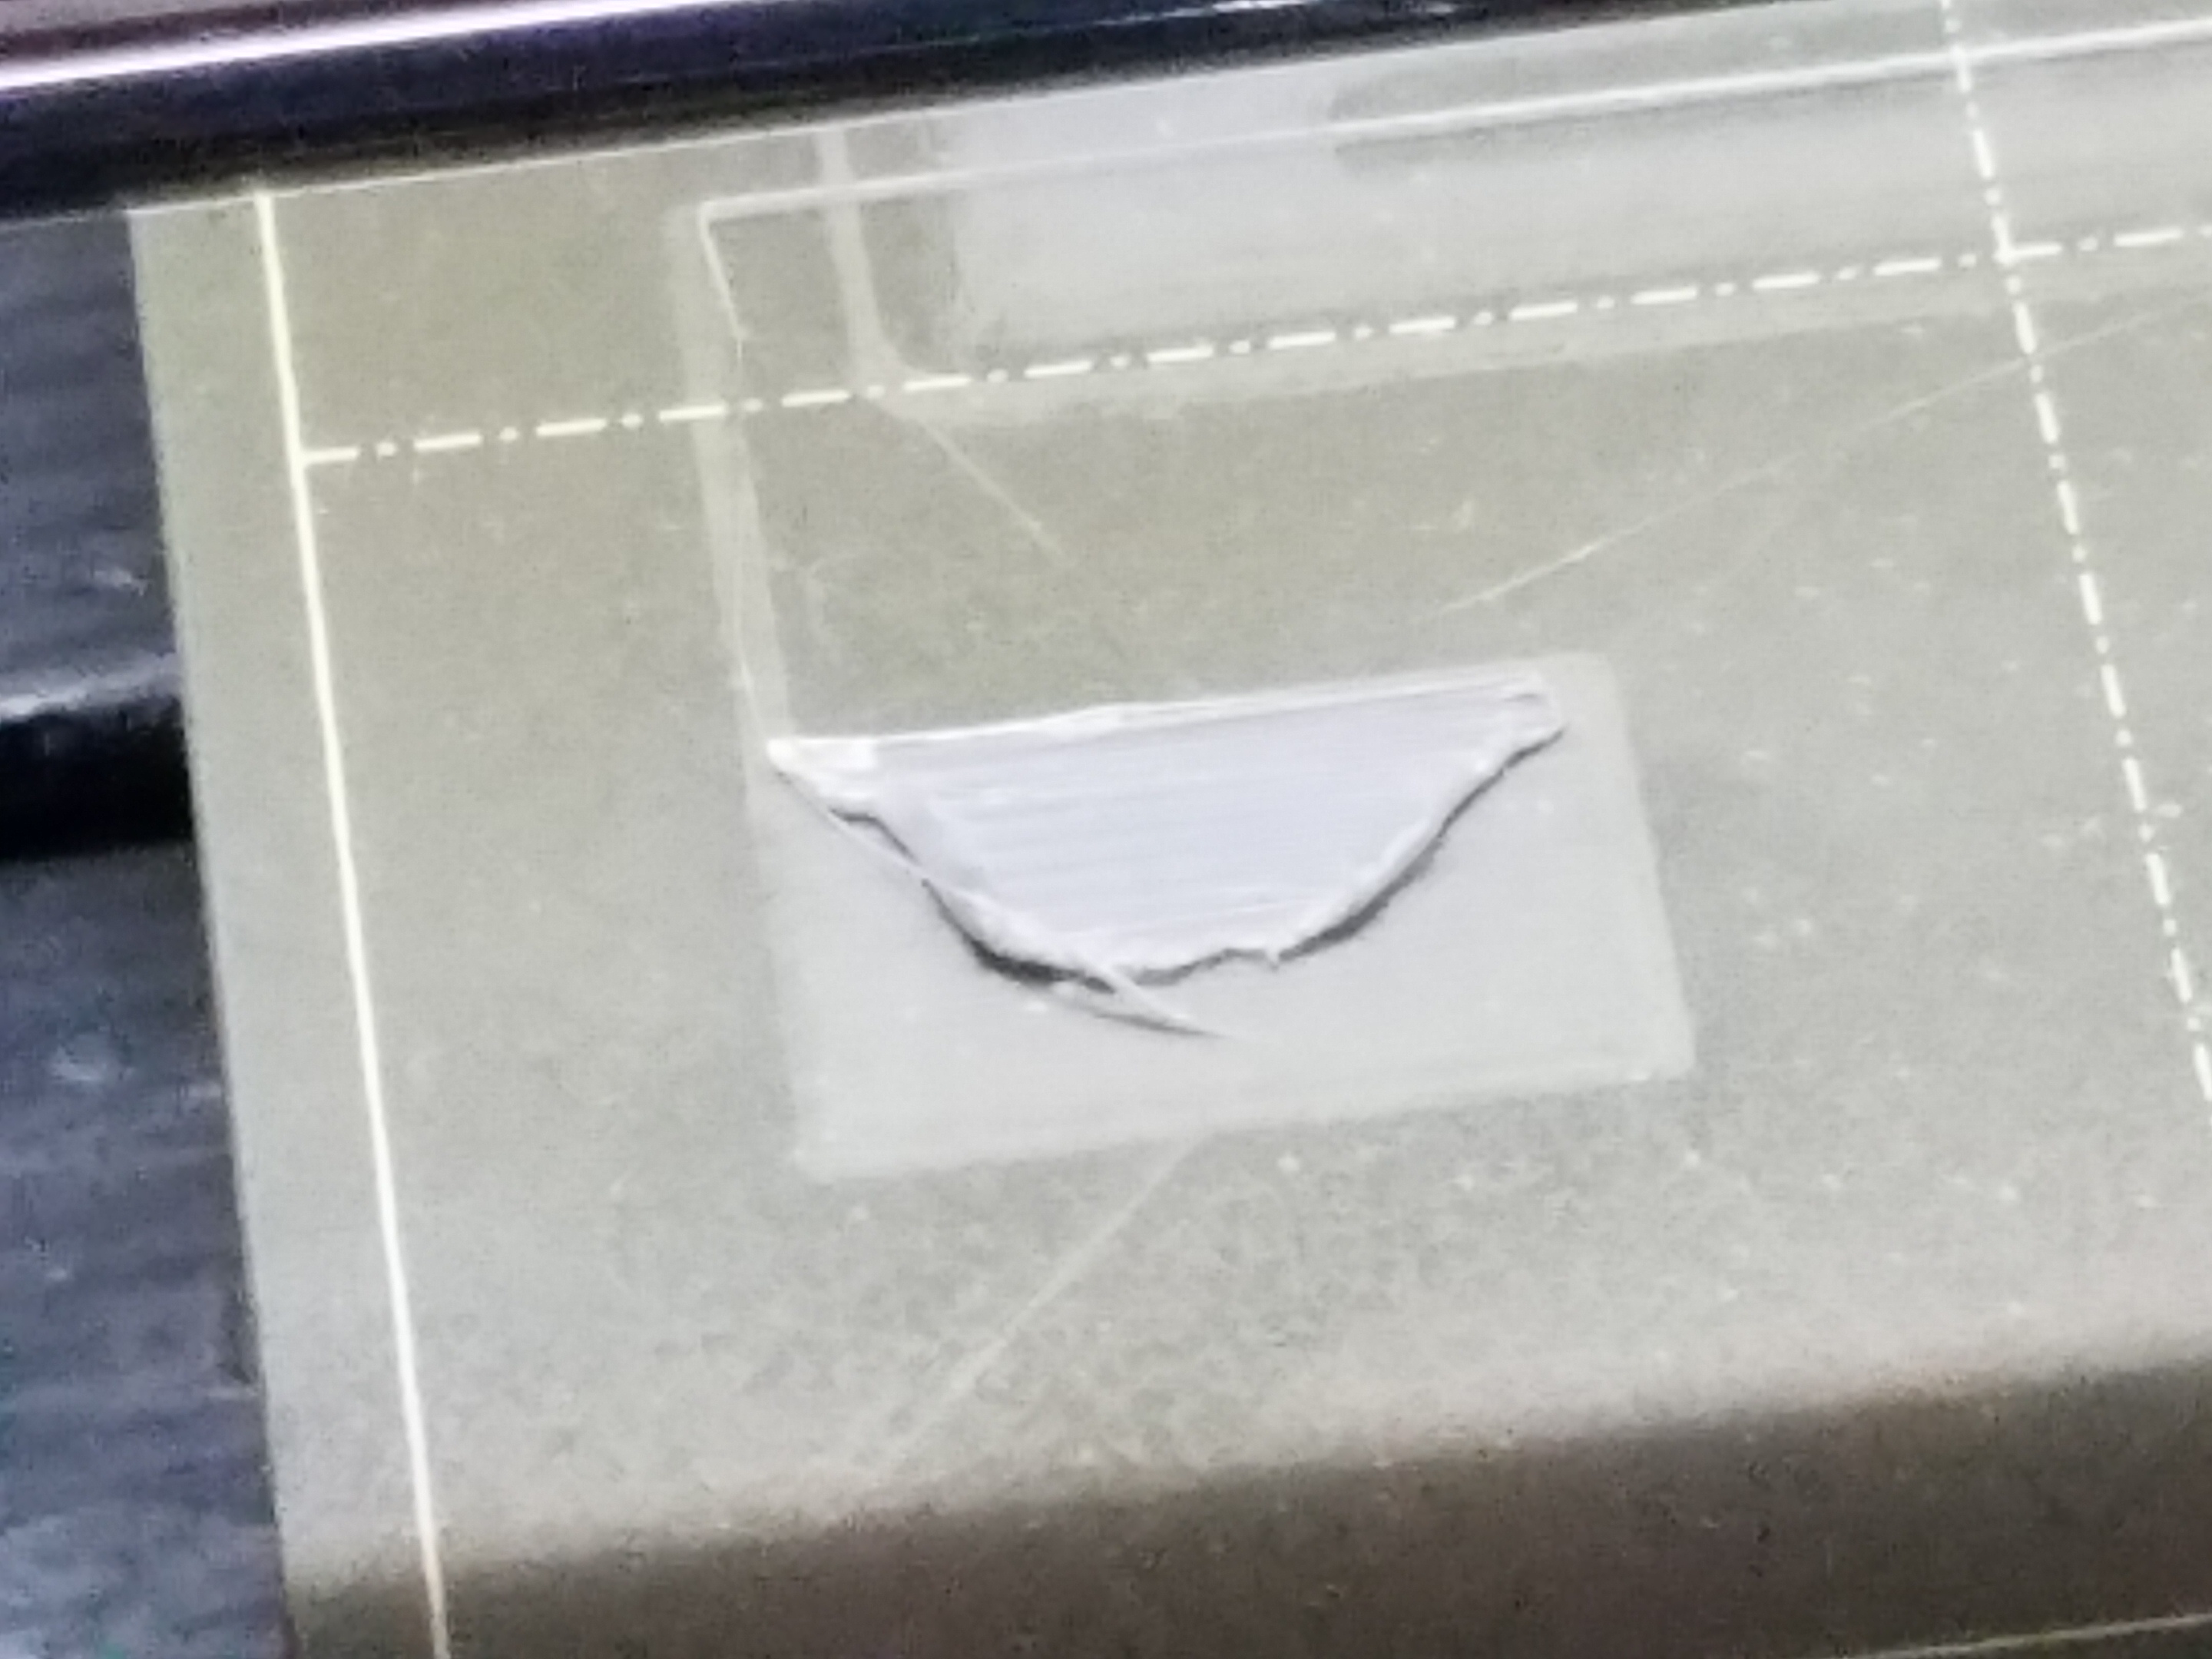
Hear ye, Hear ye! Step right up folks and get your Government salvation here! Less than $.002 per word! Amazon.com/dp/B0B8XMMFP4
RE: Hot-end assembly
Immediately following this failure, if I go to Settings/Move Axis/Extruder, I barely get anything out of the nozzle. Is this an idler pressure issue? Should it be tighter or looser?
Hear ye, Hear ye! Step right up folks and get your Government salvation here! Less than $.002 per word! Amazon.com/dp/B0B8XMMFP4
RE: Hot-end assembly
Re the extrusion problems and how I fixed them (with Prusa support), see my posts from page 4 on - https://forum.prusa3d.com/forum/assembly-and-first-prints-troubleshooting/underextrusion-4/paged/4/#post-181707
Re the ridiculous grub screws securing the hotend - https://forum.prusa3d.com/forum/general-discussion-announcements-and-releases/hotend-grub-screws-potential-problem/#post-196184
With these in place my Mini has been printing for the last three months without issues, all sorts of objects in PLA and PETG. The only filament that has caused me grief so far is Prusament Galaxy Black PETG. Horrible under extrusion with that but all other filaments fine.
Your calibration square looks possibly like an extrusion issue coupled with lack of bed adhesion. Difficult to tell from one pic really. Perhaps give the bed a good dish soap and hot water clean then try more live z tests?
RE: Hot-end assembly
Continuing extrusion problems caused me to disassemble the hot end in an effort to clear any possible blockages. Unfortunately, it did occur to me to document the distance between the heater block and the end of the riser tube. (See photo.) I now realize this distance may be critical. What is the factory specification for this distance?
RE: Hot-end assembly
Actually, I have reached the conclusion that this distance is not that critical after all. If you see 2 1/2 - 3 threads it should be close enough. More important is that the top surface of the nozzle and the bottom surface of this tube are in tight contact with no room for filament to "leak" out. Then, with the grub screws loosened, the entire assembly including the heater block will slide up or down. Also important is that there be NO residual filament inside the riser tube, also referred to as the "heat break". You can verify that this is the case by confirming that the #20 drill bit can be inserted to a depth of 25.5mm. Just make sure to insert the non-cutting end of the bit so as to not damage the geometry of the bottom portion which is probably machined in a conical fashion to match the chamfered shape of the 43+mm PTFE tube. Follow the established procedure to "snug" the assembly up against the bottom portion of the (screwed-in) compression fitting, replace the tiny grub screws with more substantial ones, like socket head screws that take a 2.5mm hex wrench, and you should be good-to-go. In my case, unfortunately, I am still having an extrusion issue which I think is a combination of how much friction there is between the filament and the portion(s) of the long PTFE tube that get continued narrowed by repetitive loosening/tightening of the compression nuts against the "olive" rings. I think sooner or later, JP will realize the compression fitting is a mistake, since it is so prone to users over-torquing it, and switch to "festo" fittings instead. I'm going to change mine over as soon as I can figure out how to adapt between the now-incompatible threads. The other thing they should rethink is the smooth pressure idler wheel against the hobbed (serrated) filament drive gear in the extruder module. While this seems to be standard industry design for bowden tube extruders, I don't see any reason to not use a second, free-wheeling hobbed/serrated pressure roller/idler wheel as in the MK3/S extruders. This would give twice the "bite" of the single drive gear against the filament and, I believe, make the setting of the pressure screw much less critical.
Hear ye, Hear ye! Step right up folks and get your Government salvation here! Less than $.002 per word! Amazon.com/dp/B0B8XMMFP4