Labists X1 software calibration
Hey guys, So for a while I've been fiddling with a cheap as chips labists X1 printer with surprising success.
Up until now though, I've just been printing whatever I can and trying different settings to get a feel for what works. Now I'm actually trying to dial in the machine with a bit more finesse to the way I'm doing it.
First thing I've been doing is running through some of the calibration steps in this guide
https://teachingtechyt.github.io/calibration.html#baseline
First Layer Tuning
I levellled the bed using Octoprints control feature to move the nozzle around the print bed automatically with a cold hot end. I wanted to do this as I felt if I moved the head manually with the motors off, it would throw off the Z axis just from the act of me pulling on it. I set it so I could slide a piece of paper under the nozzle and feel a little grab.
After the first test 1st layer print, I noticed that there were gaps in the extrusion in the area furthest from the gantry's main post. I raised the furthest pair of screws on the bed 1/4 turn and a re-print showed consistent extrusion, but extremely strong bed adhesion (I Guess a heated bed would make it easier to remove?)
Baseline Print
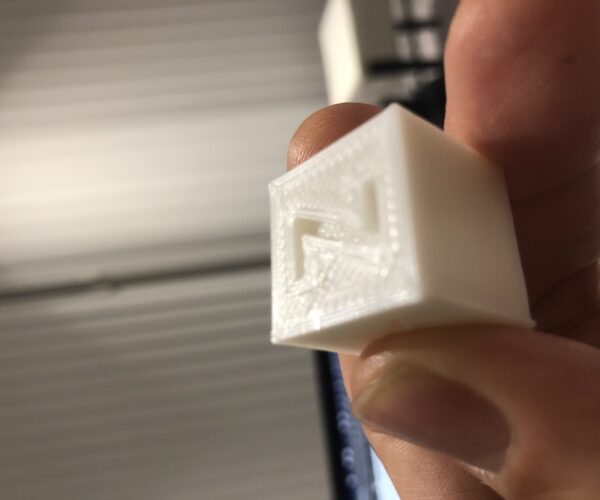
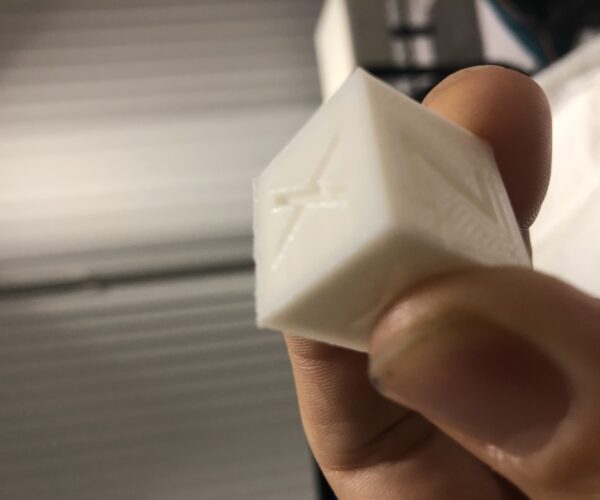
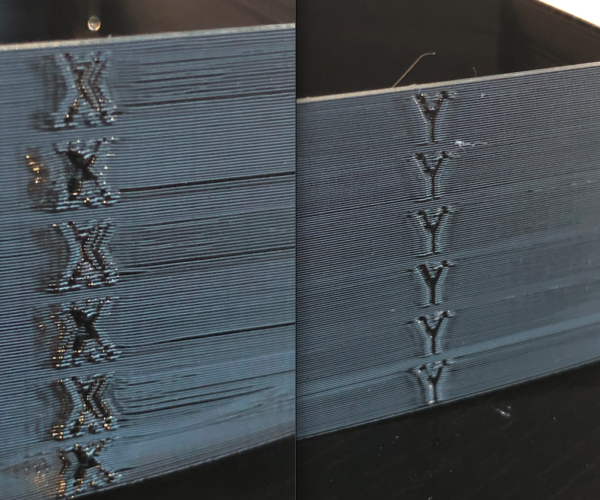
I printed an XYZ cube and noticed a visible band on the layers that have the X and Y marked in them due to slight over extrusion - the corners have some bulging causing a visual effect around the X and Y faces. With print head working anti clockwise, the leading edge of the face is under extruded, the trailing edge of the face has some bulging/over extrusion. I suspect linear Advance may resolve. The top of the Z face also showed minor signs of under extrusion It's hard to get pics with my crappy phone camera!
E Steps Calibration
I started out with M92 E1040 - Which saw my extruder push 97mm of filament when 100 was requested. I Changed to M92 E1072.16 and then M500 to save - Which resulted in my extruder pushing 103mm of filament when 100 was requested. I was uncomfortable with this as I couldn't get the calibration bang on, so I just went back to M92 E1040 - Happy to hear any opinions from you guys on this?
I'll post more results as I have them.
RE: Labists X1 software calibration
It is worth noting that all of these tests are being done with Labists own White PLA filament @ 210c. It's also worth noting that I normally actually print around 180c; but I feel like that is way on the low end for PLA.
I skipped the test for the slicer flow calibration, as I do not have a good pair of digital calipers. I also skipped the stepper motor step as I don't have any issues with whats mentioned in that section.
Next up...
Retratction Tuning
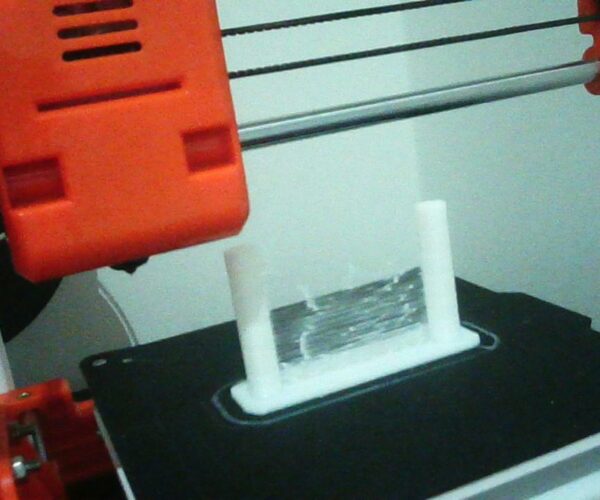
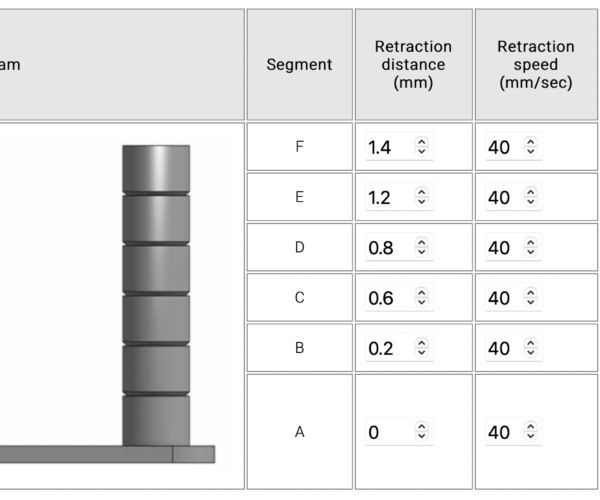
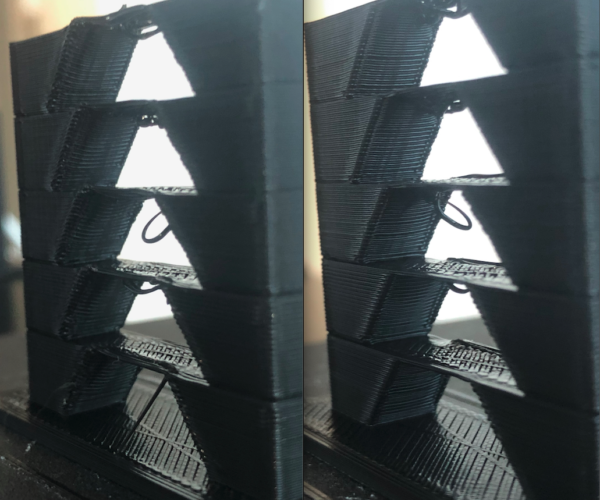
6 step stringing tower test, tuned for retraction distance. 40mm/s retraction speed and no Z-Hop.
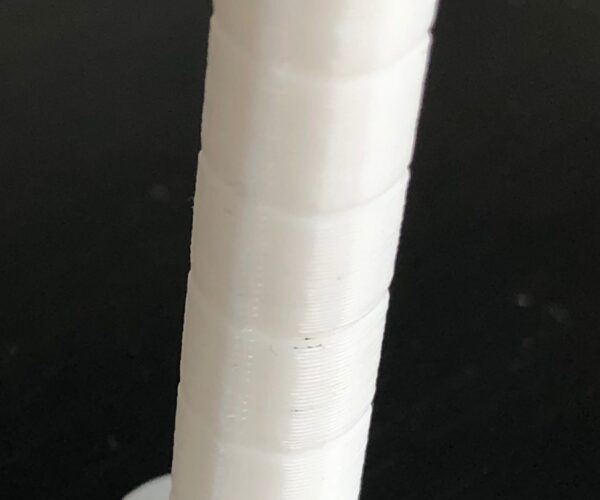
All steps showed unacceptable levels of stringing @210c.
From top to bottom, retraction values.
1.4mm
1.2mm
0.8mm
0.6mm
0.2mm
0mm
RE: Labists X1 software calibration
Looks like your extrusion adjustment was within 3%, so I wouldn't worry too much, at least not yet.
I'd be surprised if your firmware had Linear Advance enabled, but I suppose it's possible. You can run some tests with extreme values or one of the Marlin test gcode patterns to see if it makes any difference.
It would be very interesting to see if it's possible to load customized firmware into that thing!
and miscellaneous other tech projects
He is intelligent, but not experienced. His pattern indicates two dimensional thinking. -- Spock in Star Trek: The Wrath of Khan Unfortunately,…
RE: Labists X1 software calibration
Looks like your extrusion adjustment was within 3%, so I wouldn't worry too much, at least not yet.
I'd be surprised if your firmware had Linear Advance enabled, but I suppose it's possible. You can run some tests with extreme values or one of the Marlin test gcode patterns to see if it makes any difference.
It would be very interesting to see if it's possible to load customized firmware into that thing!
I'll post the results of the linear advance test when I get to it!
I'd be up for loading customised firmware as a test. This machine is very much for me to learn what works, and what kills your machine! Do you have any info on custom firmware and what the benefits are? Are there readily available packages or is a it a case of writing your own?
RE: Labists X1 software calibration
Further Retraction Settings Testing
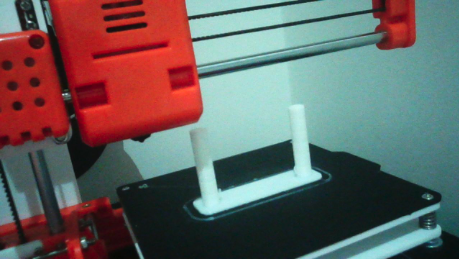
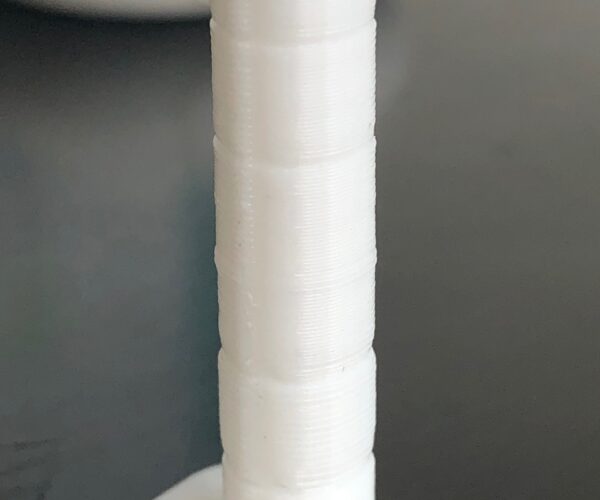
6 step stringing tower test, tuned for retraction distance. 40mm/s retraction speed and no Z-Hop. 1.4mm shows some stringing. All layers show signs of bulging, with a visible line where the print head moves between towers.
The amount of bulging reduces very slightly with each step, but not as much as you'd expect. 3.6mm retraction shows only slightly less bulging than 1.8mm; but 1.8mm shows significantly less than 1.4mm. Looks like the limit of what can be done purely with retraction has been reached.
From top to bottom, retraction values.
3.6MM
3.2MM
2.8MM
2.2MM
1.8MM
1.4MM
RE: Labists X1 software calibration
Tower Marked 3. 6 step stringing tower test, tuned for Z hop over the first 3 layers, and extreme retraction over the last 3. 40mm/s retraction speed. All layers show signs of bulging, with a visible vertical line where the print head moves between towers.
The amount of bulging stays pretty consistent throughout all layers. Looks like the limit of what can be done purely with retraction has been reached, and Z-hop has minimal effect.
With Z-hop at 1mm, the horozontal line between two steps has disappeared, so Z-hop has a noticable negative impact on vertical resolution and negligable impact on stringing.
Locked in values: 3.6mm Retraction. No Z Hop.
From top to bottom, retraction values.
10MM
8MM
5MM
3.6MM Z hop 1mm
3.6MM Z Hop 0.3mm
RE: Labists X1 software calibration
Temperature Tuning
5 step increasing temperature test. Overhangs on the left of the model appear better quality than overhangs on the right. Neither are particularly terrible. 180c first layer temp seems to yield easier removal from print bed.
Signs of under extrusion on the top surfaces. Should I fix by increasing E Steps?
Temps as follows; top to bottom:
210c - Shiniest finish, worst bridging
205c
200c
190c
180c - Duller finish, best bridging
RE: Labists X1 software calibration
Acceleration and Jerk Tuning
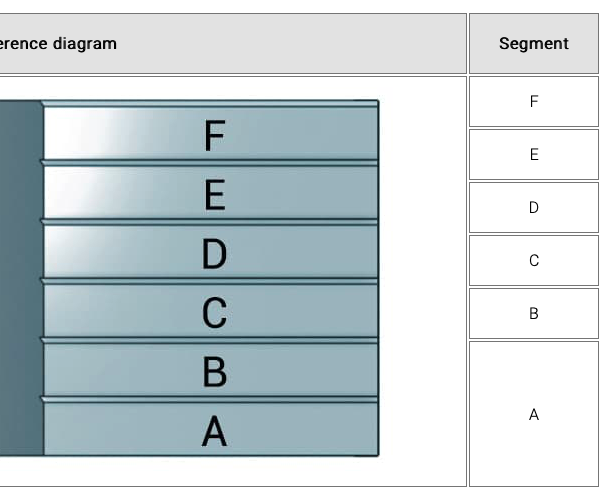
I had an issue here with the print lifting off the bed in the corners which skewed the results slightly. However, at a 60mm print speed, all walls were good. I'd say a jerk setting of 8 gives the nicest definition to the letters, and high acceleration values don't negatively impact the print. Settings and a result picture are below.
I will probably re-run this test starting at acceleration 500, jerk 8, then 700/10, and then some much slower speeds just so I can get a sense for what slowing down does (Although it appears to cause more undesired bulging at corners)
RE: Labists X1 software calibration
Thanks for this post. I have the same printer, actually 2 of them, and completed the same calibration as you did just recently. Are you still having issues with the corners raising when you print at a lower temperature ( 180C-195C).
Personally I found that I had to place the first 5-10 layers with the hot end set to 210C and then manually drop the temperature to 190C when I get close to overhangs or details.
Are you still using the recommended Cura version, or have you updated to a newer one?
