My Journey with the Mini+ (An Engineer's first adventures in 3D Printing)
I'm about 5 days in with my new Mini+ and decided to chronicle my experiences. While I'm new to owning/using 3D printers in the hobby space, I've been a software developer, engineer, DIYer/tinkerer for decades now. So, this thread will detail my thoughts, problems, and questions my strange brain comes up with along the way.
I welcome any constructive thoughts, comments, etc. I tend to through out a lot of hypothetical and rhetorical questions, but will go out of my way highlight actual questions I seek answers to if I haven't been able to source solid info elsewhere.
I chose to go with this journal-like approach to preclude me posting a bunch of random comments and questions to stale threads...people get cranky when I start unleashing the hoards of zombie threads. 🤣 This should keep my chaos a little more tidy.
I'll play catch up on the first few days in the next post to this thread, then get into the gritty stuff.
The first few days...a breeze!
I gotta say that my experience thus far has been awesome with very few caveats. I went with the semi-assembled version cuz I didn't wanna burn 6-8 hours of my day and figured I'd let the pros handle the finer points.
I did run into one matter that I reached out to support for on Day #1: First Layer Calibration. I found myself having to set a -1.675 or lower FLC with the smooth sheet...which meant the textured sheet (which is thinner) exceeded the -2.0 max. I had to raise the superPINDA about 1mm above factory installed level to get me to about -1.25 with textured and about -0.6 with smooth. That said, support chat was super fast (1.5 min to a live rep) and they gave me all the info I needed; the PINDAs are something that can only be roughly estimated during factory assembly and may need further adjusted on arrival. While I do feel the assembly guide for semi-assembled should mention this, Support was more than enough help.
Speaking of, there is one other matter about the latest (as of my April 2022 delivery) printed Guide that is goofed: Page 49: The text is supposed to be nozzle replacement instructions section 9.13, but it's 9.12.2 repeated, instead. I had to go online and look up the nozzle replacement instructions that way. Minor inconvenience, but still worth noting. I'll discuss my nozzle change experience in a separate post; as that was it's own adventure that lasted a full 1.5 days. 😏
The only other major issue I found in the first couple days was in the printer firmware: Mesh Bed Leveling. My X axis was skewed beyond the threshold for mesh bed leveling - I accidentally torqued the frame a smidge while moving the machine, throwing one end of X a little higher than the other - and, instead of giving an error, it stopped at point #4 and exited leveling as if it succeeded...but it definitely had not. This was especially problematic when it mesh leveled before first layer calibration, as it doesn't fail out of FLC if MBL fails. Instead, it completely screws up the FLC and attempts to smash the nozzle into the bed! This was my first (and only, thus far) use of a hard reset to stop the printer from harming itself. I didn't test a failed MBL before an actual print job, but I worry the same thing would happen.
I am reaching out to Support to advise them of this potentially damaging bug (as well as the Guide misprint).
I'll get into my adventures with temps, filiments, etc in the next post.
RE: My Journey with the Mini+ (An Engineer's first adventures in 3D Printing)
It's easy to over tighten the electronics box to the base and skew the printer. Did you find these resources yet?
https://help.prusa3d.com/en/article/squaring-your-mini_158518/
It took me a while to find them troubleshooting my build, and they proved invaluable in resolving it.
Mini+ (kit) - Revo Micro | Antler Cooling | WiFi (4.4.0RC1)
RE: My Journey with the Mini+ (An Engineer's first adventures in 3D Printing)
Oh yeah, it wasn't an overtightening issue...I legit twisted the whole machine a little because, like an idiot, I didn't fully pick up the unit to move it the 2 inches across the table as I fine tuned my layout for the octoprint cam. When the superPINDA failed to register at spot #4, I first checked bed level across the surface then moved each axis slowly until I realized the pattern: The X axis was skewing upwards by about 0.5 deg, enough to throw X axis leveling out of reach of the mesh routine.
The big issue is the firmware not handling the failure of MBL properly. That reminds me; gotta write that up for Support tonight so they can properly reproduce and sort it out.
Of course, thanks for the links; I'm sure they will help someone in their journey if they happen upon this thread. 🙂
Dry enough to kill me; wet enough to kill my filament! 🤣
{sigh} Despite it being dry enough in my house to dehydrate a prune (less than 25% rH), my recycled Prusament PETG was very...unhappy...within about 3 days of exposure to open air (most of the time printing).
Moral of this anecdote: Invest in a dryer box with feeder hole to buddy up with your printer...no matter how desolate your desert. 🏜️
I am, in fact, storing my idle filiment in sealed totes that can hold about 6kg of spools and all the desiccant you could ever want. I'm using the color change sort so I will know when they are in need of a recharge and I have double what I need per tote. My Orange PETG printed perfectly (spare still needing to up my bridging game a bit 🤣) when I pulled it out to do a quick little print last night, which was my clue I had let my ♻️ get too wet.
I also took notice of just how m------f---ing expensive some of these heated filiment boxes are going for! Since the components are rather simple, I'm chalking it up to the Hobbyist Tax. I did find this rather "reasonably" priced unit on Amazon for $60 by a brand called Sovol. My only gripe is my ♻️ spool doesn't like the middle divider (rubs filament when feeding from it), but the box is sized plenty large enough for 2x 1kg or 1x 2kg spools and did a great job of drying the PETG. I am using it whilst printing and just put my Prusa included bearing spool holder (with the 2kg slide rails I printed) inside the dryer. It fits like a glove but does result in the lid resting on the top of the spool. However, the instructions of the dryer say to vent the lid slightly while running, anyway, so it's also kinda perfect. Unfortunately, the feed holes are on the top (2 included for 2x 1kg rolls), but I think I may drill a set in the back of the lid because I'd rather the filiment box sit right next to the printer instead of under it.
I don't know if external links of such a nature are permitted here, so I won't post the Amazon listing I found unless I'm told I can by someone/something official. Anyone who wants the link is welcome to PM me. No referral crap; I promise. It's called simply, "Sovol Filament Dryer SH-01" if you wanna search it yourself. Does 40-50 deg C and runtimes of 6-12H with auto shutoff, touch controls, fan, and the ability to totally seal up to serve as a long term filament storage box, too. Certainly not the best, but it was the best looking for the price. I also noticed a brand called Comgrow selling a seemingly identical unit, but in black instead of white. The Sovol had slightly better reviews, despite the slightly lower star score.
RE: My Journey with the Mini+ (An Engineer's first adventures in 3D Printing)
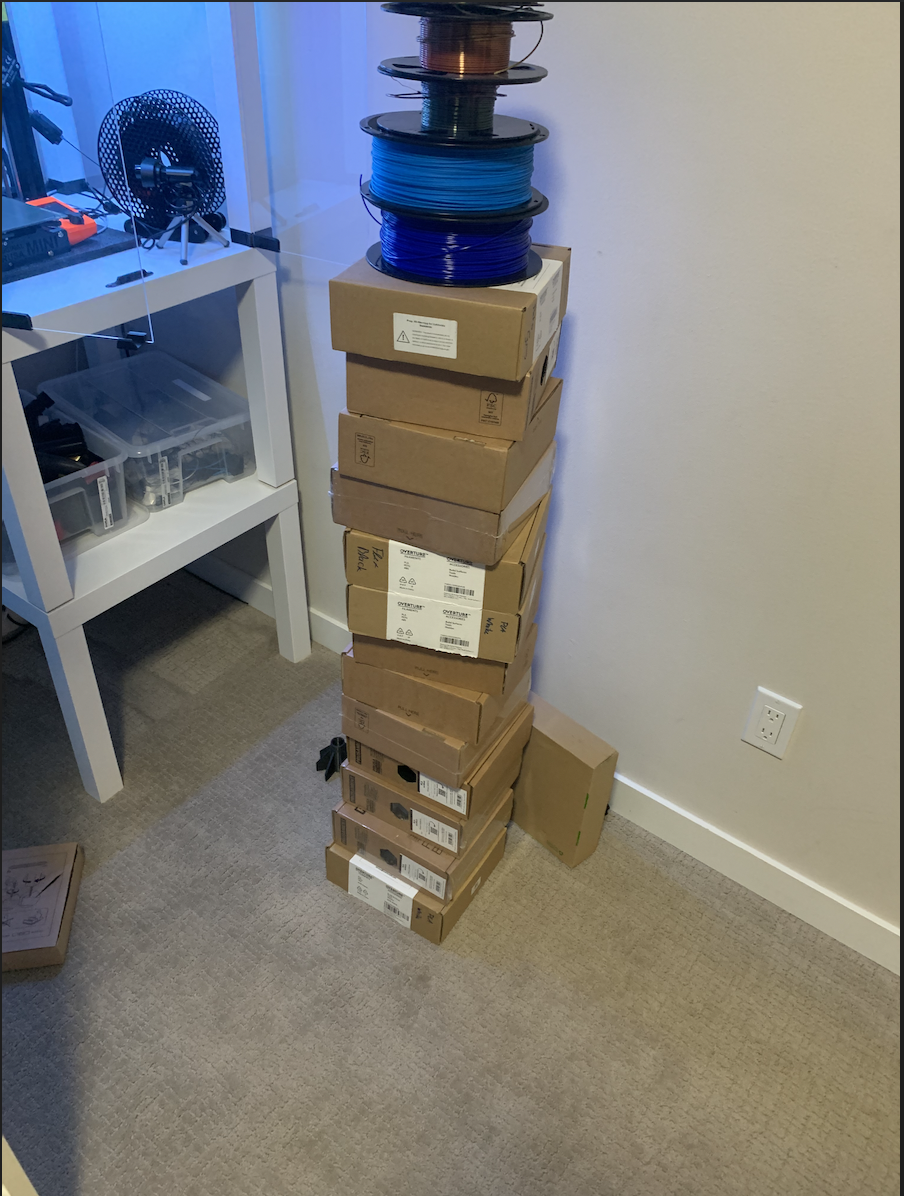
I have been fortunate with my filament so far, so it's all in my highly organized system of crammed in cardboard boxes in a pile on the floor. 😆
I have seen that it's commonly recommended to grab a cheap food dehydrator off Amazon to dry your filament, then store in sealed totes. Much cheaper than those heated dryboxes.
Mini+ (kit) - Revo Micro | Antler Cooling | WiFi (4.4.0RC1)
RE: My Journey with the Mini+ (An Engineer's first adventures in 3D Printing)
someone said cardboard boxes?
I hate expensive garbage!!!
Ugh...don't bother with that Sovol dryer I mentioned. Within about 48 hours of actual runtime, the circulation fan was already getting noisy. You'd think for such a simple device being sold with this kind of pure profit markup, they could've used a better fan! I'd use a food dehydrator, but I want to be able to smoothly print with my filament while it is in the dryer. On dry days here, it's only 20-30% rH outside, but on rainy weeks, all bets are off and rH will easily climb to 80+% indoors. I don't want more sensitive filaments to get "wet" during a super long print under those conditions. Maybe I can find a decent food dehydrator with a "Lazy Suzan" style spinning tray inside so the filament can unwind properly whilst printing.
I bought the Sterilite clear bins with the blue moisture barrier around the lid, 30L 47x38x28cm, for my spools. Holds 6 1kg with plenty of room for desiccant sacks. I really only want/need the dryer for the actively printing spool, but it has to support 2kg spools because I do all my prototyping with the big spools of recycled filament.
Bridging is a B...and I need to embrace Supports more
Preface: All of my printing is in PETG at present, as I'm not a fan of the low temp/lack of UV resistance of PLA and most of my future 3DP adventures will be in functional and/or outdoor-ready stuff. So, I want to absolutely master my PETG game. It ticks the necessary boxes for most of my prints and is one of the more difficult filaments to work with when it comes to things like stringing, bridges, overhangs, and other more complex designs. If I can nail PETG, I figure I'll be pretty well learned to take on other filaments later on. Maybe I'm wrong...but finding out is half the fun! In the meantime, PETG provides the best balance of properties for most of my prints.
Stringing: One of the first things I addressed when tweaking my PETG printing was reducing stringing. While most regard it as unpleasant to look at (despite easily being remedied afterwards), I have found it is more functionally detrimental to long prints because the strings cause extra build-up on the nozzle that, eventually, have to go somewhere if it accumulates too much. This only seems to be an issue with very long prints, as the strings only add a small amount of accumulation to the nozzle over time. So, I got to work on stringing mitigation.
TL;DR: Using the lowest listed temp (240c in the case of Prusament PETG) and turning on Avoid Crossing Perimeters (25% Max Detour) eliminated 99% of all stringing and the remainder almost always found itself inside infill space, with two exceptions...supports and if using excessive fan speeds, which are related as you will soon see.
Bridging: This is where I've been stuck in a loop of endless tweaking and don't know that I can make things any better without some input, if at all. PETG's stringy and elastic nature at printing temps have made bridges nightmarish for me.
- Using totally default PrusaSlicer settings across the board resulted in about 40% of all bridges on any model I tried to fail miserably, no matter how short.
- When I lowered the temp to 240c as part of string mitigation, I saw very little change in either direction in bridging adhesion success. It may have been marginally better.
- Next I tried increasing the Infill/Perimeters Overlap from the default 25% to 50% as suggested in another forum I found searching around. This increased bridging success a bit more, but I was still only seeing maybe 50-60% of bridge lines succeeding at 10mm. Mind you, I could create a test print with steady bridging of 10mm lines and still only about 60% of them stay attached on the other side of each line. There was no rhyme or reason to which lines remained attached and which ones didn't in a totally level field of bridging lines.
- Next up, I tried increasing the Bridges Fan Speed. The fan speed is 50% in Prusa's defaults. When I increase bridges fan speed to 75%, I get to about 75% of bridge lines attach on both sides. The problem with increasing fan speed, especially above 75%, is a renewed increase in risk of stringing and possible warping of supports, which seems to use the Bridges Fan Speed (I'd love to see Supports Fan Speed as an additional option so I can set it slightly lower than Bridges Fan Speed!)
- Finally, I tried another random Google find suggesting changing the Bridging Angle manually to 45deg or 135deg to keep bridges as short as possible - I used 135 because my test print includes both 90deg and 45deg bridges for thorough testing; which you use would entirely depend on how you orient any 45deg bridges in your design, since this would force the slicer to preclude long runs straight across the X or Y axis. The poster seemed to think PrusaSlicer was wrong to use direct 90deg X or Y runs between certain perimeters during its automatic calculation of the angle. Adding this change actually put me to about 90% of all bridge lines attaching on both sides! Unfortunately, that still leaves about 10% of lines not attaching on both perimeter ends, which can totally ruin some prints.
I'm at a loss for how to improve bridging further. Having come as far as I can (for now), I decided to fully dive into supports. One option I have not touched yet is the Bridge Flow Ratio of the Extruder. I see that in some layer heights (like 0.25 DRAFT) this is reduced from 1 to 0.9, but I wonder if I should perhaps tweak this lower or higher (I'm thinking a smidge lower).
Supports: I gave supports a try in the beginning, but found issues with them over-attaching with PETG using defaults, so I set supports aside in the beginning to focus on stringing and bridging, figuring supports are the last step in fine tuning a print for success once those other facets are at peak efficiency. However, we're back to supports and I immediately found the following deviations from default to show immediate improvement in the detachment issues:
- Top Interface Layers = 1 (light)
This, in addition to the Avoid Crossing Perimeters stringing mitigation, seems to have made supports far more friendly to removal from my PETG prints. I have also taken to heavy use of the Paint-On Supports feature (so freaking awesome!) instead of using automatically generated supports. I'm painting supports on anything over 45% overhang angle that extend more than 1mm from the main body and this seems to be working quite well for me thus far.
However, even with supports, I still see initial bridging layers failing to attach at both ends reliably, but at least they don't actually fall/droop into open space anymore. I feel like I don't see this type of bridging failure (where end-side of a bridging line fails to attach to the perimeter so much of the time) in full print videos and demos I've watched...but I also can't figure out what they are doing that I am not doing.
So, Q & A time for y'all!
- What customizations have you had to make from the default PrusaSlicer profiles with your PETG prints to mitigate the issues above?
- Should I try tweaking the Bridge Flow Ratio for the Extruder to see if that helps with perimeter adhesion?
- Is reliable bridging with PETG really this difficult?
- Am I being too much of a perfectionist and should I just stop now? lol