How do I correct print ordering
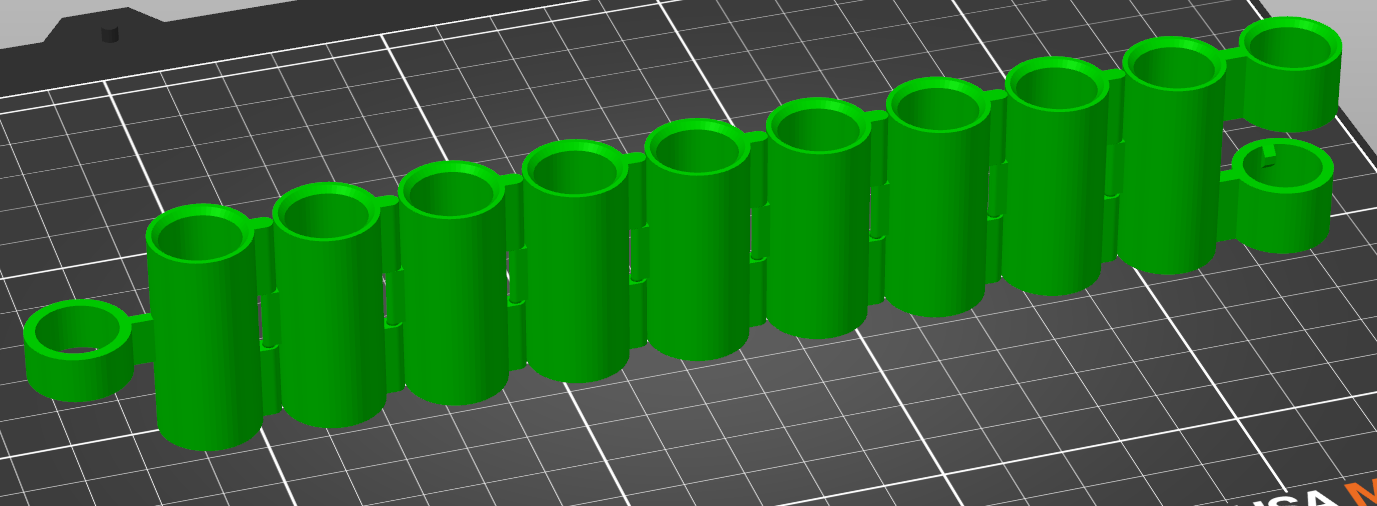
I would like to print this:
But the Prusa Slicer insists on printing these sections in the air:
All subsequent layers also start in the air. Are there some settings I can tweak that will force the slicer to start the layer from the edge instead of the air. I've tried supports (not the best solution), but they won't extend to the area in question.
I'm currently printing them individually and snapping them together, but the process deforms the print.
RE: How do I correct print ordering
The model seems to me something like endless print in place chain with pin hinges. Have you tried tree support? If you are not the designer of this model look at the model description for comments how other users print this part. If you are the designer add the needed support direct to your model. A slicer can't trick gravity.
RE:
To get answers that are not just based on speculation you may want to include the zip compressed 3mf project. This way we can see the actual model but more importantly also all your settings. Please note that the 3mf file has to be zip compressed or for reasons no one has been able to identify the forum software refuses to accept it.
Plus we can see if there are any errors in the model. But as MarkusRe has said, if there are overhangs you're more likely than not require to use supports.
Formerly known on this forum as @fuchsr -- https://foxrun3d.com/
RE: How do I correct print ordering
Here's a link to the file:
In his print instructions, the designer says:
I also tried Cura, but the nozzle takes the same path. I'm currently trying paint on organic supports. This takes a while to print so I won't know if it works or how hard the supports are to remove for a while.
There are no reported errors in the file. If you separate the parts, you'll notice that the designer has gone to great lengths to get balls to print correctly. It's just the upper socket that prints in the air.


