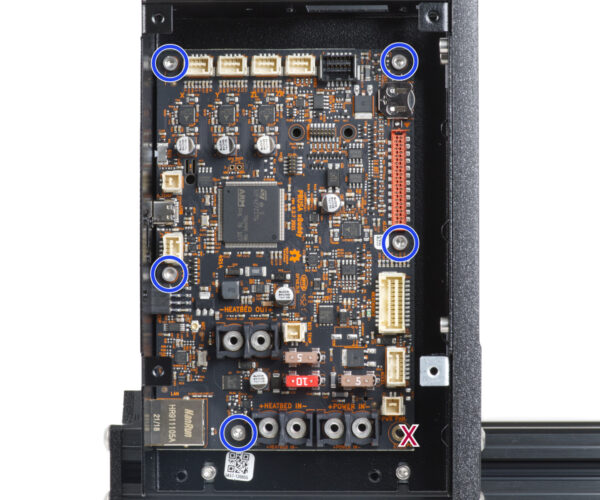
XBuddy Board assembly issue
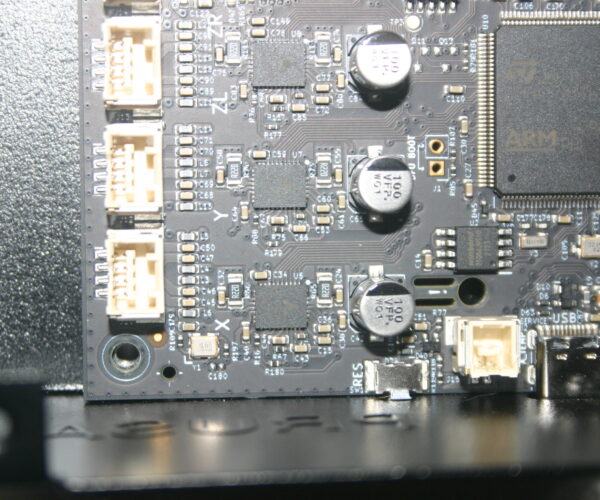
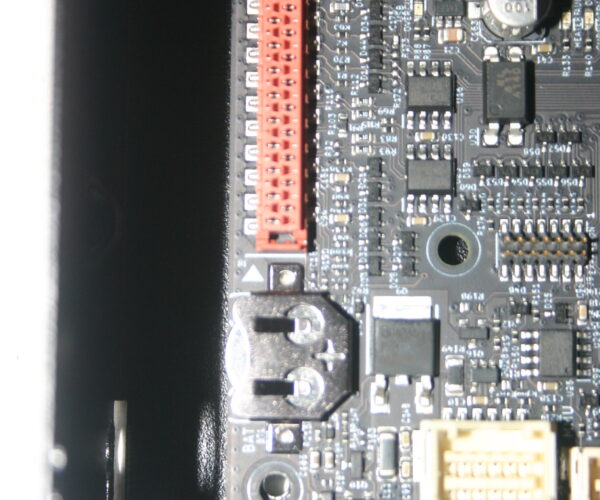
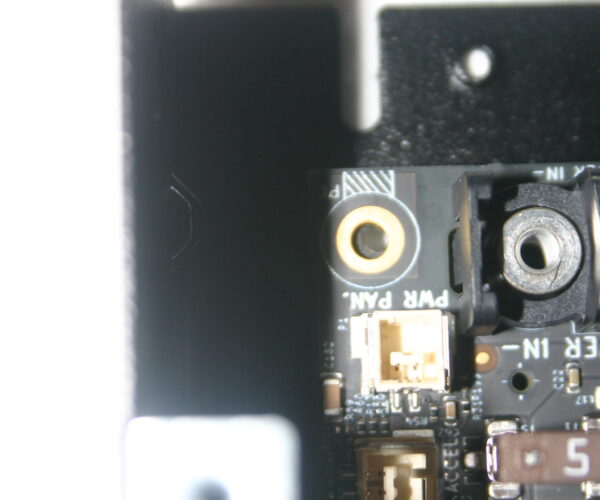
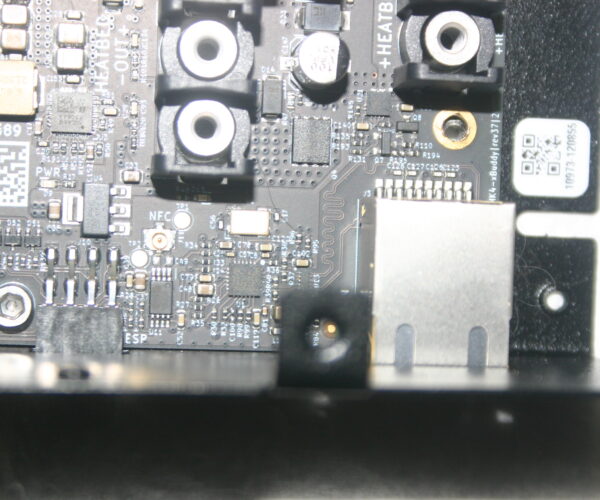
I've been assembling the MK4 kit. When I got to the step that called for mounting the xbuddy circuit board into it's case I found that the holes in the board and the threaded inserts in the case didn't line up. So I couldn't attach the board to the caee.
I wrote to Prusa nearly a week ago asking for suggestions but they have not replied. Do you have any suggestions?
Gary
RE: XBuddy Board assembly issue
Can you show a picture of that?
RE: XBuddy Board assembly issue
I've been assembling the MK4 kit. When I got to the step that called for mounting the xbuddy circuit board into it's case I found that the holes in the board and the threaded inserts in the case didn't line up. So I couldn't attach the board to the caee.
I wrote to Prusa nearly a week ago asking for suggestions but they have not replied. Do you have any suggestions?
Gary
Do live chat on prusa website few possible reasons once we get pictures we could probably narrow it down
Please help me out by downloading a model it's free and easy but really helps me out https://www.printables.com/@Hello_474427/models
RE: XBuddy Board assembly issue
Looking at the pictures, i don't think there is anything wrong.
Nothing except that the holes don't line up. If I force them in, I will most certainly crack the board or damage something else in the process. Can I enlarge the holes a bit safely? I have a set of numbered drills.
Gary
Not really the holes are insulated ground to stop them shorting on screws there's no way yo tell how far the insulation goes
Please help me out by downloading a model it's free and easy but really helps me out https://www.printables.com/@Hello_474427/models
RE: XBuddy Board assembly issue
What if I substitute nylon screws in place of the steel ones?
Gary
RE: XBuddy Board assembly issue
What if I substitute nylon screws in place of the steel ones?
Gary
I guess might void warranty though isint it better to live chat with prusa
Please help me out by downloading a model it's free and easy but really helps me out https://www.printables.com/@Hello_474427/models
RE: XBuddy Board assembly issue
Is the box itself tweaked? Maybe it came with a little twist in it or you tweaked it when you were attaching it to the frame. I would loosen the box screws a little and give it a little torque action to see if you can get it trued up. Then be extra careful when you re-tighten it up.
RE: XBuddy Board assembly issue
As I indicated, there is nothing wrong.
Just use the five metal screws provided by Prusa.
You don't have to worry that this will cause damage to the PCB.
It is made of epoxy and can handle a lot of forces.
Do NOT drill out the holes!
Do not use nylon screws!
(The PCB is earthed to the housing through the metal screws)
RE: XBuddy Board assembly issue
Those photos are not going to happen.
I was able to get 3 screws in the board. It seemed to be held in place ok so I've continued with the assembly. By now the board is covered with cables and zip ties.
Gary
