MK4 Prusathlon
I received my MK4 kit around last week, and even if I was very impatient to assemble it in a marathon or better in a Prusathlon for piratical and personal reasons it was not possible, so I had to split the assemble phases over the week end, ant it took the whole Saturday & Sunday (morning, afternoon and evening after dinner) and the last part on Thursday evening. I would like that this post would be used by other assemblers to highlight and document critical tasks, with photos and suggestions.
My "secret" additional tools that simplify the assembly phase, were the ones in the picture:
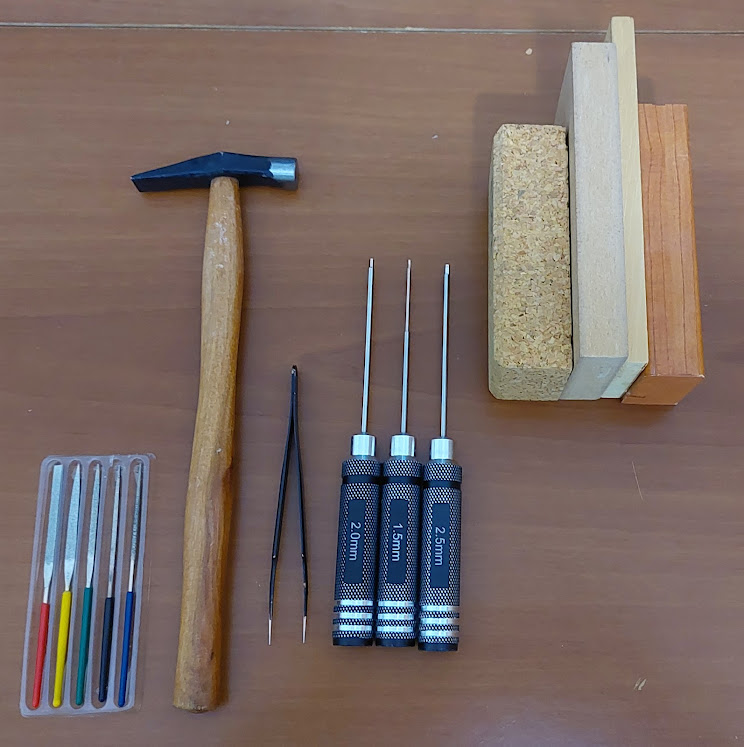
- A set of mini diamond files to fix small holes and imperfections
- A small hammer (6 cm) for model maker
- A flat tweezers
- A set of 3 hex screwdrivers, that I find more comfortable that the 90 degrees Allen keys shipped with the kit.
- A set of squared wood pieces of strategic size, to put under the printer in various places when moving the printer upset to balance it.
When I started the assembly phase I decided to take my time, and reading and re-reading the assembly manual before taking any action, and after the action to verify that it was as expected and as in the photos. The very few time I did not follow this rule because I felt safe, I had to re-do the steps, because I used wrong part or wrong screw measure... 😆 because never take anything for granted during the assembly.
The alignment of the frame is very misleading: it requires a really perfect flat surface that you can't find easily at home, and if you trust on your table flatness, then you will be probably in troubles. When I assembled the frame of the MK4, I noticed the very good quality and square of the parts, and I was very surprised when, on the table, it was swinging of few millimetres. I noticed that changing the position on the table, also changed the swinging distance. Then I moved the frame to the kitchen table that I considered more flat, but even there it was swinging from a different position, little less, but still swinging.
It was strange to me that it could be skewed, since the holes and positions in the bars have almost zero tolerance and no possibility to put the bars in wrong position.
Then I realized that in a room I have a big marble floor with mirror polished squares tiles of 60x40 cm, and so I put the frame centred in one of them, and... it was perfectly squared. No swing 🤗 All the wood tables were misleading me.
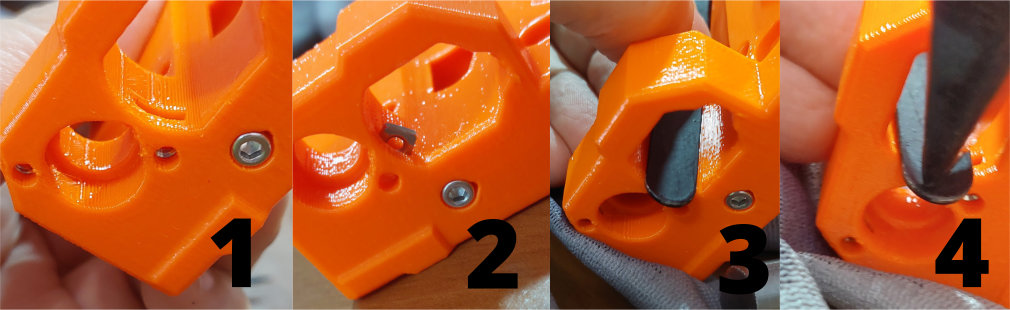
Among the tasks, the most difficult tasks were to insert the square nuts, that not always would fit at all in the hole, and in few cases I had to use a micro diamond file for model maker in order to allow the nut to fit. I used also a small hammer for model maker 6 cm long when needed. The most ugly pieces were the X-Axis mid plastic holders, since they have a square nut that should be inserted from the inside of a hole in a position where the piece do not touch X or Y position.
You can see in the photo the piece, and how the square nuts is diagonal in image 2. On image 3 I put some gums to mitigate any blow and avoid the damage of the plastic and then in picture 3 I covered the top of the nut with the back of the tweezers, and in picture 4 I hit very very gently with the small hammer the top of the tweezers, until the nut went in position.
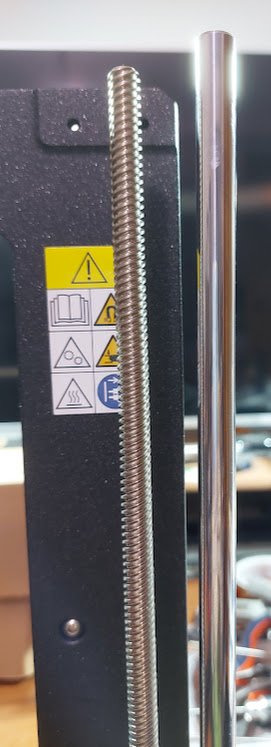
Put extreme care to align the Z vertical rods. Do not accept compromises, on the alignments, since later on will be very difficult to correct a misalignment of the rods when all the other printer parts are assembled.
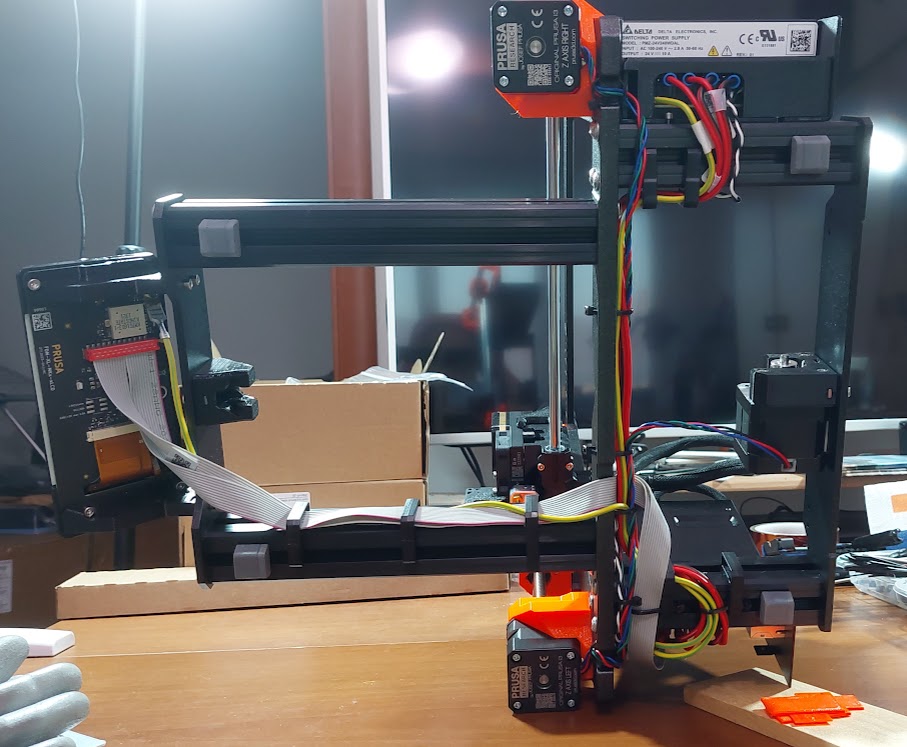
Here a picture of the right motor & Z rod before they were aligned: as you can see they are in a V shape (...and it is not the photo prospective.... 😓 )
It was difficult to find the correct side of the Nextruder PG-ring: the chamfer if 0.5 mm wide and you need a big magnification lens to see it. Use extreme care, since the teeth of the gears mechanism are very small, basically wristwatch size, and too much force in handling can easily damage the gears. It took some time and several attempt to fit the gears correctly. I felt several time that the gears were not fitting smoothly, and so I stop immediately the pressure, removed them, and retried. If you go on they will block and it will be a pain to remove them without any damage.
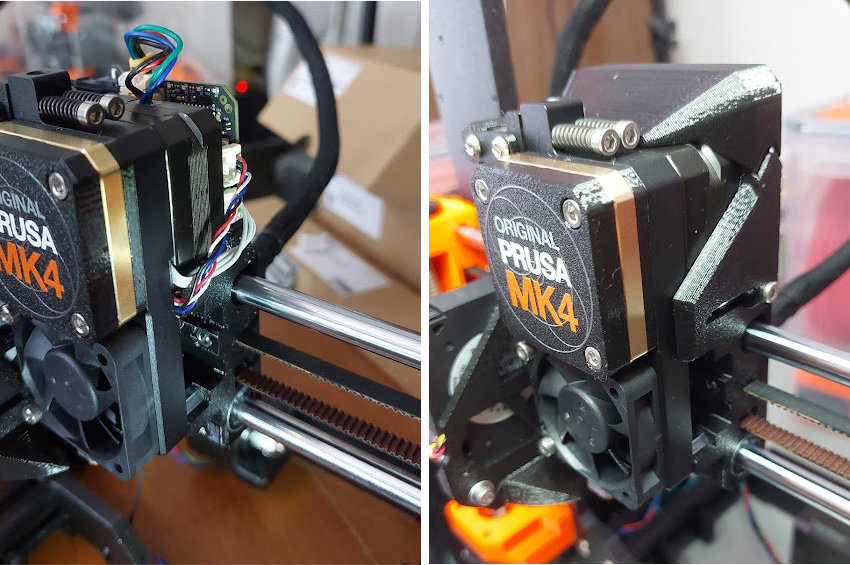
I was conscious of the various problems encountered by other users assembling the Nextruder, the load cell cabling could not be fitted under right cover, and the cover could not be closed correctly; so I paid extreme care in the cable handling, and I was able to close the Nextruder right cover perfectly.
I suggest to left enough cable on the right side to be able to angle it in the cover space as you can see in the picture:
My LCD board version was Version A. Considering the whole saga of the LCD flickering and blinking issue, I moved away as much as possible the LCD cabling from the electrical motor and data wires.
I forgot to take a picture of the Buddy box, but the LCD cable is not tied on the right together with all the motor and data cable, but it is free, and it is in the centre of the box (in the air, not tied) going then just on the right to the connector.
I have finished the assembly today. I saved the new 4.7.2 firmware on the dongle, put it in the USB port, and then I turned on the MK4 for first time.
Turning the MK4 on nothing exploded.... 😉 and the LCD was working fine. I was very reluctant to let the printer to perform the firmware update before any diagnostic test (no idea if something could go wrong due to wrong assembly), but I have done it. No issues at all.
After the reboot the printer performed all the diagnostic setup, and all was fine. I printed the key chain perfectly with no issues.

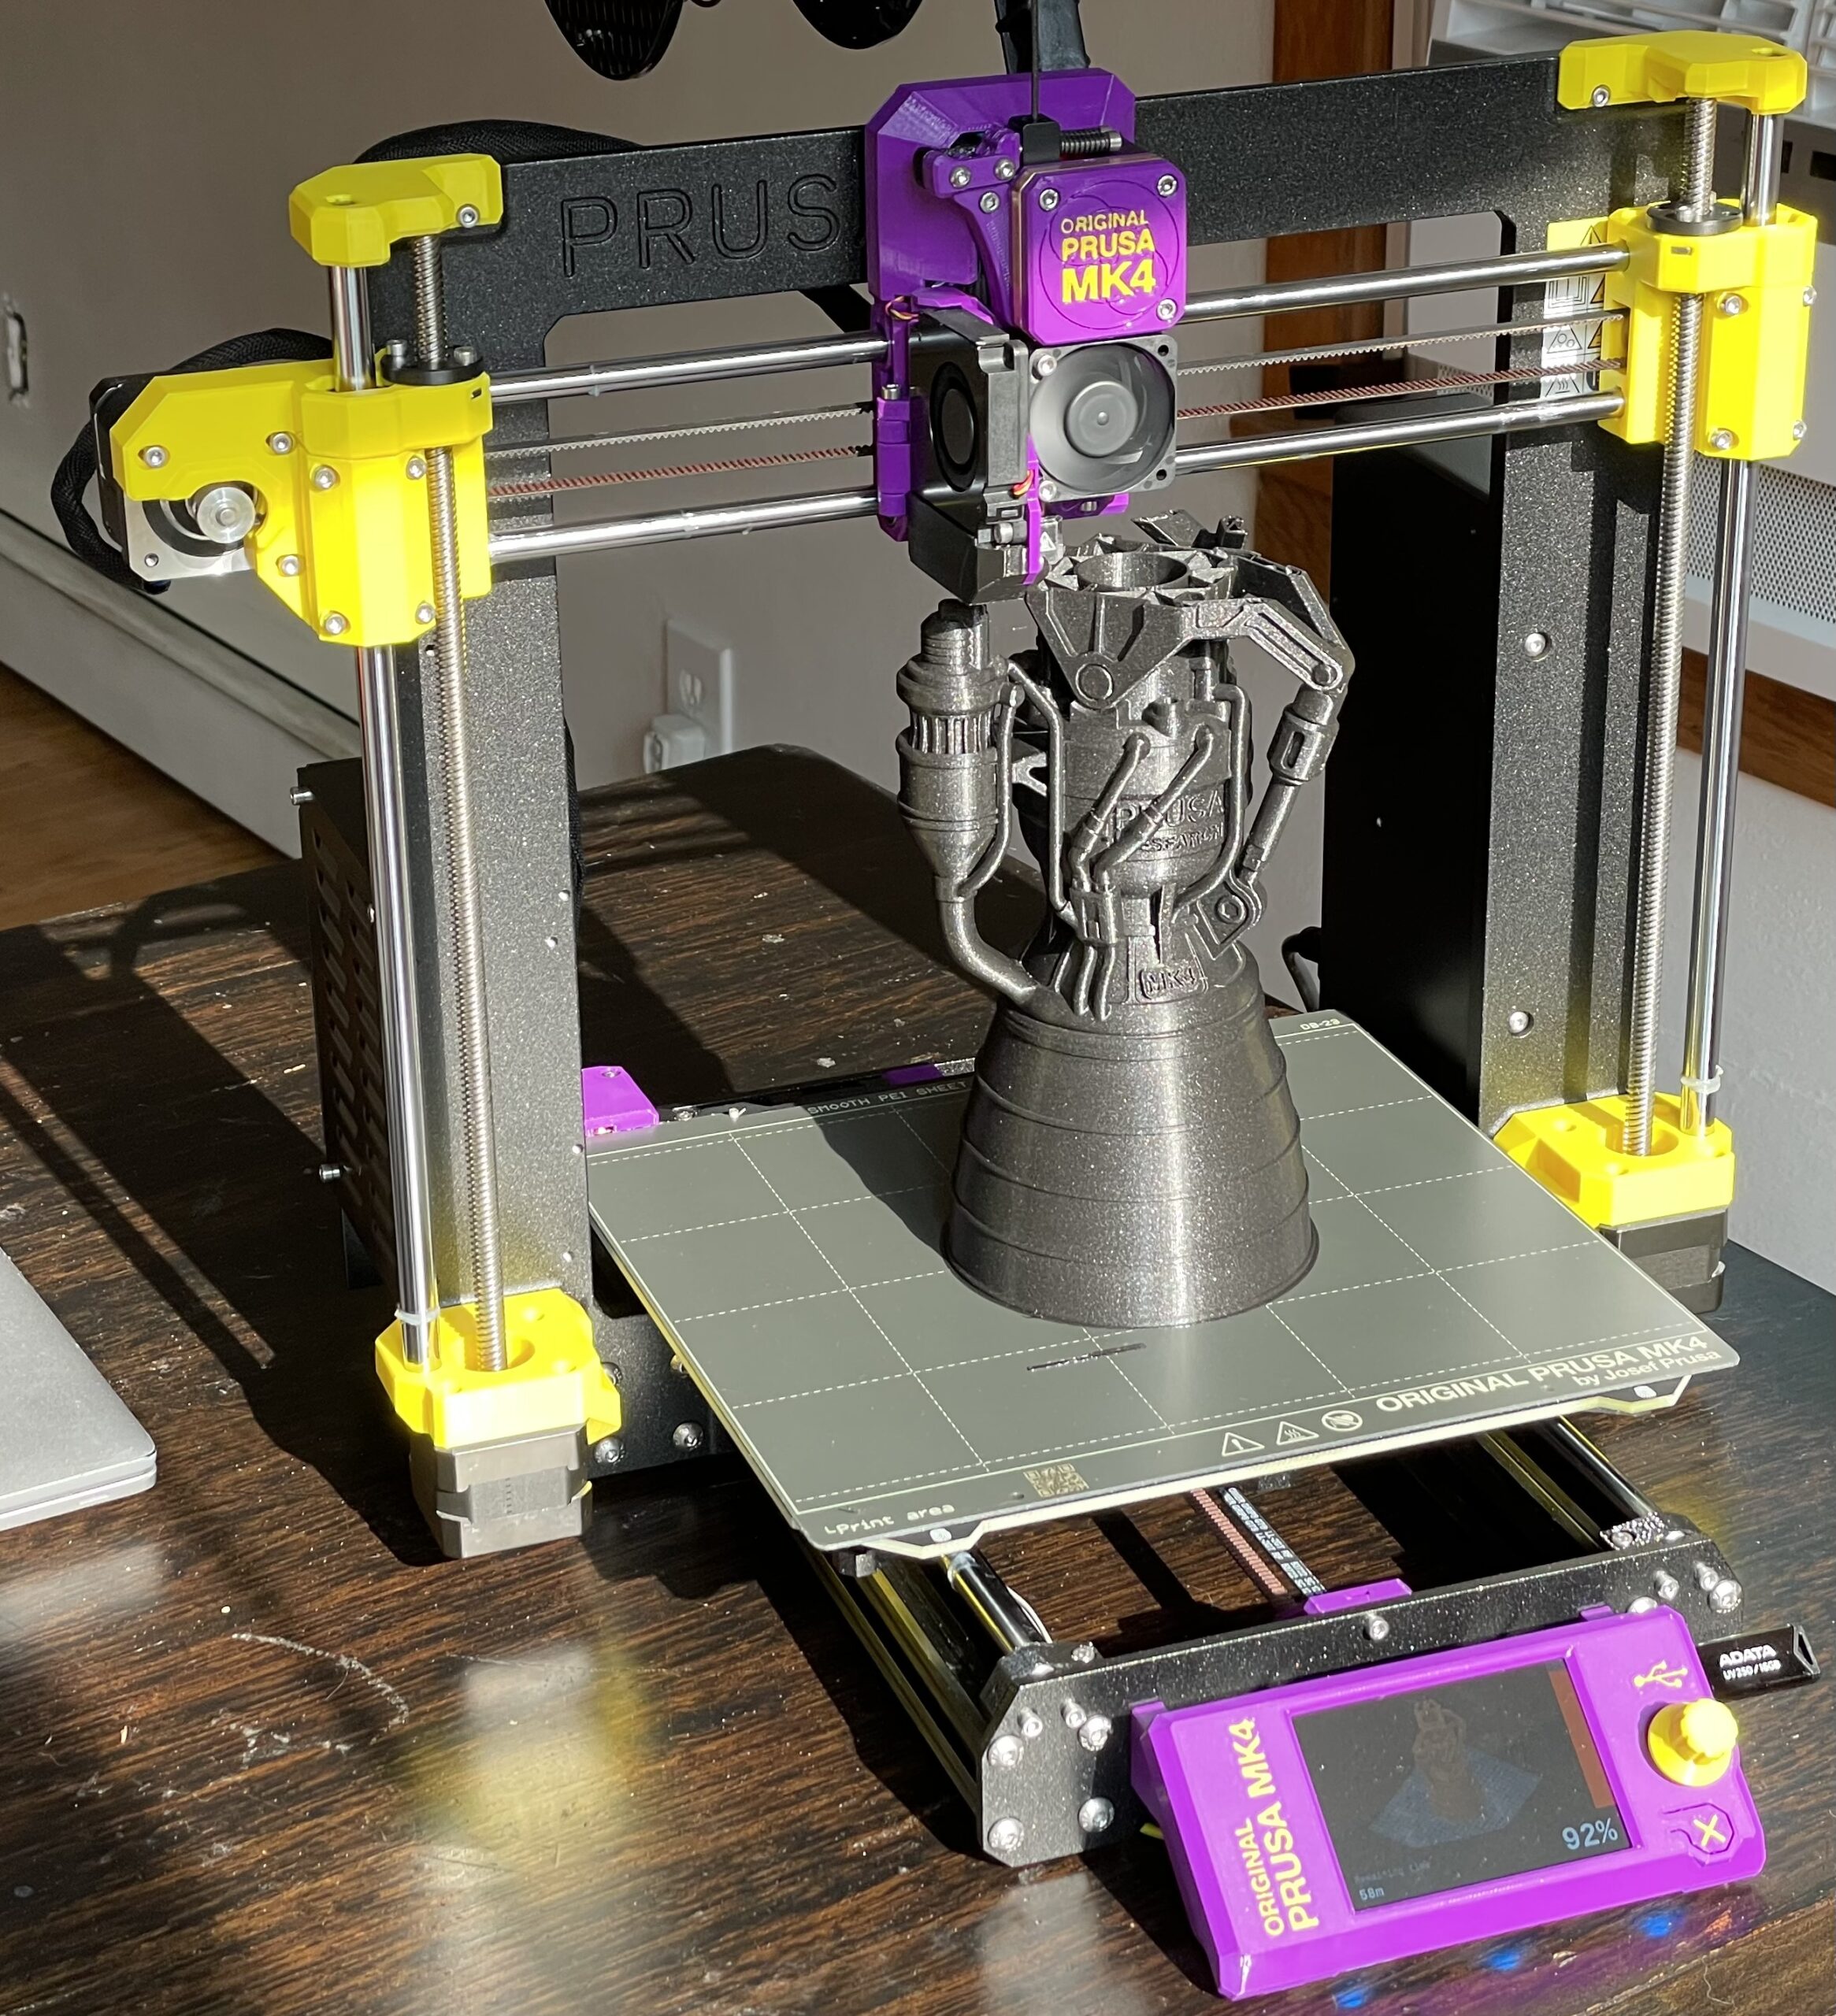
Now it is smiling near my MK3/S. I will do more prints now. I replaced the MK4 PEI sheet with the one of the MK3S, since on the MK3S I have now the textured one and I will use the MK3S pool sheets in rotation also on the MK4.
I purchased also several sizes new all-metal nozzles but for sure I will not dismount the Nextruder cover and disconnect the connectors to change them. In my opinion that connectors are not designed to plug & unplug often the connectors. I will try to screw the nozzle just as a fast change nozzle should be. 🙂
That's all for now.
I would like to see also your experience, and pictures in case of problems.
RE:
Mine took 10 hours for me to assemble, over several days. One of the most annoying parts was fitting the Z-axis rods into the plastic upper and lower holders. I really needed to use a lot of force, way more than I expected. I had to put a support under the lower plastic piece and really shove on the rod and hope nothing broke.
For the square nuts, I used the needle nose pliers to get them lined up and installed, then finished pushing them in with an Allen key.
But after assembling, it worked great, zero issues. Quite a step up from my Mini.
RE: MK4 Prusathlon
I forgot to add, that tuning the belt with the Prusa app did not work on my Samsung A52s ☹️ It was extremely unreliable, say 80% wrong 20% ok and I was not able to understand what was a reliable value. Luckily I had also an iPhone11 and so I tried to run the app on the iPhone. It was almost perfect, and I got a 90% ok of the belt ping and only a 10% wrong. In this was I was able to tune quickly the belts. I am surprised on how tied the belts are on the MK4, compared to my MK3S. I will probably have loosen belts on my MK3S.
RE: MK4 Prusathlon
I am surprised on how tied the belts are on the MK4, compared to my MK3S. I will probably have loosen belts on my MK3S.
Are you saying that your MK4 belts are tighter or looser than your MK3 belts?
I found the app and the Prusament Tension Meter to be in close agreement on both my MK3S and MK4, so AFAICT Prusa's recommended tension is the same for both.
RE: MK4 Prusathlon
Yes I agree. Probably with the time and the usage, and probably some little maintenance, I lost some tension on the MK3S. I will need to re-tension it as I will upgrade to the MK3/S+ (yes I know, I am behind with the updates, but since it always worked and it was a Prusa assembled, I did not install the update yet... 😀 )