Using Prusa Mini for 3D positioning
I am about to buy a linear actuator for my work, to create a "button press" type event over 10,000 times on a system we built. Basically, this would be motion up and down in the z-axis at different speeds, in a loop. My Prusa Mini is at work too though, and I am wondering if it's possible (or easy) to use the Prusa Mini for this purpose? Almost no torque/force would be necessary, because the "button" is magnetically actuated. I could simply snap a magnet on to the hotend, and use the Prusa for motion alone.
I tried writing my own simple g-code to move the nozzle head, but so far no luck, the Slicer doesn't recognize the gcode as valid. I realize this isn't the intended use for the Prusa, but if it's possible, is there some recommended way to make g-code valid and runnable without heating anything or extruding anything?
Best Answer by JoanTabb:
Hi John,
have you considered putting start code at the beginning of your G code, and end code at the end of your code
at the beginning try setting your bed and extruder to room temperature, at the end move the extruder out of the way and turn everything off... and you might find that the prusa accepts the code
If you were to post the Gcode that you have developed, we could see if we can see the issue...
you need to ZIP Compress the Gcode, to enable attachment on the forum!
regards Joan
Another way
https://www.pinterest.com/cary_foster/rotational-to-linear-mechanisms/
Or 3D print something that you could put on a 12V simple motor to convert circular to linear motion. Gear it to the rpms/pushes you want.
Not comprehensive
This is a "If you have a hammer, everything is a nail" type of solution. I want to simulate different speeds, different button travel, etc, for over 10,000+ button presses. Surely nothing I can print will have that kind of reliability and flexibility. So far I've determined that what I need at minimum is pretty close to a single stage linear actuator like the one in the prusa I have on my desk. Maybe it's not possible to program custom g-code to choreograph the machine (this would be disappointing, but to protect the equipment from poor programming erros, I would understand that).
I guess I don't understand if it's possible to make a valid, hand-written gcode file that choreographs the printer head. This would solve my problem.
the Slicer doesn't recognize the gcode as valid
GCode is applied to the printer, the slicer read .STL files and generates GCode. So try sending your GCode directly to the printer (or perhaps more safely a printer simulator)
.
Sorry, I meant the g-code simulator (g-code preview) within the PrusaSlicer software doesn't recognize the g-code as valid. This actually opens a new program, the PrusaSlicer G-code Viewer-2.3.1. I've attached the error message. Other g-code simluators (like this one https://nraynaud.github.io/webgcode/) have no problem running this. I haven't checked just running it on the printer, because I assumed if Prusa software wouldn't recognize it as valid, it would be somehow unsafe. 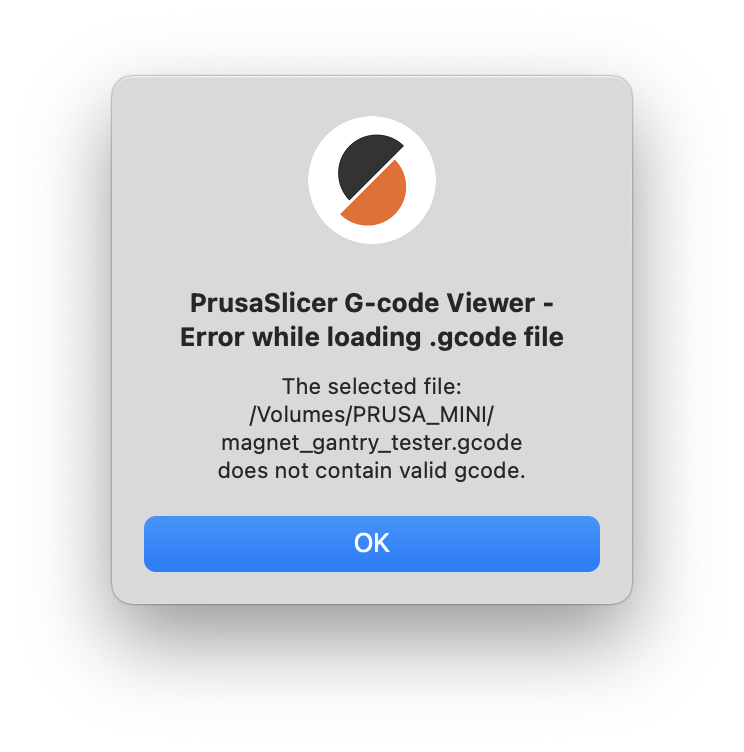
Hi John,
have you considered putting start code at the beginning of your G code, and end code at the end of your code
at the beginning try setting your bed and extruder to room temperature, at the end move the extruder out of the way and turn everything off... and you might find that the prusa accepts the code
If you were to post the Gcode that you have developed, we could see if we can see the issue...
you need to ZIP Compress the Gcode, to enable attachment on the forum!
regards Joan
I try to make safe suggestions,You should understand the context and ensure you are happy that they are safe before attempting to apply my suggestions, what you do, is YOUR responsibility.Location Halifax UK
Alternative
Have a look at https://makersupplies.dk/en/79-linear-actuators (RatRig is more limited in this category)
Add an cheap Arduino or Raspberry Pi to make it work. A lot of free code samples are available online.
This is a one-trick pony (the mini can be used afterwards), but should be more durable, easier to maintain, easier to mount up/down/angled and less costly.
Having problems with bed adhesion every morning...
Or just a motor with a cam.
Can't upload gcode
I got my proof of concept working using your suggestions. I would love to share full results with the forum, but I can't attach gcode due to security restrictions in the forum (even if I zip it I get an error).
I have gotten my proof of concept which just uses the Zaxis to work I have commented in the code below. I'm not totally sure I understand every line and why it's necessary, but hey, it works.
Anyway, there are only a few problems with this subset (a lot of metadata comments are necessary to get this to actually run and simulate properly on the prusa and prusa simulation software). One is that I need to insert two pauses to allow me to set the test device on the bed without risking a lateral impact of the print head during setup (bed leveling, etc) and cleanup (wipe, and return to home position). The last thing is I need to be able to write a for loop so this will occur 10k times or more, allowing me to automate the test.
M73 P0 R11
M201 X1250 Y1250 Z400 E5000 ; sets maximum accelerations, mm/sec^2
M203 X180 Y180 Z12 E80 ; sets maximum feedrates, mm/sec
M204 P1250 R1250 T1250 ; sets acceleration (P, T) and retract acceleration (R), mm/sec^2
M205 X8.00 Y8.00 Z2.00 E10.00 ; sets the jerk limits, mm/sec
M205 S0 T0 ; sets the minimum extruding and travel feed rate, mm/sec
M107
;TYPE:Custom
G90 ; use absolute coordinates
M83 ; extruder relative mode
M104 S20 ; set extruder temp for bed leveling
M140 S20 ; set bed temp
M109 R20 ; wait for bed leveling temp
M190 S20 ; wait for bed temp
G28 ; home all without mesh bed level
G29 ; mesh bed leveling
M104 S20 ; set extruder temp
G92 E0.0
G1 Y-2.0 X179 F2400
G1 Z3 F720
M109 S20 ; wait for extruder temp

; printing object Nothing.stl id:0 copy 0
G1 X100.0 Y100.0
G1 Z5.0
G1 E0.0 F2400.000
M204 S800
;TYPE:Travel
G1 F1342
G1 X84.322 Y78.166 E0.000001 ; Extrude very little!
G1 E0.0 ; Don't extrude anything
G1 Z7.0 ; Start my test.
G1 Z5.0
G1 Z15.0
G1 Z5.0
G1 Z20.0
G1 Z5.0
G1 Z40.0
G1 Z5.0
G1 Z100.0
G1 Z5.0 ; End my test.
M204 S800
; stop printing object Nothing.stl id:0 copy 0
G1 E0.0 F4200.000
;WIPE_START
G1 F7200.000;_WIPE
G1 X100.474 Y80.275 E0.0
;WIPE_END
G1 E0.0 F4200.000
G1 Z5.0 F9000.000
M107
;TYPE:Custom
; Filament-specific end gcode

G1 E-1 F2100 ; retract
G1 Z7.15 F720 ; Move print head up
G1 X178 Y178 F4200 ; park print head
G1 Z35.15 F720 ; Move print head further up
G4 ; wait
M104 S0 ; turn off temperature
M140 S0 ; turn off heatbed
M107 ; turn off fan
M221 S100 ; reset flow
M900 K0 ; reset LA
M84 ; disable motors
M73 P100 R0
Done!
I found Gcode M601 to create a pause.
I also tried a few looping codes for other CNC machines, but none of them work. Would be pretty easy to just write out 10,000 tests using this. With this, I think I'm able to do what I set out to do!
Some more things I've learned:
- Max Z height is 180. This can be found in the comments, and that's helpful for hand-programming G code.
- Important to set the height to a high enough level before you pause, because the M601 command does NOT pause in place. Instead it travels at max speed to x = 0, y = 0. This would really mess with any setup.
- The Z-axis is maybe not the preferred axis for repetitive movement. It's not very fast, and the screw is a bit loud. This makes sense when you think about it, because the z-axis is designed for highly precise, but somewhat slower movements. When redesigning this test in the future, I might try to do any fast movements on the X or Y axis.
Test Zip files
Hi John,
you should be able to Zip your file and either
Embed the file in text, as above, Or attach it to a post as below
regards Joan
I try to make safe suggestions,You should understand the context and ensure you are happy that they are safe before attempting to apply my suggestions, what you do, is YOUR responsibility.Location Halifax UK