Mechanical bed leveling
Hi,
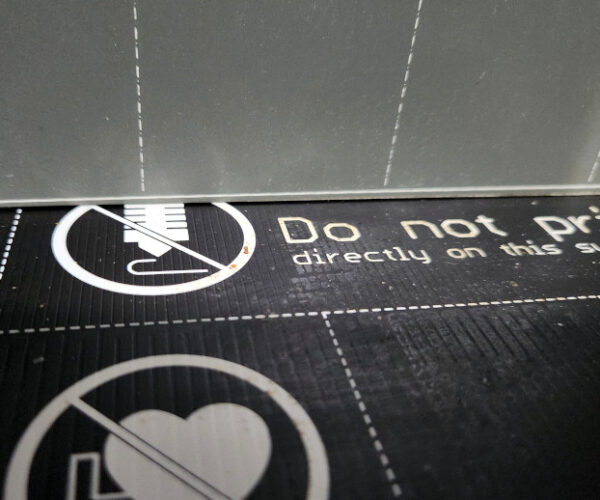
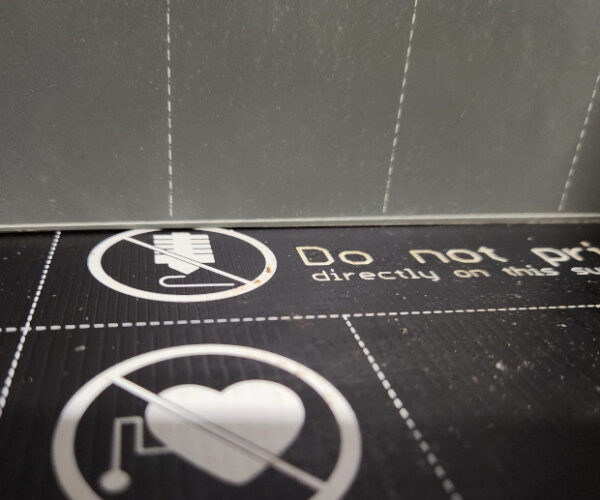
I just finished the kit assembly and, while checking the bed with a leveling bar and a flash light, I could see gaps between the bar and the bed, especially in the middle (1 - 1.5 mm) as if the middle spacer is shorter than the others pulling the bed downwards.
Should I compensate for the gap using washers or should I let PINDA do its job?
TIA
RE: Mechanical bed leveling
Something is definitely wrong if there's 1mm of difference there. Spacers should hold the heatbed perfectly level.
RE: Mechanical bed leveling
The steel sheet does compensate/improve somewhat the imperfection though.
RE: Mechanical bed leveling
To be more illustrative, here're some images which show the light filtrating at the bottom of the steel sheet.
RE: Mechanical bed leveling
Are you checking with the bed at or near the intended print temperature? The shape will change somewhat when you add heat.
Other things to check are frame alignment and Y-axis rod alignment. Check the frame alignment on a thick piece of plate glass, or maybe a ceramic cooktop.
Do you see the same warpage in the Y-axis direction?
The above pictures were taken at room temperature as the printer is not fully assembled (I'm missing part of the extruder body). The light can be seen from any which angle. Will try to warm up the bed and buy a square crystal piece, just to have it. Thanks.
RE:
That is most definitely not the way it's supposed to be. Have you contacted support about this? Does the 'squished frog' piece have a similar profile?
RE: Mechanical bed leveling
That is most definitely not the way it's supposed to be. Have you contacted support about this? Does the 'squished frog' piece have a similar profile?
No, I've not because I'm not done with the full assembly of the kit. I'd like to repeat the test with a warmer bed.
RE: Mechanical bed leveling
I just tried a sanity check here.
This is, of course, not a shop-grade straightedge, but the heatbed definitely shows some curvature, as in what looks to be a fractional mm, both at room temperature (top) and at 90C (bottom).
I've been doing (mostly PLA) prints this weekend, and they are just fine. One piece I'm testing with (again, nonscientific) sits perfectly flat on a large paperback book and a wooden desk top.
RE: Mechanical bed leveling
From your pictures I can see that the gap is worse than mine 😀 So, I can safely say it's not the way to test the bed's leveling.
RE:
LOL, now I'm getting concerned. A while back somebody did use a machine shop grade straightedge to check and adjust the heatbed, but I never went down that road. I remember looking at Home Depot for something inexpensive that would be perfectly straight, but the only thing I saw that was cheap and probably straight was a metal wallpaper scraper type of thing.
RE: Mechanical bed leveling
Any decent carpenter square should be straight and flat enough for this.
I’ll have a look at my printer bed and report back tomorrow.
Cheers
RE: Mechanical bed leveling
Checked it with multiple "straight" things.
Mine is also warped like this, but i think that i never had any print issues..
RE: Mechanical bed leveling
Does the bed become flatter if you loosen the center screw?
Perhaps you should remove the heat bed and check the flatness of the carriage. It may be bent. Also, verify that all the spacers are in place. They can be difficult to assemble properly.
RE: Mechanical bed leveling
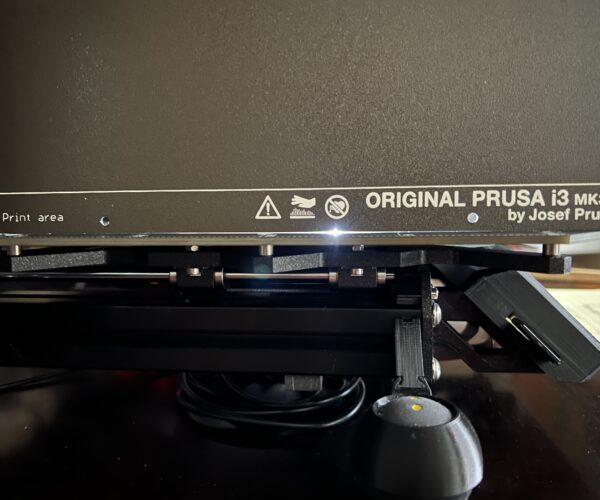
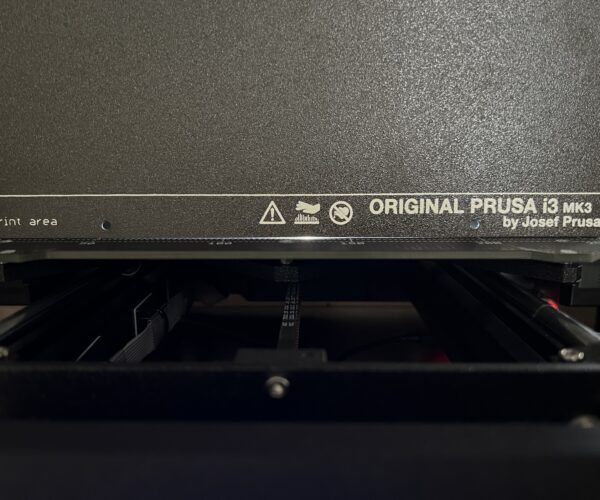
I just used the edge of the textured sheet as a quick reference and apparently my bed suffers from the same condition.
Brain-box side:
PSU side:
Front:
Repeating the process with the satin sheet on the heatbed shows essentially the same results. I recently serviced the printer and checked all the heatbed screws and all are tight.
No printing issues to speak of so I’m not inclined to dig deeper at the moment… lots of holiday prints to work on, so it’ll have to wait, but I’ll get to it. Curious.
Cheers
RE: Mechanical bed leveling
I looked at this again today using a heavy carpenter square and the gap doesn’t appear to be nearly as bad as it looks in the pics I posted. Perhaps using the flexible print sheet as a reference allows areas of it to be attracted to the bed magnets, creating a ‘bow’ effect, making the ‘dip’ in the bed look worse than it is. The position of the flashlight and concentration of the beam further exaggerates the appearance of a ‘sag’ in the bed.
Using the carpenter square, the light leaking under the edge looks even all the way across the bed, until the edge where the square sits; almost as if the tooling used to cut the bed to size leaves a raised burr along the cut edge, causing the square to sit slightly higher on those edges. The appearance was consistent on both sides, the front, and the center of the bed in both directions.
It wasn’t possible to photograph this as I could only see it clearly while holding the square and moving the light source behind it, edge-to-edge.
When I get a chance I’ll remove the heatbed and check the Y carriage directly, but likely not happening near term.
Cheers
RE: Mechanical bed leveling
I don't have a heavy square, but I do have one of those combination 90/45 squares with a removable ruler slide downstairs, so next time I'm down there I'll bring that up and double-check the heat bed.
RE: Mechanical bed leveling
Temperature is a playing a role here. This video helps to clarify some doubts: Bed leveling, howto


