Printing PC-Max polycarbonate
this is an example of printing a part without an enclosure by making a pseudo-enclosure around the part as it is printed (call it an oven or tent).
I have read through much of this excellent thread
and I highly recommend reviewing that but having said that I used the standard PC-max profile in Slic3r and printed 0.2 layer height for this one.
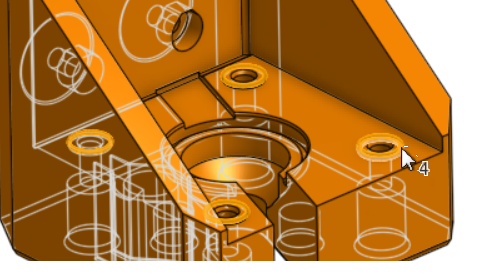
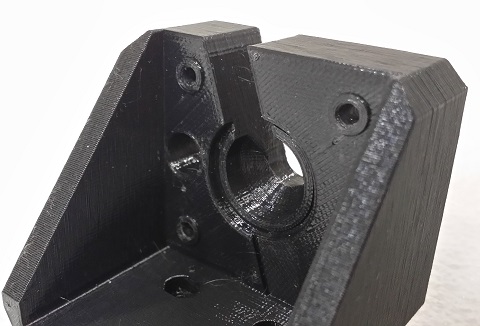
This is a custom design for the motor mounts for the Z axis of the MK3.
I modeled an extra single-layer width feature around the part and modeled a brim onto this part to keep it in place. The wall is 0.45 and so I turned on the Slic3r option to detect thin walls. This is a fairly bulky part and relatively easy to print but it still would try to warp and I believe this tent served to hold the heat in.
After removing the part at the end of the print I placed in an oven at 100C for 1 hour, then dropping by 20C per hour after that - per instructions from Polymaker. I have a custom toaster for solder reflow so it was easy to re-purpose for this.

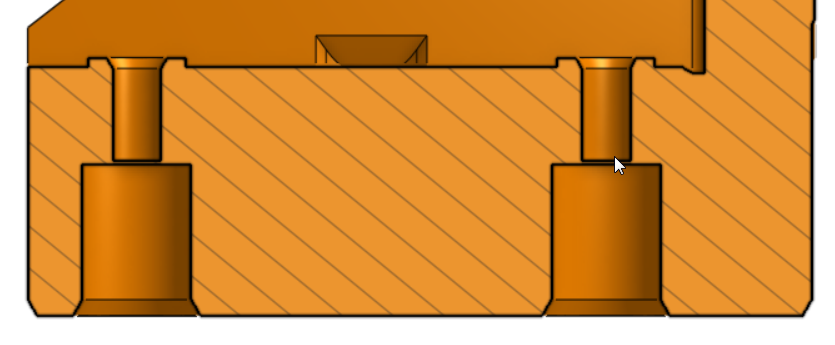
To help make this counterbore clean I modeled an extra 0.2mm layer at the bottom of this hole so that the slicer would treat this as a simple bridge and not place the material into open air. This is very easy to clean up with a drill bit afterward.
There are 4 protrusions that the motor face will hit and these can serve to help steer the top of the screw where you want it by preferentially tightening the screws or loosening the screws. The movement is very slight. I placed washers under the screw head so that more material is grabbed for the screw to work against otherwise the head may pull through instead of moving the motor.
The 3 protrusions serve to level out the contact area under each of the 3 mounting screws so that the part mounts to the aluminum frame cleanly.
I will follow up with pictures of the real printed part. I could not figure out how to load more than 3 images to this post 😕
Re: Printing PC-Max polycarbonate
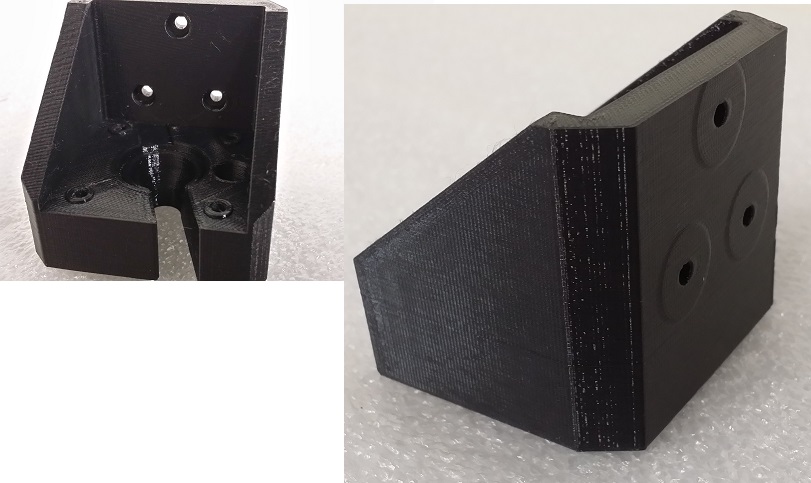
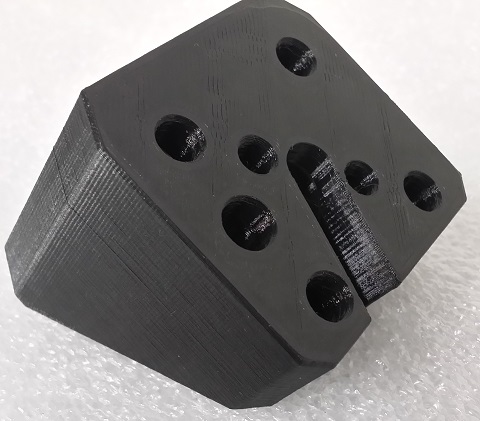
actual part: black Polymaker PC-Max which claims to have temperature resistance above 110C and it also is flame-proof. I tested it!
Here is a link to the CAD model in Onshape.
I plan to attempt using this technique to re-print more of the parts, starting with the simplest and moving toward the more complicated ones.
Re: Printing PC-Max polycarbonate
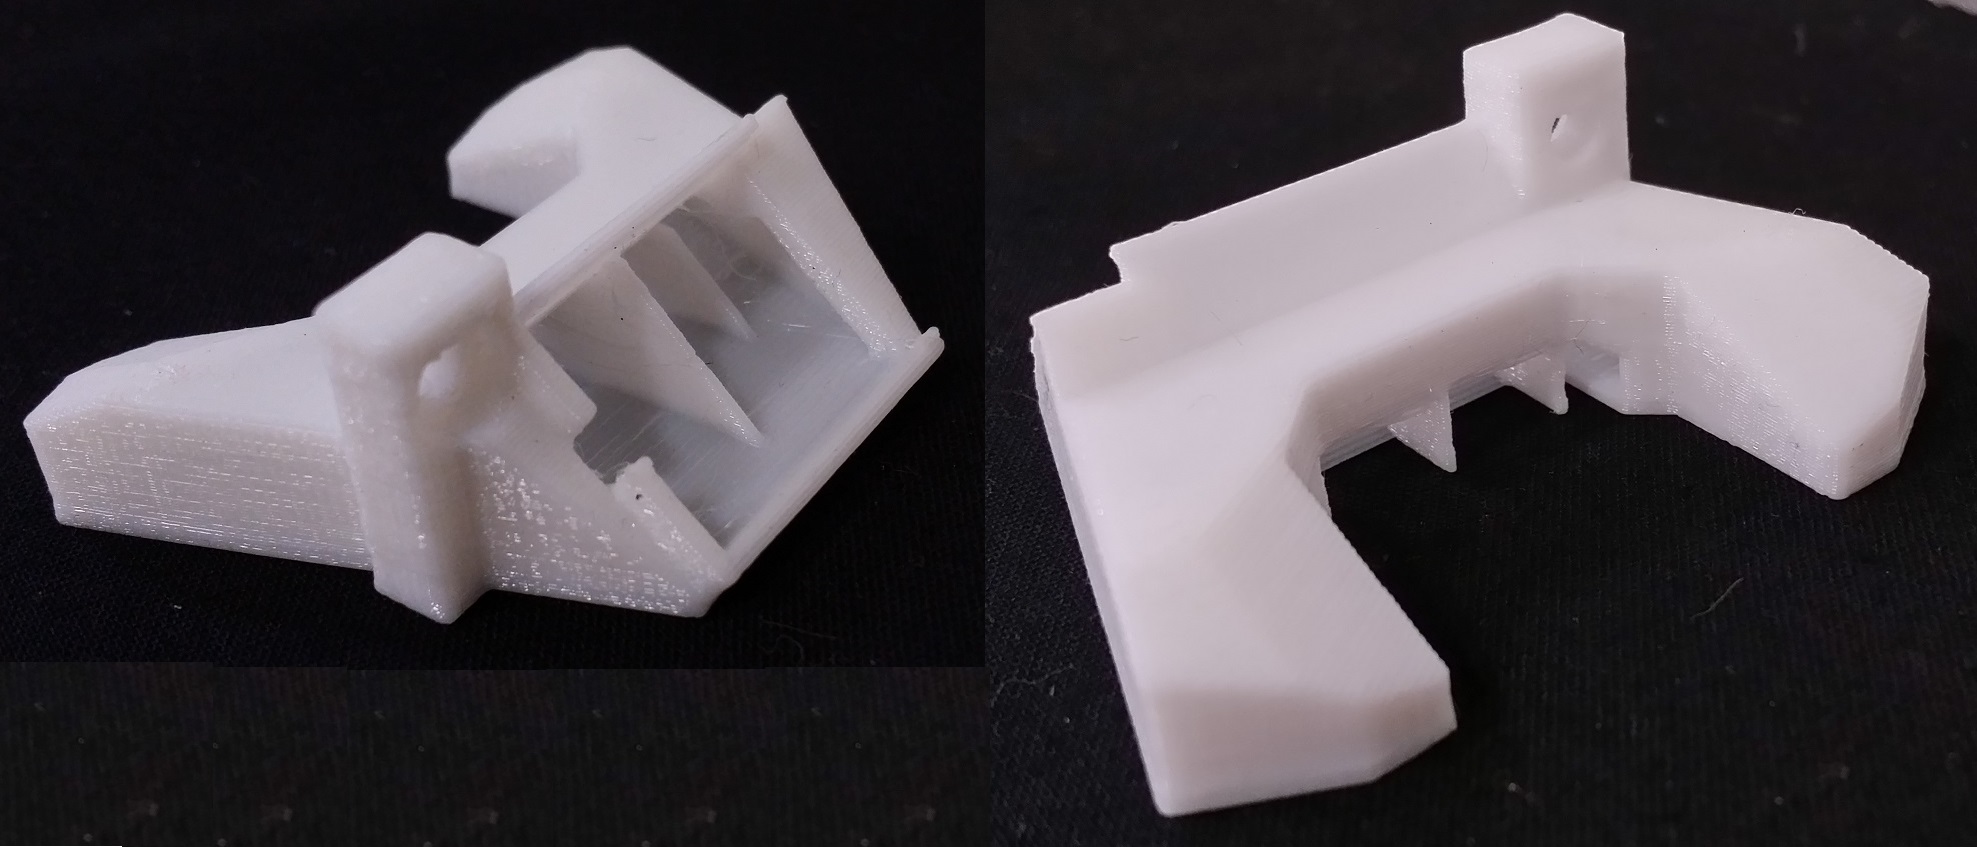
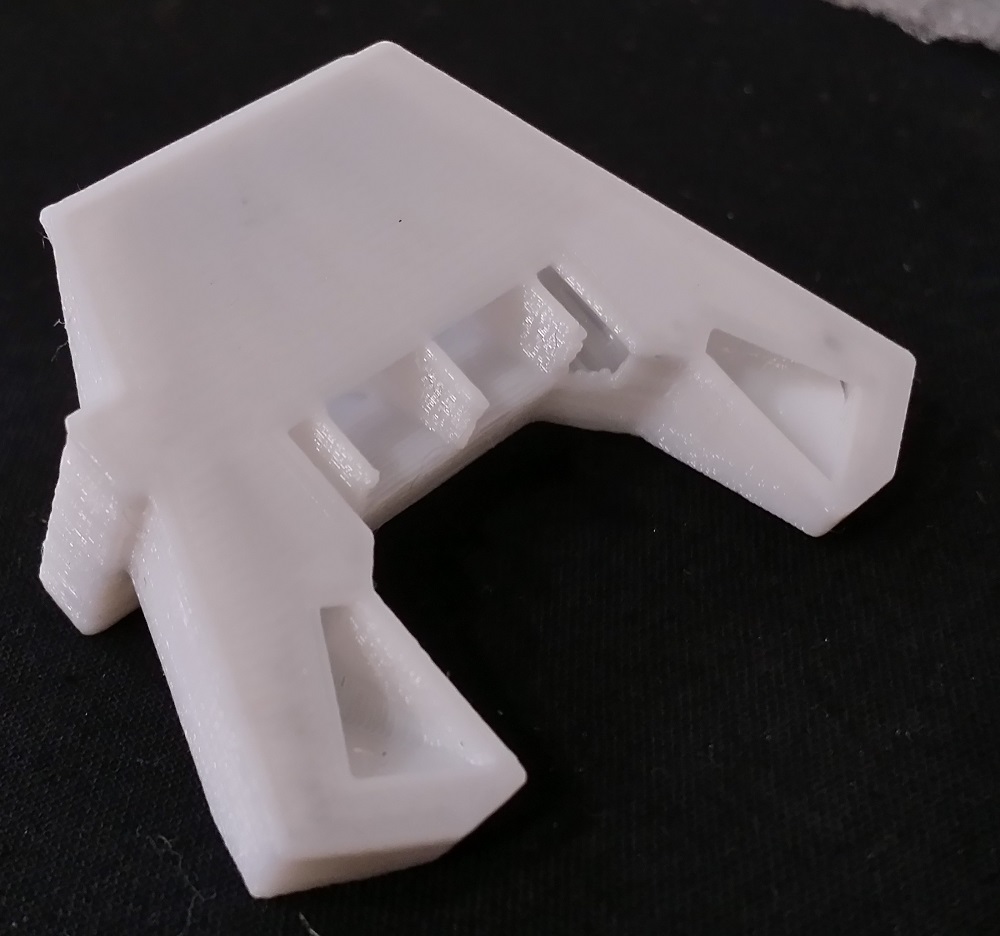
one more example - this is the R3 part from Prusa - "nozzle-fan-45deg.stl" printed in White PC from Polymaker
This shows the CAD model of the tent. it has a brim and is 0.45mm (single layer) thick. Used standard settings for this material in Slic3r PE
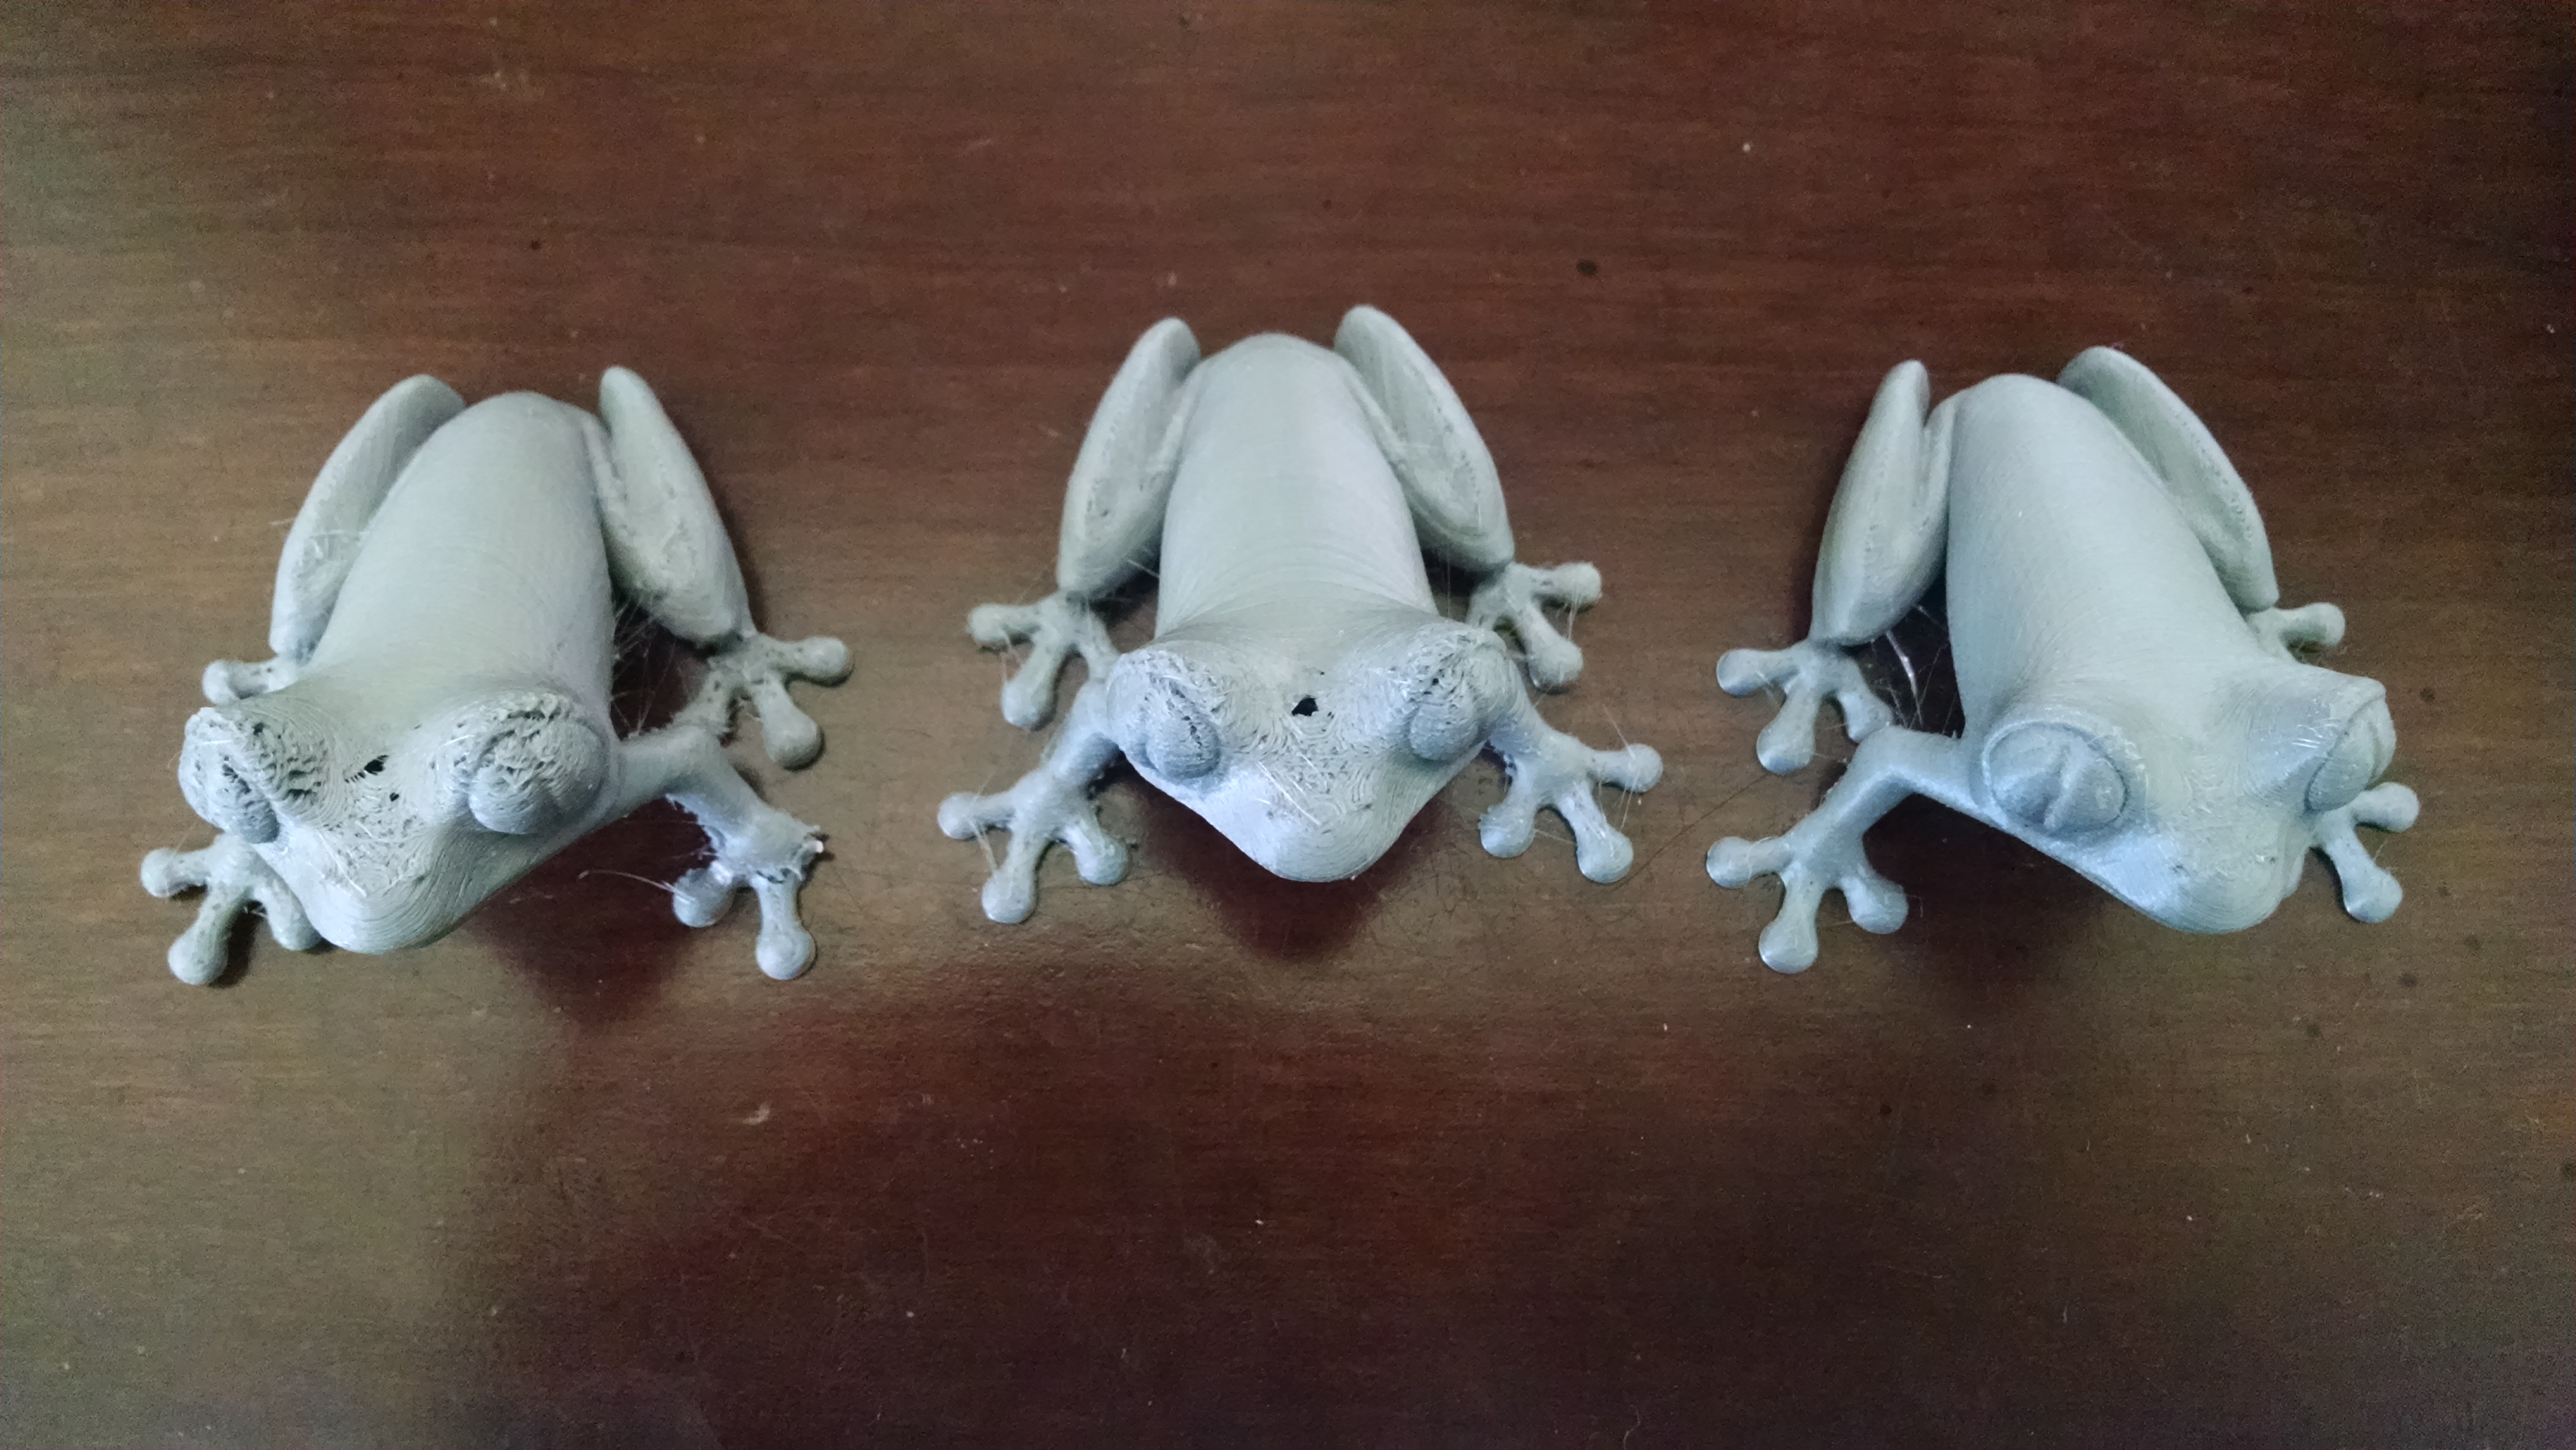
There was some fine stringing on the part which I cleared up with my hot air station and a knife. I also had to trim around the mounting hole a little bit.
btw, I am printing these with the original Prusa MK3 parts with a totally stock extruder.
Re: Printing PC-Max polycarbonate
Surprised nobody's commented on this. PC is hard to print. Way to think outside the tent!
I'm reprinting everything out of PC Max hopefully soon, just making my heated enclosure.
Re: Printing PC-Max polycarbonate
In S3D it's called Ooze shield and can be activated so you don't have to design it.
In Slic3r you could do similar but not that good with very high skirt
Often linked posts:
Going small with MMU2
Real Multi Material
My prints on Instagram