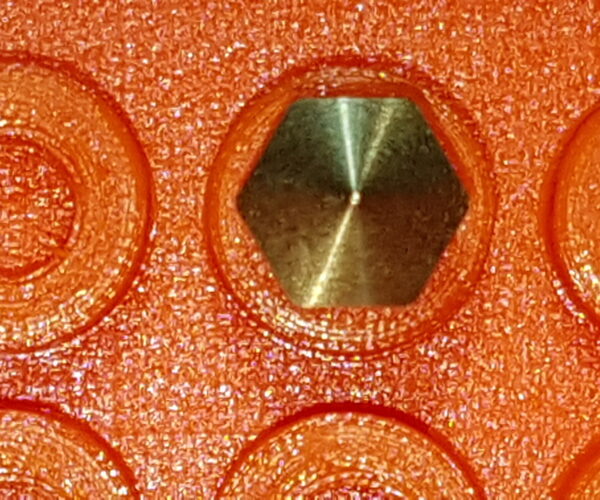
Going small with MMU
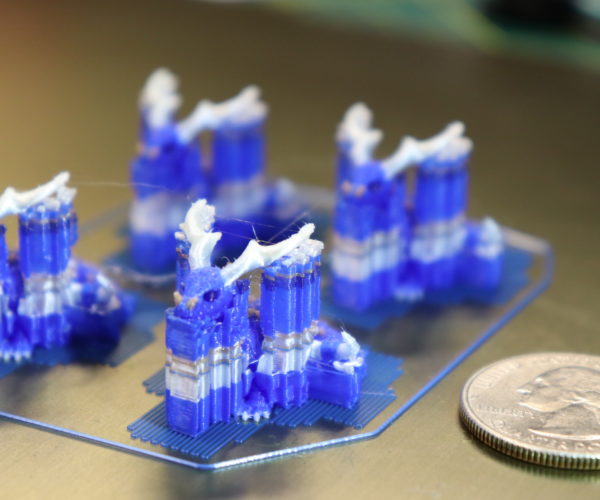
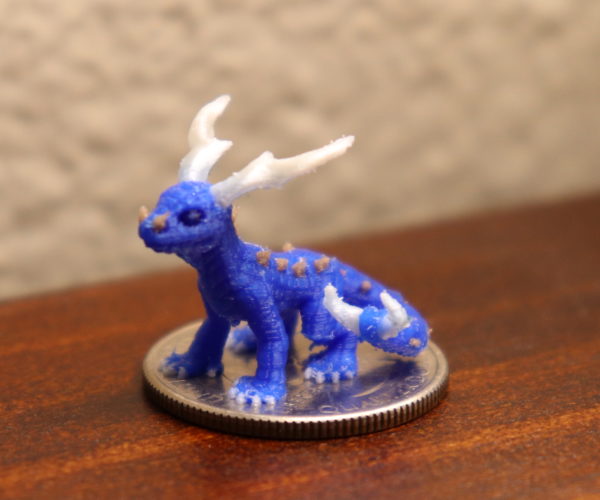
The new Prusa Mini intrigued me to try out small stuff on my MK3s+MMU2s. So I switched to the smallest nozzle I have (0.25), sliced with 0.1 layer height and here is the result:
So you understand the dimensions better. The coin (base) is 24mm in diameter. I'm really impressed what this machine can produce.
Source STL: https://www.thingiverse.com/thing:3906582
Often linked posts:
Going small with MMU2
Real Multi Material
My prints on Instagram
RE: Going small with MMU
Really nice print. Thumps up. 👍
_____________________________________________________________________________________________________
Plant trees with this alternate google search machine: https://ecosia.org - Thanks. 🙂
RE: Going small with MMU
Do you have a profile you can share? Or just the settings for the .25 nozzle on the MMU? I would love to be able to use the smaller nozzle on the MMU but I don't know what settings to change for the custom profile.
RE: Going small with MMU
Sure thing. Here is the project file:
Often linked posts:
Going small with MMU2
Real Multi Material
My prints on Instagram
RE: Going small with MMU
@nikolai-r
Thanks 🙂
RE: Going small with MMU
I contacted Prusa support about the 0.25 nozzle and MMU. I was suffering from frequent jamming when the MMU would change filaments.
Prusa support said that the 0.25 nozzle wasn't supported with MMU functions because in order to get a clean tip when changing filaments, they needed to push more filament through than the nozzle would support. Physical limitations and all. So they don't support it. It kinda works but you have to keep doing manual intervention.
Are you able to have multiple tool changes without intervention? If so, can you share how?
RE: Going small with MMU
You need to ID the source of the jamming. Is it the nozzle, the shape of the filament tip, filament grinding, etc - only then can you start working on the issue.
Guessing blindly, I would say that the primary points of concern with a 0.25mm nozzle are the wipe tower and ramming settings are what is trying to force too much filament through the nozzle. Those can be adjusted. Everything else should still be workable as it's not affected by the nozzle diameter (load/unload/cooling). Your wipe tower may give you some grief but that should also be fixable with experimentation. You may be able to gain insight from people that have done e.g. 0.05mm layer prints with the MMU2 as to what needs adjusting for lower available extrusion volume. A quick and dirty hack might be to drop the max volumetric rate for the printer to something that the nozzle can keep up with (rather than the hot end). That slows every aspect of the print within those limits.
Beyond that, you'll have to be meticulous to figure out problems. Things depend very much on nuances of the situation (e.g., as above you can't just say "it jams", you need to find out incredibly specifically where the jam is occurring to be able to address it rather than blindly throwing settings at it.)
-
RE: Going small with MMU
Fascinating! So it may be possible to print with multiple tool changes with a 0.25 nozzle even though it's not officially supported!
I had issues with stringing - that was the big one - and also with the wipe tower. It would often not extrude on initial layers, then later layers wouldn't have anything to adhere to, causing plastic spaghetti.
Where do I adjust the ramming, wipe tower and max volumetric. More important - how do I calculate the max volumetric rate?
RE: Going small with MMU
Fascinating! So it may be possible to print with multiple tool changes with a 0.25 nozzle even though it's not officially supported!
Just scroll up to the first post. You have the proof right there, there is no maybe ...
Often linked posts:
Going small with MMU2
Real Multi Material
My prints on Instagram
RE: Going small with MMU
Where do I adjust the ramming, wipe tower and max volumetric. More important - how do I calculate the max volumetric rate?
I don't intend to come across as mean/unhelpful but unfortunately if you're asking those kinds of questions, this is definitely not a project/task for you until you are much more familiar with your printer and software. While they are all present in prusaslicer for configuration, they are advanced settings and I don't think you're going to have a very fun experience if you aren't already familiar with them. Changing them at random is only going to cause a world of pain. I would suggest you start by becoming familiar with doing lower layer height prints with the tried and true 0.4mm nozzle first before adding another variable to the mix. Work with these settings and learn how they interact with your particular printer (assembly tolerances mean your settings can be different from those that work for someone else) and take copious notes about results when you change one thing at a time.
You'll be much better prepared to then tackle the 0.25mm nozzle and understanding what needs to change to address issues as you encounter them, rather than hoping someone else online has experienced the same, and happens upon your post.
RE: Going small with MMU
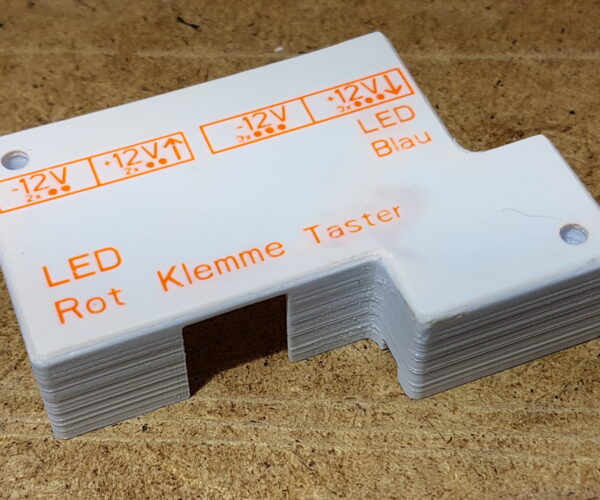
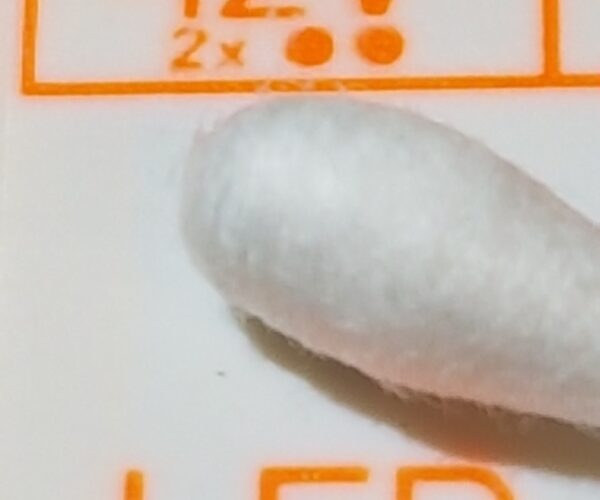
...also possible - printing PETG with a 0.1mm nozzle (Bondtech gear extruder) and MMU2:
not perfect yet, but it works...
0.1mm nozzle; my old cam can't reproduce the pictures more sharply.
Statt zu klagen, dass wir nicht alles haben, was wir wollen, sollten wir lieber dankbar sein, dass wir nicht alles bekommen, was wir verdienen.
RE: Going small with MMU
@vintagepc
I don't want to come across as rude either, but I'm a software engineer with 30 years experience. While not a mechanical engineer, I like to think that if I'm pointed in the right direction I can learn things. I have the engineer mindset.
I was looking for how to calculate the max volumetric flow - e.g. as a function of the filament diameter and nozzle diameter.
I appreciate you pointing me to first learn these functions as part of printing at lower layer height. Since the built-in prusa printer profiles give me satisfactory results at the lower layer height, there's not much in the way of learning opportunities.
I will continue to investigate lower layer height printing, and I appreciate your feedback.
RE: Going small with MMU
Sure- as with anything we need to learn... baby steps first 🙂 I do owe you an apology, seems these days a lot of people want to just be spoon fed answers and not have to do any thinking for themselves. I'd unfairly lumped you into that category based on my limited interaction with you in this thread. I was both fortunate to have dodged it and cursed to have seen the transition during my university years; utterly shocking the level of "dumbing down" that happened to advanced classes in the few years between my taking the course and a short stint teaching the same after graduate school.
I'm terrified of the future where said generation is going to comprise the entirety of the workforce. It's bad enough in community forums like this where, over the course of a day, you sometimes see 3-4 posts of people with some problem X where they clearly couldn't even be bothered to do the bare minimum of effort (e.g. look down about 5 topics in the forum list from where they posted and see the mega-thread specifically on problem x and how to solve it), nor write a coherent post explaining exactly what they have tried and what the results were.
Back on topic:
Have you changed the Plicer to show you advanced and/or expert settings? That's where many of these things live. From there, you said the stock profiles give you satisfactory results - excellent. That gives you a solid baseline to experiment with these things and how they impact prints. Many of them will give you some tooltips with a basic explanation of what it does - that's a good place to start learning about these settings. Look at what changes between, say the 0.20mm profile and the 0.10mm print profile. 0.05? Also look at what changes between the different nozzle profiles.
That should get you started down the path of what you're going to need to know to troubleshoot and adjust your own setup 🙂
RE: Going small with MMU
@vintagepc
I too owe you an apology - my response was snakier than intended when you were pointing me in the correct direction.
I do have expert settings enabled and have reviewed them multiple times but am unable to find a "max volumetric flow" and pointer to its location would be appreciated. Found it! It was in the filament settings, which in retrospect makes sense.
And to the point of trying to understand and not just enter random numbers (a tried and true software testing technique, but not one I'm interested in for printing! :D) I would love to understand what factors contribute to max volumetric flow and how to properly calculate it. Am I correct in assuming that filament density, filament diameter and nozzle diameter all factor in?
I've also seen the ramming profile which I believe will be key in resolving the issues with jamming that I had when I did try with the .25 nozzle. There also appears to be differences in the custom g-code between the .4 nozzle and .25 which I'm still investigating.
RE: Going small with MMU
and I found a post around max volumetric speed on these forums: https://forum.prusa3d.com/forum/original-prusa-i3-mk3s-mk3-how-do-i-print-this-printing-help/slic3r-1.40-max-volumetric-speed-relation-to-nozzle-size-perimeters-layers-speed/
RE: Going small with MMU
Yep - Normally max volumetric is really the rate at which your setup can melt plastic with the amount of heat you're putting into it. It's a property of everything that the heat must pass through, as well as how much heat you can physically add to the system - heater block, nozzle material, and the plastic itself. Naturally, the latter is usually the most limiting factor and that's why you'll see it's defaulted to 15 for PLA and 8 for PETG. There's some debate about the v6 hotend's actual max being around 11.5mm³/sec. A volcano is naturally going to have a much higher max volumetric rate. It's actually not too hard to determine empirically for a given system - just run some test extrusions and keep upping the feed rate until it starts skipping steps. Back off a safe margin and that's the new value.
But it has other uses, such as in this case- you might be able to melt the max rate of plastic, but if you can't shove that all through the nozzle then your actual max throughput is going to be a lot lower. The utility here is that this particular value dictates many of the maxima in the print - exactly the things you want to dial back for lower flow situations. It's very much a global thing, so if your prints themselves are OK and your main issue is with the wipe tower, then I'd investigate the tower specific items first rather than throttle back everything. Oh- and filament properties can play a huge role - so don't overlook that! might be best to experiment with two rolls of the same make and colour (yes, pigments can have a big impact!) at first to avoid complicating the mix until the foundation is good.
Good luck!
RE: Going small with MMU
@vintagepc
Thanks! Very helpful information!
RE: Going small with MMU
Nice figurine.
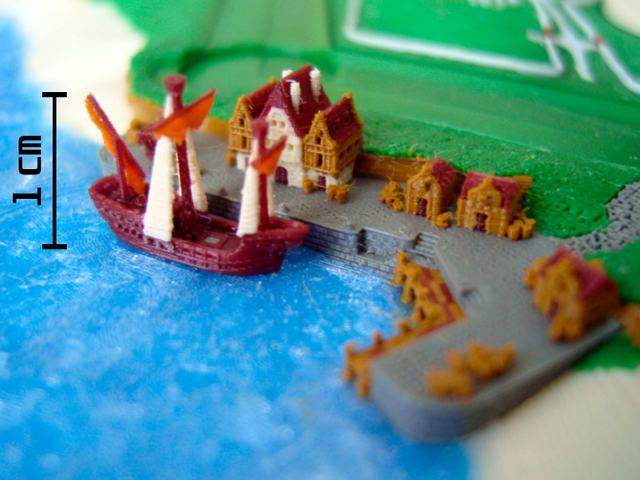
I also printed a lot with MMU, 0.25mm nozzle and 0.1 layer height.
This ship is a separate piece, 4 colour print.
(forgive the stringing in the harbour, those strings are so fine they are practically invisible to the naked eye which is why I didn't care)
https://www.prusaprinters.org/prints/63150-moored-sailing-ship-catan-high-resolution-mmu-cosm
Mk3s MMU2s, Voron 0.1, Voron 2.4
RE:
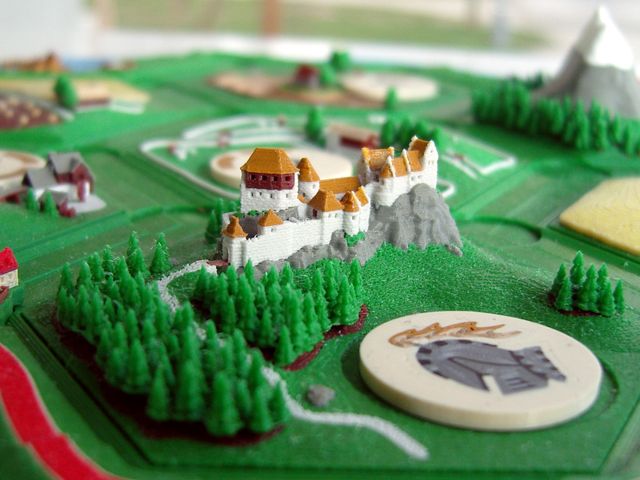
In case anyone is interested, I printed the entire rest of my Catan set in the same scale:
https://www.prusaprinters.org/prints/44082-settlers-of-catan-high-resolution-mmu-unofficial-f
PS: I know, I am a bit late to the thread.
Mk3s MMU2s, Voron 0.1, Voron 2.4
RE: Going small with MMU
That's really impressive!
