A nixie project
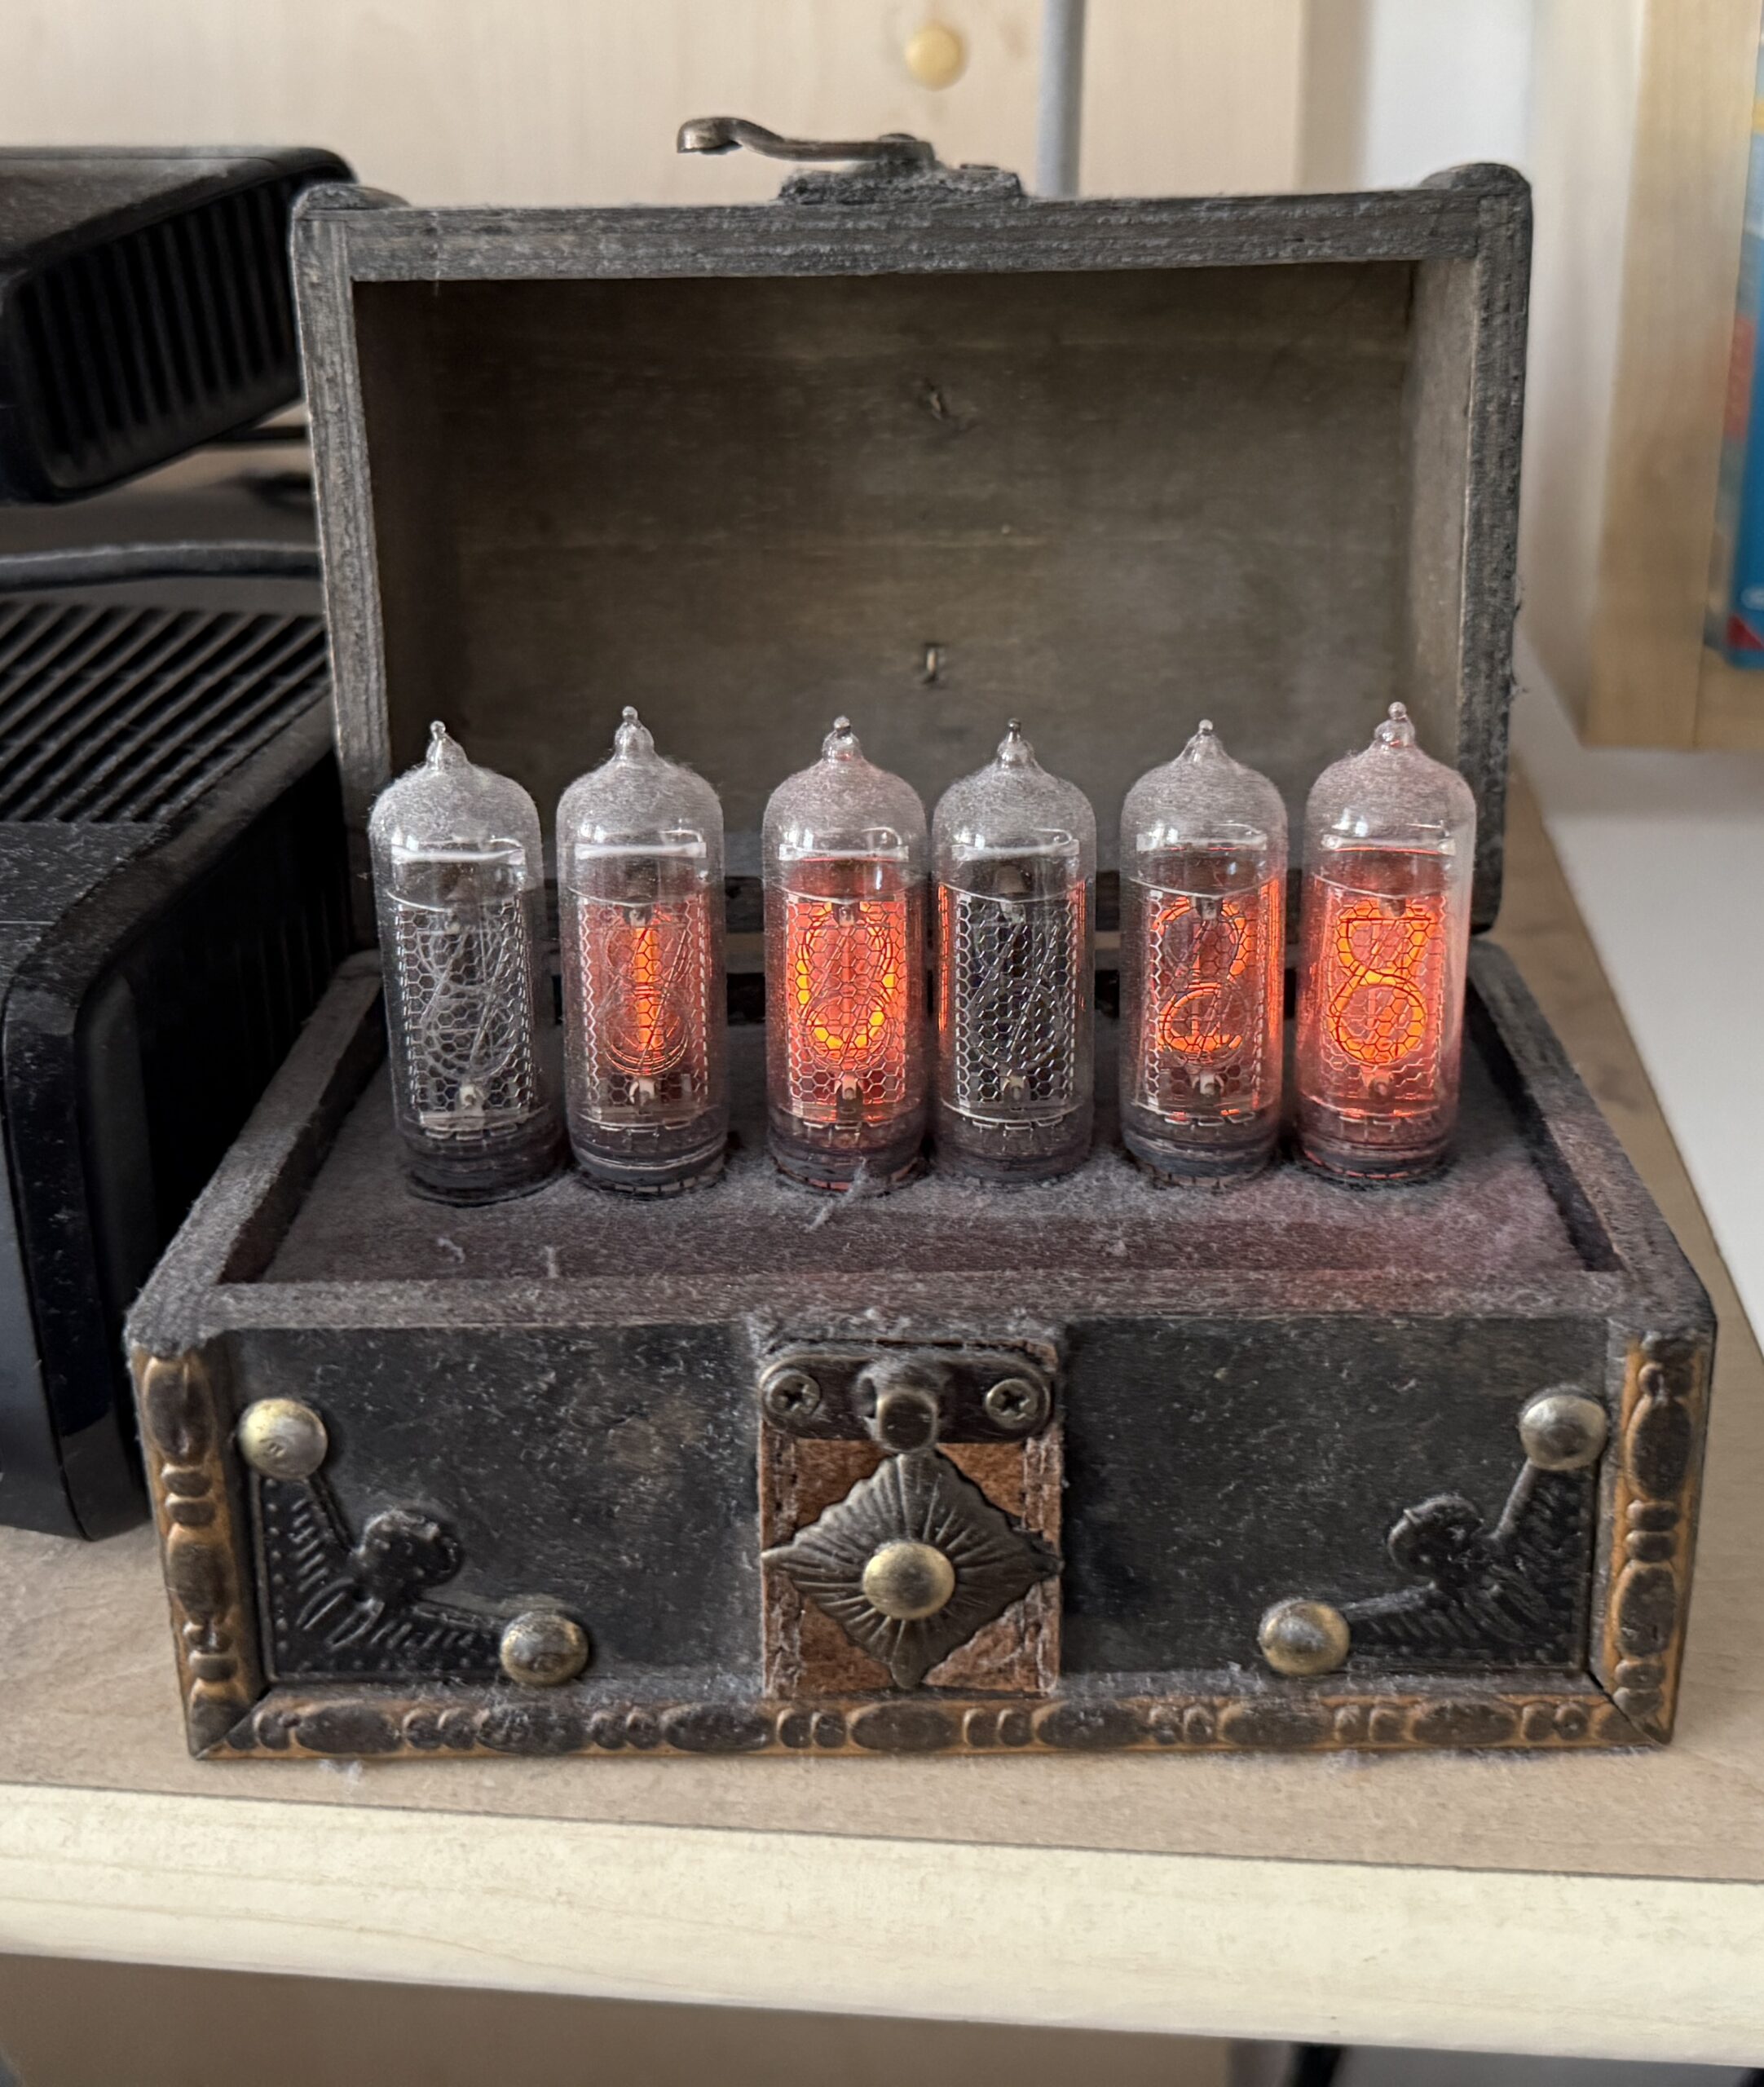
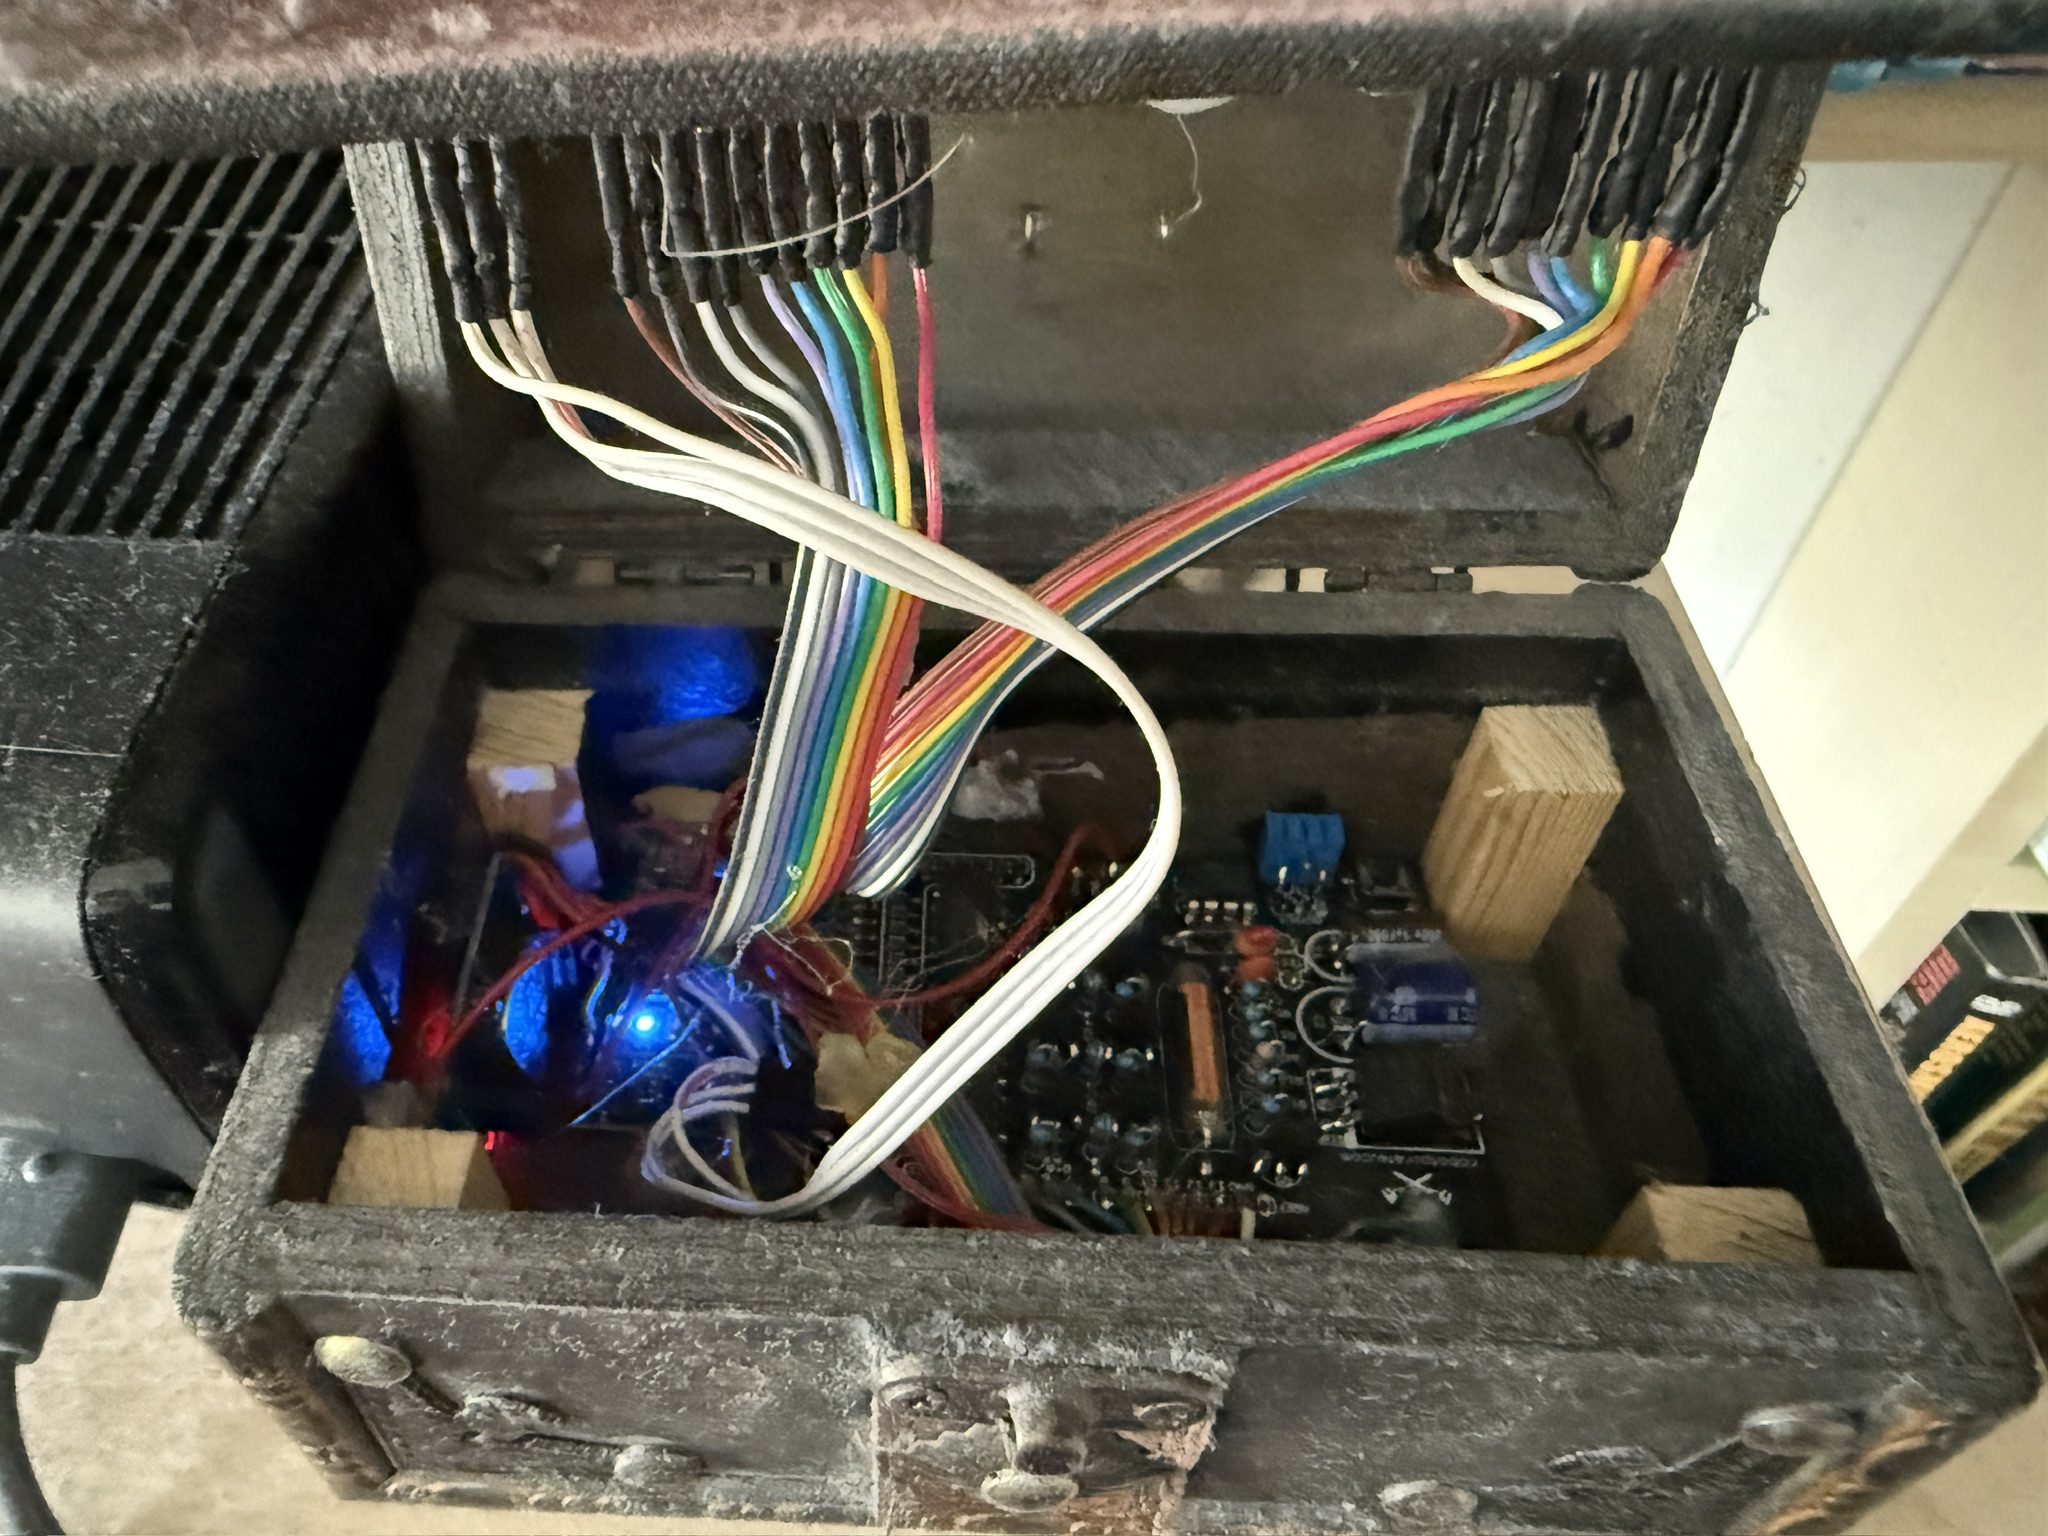
Lately i find myself complaining a tiny bit about prusa's printers. But in all fairness they actually produced great results on my projects. Following is an approach for a Nixie clock i build when i first got my XL. I uses the XL for functioning parts, my SLS for cosmetic and detail ones, my cnc for wood processing and my smaller engraver for pcbs. It uses a nixie bar for temperature or second reading , according to a levers positions , humidity meter and motion detection.
. 


RE: A nixie project
Cool.
How do you drive the nixie tubes?
I have built some nixie clocks as well.
For the first one, I did the whole electronics by myself (with an arduino nano), and later I used the arduinix board, but I added a RTC module.
The last one uses a nixie driver board from aliexpress.
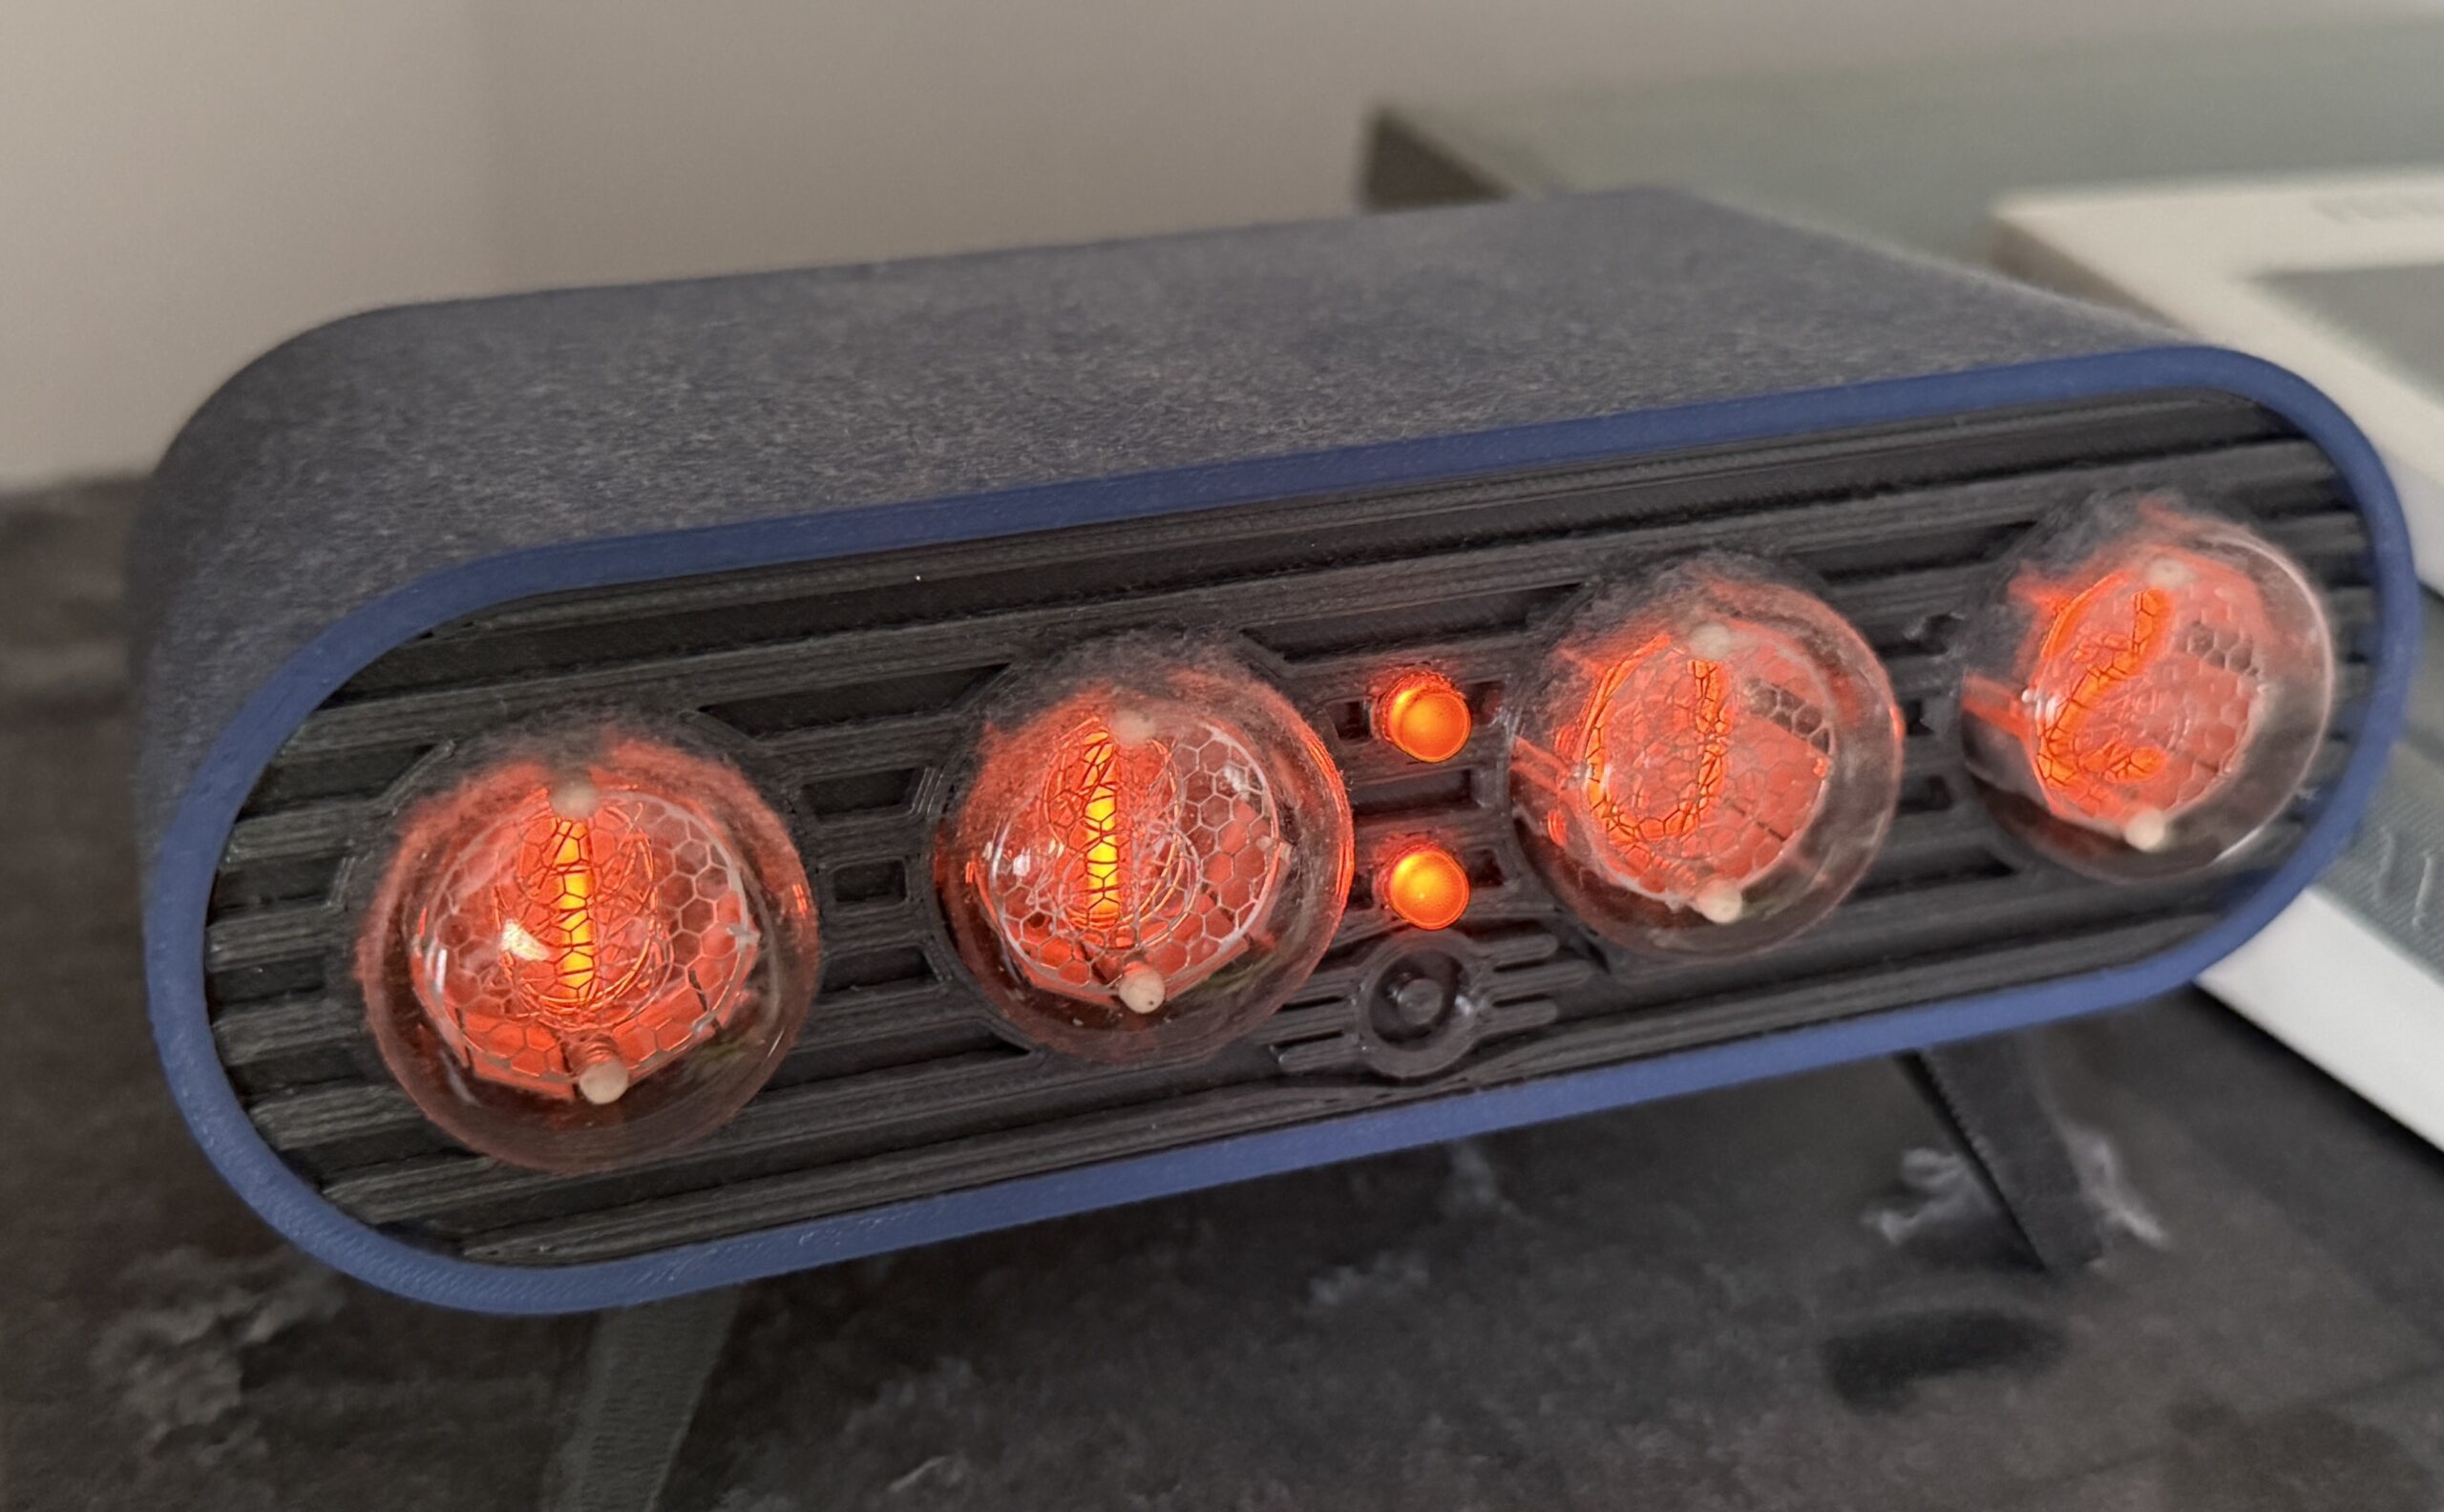
On the pictures not all digits are visible, because of the shutter speed.
RE: A nixie project
REAL nixie tubes. Cool! Well...not cool. They put off a fair amount of heat...Much of my test equipment was nixie tubes back when I started in electronics.
RE: A nixie project
The nixie tubes do not really produce a lot of heat.
The glowing is not because of heat as it is in a regular light bulb, but it is a glow (gas) discharge.
RE: A nixie project
How do you drive the nixie tubes?
I actually use an arduino nano for the nixie digits along with a couple of 74HC595 SR and 4 nixie drivers. For the bar i made current regulator circuit. The humidity indicator its just a servo with a dht22. I just love the retro feeling of nixies.
RE: A nixie project
Very cool project! Nicely done
RE: A nixie project
Thanks 🙂