Prusa Mini+ Bed adhesion trouble to default steel sheet. To gluestick or not to gluestick.😐
Hi All,
Having a lot of trouble trying to print this:
https://www.prusaprinters.org/prints/30312-aa-battery-and-aaa-battery-dispenser
on my Prusa Mini.
So far i've tried.
1. Printing on Side A of the supplied 'Heatbed Steel Sheet' using Glustik to adhere the print to the bed.
2. Printing on Side B of the supplied 'Heatbed Steel Sheet' using Glustik to adhere the print to the bed.
Reading a post in the forums stating by @cwbullet that glustik shouldn't really be required, and to wash the glue off the bed with soap and hot water.
3. Cleaned the glustik off both sides of the bed, using hot soapy water.
4. Ran the First Layer Calibration from the calibration menu. (looks good - all removes cleanly as one piece).
5. Tried running Benchy files. First layer wasn't clean, but other than this looked good.
(See attached image A. benchy first layer). 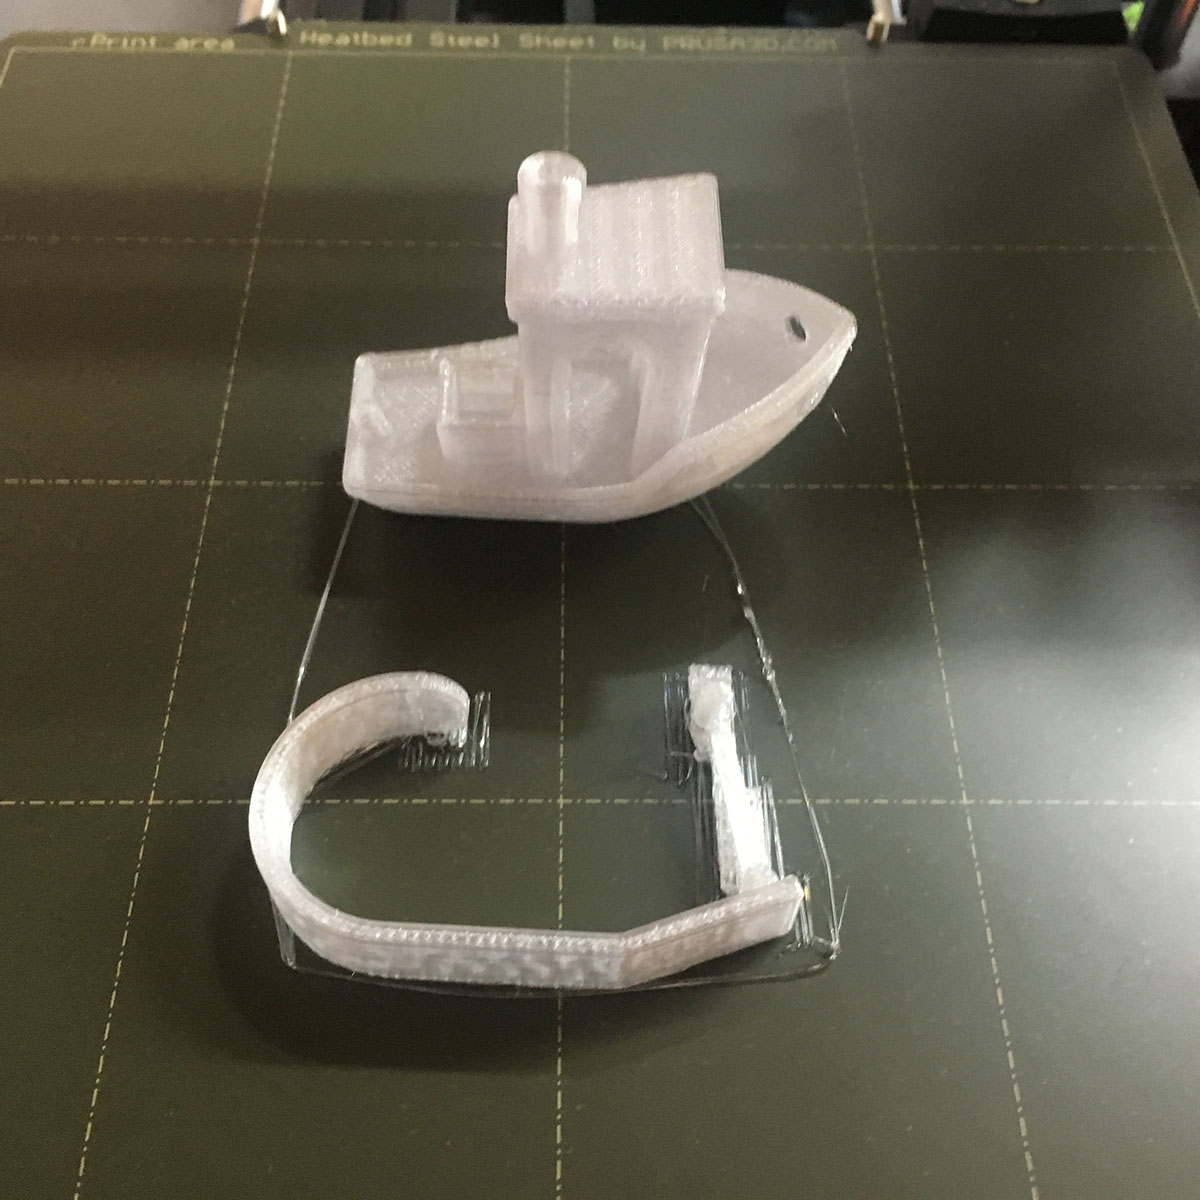

NB. I notice that when printing the 'calibration test' that the filament sticks well in the X and Y straight line directions.
When running the actual prints the non-linear movements for the initial skirt are often not sticking to the bed.
The image of the benchy with the clean first layer is from my Ender 3 for comparison.
6. Take 1 - Tried running the AA battery holder. Fail - horizontal thin line in file not sticking to bed.
7. Take 2 - Retried, using other side of clean bed, got the first layer down, then the file dislodged as a whole on the 2nd layer. Fail.
8. Take 3 - Got first and 2nd layer down, at last, left to print and sure enough came back to a catastrophic failure.
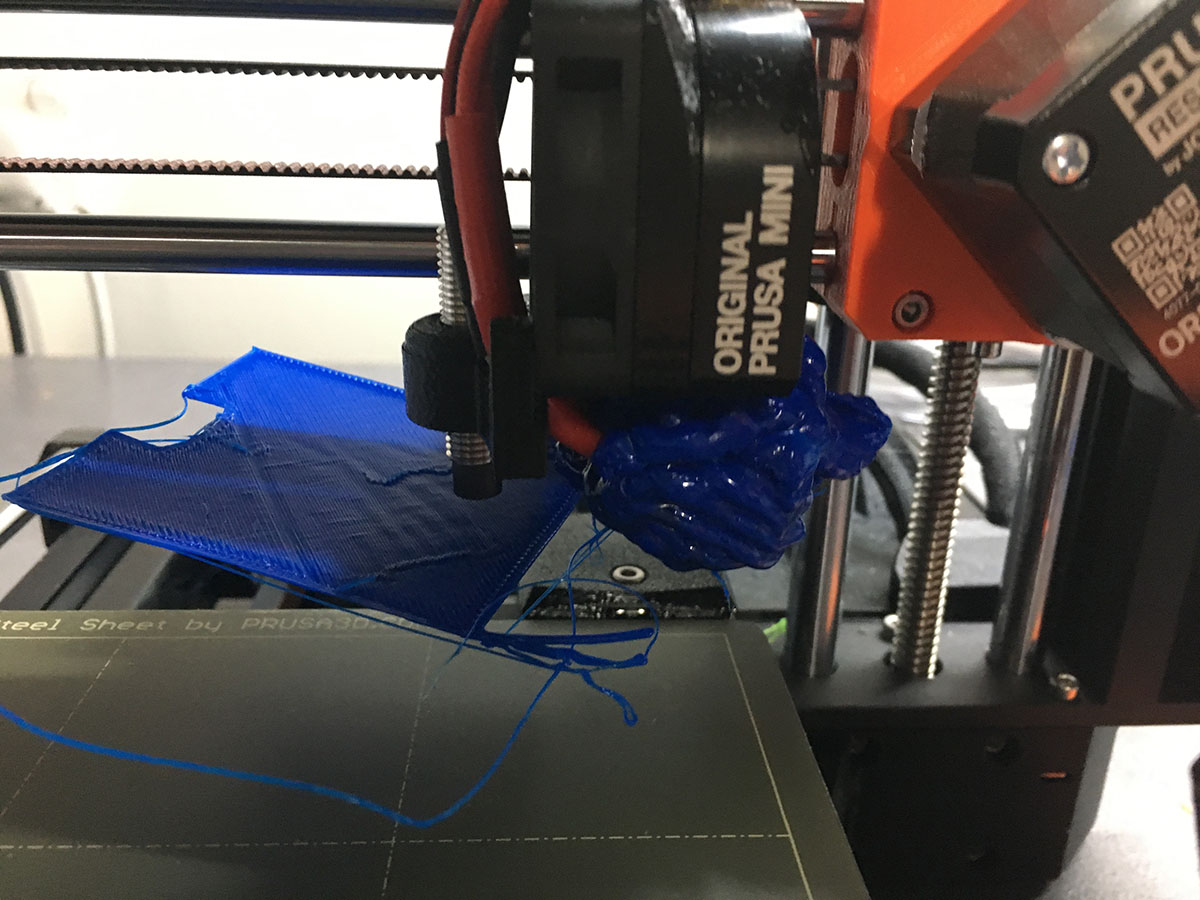 See images.
Giant ball of filament at the end of the nozzle.
Cleaned the printer up including scrubbing the hotend with an old toothbrush.
Ran the 'Self Test' - All Clear. 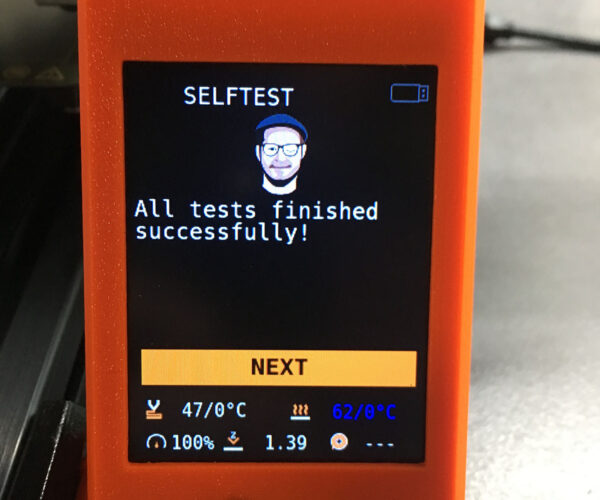
Print was sliced using PrusaSlicer 2.3.0 (latest?). for PLA
215˚C hot end / 60˚C bed.
Need some guidance with :
A. What is the best way to get the first layer to stick?
B. Should a glustik be used for PLA on a Steel sheet?
C. Are there PrusaSlicer settings that will assist with this? Running with default 0.20mm Quality settings and eSun PLA profile.
D. Is there a better test to run than the default internal 'First Layer Calibration' which works well for me?
Thanks in Advance.
Prusa Mini+ - Fw. 2.3.1 - PrusaSlicer 2.3.0 (Mac) - Filaments PLA / PLA+ / PETG.
RE: Prusa Mini+ Bed adhesion trouble to default steel sheet. To gluestick or not to gluestick.😐
Add the brim to firt layer in slicer
Clinap Y-axis table.
RE: Prusa Mini+ Bed adhesion trouble to default steel sheet. To gluestick or not to gluestick.😐
@javacer
Thanks for the thought - i'll give it a try. What is 'clinap' Y-axis table?
Please advise.
Prusa Mini+ - Fw. 2.3.1 - PrusaSlicer 2.3.0 (Mac) - Filaments PLA / PLA+ / PETG.
RE: Prusa Mini+ Bed adhesion trouble to default steel sheet. To gluestick or not to gluestick.😐
I found a youtube tutorial for getting better results in calibrating the nozzle height
This made sense given that, yes, the prusa test file did only have a square panel in one corner.
Running this I adjusted my nozzle height down to -1.70 and got a nice smooth square.

Given the success of the layer @ -1.7, I moved to printing the sample treefrog from the supplied USB.
This printed in Prusament Galaxy Black and looked great.

So back, to the battery box.
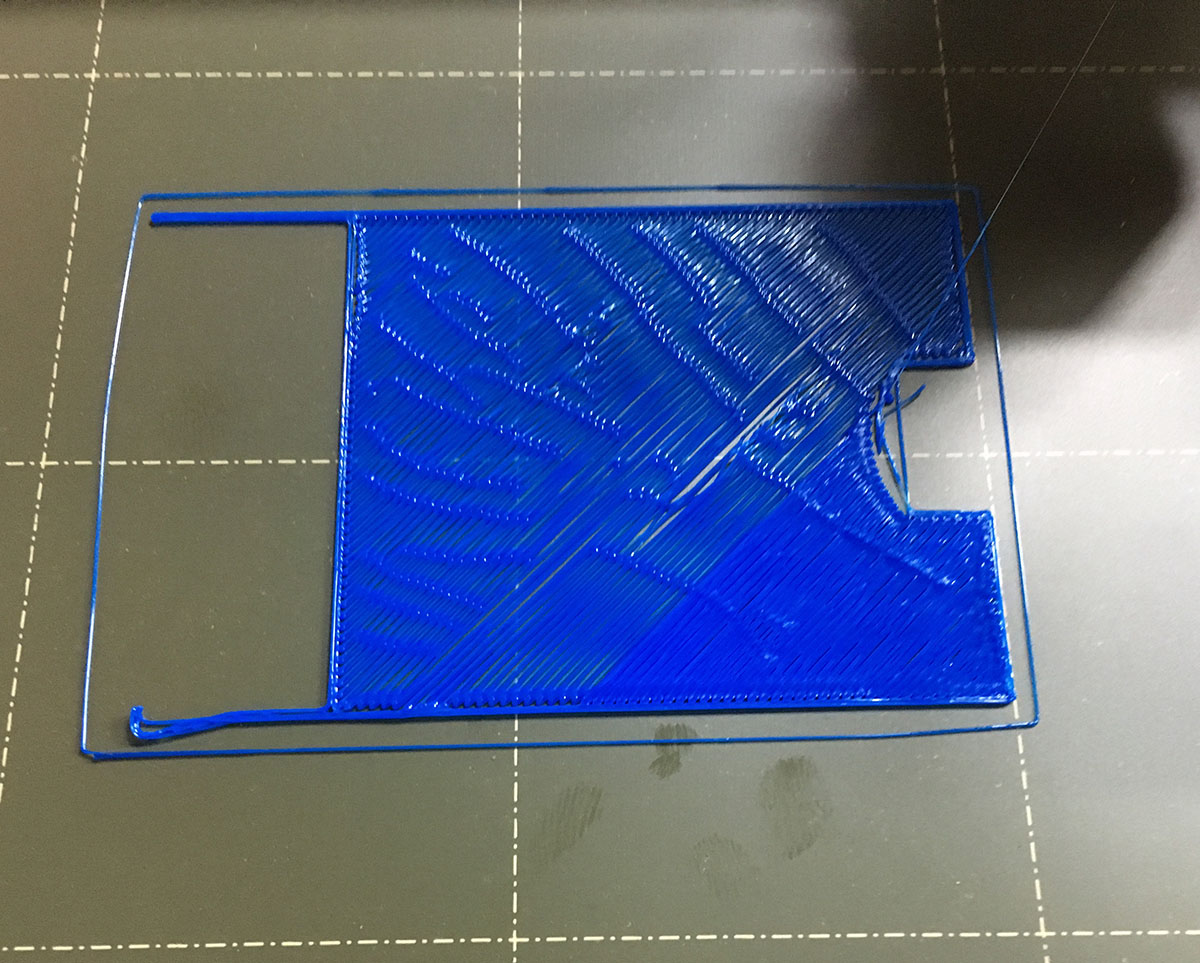
First I tried with the eSun PLA blue, the first layer went down really well. (Hooray!! - No bed adhesion issues).
The 2nd layer started to 'gouge' the 1st layer resulting in an uneven finish in the cross pattern.
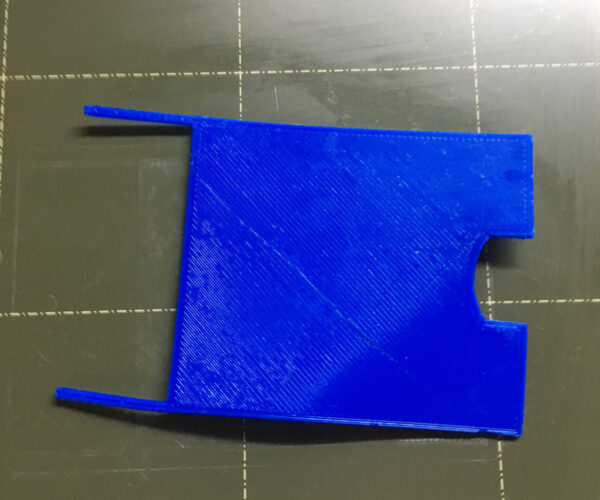

So, FAIL for -1.70 nozzle height and the eSun filament.
Notice in the images the first pic, is the bed side of the print and looks pretty good.
The subsequent images are of the nozzle side (up side) of the print and have serious gouging in them.
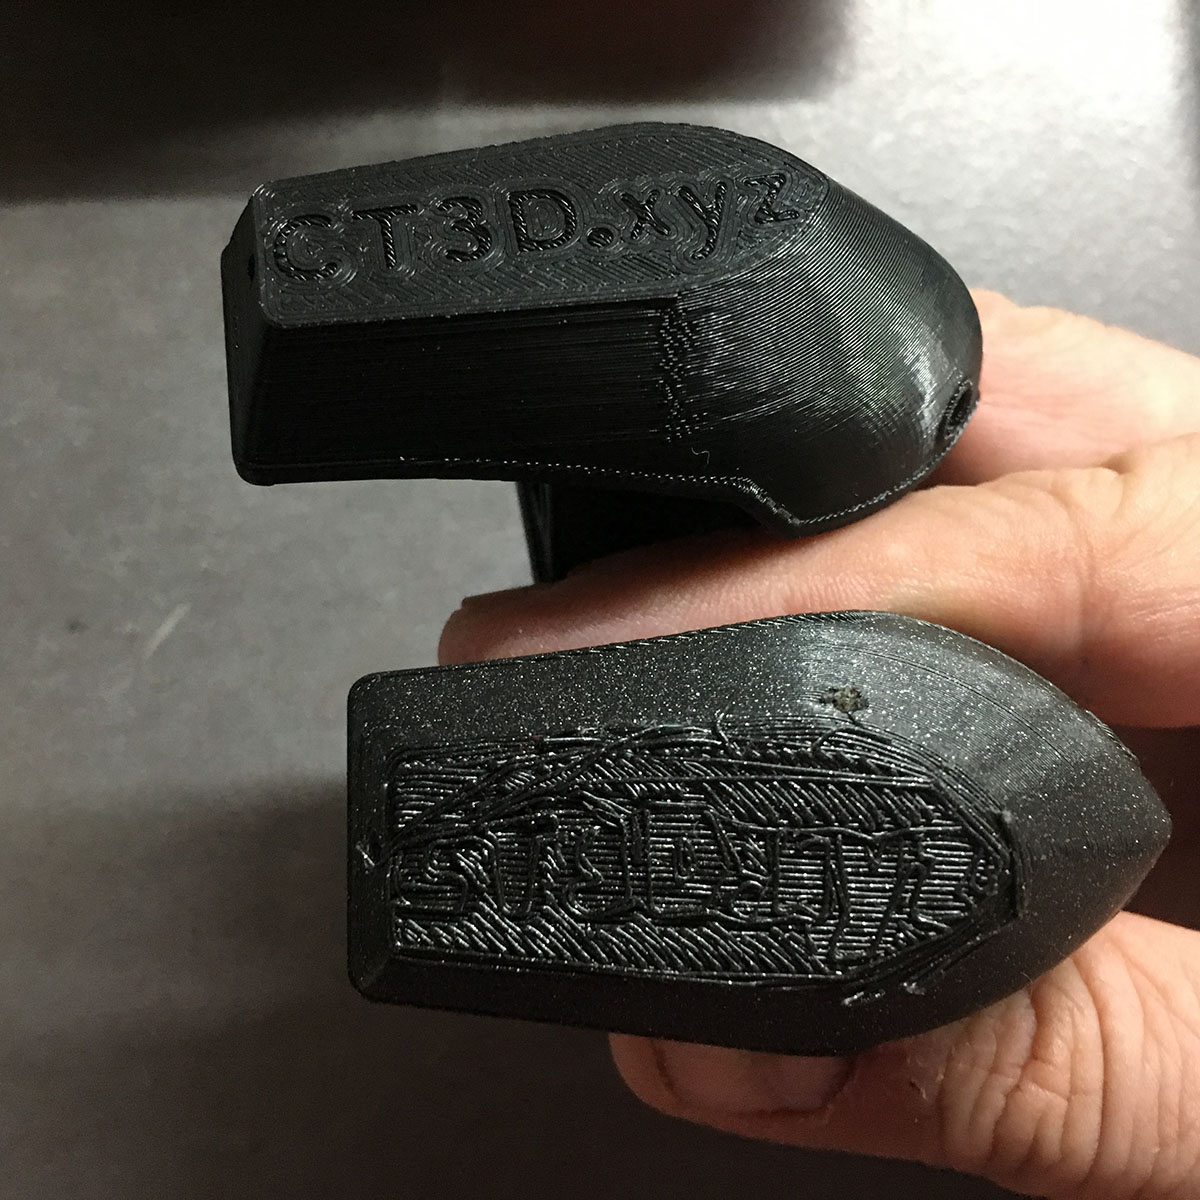
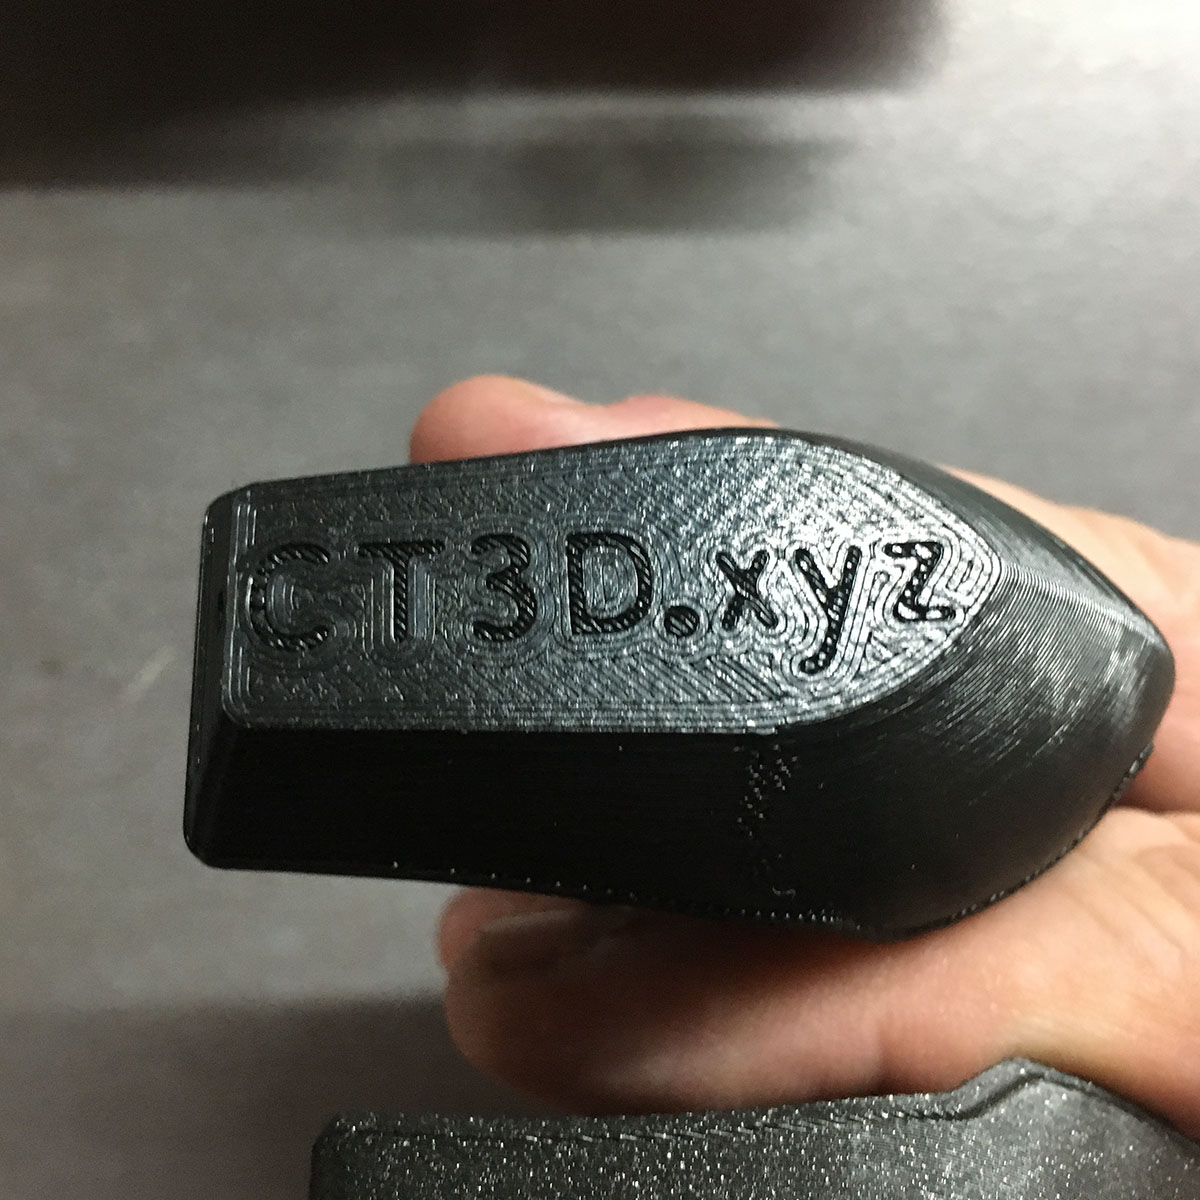
Next, I tried a different filament and broke out a new roll of Prusament Galaxy Black.
The first and 2nd layers worked on this BUT the 3rd layer suffered in the same way with gouging in the filament.

Notice in the image the layer looks reasonable good in the light grey, BUT the 3rd layer, starting from top Right (dark grey) is gouging again. 😩
Here is the comparison of the 2 filaments :
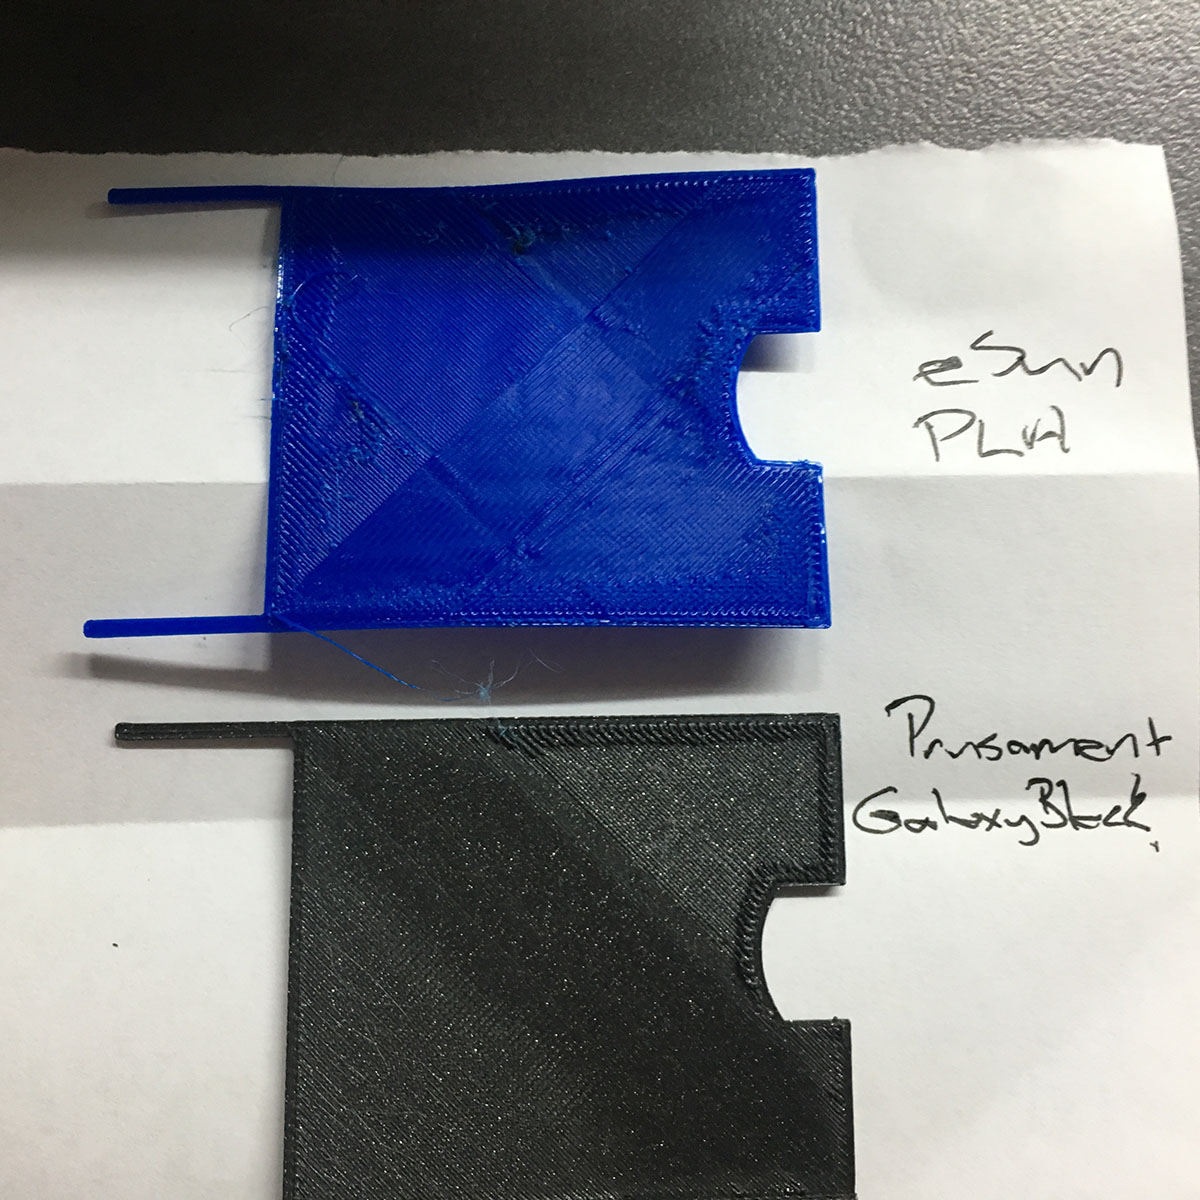
So BOTH a fail.
My only thoughts left are :
1. Try printing other files with the -1.70 nozzle offset and see if the issue repeats. THEN
2. Try re-slicing the file in PrusaSlicer and see if a different resolution / speed / brim? Fixes the issue.
Appreciate any comments based on the images above. Thanks.
Prusa Mini+ - Fw. 2.3.1 - PrusaSlicer 2.3.0 (Mac) - Filaments PLA / PLA+ / PETG.
RE: Prusa Mini+ Bed adhesion trouble to default steel sheet. To gluestick or not to gluestick.😐
If the sample gcode works, it has to be the slicing settings.
--------------------
Chuck H
3D Printer Review Blog