PETG inconsistently causing ruptures on surface of print
I've posted an earlier post about pillowing, and although I believe I've fixed that problem somewhat well after some feedback, I seem to be having a different problem. this actually is more about interactions between full layers that I can't well describe because I have no idea why or how it's happening, just have pictures. this is actually best illustrated with a test print that looks like the following (midway) in slicer:
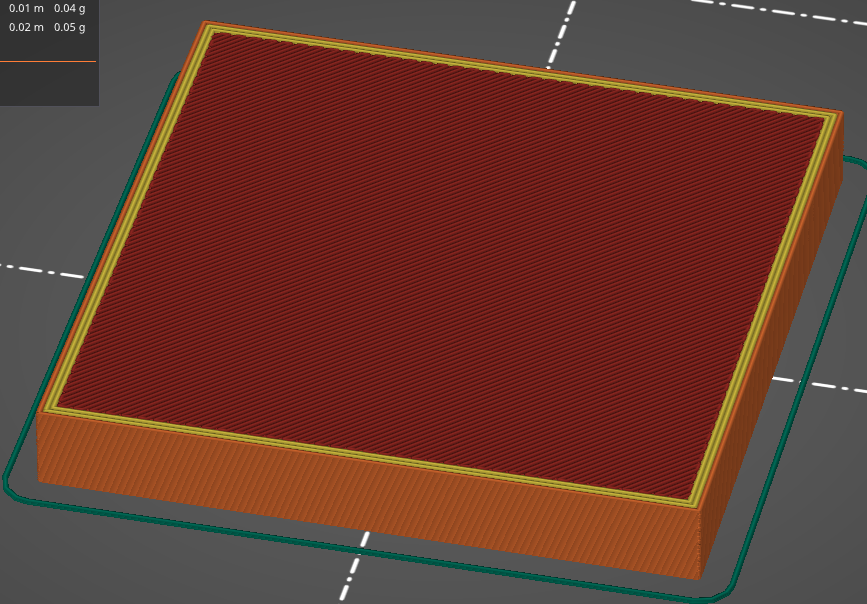
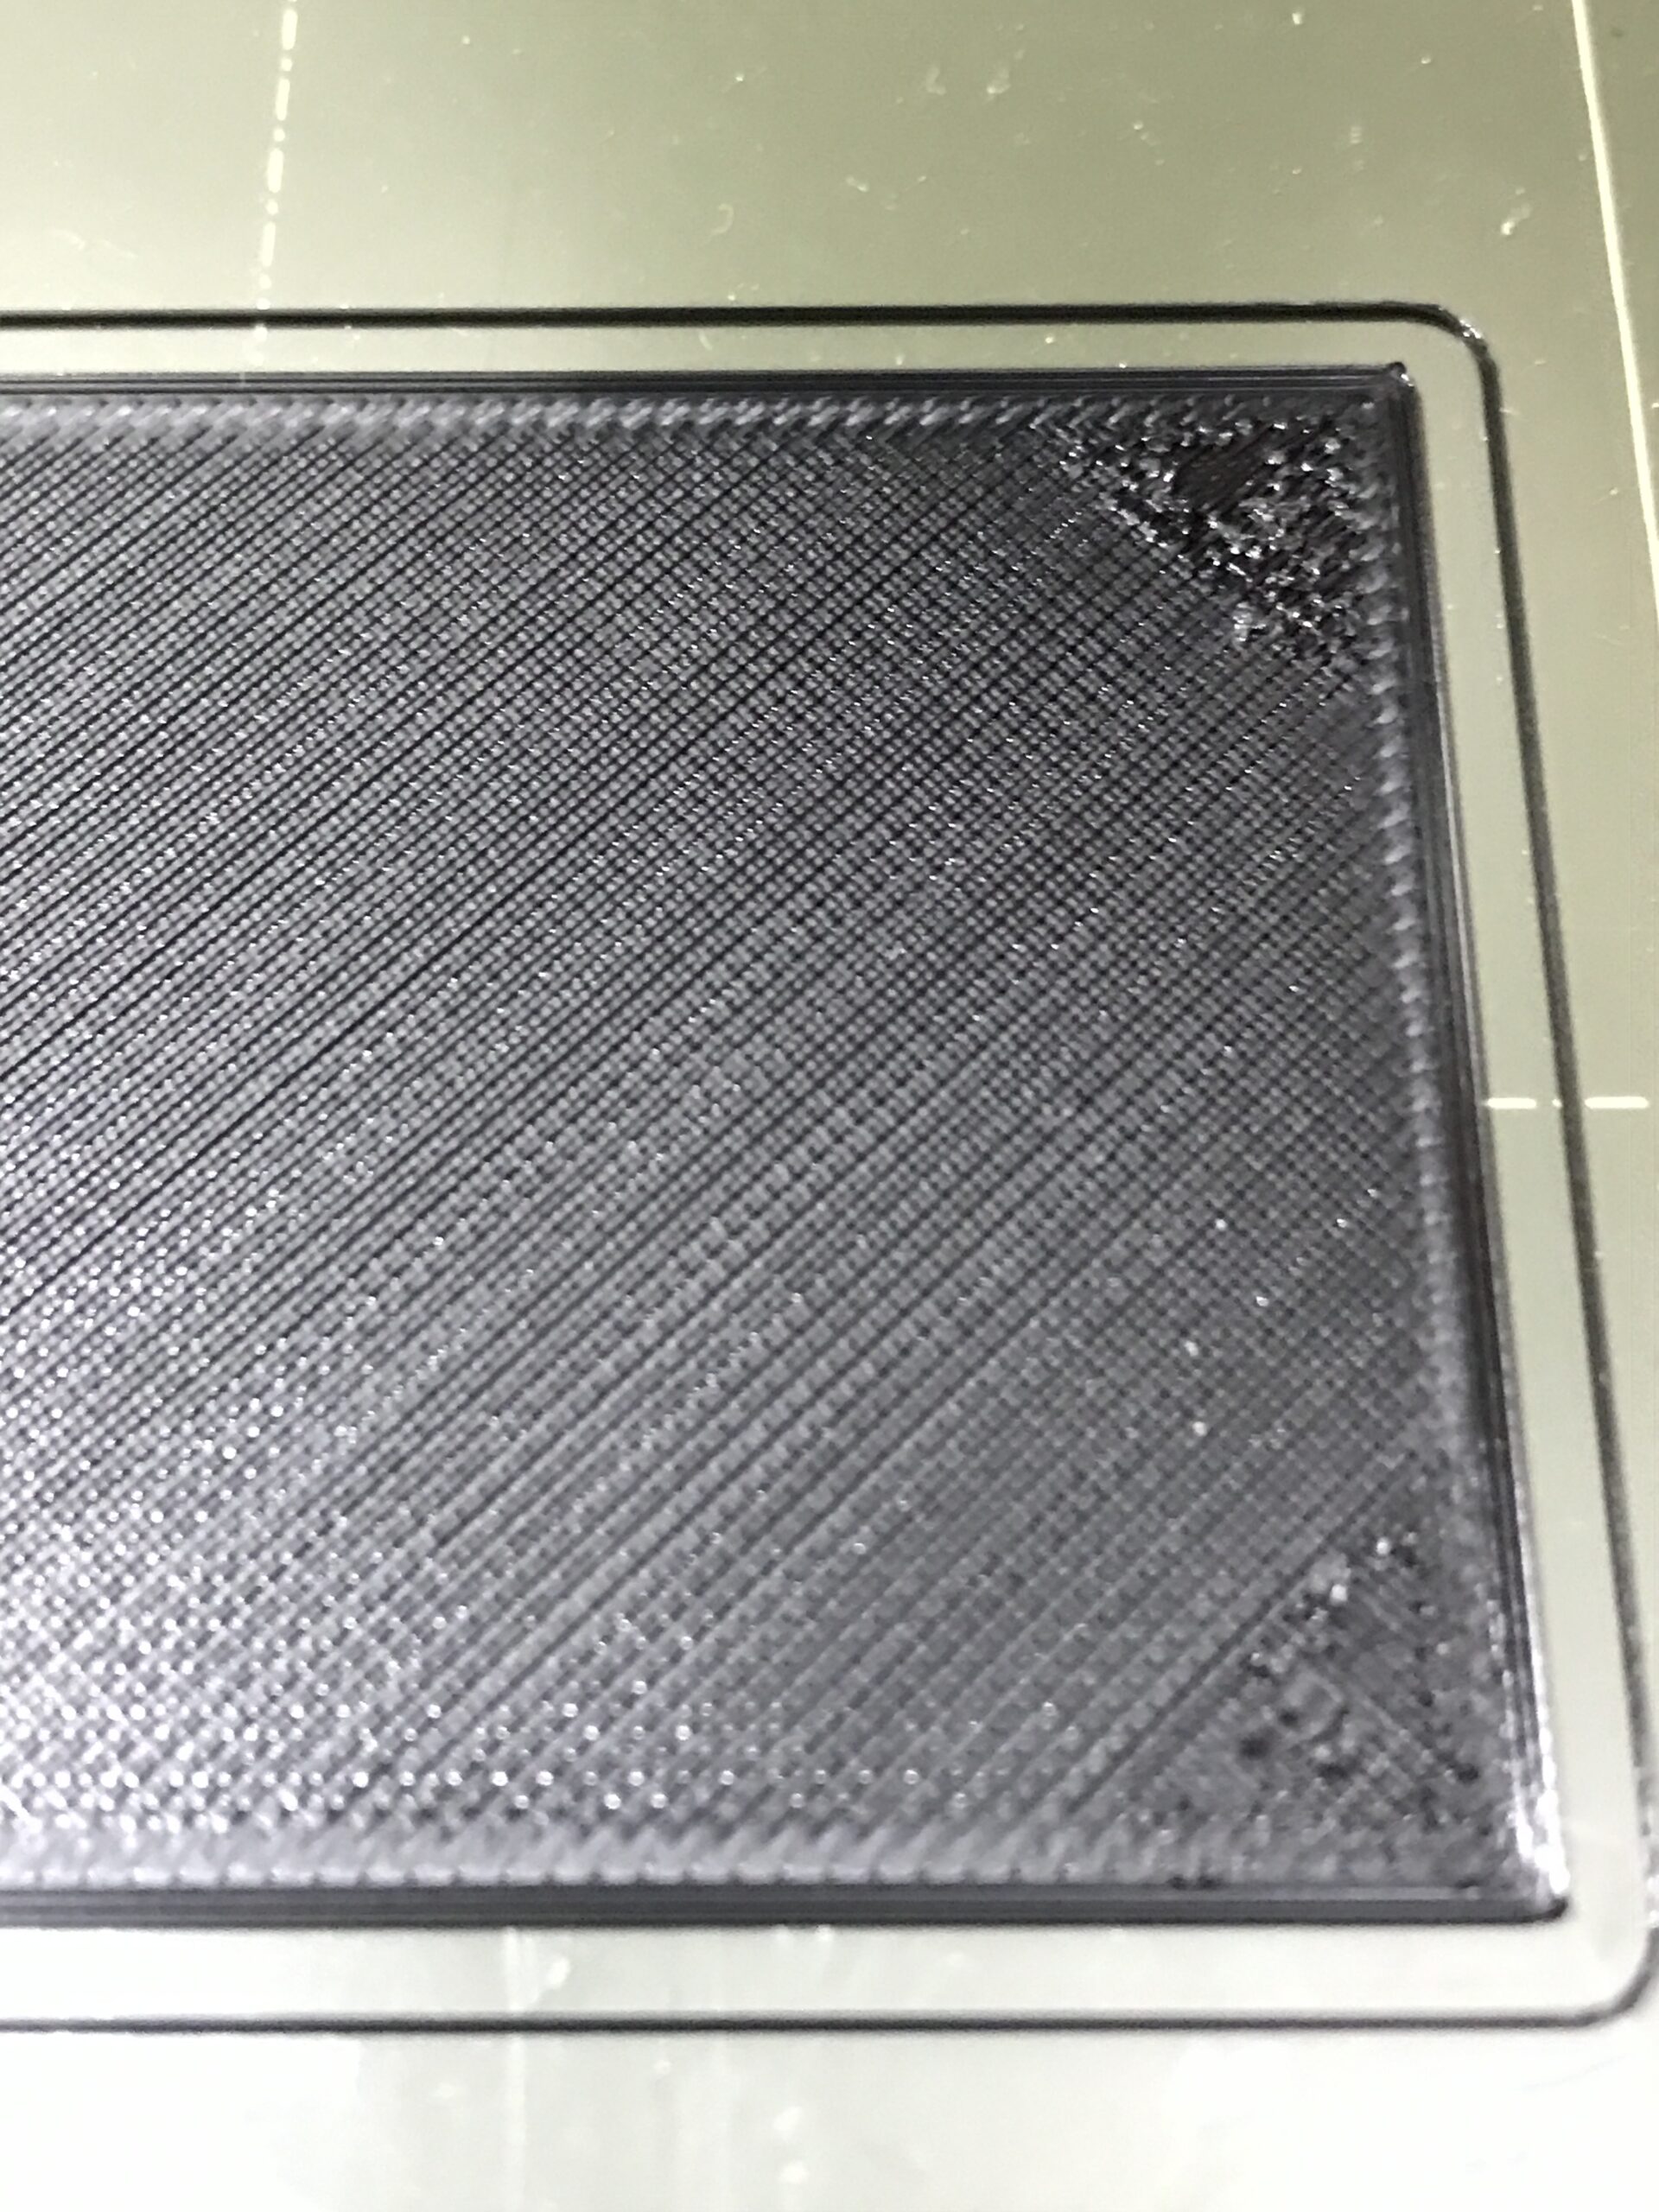
just a simple cube, 100% rectilinear fill. the first layer goes perfectly, with very good adhesion and a smooth surface. this goes on for about 2 more layers, but then it starts getting "corrupted", and only in specific areas (these tend to be near the top and bottom right sides of the print bed), as seen here:

looking back on this image, the layers look a little bit separated, although they seem very smooth to the touch; however, the corners are the most concerning parts. it seems almost as if the nozzle is digging into them a bit too much, but this doesn't make sense as the first layer was perfect. I've tried raising and lowering the nozzle by about 0.1mm to no avail; this just keeps happening. is this a common problem and how could I remedy this?
these are my print settings:
- Using PrusaSlicer with 0.1 mm layer height
- Using PETG, 1.75 mm240 °C nozzle, 90 °C bed
- 0.4 mm hardened steel nozzle
- Printing at 40 mm/s
- 9 top layers, 7 bottom layers
- Using 15 % infill (slightly more than recommended, trying to keep this low for weight)
help is much appreciated, thanks in advance, y'all!
RE: PETG inconsistently causing ruptures on surface of print
Hey Alyssa, my guess would be just a bit of over extrusion. If you are only over extruding just a bit, the effect will accumulate from one 100% layer to the other and start to show after a few layers. Third layer is a bit early though. Using small layer heights contributes to the problem, you can get away with a bit of over extrusion for a few layers with 0.2mm layer height but it gets more sensitive with smaller ones. Using 100% infill or to many bottom/top layers on lager objects is generally not the best idea unless your extrusion is dialed in exactly on the spot or a bit on the low side. What infill are you using, first you state 100% rectilinear linear fill, later 15%?
BTW it's easier for you (no need to write all the settings) and everybody else (no need to ask for settings) if you post a zipped project file...
If at first you don't succeed, skydiving is not for you.
Find out why this is pinned in the general section!
RE: PETG inconsistently causing ruptures on surface of print
ahhh, so sorry about that! I made this post at 5am my time, so I had absolutely no brain power to proofread and copied my settings from a previous print, where I was trying out a 15% infill print, my bad. I am using 100% infill, and that is the problem. that makes a lot of sense though, and actually tracks from what I've seen; I've had this be an even more severe problem with 0.05mm layer height, and was wondering about this.
how would I go about fixing overextrusion? I've been told I should, say, extrude an amount of filament, then determine how much actually comes out, do some math, and then alter my extrusion multiplier for that? but for some reason the E setting on move axes is greyed out, not letting me do any manual extrusions.
RE:
There are three main parameters to dial in to get your extrusion right: E-steps, filament diameter and extrusion multiplier. Preferably in that order.
They all three pretty much do the same, they change how much material is extruded. Why are there three, can you just dial in one and be done? Yes you could, but you would need to do this for every spool of filament and you would have very unique values, making troubleshooting difficult.
E-Steps make sure that the length extruded is the length your slicer thinks it is. Tutorial: https://all3dp.com/2/extruder-calibration-6-easy-steps-2/ normally there is not much to correct on a proper MK3, but it does not hurt to check.
Measuring the diameter of your filament in a good amount of places and in all direction and calculating an average and inserting into the slicer makes the following calibration of the extrusion multiplier applicable for different spools of filament, if you get new filament of the same type, measure the diameter, change it in the slicer and get good results without the need of dialing in the extrusion multiplier again. It basically makes sure, the slicer can calculate the right volume of material extruded for a certain length. With prusament (and other premium filaments you can skip that and use the diameter printed on the filament box), or do it anyway just to be sure... 🙂 Look here to get the idea: https://filaments.ca/blogs/3d-printing/how-to-measure-3d-filament-diameter
Finally the extrusion multiplier, you need some test prints and some experience in judging them, but here is a good explanation: https://help.prusa3d.com/article/extrusion-multiplier-calibration_2257
Happy calibrating!
If at first you don't succeed, skydiving is not for you.
Find out why this is pinned in the general section!
RE: PETG inconsistently causing ruptures on surface of print
thank you so much for all this! I actually didn't realize there's so much to it, in fact I only actually knew about the extrusion multiplier stuff. I somewhat trust my filament, so I wasn't really planning to do anything specific to measure the filament. I also am not sure how the e-steps work either, as I don't know if it's a MK3-only thing, but my MINI definitely doesn't have an e-steps option (neither do I even know how to input raw gcode into it, lol). regarding the extrusion multiplier, I've been somewhat busy lately so I haven't gotten a chance to do a lot of the testing. I just decided to lower the extrusion multiplier to about 0.9 as I don't think there's a middle ground between these 2 values (neither would I want to search for it, haha) as a sorta test. this didn't really work though, and I'm not entirely sure about this but it might have slightly made it even worse.
RE: PETG inconsistently causing ruptures on surface of print
It‘s ok to trust your filament, and no it‘s not a MK3 thing, it‘s a stepper motor with a gear thing…
Your last picture looks more like under extrusion (the lines look as if there a spaced a little), also the problematic corners do not look like there is to much material and the nozzle is digging in it. Which corners in reference of printing direction are the problematic ones? Material accumulation due to over extrusion would tend to form in the corner the long diagonal lines are printed towards and in the „short line corner“ printed in the end. If that is not the case the extrusion might not be your problem at all. In this case reset the multiplier to default before changing anything else!
If at first you don't succeed, skydiving is not for you.
Find out why this is pinned in the general section!
100% fill is almost always a mistake, it leaves no room for any slight extrusion misconfiguration to ooze out of the way.
0.05mm layers with the standard nozzle are rarely worthwhile unless there are fine details embossed in a vertical surface. They too leave little room for misconfiguration.
For your test print 0.2mm layers would be fine.
Cheerio,