Large Live-Z but good first layer
I bought the kit and followed the instructions for calibration using a sheet of paper. On the second calibration point, the paper started moving, so I decreased the height of the PINDA probe and that fixed my problems.
I downloaded the "live z adjust my way" square and started the process. Right now it seems that a value of -1.575 is the best. I'm getting good adhesion and the thickness of the square is 0.24mm according to my digital caliper.
So it seems like that live z value is much higher than others but if it works, does it matter?
RE: Large Live-Z but good first layer
Probably not - but remember that since the PINDA probe can be moved the "correct" height as read will vary with the position of the probe. I suspect that 1.575 is near the end of its sensitivity and it might well be moved a little (that's the probe moved). The actual height of the nozzle above the bed for correct printing, once you have recalibrated, will be the same but the PINDA probe reading will be less negative.
If it's working well I would leave it until you need to work on the hot end.
This post is a natural product made with recycled electrons. Variations in spelling and grammar enhance its individual character and are not flaws or defects. Errors in tact or fact are transmission errors.
RE: Large Live-Z but good first layer
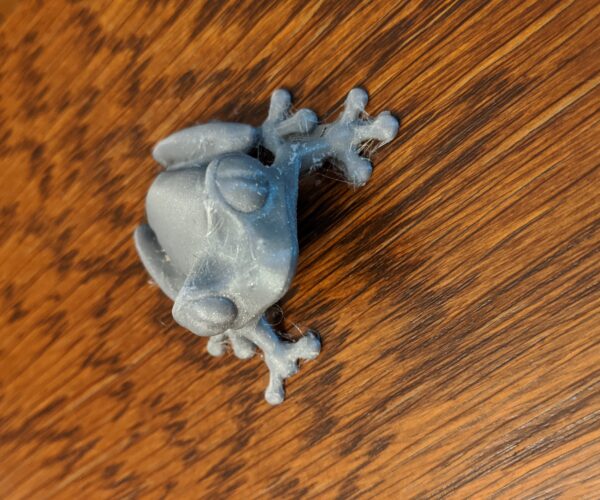
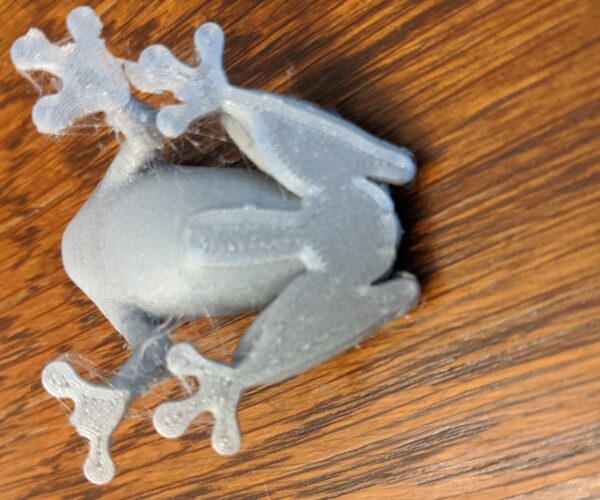
How do people generally post pictures? I'd like to share my first print.
RE: Large Live-Z but good first layer
scale the photo down to a dimension of 1024 or so and drag and drop it in the editing window while writing a posting does the trick
Stock MK4S with FW 6.2.6
RE: Large Live-Z but good first layer
Ignore the broken toe. Toddler got ahold of it. ...
RE: Large Live-Z but good first layer
Decreasing the PINDA height will remove the issue with finding the calibration points. But decreasing it too much will bring some other issues. In fact, the PINDA should be as high as possible so that all points are still detected and nozzle is not crashing to the bed surface.
If PINDA is too high, it will simple not "see" the bed unless the nozzle crashes to it and starts to push it down. This is bad. And have to be adjusted.
But if PINDA is too low, lets say it is almost in the same height as the end of the nozzle, you will face in the future issues with prints because of warping. Having PINDA low will show you the big negative number in live-Z adjustment. Like you have, even more. This does not matter, this numbers are always relative to PINDA height and have no effect. But having PINDA in height similar to the nozzle height will lead to the crashes of PINDA to the warped parts of the prints. Most of the material causes some warping, especial the edges of the objects goes a bit higher during print. Nozzle "crashes" to this edges a bit, but the nozzle is hot and will just go through it. But PINDA will not. If PINDA will crash, it might break the model from bed (best case) or break or damage the PINDA itself.
So keep PINDA as high as possible, so the calibration is still OK. Usually it is about 1mm above the nozzle end.

