First few prints worked great, now boogers
I got a Prusa Mini+ recently, it came mostly assembled. I started printing up a storm w/ some Prusament PLA. Prints were working great, I didn't have any failures, first layers were perfect. After a couple days I started having trouble w/ the first layer. It would get little boogers on the nozzle and those would catch on other parts of the print and mess up the first layer. I went through the first layer calibration several times, tried making it lower, higher, nothing seemed to help. I eventually cleaned out the extruder gear and it seemed to improve for 1-2 prints, but got bad again. I tried cold-pulls, came out clean, tried cleaning the extruder again, finally ordered a filament dryer thinking maybe since it started happening after a few days it could be explained by moisture absorption even though PLA isn't supposed to absorb much humidity, and that didn't seem to help. I've also been cleaning the surface with IPA which doesn't seem to help.
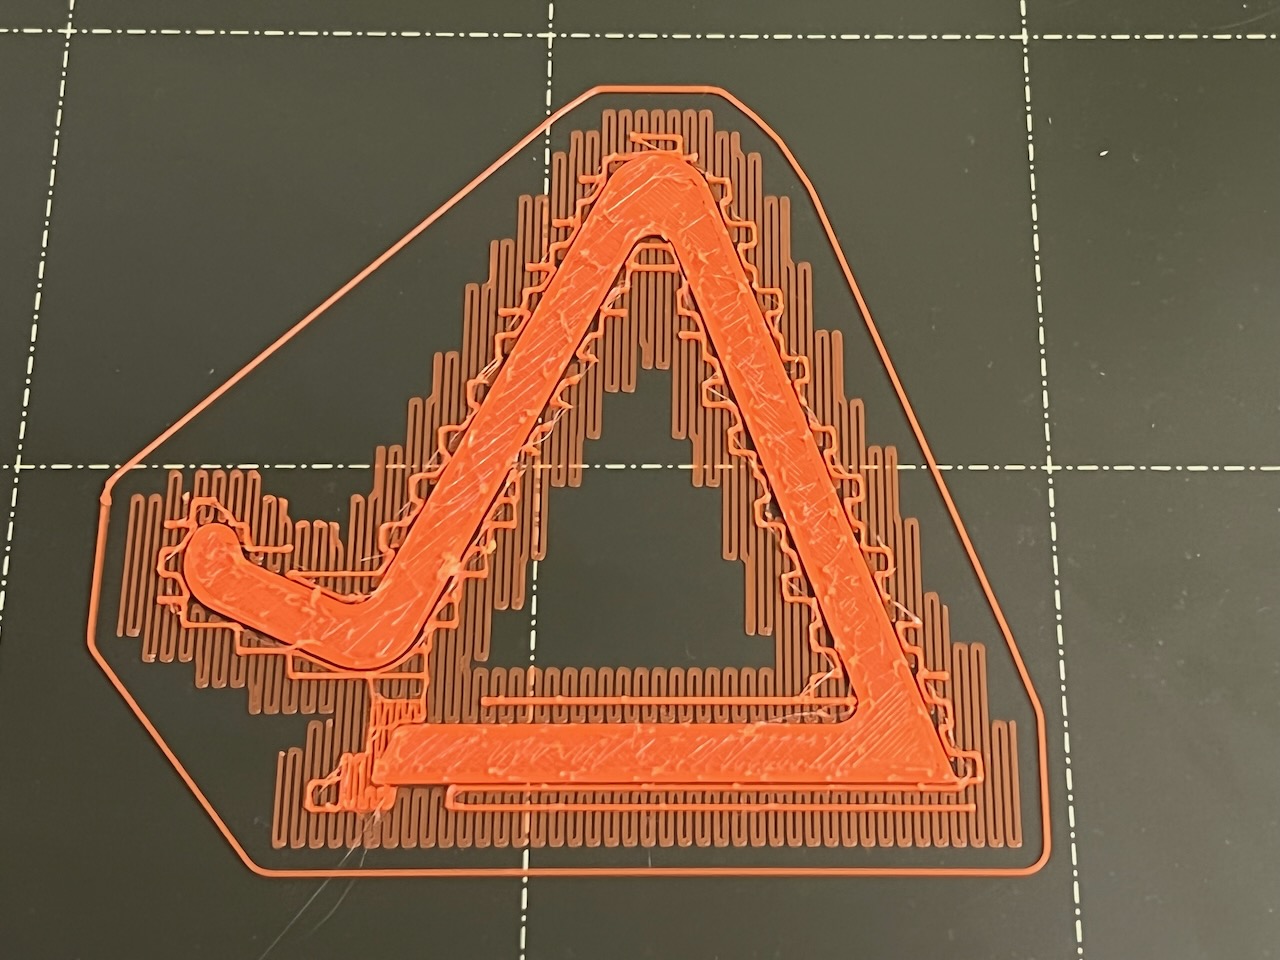
Here's a photo of the first few layers of a print, looks very goobery.
I've done a bunch of reading and I see a lot of advice about tweaking temperatures/etc, but it seems like since I'm using Prusament with a new Prusa and it was working great before that's not the best path to go down.
Any advice?
Thanks!
Please show us your first layer Z calibration.
I suspect it is too low and your nozzle is scraping plastic from the top and dribbling the remelt back onto the print.
Cheerio,
I agree with @diem, without seeing a first layer, hard to guess but you mentioned boogers, so it's likely the nozzle is low. I would also try to wash the sheet with hot water and dish washing soap, in addition to cleaning it with 91+% IPA between prints, to make sure there's no adhesion issues. I assume you haven't done any nozzle changes, which might cause issues if not done properly. The Mini is quite sensitive to proper tension on the idler screw but if you haven't changed filament and it worked before, I don't see this as the likely culprit.
I agree with you, playing with temps etc would just be putting a band-aid on (if it worked at all), not solving the underlying issue.
Formerly known on this forum as @fuchsr -- https://foxrun3d.com/
Thanks
Thanks for the responses. I did experiment w/ a wide range of z offsets and wasn't seeing any significant difference. I did another round of experimentation and I do think for the print above I had it set too low, but I saw similar issues after adjusting it again. As requested here is the the first layer calibration print before I modified any settings from the above pictured print:
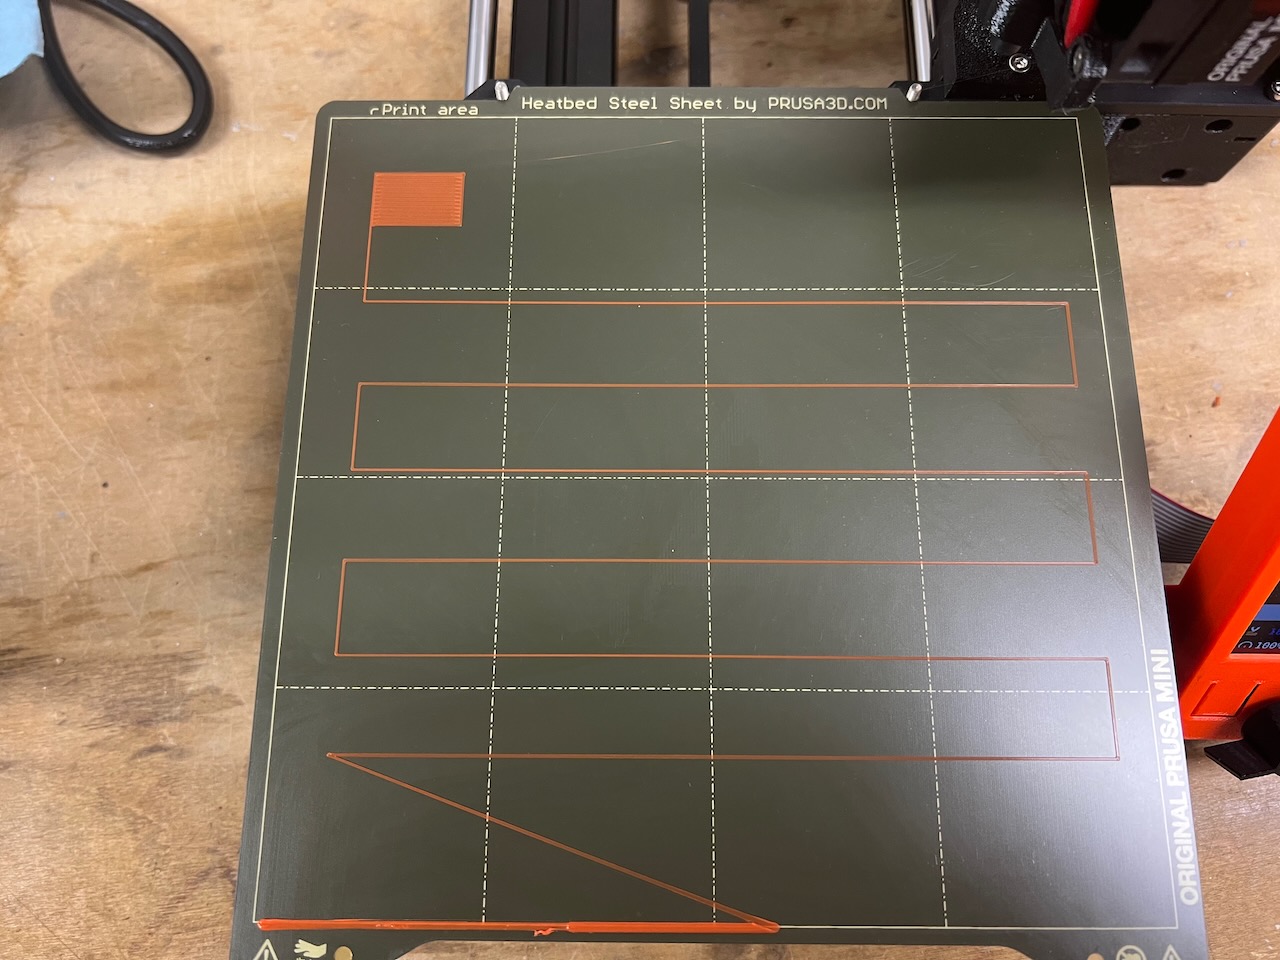
After I took this photo I ran the calibration again and brought the Z up until it was clearly not attaching to the surface, then brought it down until it reattached, then a bit more until it looked well attached without being overly squished.
I tried my print from above again and got similar results. boogies and stuff sticking to the nozzle then interfering with the first layer.
@fuchsr mentioned the idler spring tension which caught my attention. That was something I've been wondering about as it sort of feels to me like I'm getting inconsistent extrusion. As I mentioned I did clean out the extruder by disassembling it which included removing the idler spring. I looked for information on how to set it and in the Idler screw tension KB article from Prusa they just say to make it flush w/ the case with no filament loaded which is what I did, but I just now tried tightening it about 3 more turns and I seem to be getting significantly better results. I've got a print going now that is well past the first layer and looking very good.
You asked about nozzle replacement. I did remove the nozzle to inspect and clean it as part of the troubleshooting, then I replaced it. It didn't seem like there was much room for error there as it was tight before I removed it and I simply tightened it back up, and I was already having issues at that point anyway.
Thanks again,