RE: Show your enclosures
@tlovern
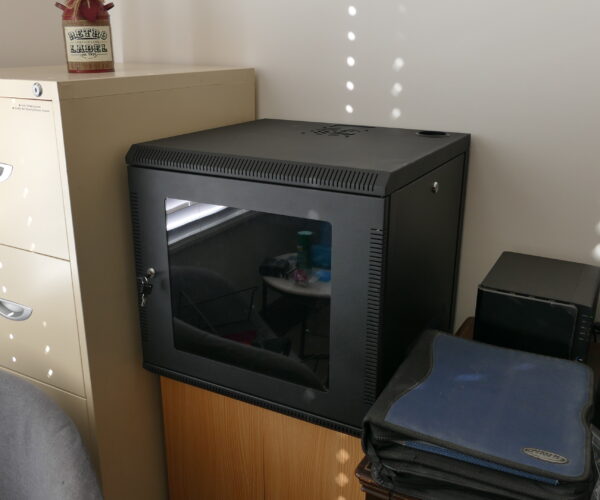
Hi still waiting on my mini printer, the internal distance between mounting for rack is 330mm Deep x 380mm wide should be plenty of room the internal without mounts is 455mm Deep x 508 Width
RE: Show your enclosures
@mowens
Thanks! Now I need to make some decisions on what to do for an enclosure....
I'm not a mad scientist, I'm an angry engineer in training.
RE: Show your enclosures
Just Purchase this server cabinet for mini printer it has removable sides and front, waiting on printer now only just ordered recently and don't expect to August so it gives me plenty of time to get ready and read up on the Prusa Mini and 3D printing as I am a newbie and this is my first printer.
RE: Show your enclosures
@mowens
I'm planning to do a similar enclosure - found a 12u enclosure that I think will work. I'm going to do a few mods to it:
I'm going to cut a slot in the side panel for the filament to feed through. I'm going to frame the cut so there will not be any sharp edges.
Then I'm going to put shelving tracks on either side of the slot and use shelf brackets as a spool holder. I've already designed a mount for the roller bearings that will slip over the brackets to hold the spool. These will be one of the first things I print with my printer.
The slot will allow the filament to feed as the print head moves up and down. The tracks will allow me to find the optimal height for the spool. The bearings will allow smooth operation. Once I get everything going, I will post pictures.
your enclosure kicked all this off for me. Thanks!
I'm not a mad scientist, I'm an angry engineer in training.
RE: Show your enclosures
i also found a nice 12u server enclosure, i wanted to fit exhaust ventilators anyway and there are already mounting options available. will insulate the whole thing a little. thanks for the idea @mowens
My Bror enclosure for MMU
My BROR enclosure for MMU
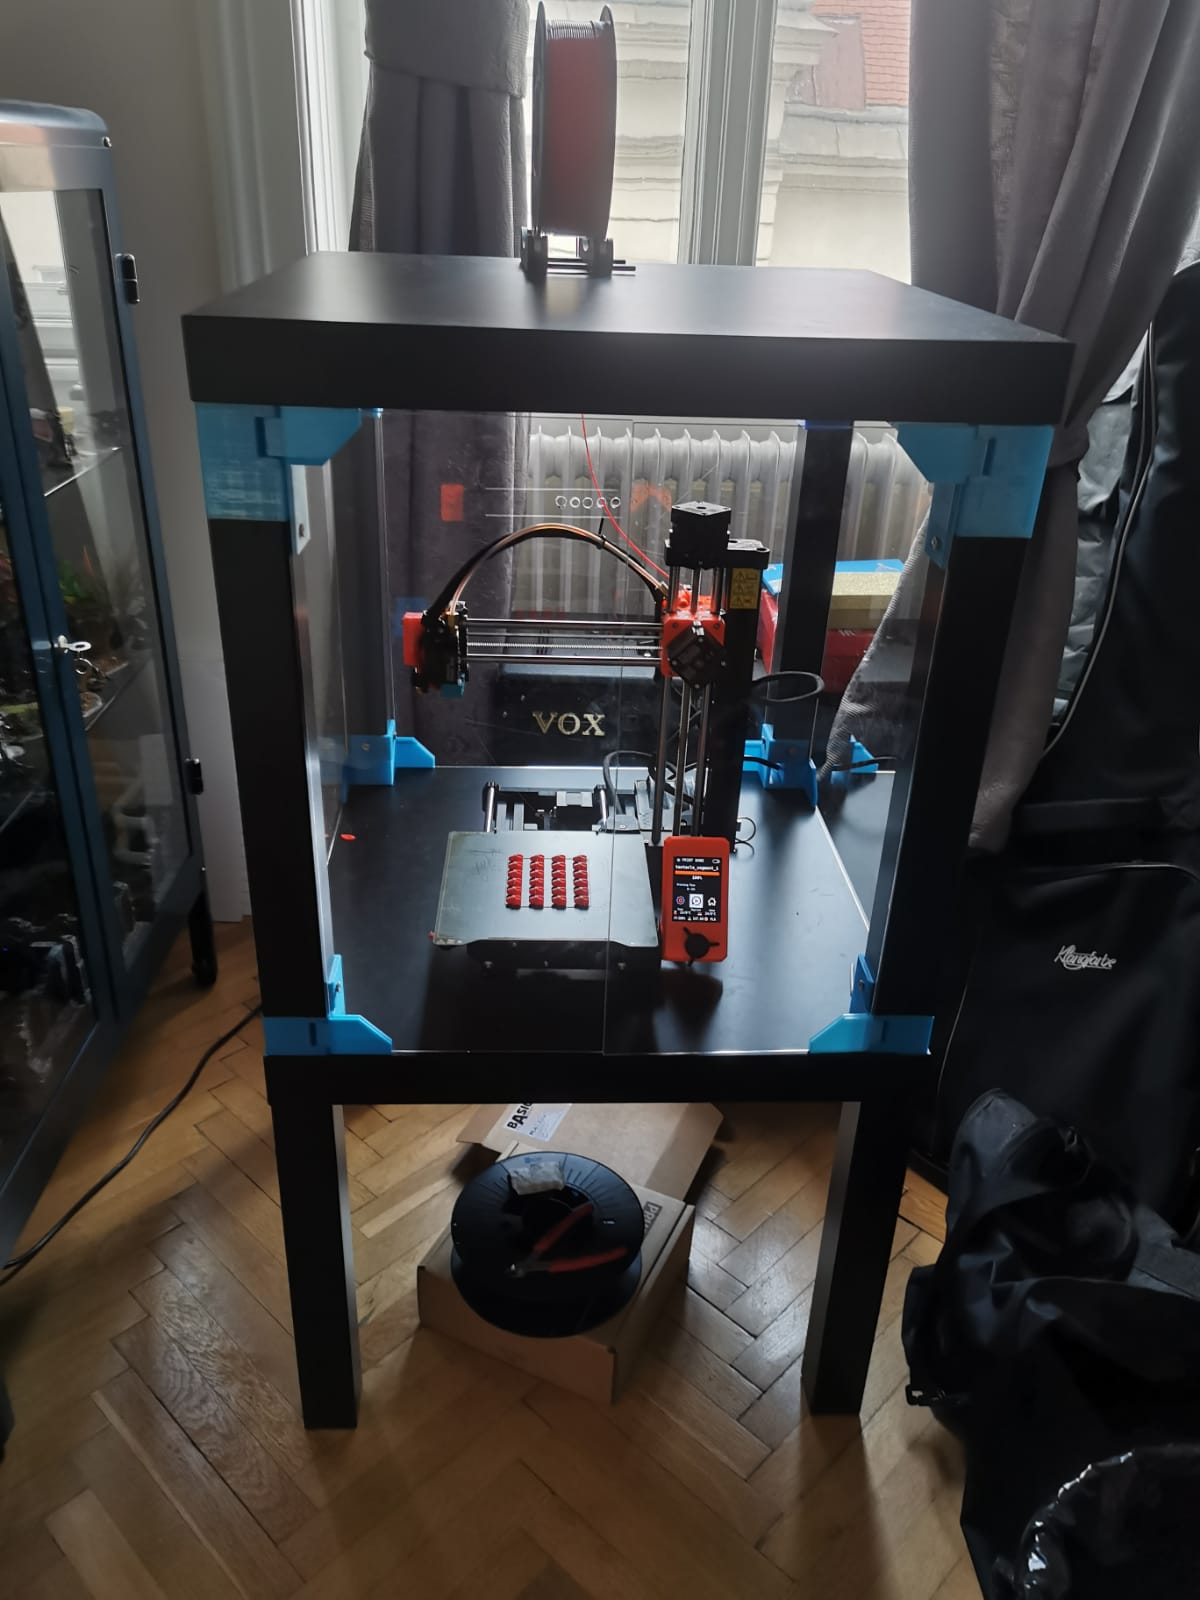
Those server enclosures look interesting, too late for me however. I was influenced by the LACK enclosure design but did not like the idea of putting my printer in a glorified cardboard box. Especially above and below the printer I wanted metal. Interestingly, IKEA sells a shelf sytem named Bror. One of the smaller configurations is fairly similar to Lack dimensions, same depth, 10 cm broader and higher and made entirely from powder coated steel.
I fitted the shelf with lots of tailor made PETG printed elements and added PMMA sides and doors. I added an outlet air filter and ventilation to create a slight underpressure inside, reducing leakage, to at least reduce emissions while printing. PSU is external.

PS: Bror is actually Made in Czech Republic. I found that quite fitting.
Mk3s MMU2s, Voron 0.1, Voron 2.4
RE: Show your enclosures
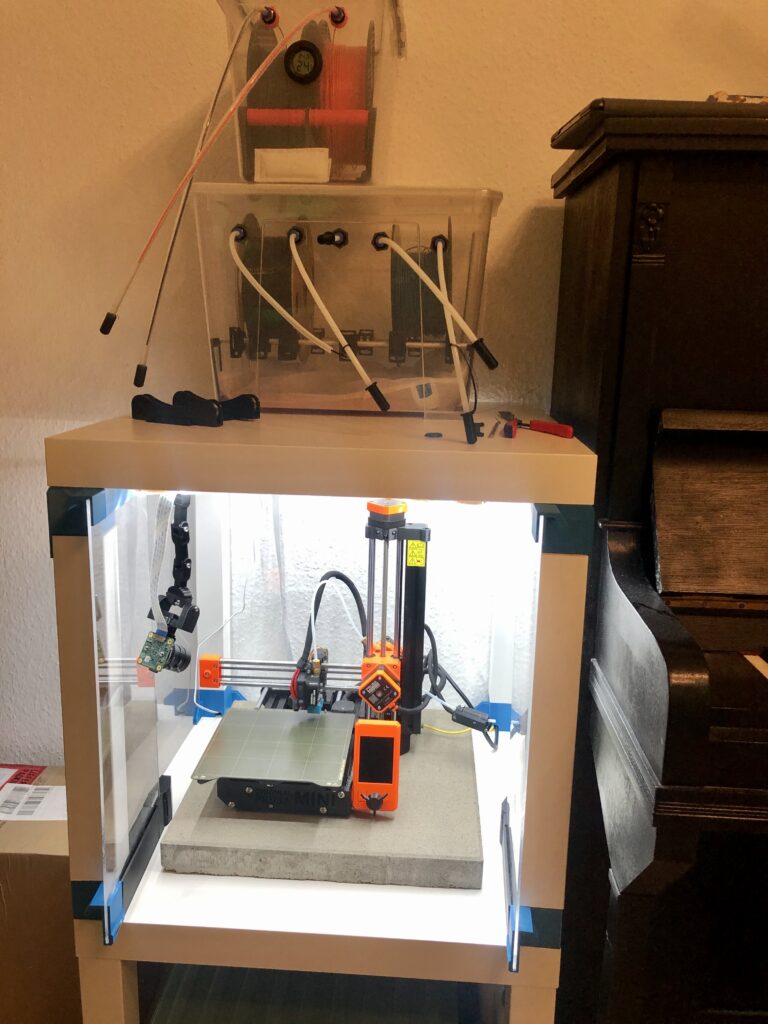
This is the Prusa Mini in an Ikea "Slack Lack" enclosure, printed on the Mini (I used the print in place hinges). There is a Raspberry Pi with the HQ Camera (Mount here) and Octoprint underneath. I had two failed prints on the experimental print in place hinges, so there was not enough filament (hence the black parts), but I used the 3DJake PETG blue (beautiful look & feel! https://www.3djake.de/3djake/petg-hellblau).
It is fine for now but I would never again use Lack tables as an enclosure. They are cheap to buy around the world so there is so much support in the community for this, but they are just weak and wobbly. It's just cardboard. This is my first printer and the Mini does not generate so much force or vibrations so I don't have problems, but next time I will try to find another solution. But it looks nice and has a small footprint.
By now I added the filament sensor holder from Prusa Prints and moved another filament guide to the back right above the extruder but I can't really print out of the filament boxes. There is too much resistance for the extruder which results in underextrusion. The boxes all have ball bearing filament sensors and 6mm tubes, but it causes problems. So I use a single spool holder outside the boxes that feeds directly downwards through the guide to the filament sensor which is fixed by the holder. The extruder is clean an the nozzle is not clogged.
It wasn't even cheap at all. Since all Ikeas were closed and Ikea extimated 6 weeks to deliver the tables, I bought them for 10€ each on ebay. 40€ for the acrylic glass, 30€ filament. 50€ Philips Hue Light Strip (no need to solder, contains power supply and LED controls, worth the price).
RE: Show your enclosures
It is fine for now but I would never again use Lack tables as an enclosure. They are cheap to buy around the world so there is so much support in the community for this, but they are just weak and wobbly.
I've got my Lack and am waiting for my Mini. I bought 2 Lack tables but will only be using the top of the 2nd Lack as the floor of my enclosure. So the Mini will be supported by my table, not by spindly legs. I am also planning on putting air ducting in that bottom "floor" along with temperature controlled fans from AC-Infinity.
Austin, Texas, USA
RE: Show your enclosures
One could try to fit some support cross to the back of a lack enclosure. I don't know the dimensions, maybe one of these from Ikea fit:
https://www.ikea.com/at/de/p/elvarli-stuetzkreuz-weiss-00309594/
https://www.ikea.com/at/de/p/observatoer-stuetzkreuz-verzinkt-87749600/
PS: Sorry for my post above. I saw that this thread is for Mini enclosures only too late.
If they don't fit, one could surely make a custom made cross with relatively little effort. I know this is just a patch on a wider issue but it could improve stability at least a bit.
Mk3s MMU2s, Voron 0.1, Voron 2.4
RE: Show your enclosures
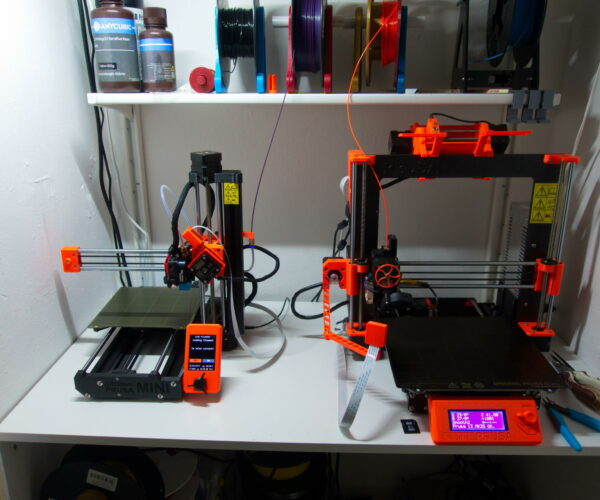
Are we still doing this? Then here is my go.
When we had our second kid, my former printer room magically turned into another kids room, and my printers were exiled to the bedroom which is obviously not ideal. At all. So on my birthday my wife surprised me with a makeover of an old wall cupboard that used to house all the cleaning stuff. She completely rebuilt it, put a storage system in, made the electrical installation. Best birthday surprise ever.
RE: Show your enclosures
@3dlyx
Awww that's very nice. As they say on Reddit "She's a keeper! Wife her!" 😉
RE: Show your enclosures
IKEA Hällan with custom lasercut acrylic door, temperature controlled.
Running an Arduino nano for the brains with custom PCB for neater wire management, 3 temperature sensors ( enclosure temperature, mini electronics temperature and extruder motor temperature)
Using the Mini as the heat source the enclosure goes up to a max of around 38c to 36c depending on the outside temperature.
Bitumen damping sheet to reduce noise, filament stored underneath and fed up through the roof/floor, led light with door activation as in door open = light on, door closed = light off and override to be able to light it whenever you want.
About 5 months of preparation while waiting for the mini ..

RE: Show your enclosures
beautifull, are you willing to share the design for the hinges? and is this not extreme loud? my desk needs a concrete slab to silence the sounds from the motors...
Stock MK4S with FW 6.2.6
RE: Show your enclosures
@oxygen
The hinges are specific to the laser cut acrylic so if you don't have the laser cut acrylic the hinges wont really fit.
There is some noise, but with the bitumen dampening sheet on the underside of the (same stuff they have on cars to reduce road noise..) shelving where the printer stand, the noise is reduced. But I can still hear vibrations going to the floor so I will probably add a paver that the Hällan kan stand on, to further isolate it.
RE: Show your enclosures
@hannes-b3
Very good, nice and practical design!
Statt zu klagen, dass wir nicht alles haben, was wir wollen, sollten wir lieber dankbar sein, dass wir nicht alles bekommen, was wir verdienen.
RE: Show your enclosures
@hannes-b3
I used to put a fat rubber mat under my printer enclosures. No. More. Vibrations. They sell these in home depots for the original purpose to put your washing machine on it to reduce its vibrations. costs a jiffy, and in terms of vibration reduction this is military grade.
RE: Show your enclosures
@jiral
Do you have the files for the print still or a guide? That enclosure looks fantastic.
RE: Show your enclosures
@wh49ersfan
Here is the link to my Prusaprinters entry, now including assembly instructions:
https://www.prusaprinters.org/prints/34759-bror-enclosure-v1
Mk3s MMU2s, Voron 0.1, Voron 2.4


