Align Detraction/Retraction Points AND Seam
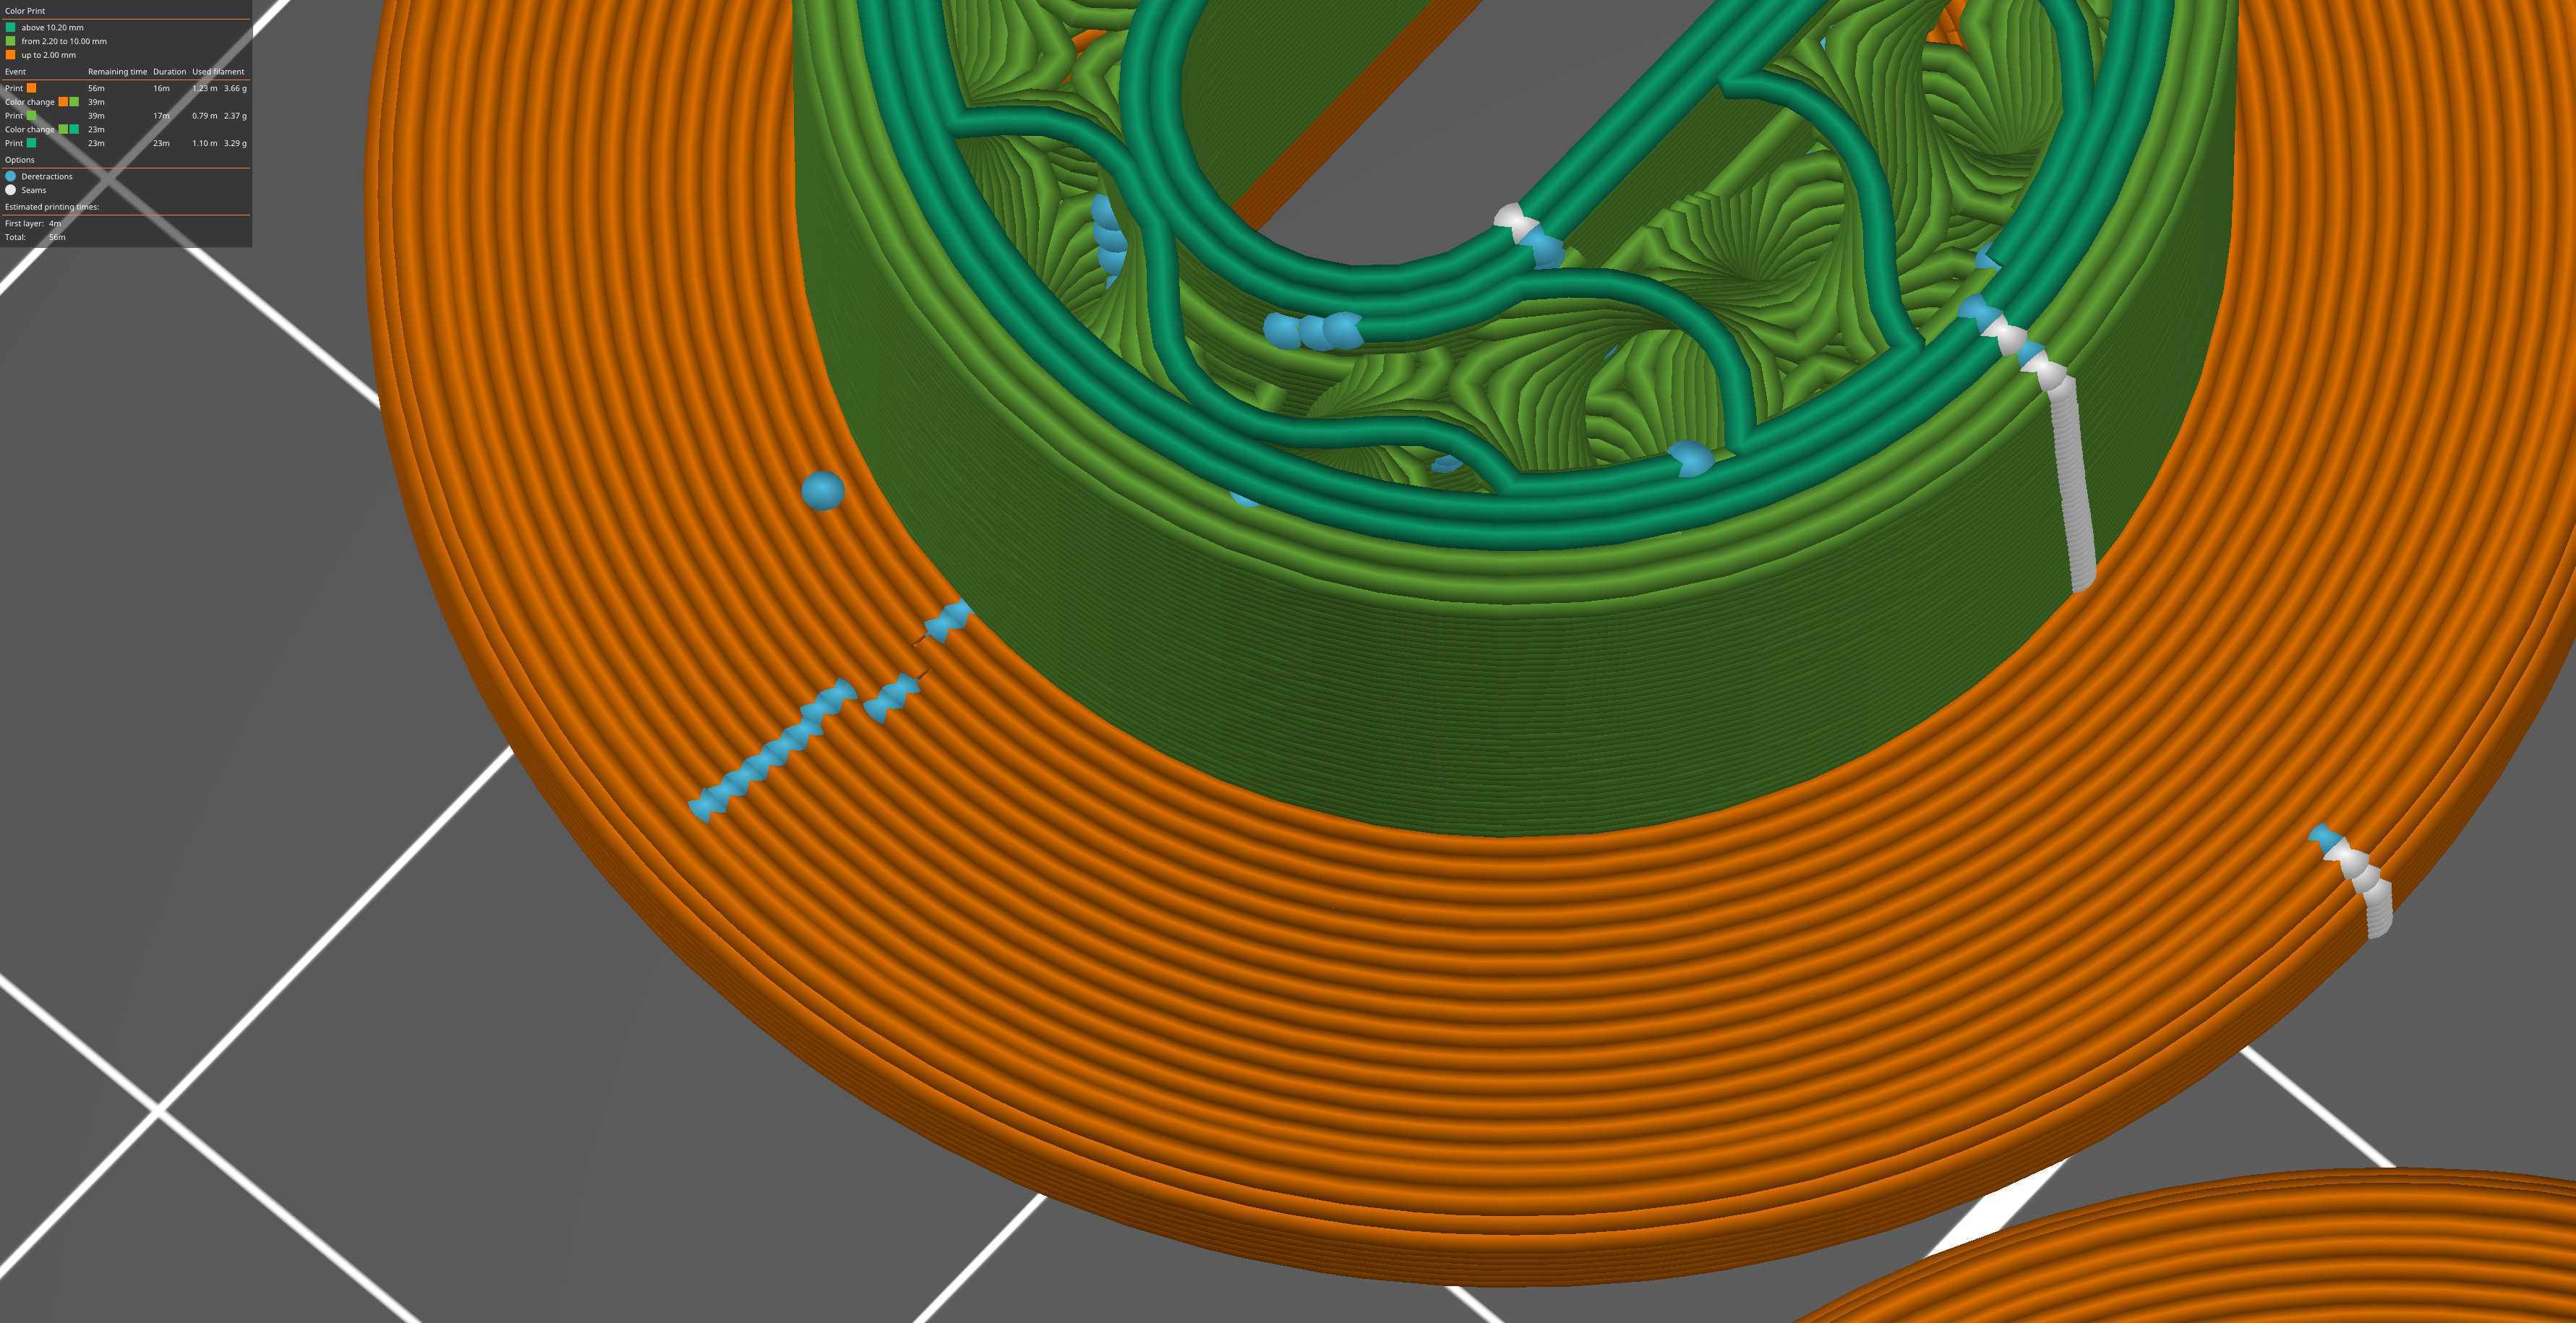
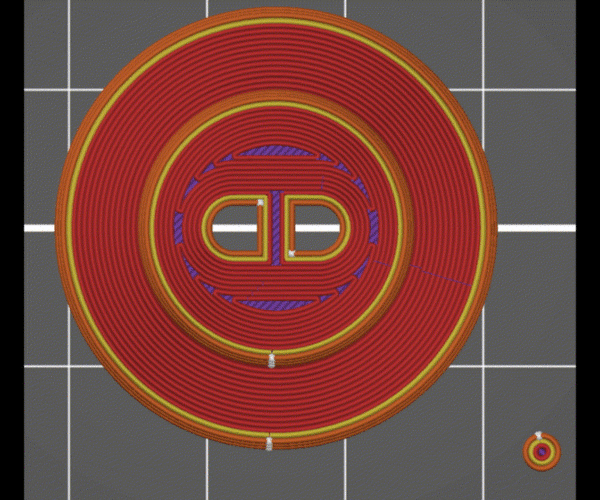
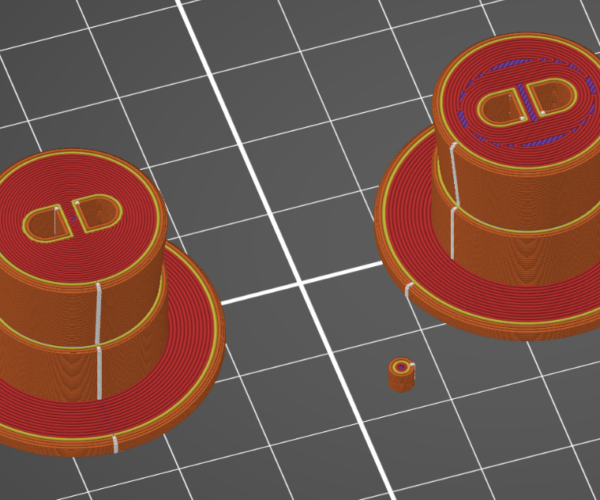
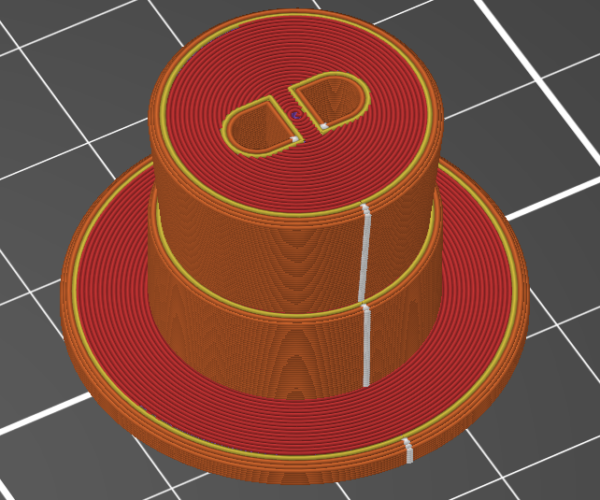
While printing some little hats, I noticed this "seam" on the top of the brim (shown to the left in light blue) and after perusing the forums and looking online elsewhere, I'm not finding anyway to align these with the actual seam (going up the hat to the right shown here in white) except rotating the part or changing the seam type, which no matter what is resulting in considerably noticeable seam on the top of this brim that is nowhere near the other seam.
Hoping someone here may know a workaround, or if this may be something Prusa is planning to include in a future update to PrusaSlicer?
Thanks for any tips to a new printer!
RE: Align Detraction/Retraction Points AND Seam
Would you mind zipping your .3mf file and upload it here?
That would give others the opportunity to analyze, play around with the file and possibly find a solution or a workaround.
RE: Align Detraction/Retraction Points AND Seam
Thanks for the tip! I had no idea we could share that, here it is
RE: Align Detraction/Retraction Points AND Seam
OK, it seems as if the seam settings only apply to vertical perimeters.
The starting points of the horizontal perimeters seem to be determined by the polygon mesh, i.e. the output of the cad program. No easy way to control that, at least not for my limited CAD abilities.
Fiddling with the mesh made no difference, the starting points of the vertical lines still seem quite arbitrary. Painting seams is only valid for vertical perimeters. And that's where the workaround may come in:
If you define 16 or more vertical perimeters, the seam settings suddenly apply to that part. You can also do that by adding a modifier just for the brim part, and thus you should be able to paint the seams where you want them.
If all that sounds too awkward, please let me know....
Mike
RE: Align Detraction/Retraction Points AND Seam
Thank you for the additional tips! Unfortunately I have no idea how to do either of those two thing. Searching online, I couldnt find anything about defining vertical perimeters. I do see how I can right click to add modifiers, but I'm so new to all of this I don't know anything to do beyond that right click.
If there are any guides you're aware of that you could point me to, I'd love to learn how to do this myself so you don't have to spend much time explaining. But if you are able to share specific tips to my file, that would also be greatly appreciated.
Thanks again!
RE:
@tech-guy
Maybe this will help.
First get your vertical Seams placed where and how you like them.
Then add a part to your Hat object, something like a small cylinder, maybe 2.5mm drop it to the bed. It will act as a kind of magnet for the seams in the top/bottom fill Just as it does for infill, as shown in the link I provided. (when you go to the link scroll down to the part where @Swiss_Cheese explains and read that.)
For your project you should only need one part to control the seam you're after. Once you have moved the part into its final position to get the seams where you're happy, you can simply sink The control part in the Z direction below the bed, it will hold the position of or top/bottom fill seams but will not be printed. Swiss_Cheese made his tutorial for this in 2.3 and you couldn’t sink below the bed at that time.
Click image to see full size or to play the .gif
Here is the link:
https://forum.prusa3d.com/forum/prusaslicer/shifting-infill-relative-to-printed-part/
Merry Christmas.
Snuff
RE: Align Detraction/Retraction Points AND Seam
I had noticed that 'seam magnet' behaviour, too, finally (and accidentially).
And if you really want or need need to control the horizontal layers' seams, too, here's an example for the 'modifier method' mentioned above:
RE: Align Detraction/Retraction Points AND Seam
@mike
The purpose of the tutorial I posted is for the control of the "horizontal" seams not "Vertical" seams. If you watch the animated .gif (the first image I posted) it demonstrates the control of the "horizontal" seams using the added part. Once the part has been used to position the seams where needed, the part can be dragged below the bed using the move Gizmo in the Z axis. This method is preferable as it allows for the use and control of several different styles of top or bottom fill, as apposed to replacing your top or bottom fill with perimeters which changes the printing behavior. Vertical seams are controlled by either the Seam position: selection, Seam painting, or both.
The other option would be to get rid of the top layer seams all together, by selecting "Archimedean Chords" as the layer type, as demonstrated in the image below.
Using the provided tutorial you could then adjust the Top fill position to perfectly match the hats circumference. However I wasn't suggesting that change for the OP, as he mentioned hes new to this software, and it would be best implemented with a change to the Infill/perimeters overlap & potentially a change in the extrustion width for the top fill depending on what perimeter generator he was using and the settings applied to said perimeter generator. I kept it simple, no modifiers, no changing top or bottom fill into perimeters. Just add a part, position the part so that the seam is where you want it, sink the part below the bed, and print.
RE:
This was super helpful, I was looking for a setting to manually place the horizontal seams as well.
Thx for the workaround
RE: Align Detraction/Retraction Points AND Seam
It's not a workaround, It's the way.
You should stop using that word, it's a fad, for people that don't know how to use the software they are using.
however, I'm happy this information was able to help you, pass it on it will help others as well.
Regards,
Snuff
RE: Align Detraction/Retraction Points AND Seam
thanks for the .. language? lesson I guess
anyway, is it so weird to think a setting might exist for seam locations, when there is one for vertical seams?
So yes. in the current system it is "the way" because the function expected doesnt exist.
cheers


