Belt Tensioner Hardware Fail
I tuned both belts to bang-on 85Hz when I assembled the kit a couple of months ago. I went to check my belt tension yesterday after sitting idle a few weeks. They seemed a little loose, so I started diddling the adjustment screws. After a few turns, the left side screw completely seized up and I have no idea why. I carefully inspected the parts when I put my kit together. I was able to salvage the larger tensioner part, but the long M3 screw is... not functional, nor is the part that holds the idler pulley. Replacement parts are on order. I think I'll apply a dab of grease to the idler adjustment screws when I reassemble it to hopefully prevent this from happening again.

Maker of things
RE: Belt Tensioner Hardware Fail
Bad quality of screw and /or nut.
The nut's thread appears to have an abnormal pitch and is squashing the screw's threads when screwed in.
Honestly, you should have noticed that the first time you screwed it in. Sorry.
RE: Belt Tensioner Hardware Fail
for me, i overtightened when i was assembling my kit and the tensioners also seized up. I ended up printing out those very parts in petg while waiting for replacements to arrive. I ended up taking two of the mounting screws to use for tensioning and used two other non-prusa m3x30 screws i had laying around for mounting.
btw if you dont want to wait, im still using those petg parts and its been working fine. of course i have not printed anything beyond pla and petg yet so cant comment on its functionality with abs or other higher temp filaments.
I tuned both belts to bang-on 85Hz when I assembled the kit a couple of months ago. I went to check my belt tension yesterday after sitting idle a few weeks. They seemed a little loose, so I started diddling the adjustment screws. After a few turns, the left side screw completely seized up and I have no idea why. I carefully inspected the parts when I put my kit together. I was able to salvage the larger tensioner part, but the long M3 screw is... not functional, nor is the part that holds the idler pulley. Replacement parts are on order. I think I'll apply a dab of grease to the idler adjustment screws when I reassemble it to hopefully prevent this from happening again.
RE: Belt Tensioner Hardware Fail
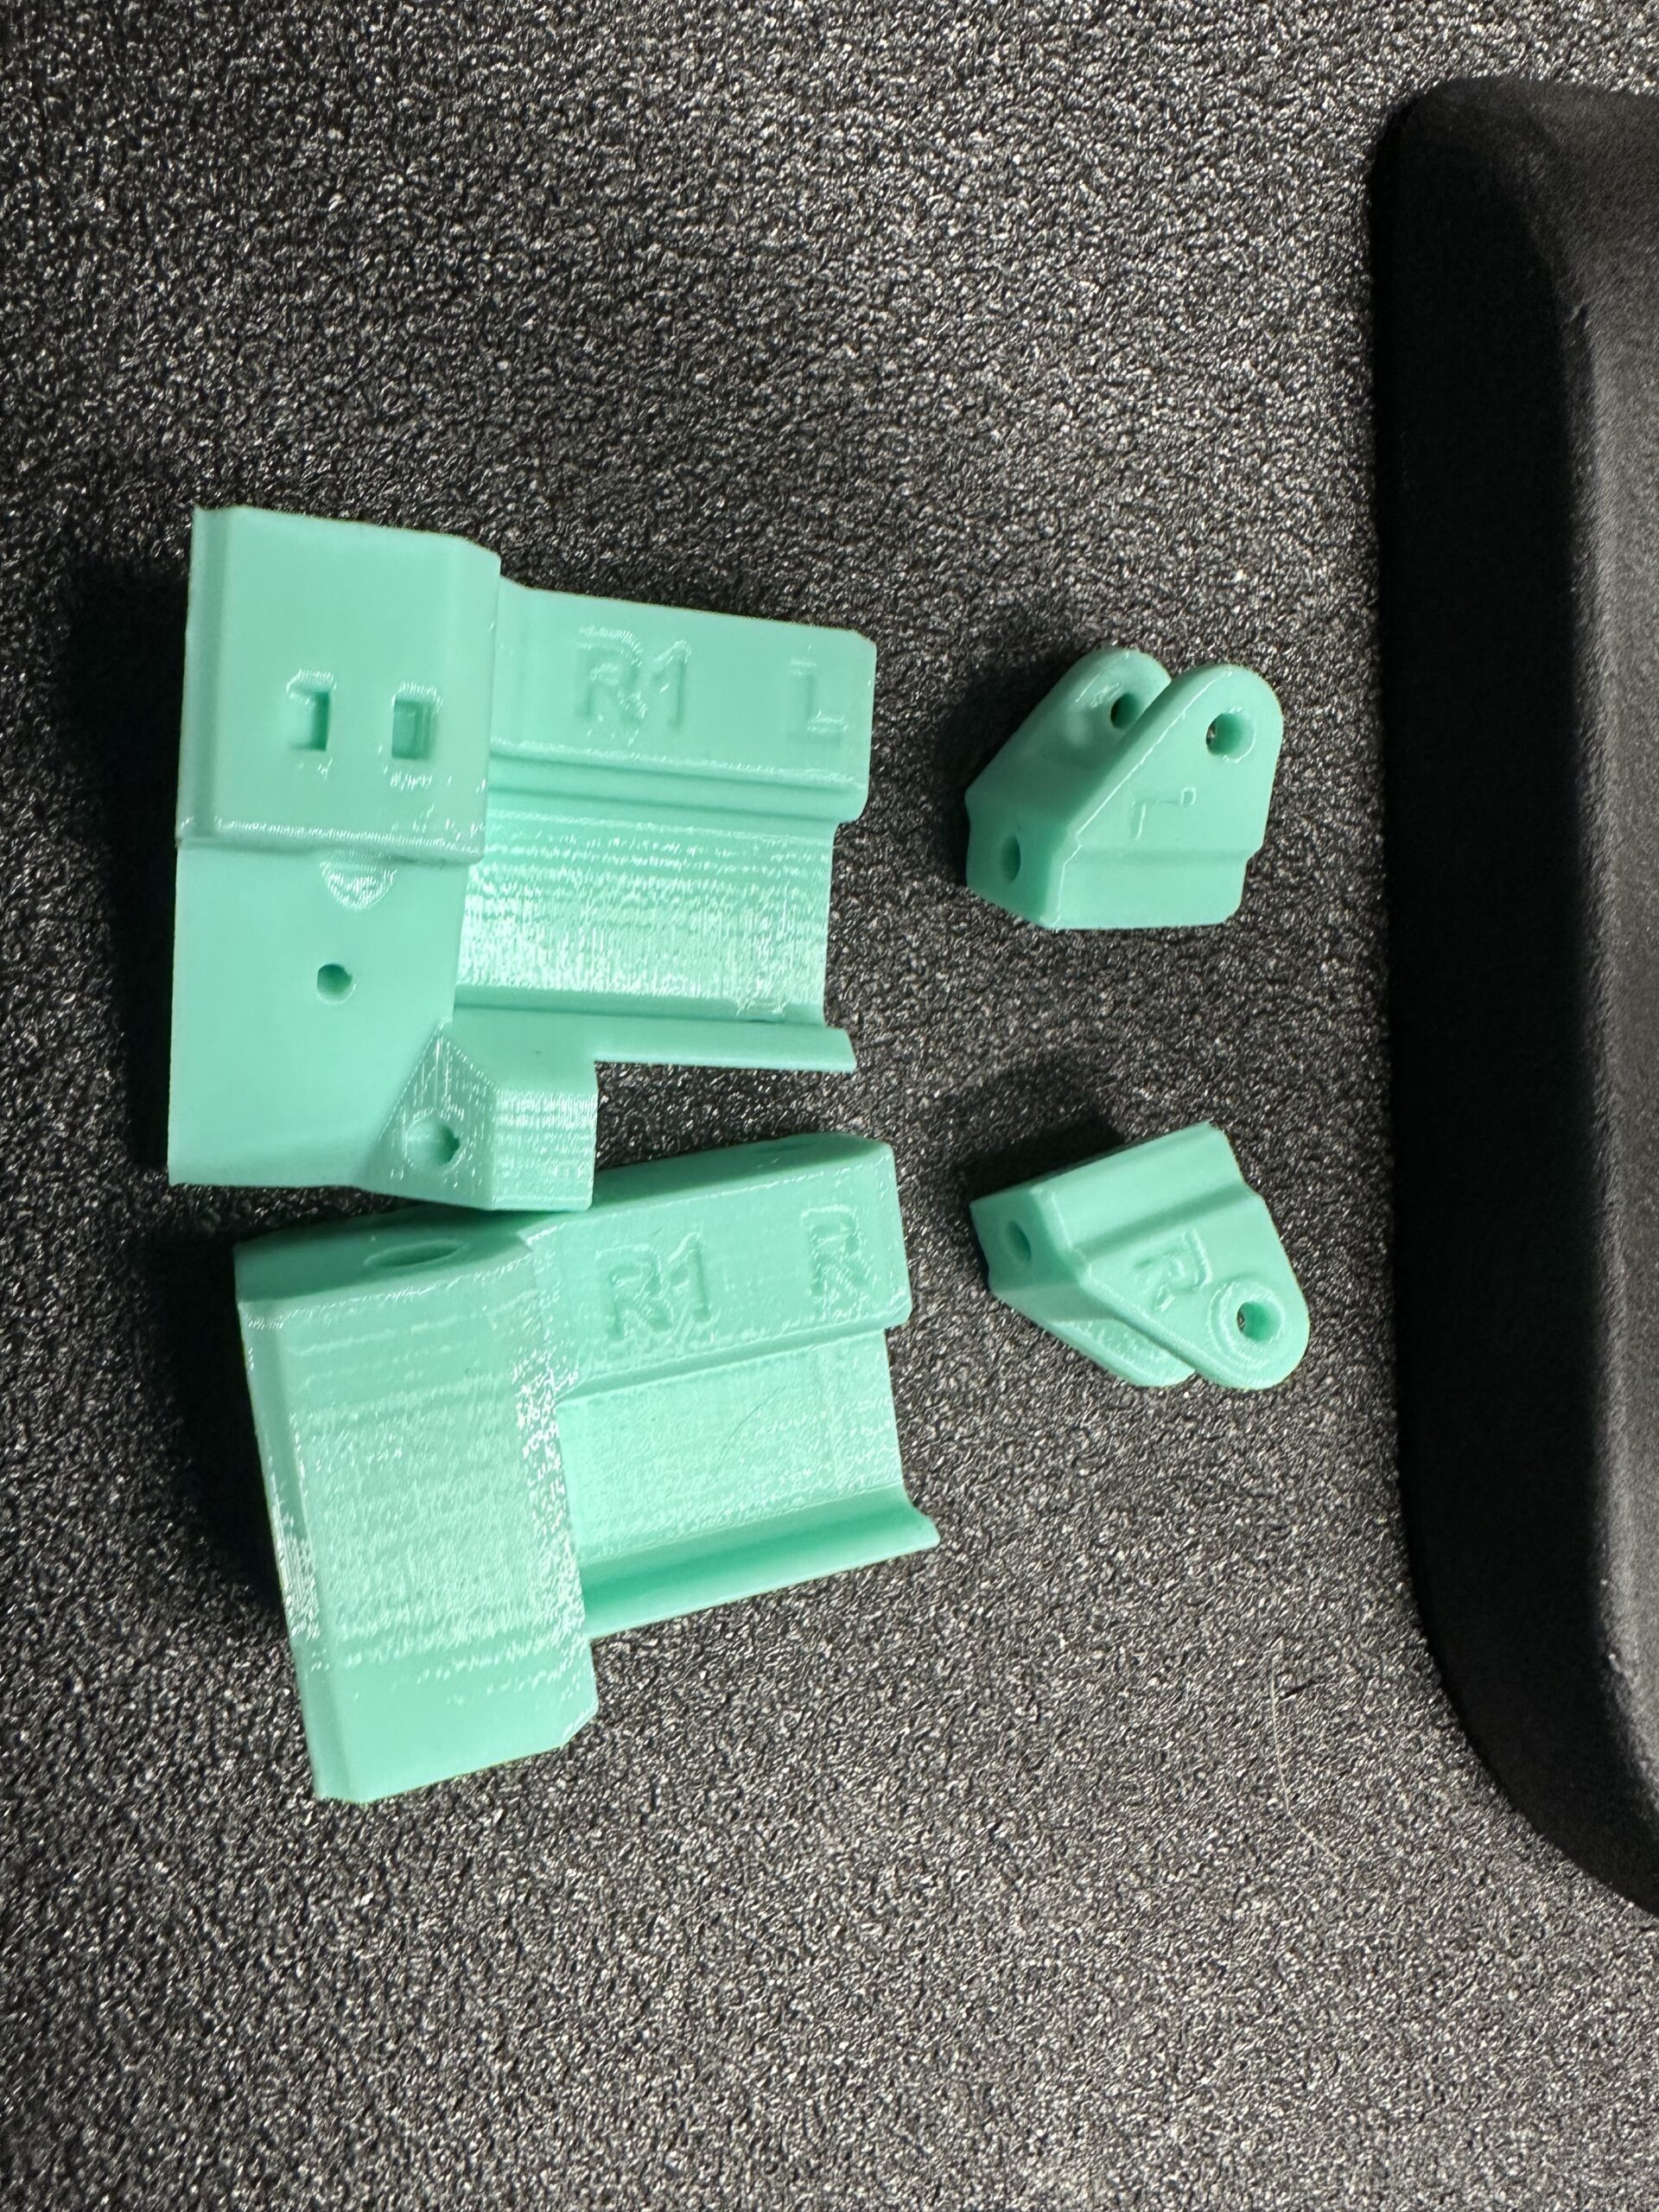
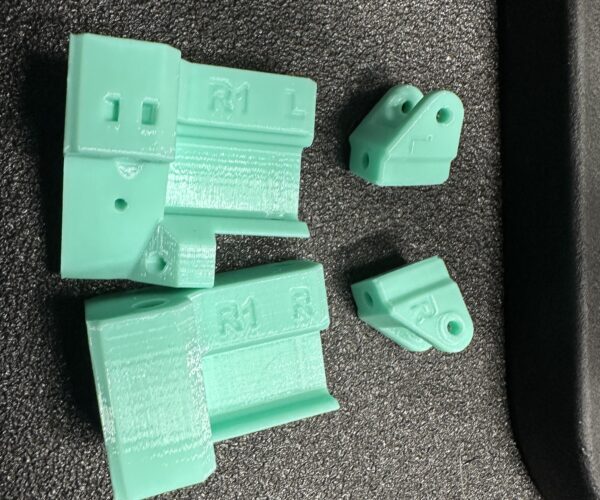
pics below for reference. I actually printed three more sets just in case. i can send a set to you it you want? i printed them with something like 70% infill and 7 walls to be safe lol
RE: Belt Tensioner Hardware Fail
The screw looks like this from forcing the rotation to remove the nut. It was fine when I assembled it, and worked fine to initially tune the belt tension.
Maker of things
RE: Belt Tensioner Hardware Fail
Very kind, but I will pass on your offer. My Mini+ is still operational and could print a new pulley tensioner if I had an immediate need. There were other items I wanted to order from Prusa anyway, so I just bundled the oem tensioner parts together.
Maker of things
RE: Belt Tensioner Hardware Fail
Can you get away with replacing the parts as is, or do you need to completely disassemble and remove the belts, in order to re-route them all again?
pics below for reference. I actually printed three more sets just in case. i can send a set to you it you want? i printed them with something like 70% infill and 7 walls to be safe lol

RE: Belt Tensioner Hardware Fail
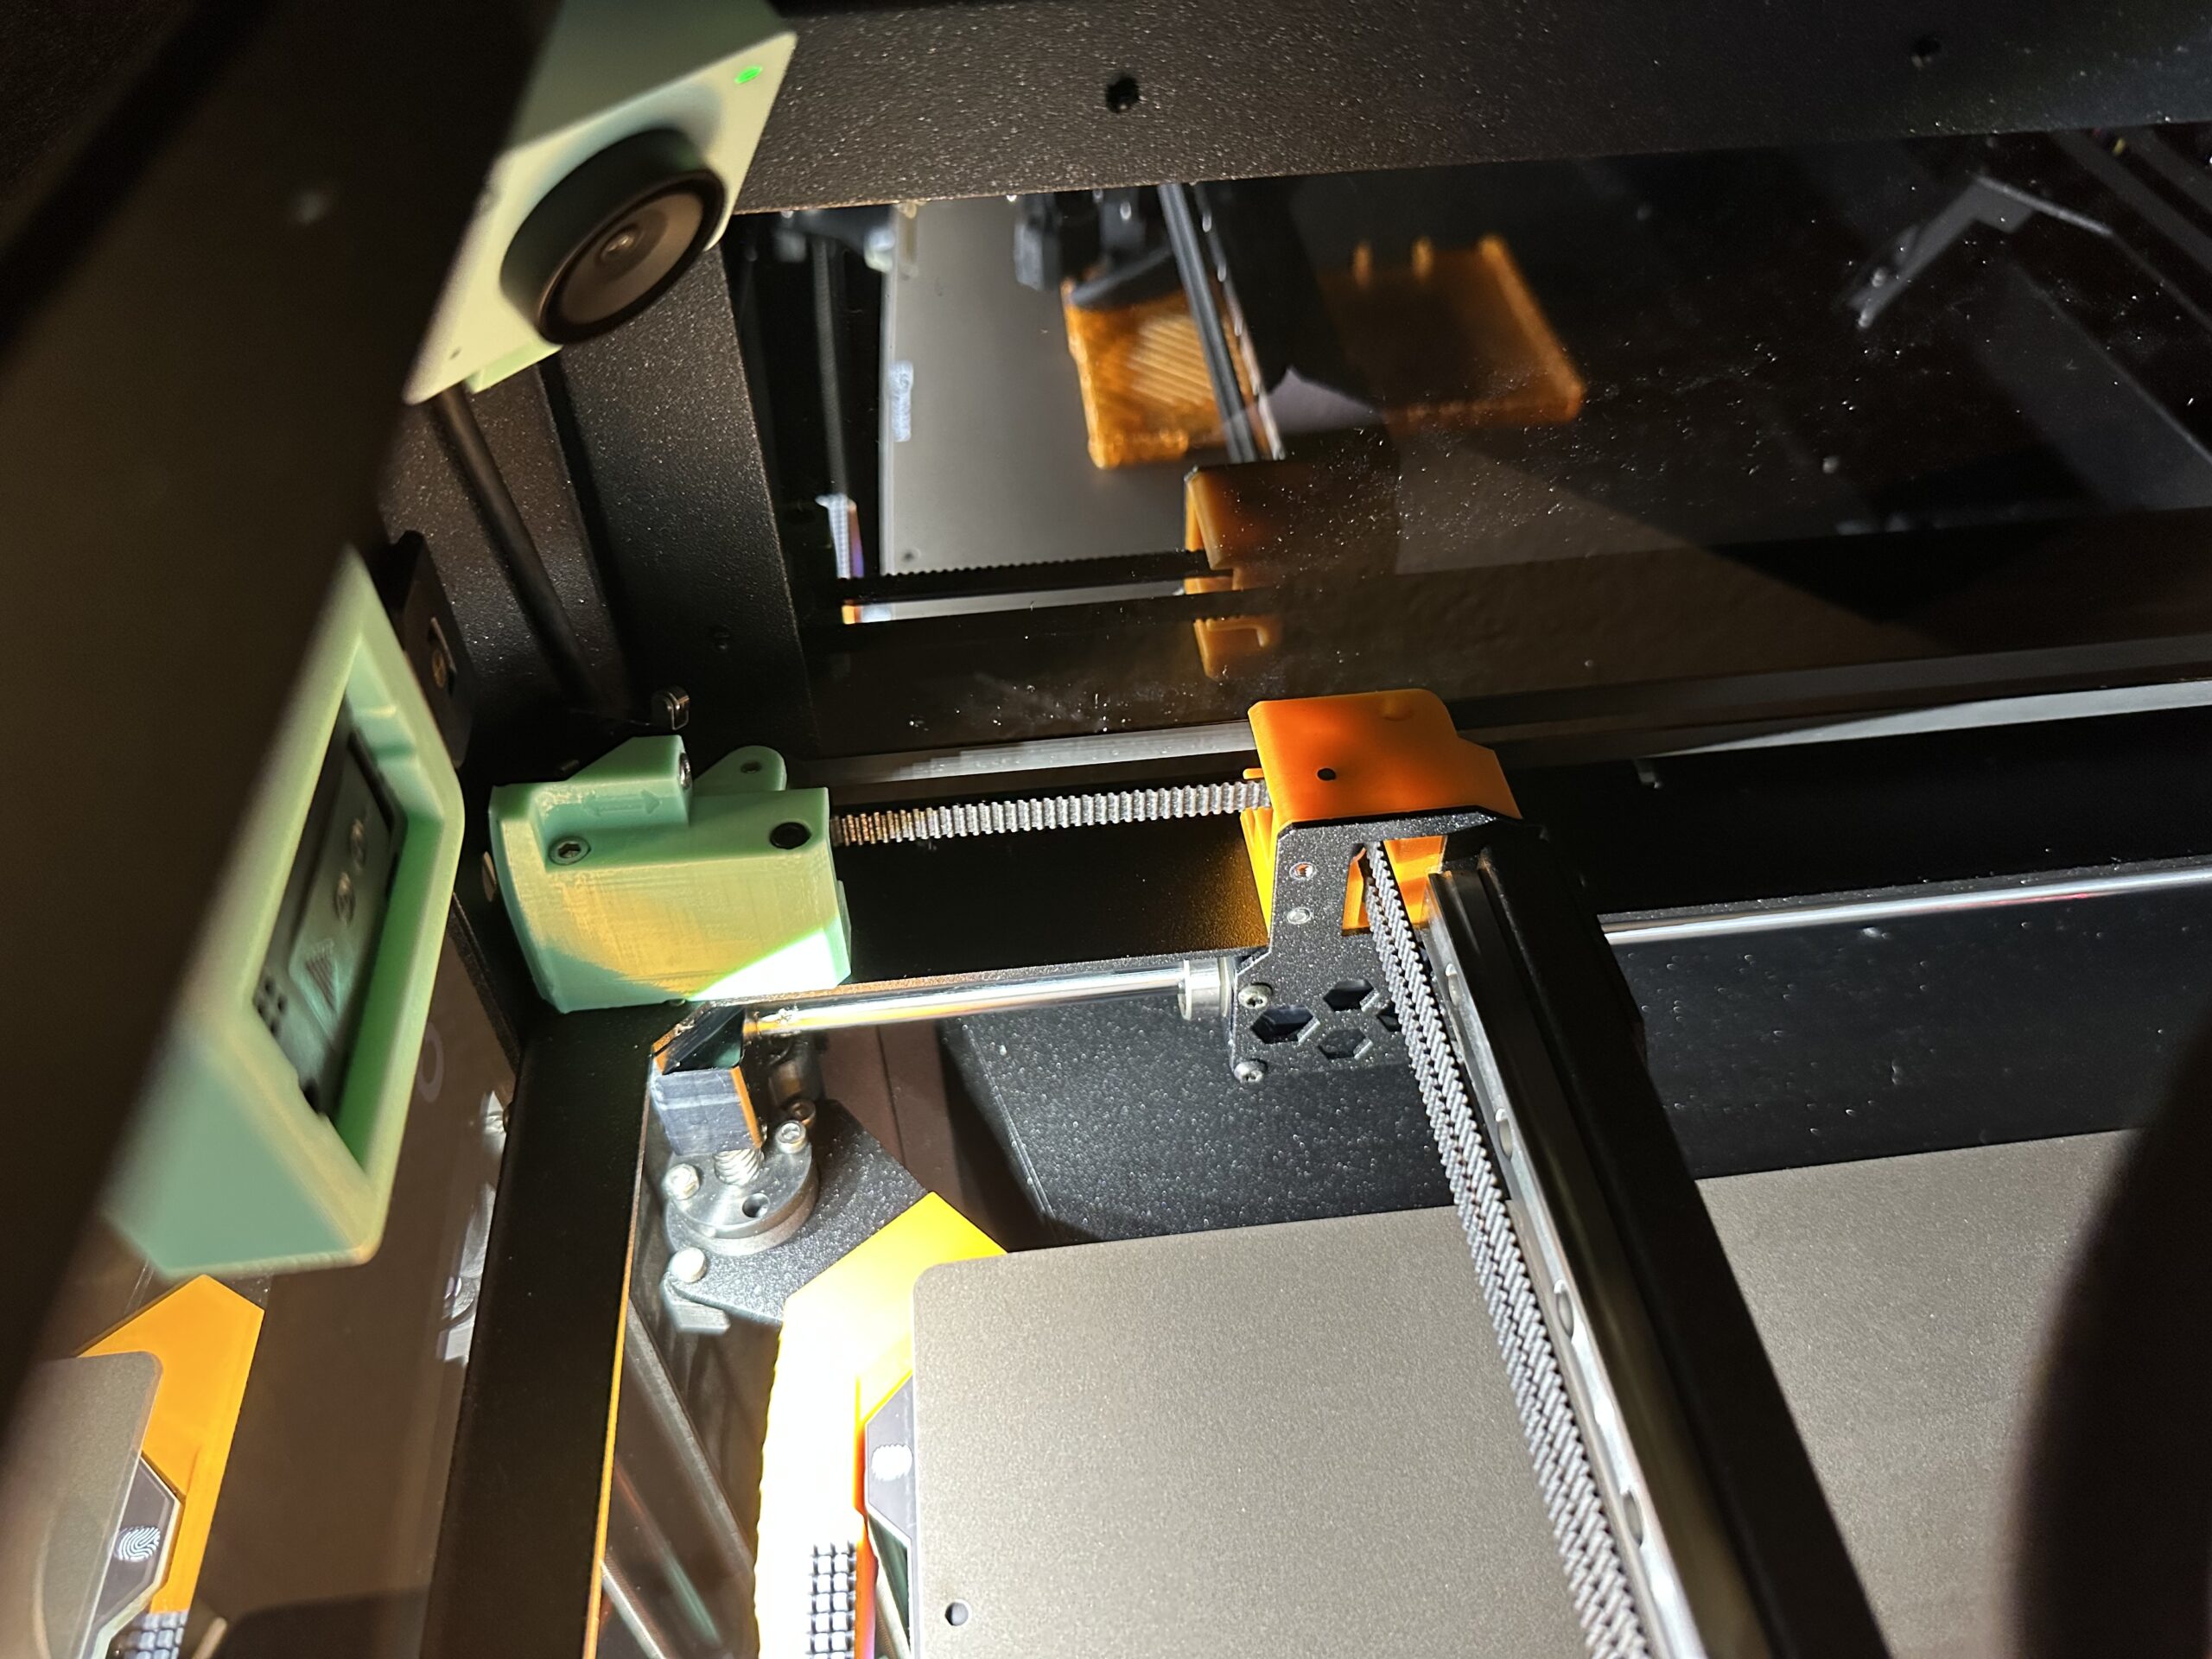
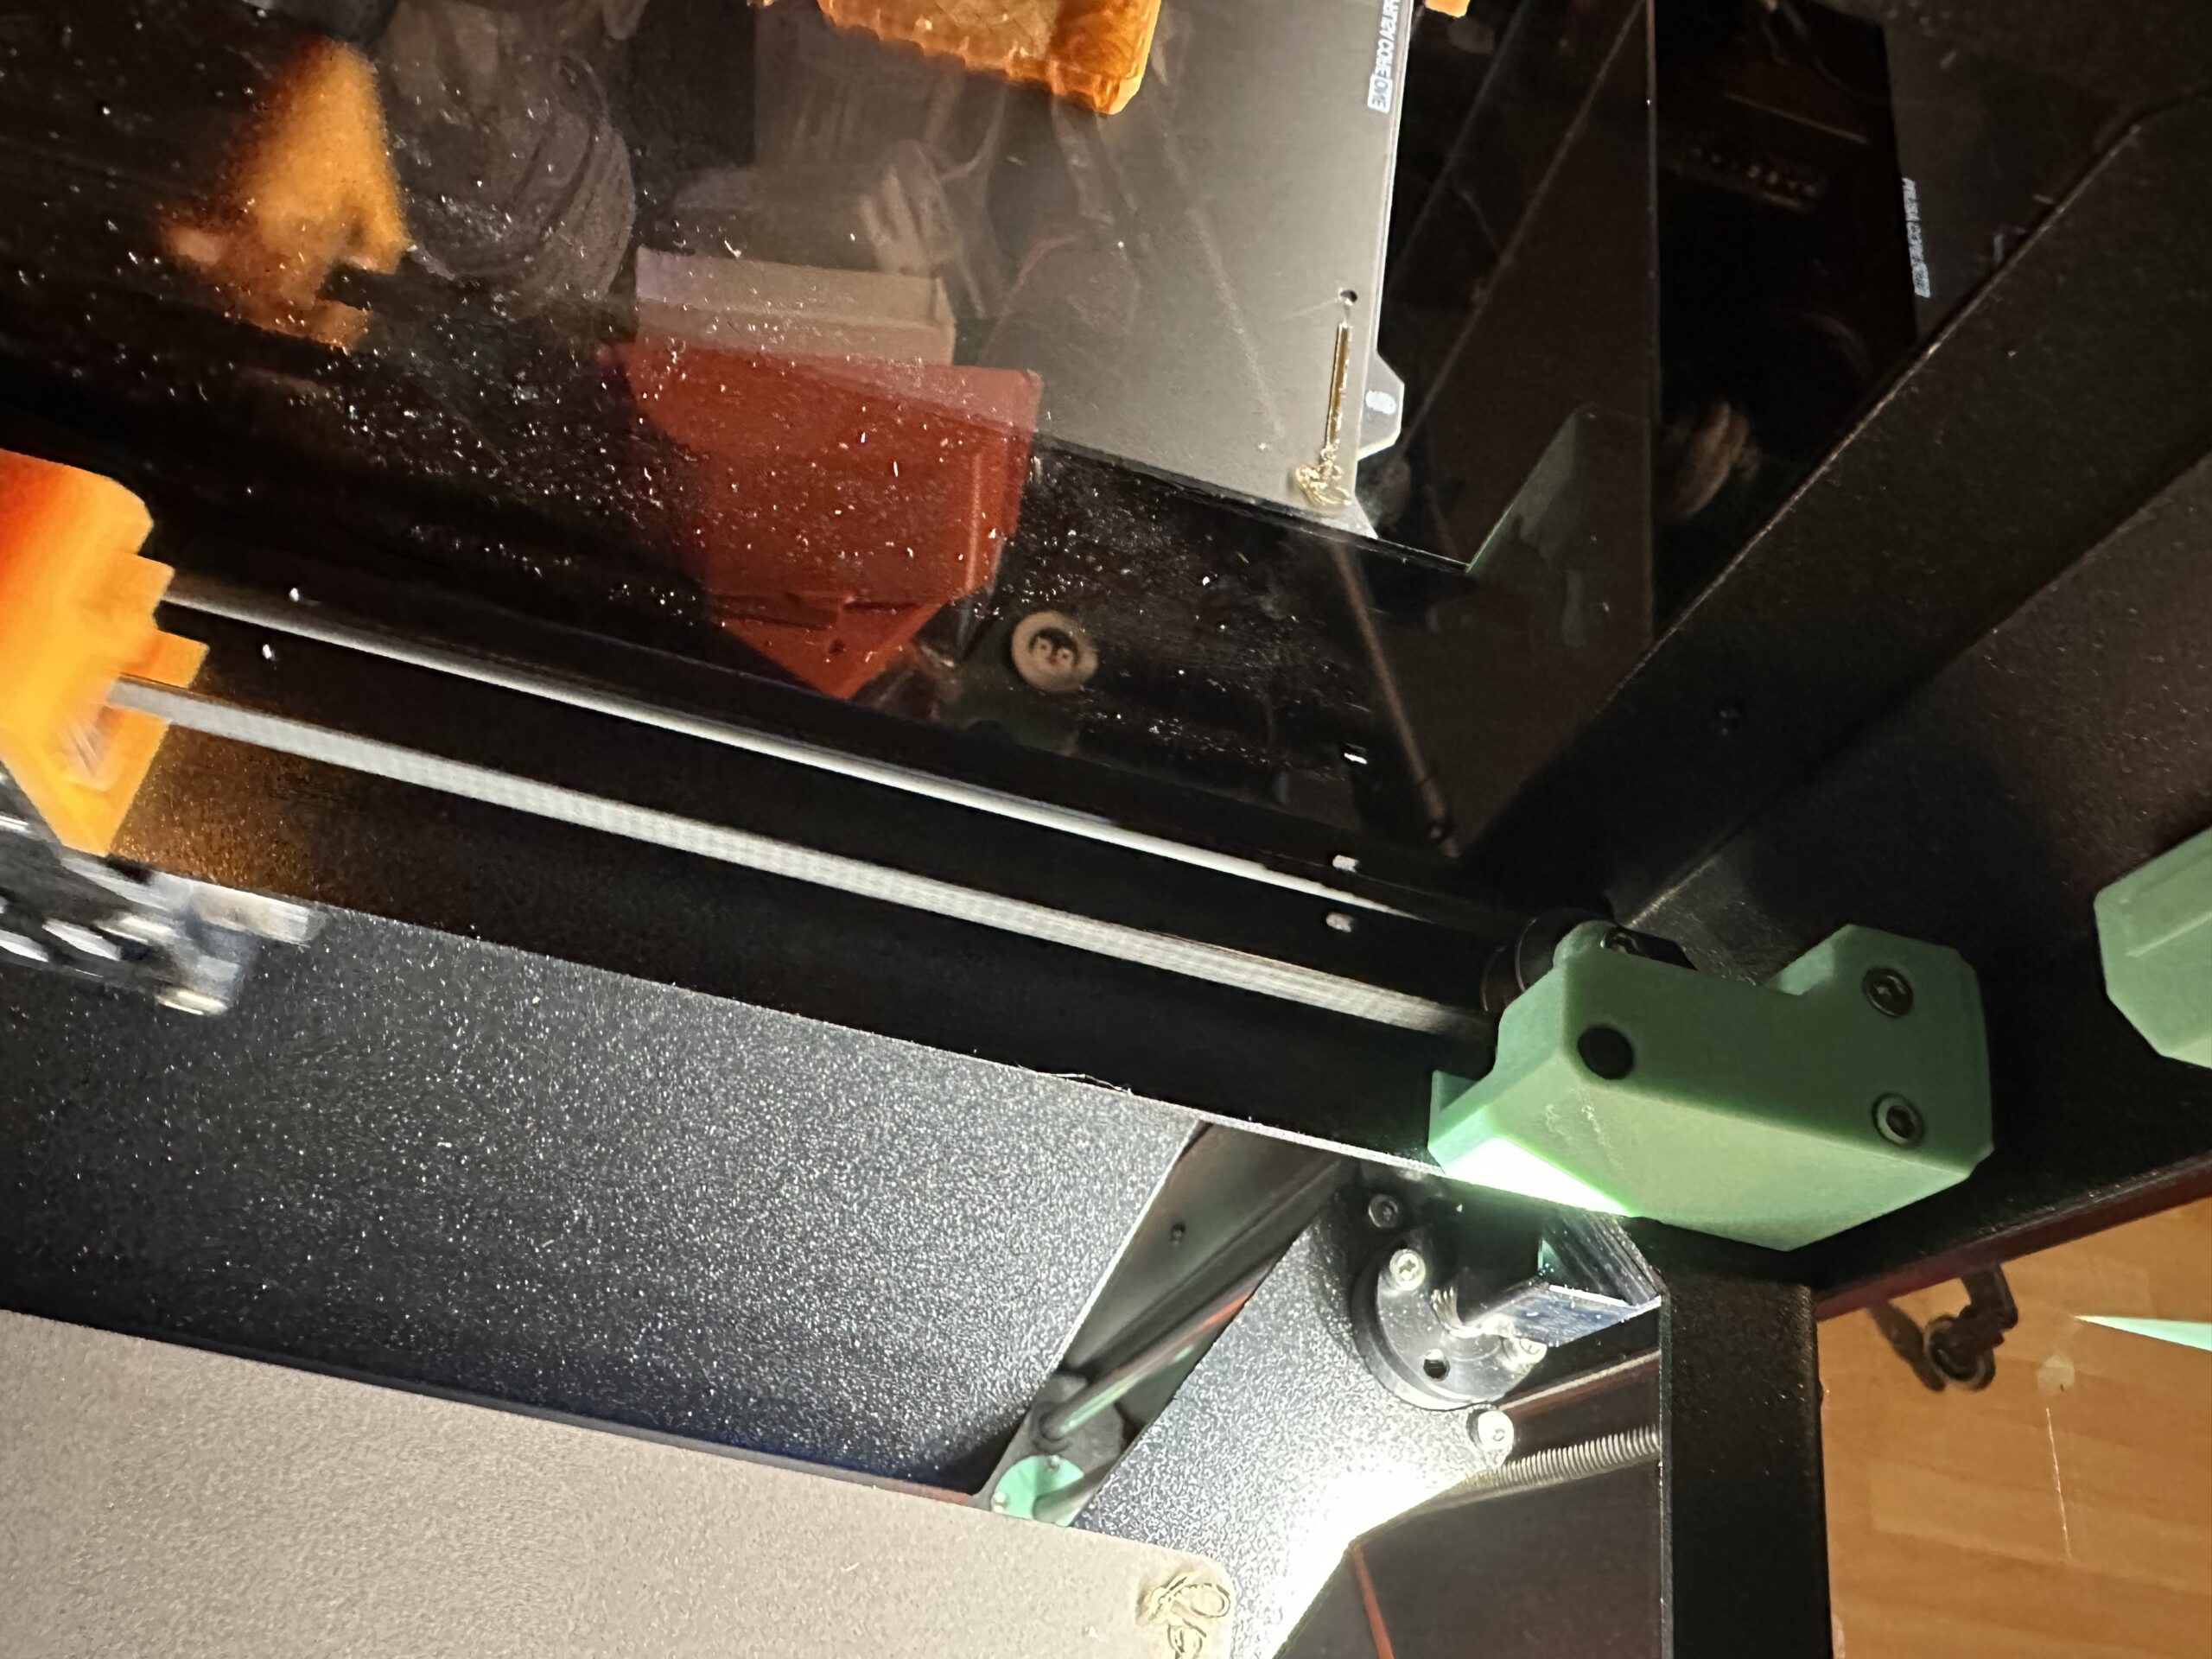
The belts are mostly still in place. I had to remove the top of the frame and the front left corner frame rail to access the left-side tensioner screws because the door-switch blocks access to one of the screws from above and had to also be removed. Sort of like when all you need is that one spark plug, but getting to it means removing the alternator, which means removing air filter box, which means removing the 12v battery- lol!
Can you get away with replacing the parts as is, or do you need to completely disassemble and remove the belts, in order to re-route them all again?
Maker of things
RE: Belt Tensioner Hardware Fail
You can pretty much replace in-place. The only tricky bit is the door sensor if you’ve finished assembly like I did. Just needs patience and many small turns of the allen wrench in a tight space though. The only thing to keep in mind is that you have to screw the actual idler pully to its holder with the belt looped through but that is very easy to do.
Can you get away with replacing the parts as is, or do you need to completely disassemble and remove the belts, in order to re-route them all again?