Is this normal?
I just got done with building the kit and the calibration tests all passed. I have been able to print two of the sample keychains. When the printer begins to print it moves all the way to the front right corner and then hits the rails multiple times for about a minute and then it begins printing. The prints aren’t the greatest so I need to figure that out still.
RE: Is this normal?
I just got done with building the kit and the calibration tests all passed. I have been able to print two of the sample keychains. When the printer begins to print it moves all the way to the front right corner and then hits the rails multiple times for about a minute and then it begins printing. The prints aren’t the greatest so I need to figure that out still.
It is normal that the printer "bangs" the right and front sides a few times to find its precise home position. But it should not take that long. In a well-aligned printer, it hits front, front -- right, right -- front, right, front, right, front, right, front, right. 12 bangs total, takes a few seconds (but still sounds a bit unhealthy...)
If you printer needs much longer to establish its home position, be sure that your gantry is squared and the belt tensions are correct. Updated instructions are here: https://help.prusa3d.com/article/adjusting-belt-tension-core-one_845048.
The new Release Candidate firmware 6.4.0 makes belt tuning easier by implementing a wizard and a stroboscope tuner using the built-in white LEDs; no more strumming and acoustic frequency measurements needed. Despite not being officially released, it works ok on the Core One. But with a newly built printer, maybe you want to stick with the production firmware for now.
RE: Is this normal?
Thank you for your suggestions.
I finally managed to get it to perform a complete homing, but for that to happen the belts have to resonate at around 60 Hz, which seems very strange to me.
However, there’s something else that puzzles me: with the printer turned off, if I manually move the Y axis, the X axis moves the same distance. And if I move X, then Y moves as well.
Is that normal?
Please take a look at this linked video, and if it’s not normal, do you have any suggestions?
RE:
CoreXY printers don't move in a way you would expect. For example if you move the print head where X=Y (0,0) - (220,200) then only the 'X' belt will move
From the Wikipedia Article CoreXY
For movement along the x-axis, both motors must rotate in the same direction. For movement along the y-axis, the motors must rotate in opposite directions. If only one motor rotates, the movement will be diagonal.
The movement can be mathematically described as follows. If A is the movement of the first motor and B the movement of the second motor, the movement in the x and y directions is given by:
Δx=1/2 * (ΔA+ΔB)
Δy=1/2 * (ΔA−ΔB)
RE: Is this normal? (Solved!)
Thanks for your comments, which helped me understand the philosophy behind the Core One in my first venture into the CoreXY world after years of assembling and calibrating “regular Cartesian” printers.
I’ve now solved all the issues; it turns out that the method of tensioning by measuring vibration frequencies with a smartphone is highly inaccurate for Core One.
Fortunately, I downloaded the 6.4.0 Alpha firmware from GitHub, which includes a belt adjustment method by using stroboscopic light emitted by the LED bar; it allowed me to perfectly tune the belts in less than a minute.
Thanks again.
RE: Is this normal?
Thanks for your comments, which helped me understand the philosophy behind the Core One in my first venture into the CoreXY world after years of assembling and calibrating “regular Cartesian” printers.
I’ve now solved all the issues; it turns out that the method of tensioning by measuring vibration frequencies with a smartphone is highly inaccurate for Core One.
Fortunately, I downloaded the 6.4.0 Alpha firmware from GitHub, which includes a belt adjustment method by using stroboscopic light emitted by the LED bar; it allowed me to perfectly tune the belts in less than a minute.
Thanks again.
Try the 6.4.0-RC firmware, not the alpha. It still has a ton of bugs but I've been running it for 6 weeks now and it's good enough (for me). The audio belt tuning is accurate (probably because I have an iPhone and not Android) once you get a routine down for it. I've compared it to the strobe method and they both produce the same results. But yes, the strobe method is easier and more stable way to check the belts.
RE: Is this normal?
Is that normal?
Please take a look at this linked video, and if it’s not normal, do you have any suggestions?
I just carefully looked at your video, and no, this is not normal. The two belts on the left should be moving in opposite directions. Since only one belt is moving, that is why the print head is moving diagonally (it shouldn't be moving in X when you move the gantry only). What that tells me is probably one the toothed pulleys connected to the motor shaft is installed the wrong way.
Refer to this section: 42. Installing the X-axis pulley and confirm that the X and Y axis pulley's are installed the correct way. A common mistake is not installing the X-axis pulley in the correct orientation. There is a hexagonal cutout in the motor mounts where you can visually inspect the orientation.
RE:
I’ve checked it three times, and yes, the pulleys are in different positions and correctly mounted.
Finally, the best solution for calibrating the belts turned out to be the Biqu Belter digital tensiometer, and I’ve decided to forget about the 6.4 RC firmware and iPhone web apps. It’s a pity that Prusa doesn’t provide the tension in newtons. In the end, I had to calculate and deduce the correct tension for the Core One based on the frequencies provided by Prusa: 24–27 N.
Now everything works fine.
TKS for your suggestions
RE: Is this normal?
Finally, the best solution for calibrating the belts turned out to be the Biqu Belter digital tensiometer, and I’ve decided to forget about the 6.4 RC firmware and iPhone web apps. It’s a pity that Prusa doesn’t provide the tension in newtons.
Hmm -- didn't you write earlier that the stroboscope-based tuning using the 6.4.0 firmware worked very well for you? In which way did you find it deficient?
RE: Is this normal?
I've compared the strobe results against the audio results many times and they agree within 0.5hz. I find the strobe based tuning to be accurate and quick.
RE: Is this normal?
Indeed, it was working, but after a few hours it started showing an error again when performing homing.
RE: Is this normal?
I am sure you are considering the initial stretching phase where the belts will keep stretching until they settle more or less permanently (unless you enconter the same weird problem that @hyiger is having with permanently stretching belts). In my case I had to adjust the belts a few times in the first couple of weeks but now they are rather stable.
If you are familiar with string instruments, same effect: change the strings of a guitar and you'll have to tune them for a couple of days as they loose tension inside a couple of hours until they stabilize.
Indeed, it was working, but after a few hours it started showing an error again when performing homing.
RE: Is this normal?
I would like to try that...if my white LEDs would work.
Extra HAM (and eggs some say) Radio - N4MCC
RE: Is this normal?
NO, THAT IS NOT NORMAL ! I had the same issue on my build. I had not tensioned my belts.
On a NORMAL print, the printer bangs on the walls (lightly) twice on the right side and twice on the front side.
TO RESOLVE THE ISSUE: TENSION THE BELTS
1. Open the PRUSA App
2. Bottom MENU - Select the FOUR SQUARES Icon.
(it is currently the rightmost ICON on the menu)
3: Select "Belt Tuner" on the list. (currently the fifth item on the list)
4: Select your printer Type (Prusa CORE One)
5: Tap to Enable the Microphone (large button in center)
Press the ALLOW button on the pop up menu
6: By default, we are on the Upper XY axis belt
a: Make sure the area is quiet
b: Put the phone in the printer on the bed
c: PLUCK THE Upper XY axis belt
d: Adjust the Belt tension to 98 Hz !
(repeat plucks as necessary.
minor turns - say 1/8 of a turn are required to fine tune the tension
e: Once complete, tension the Lower Belt
7: Lower belt
a: Press the lower right button to switch to the other belt
b: Pluck the lower belt
repeat as necessary for the phone to hear the frequency
c: Tune belt to 92 Hz.
After tensioning my belts correctly, that fixed my failed homing issue that resulted in a minute or two of the head banging !
Posted by: @thundercracker
I just got done with building the kit and the calibration tests all passed. I have been able to print two of the sample keychains. When the printer begins to print it moves all the way to the front right corner and then hits the rails multiple times for about a minute and then it begins printing. The prints aren’t the greatest so I need to figure that out still.
RE: Is this normal?
TO RESOLVE THE ISSUE: TENSION THE BELTS
1. Open the PRUSA App
2. Bottom MENU - Select the FOUR SQUARES Icon.
(it is currently the rightmost ICON on the menu)
3: Select "Belt Tuner" on the list. (currently the fifth item on the list)
[...]
While these instructions are correct and should work, there is a better (more convenient and reproducible) way now, complete with improved instructions.
I recommend that you download the recently released firmware 6.4.0, which includes the stroboscopic belt tuning wizard. It excites the belts via the stepper motors, and uses the built-in white LEDs to observe the vibrations via stroboscopic illumination. No more plucking, no more phone app needed (which gives some users trouble, depending on their phone's microphone characteristics).
Prusa has also published updated instructions which describe the regular "tuning" using the wizard, but also how to straighten the X gantry if it is skewed in the first place. (And how to reattach the belts in the unlikely event that they come loose from the Nextruder.) Recommended! https://help.prusa3d.com/article/adjusting-belt-tension-core-one-l-core-one_845048
RE:
Excellent point. I should recheck my tension now that I have upgraded the software from 6.3 to 6.4. The belts had relaxed a bit from the original tensioning and had to be retightened 1/4 of a turn.
The Phone/plucking option worked fine.
The new method works great also. Perhaps the wording of the step could be improved slightly. It says:
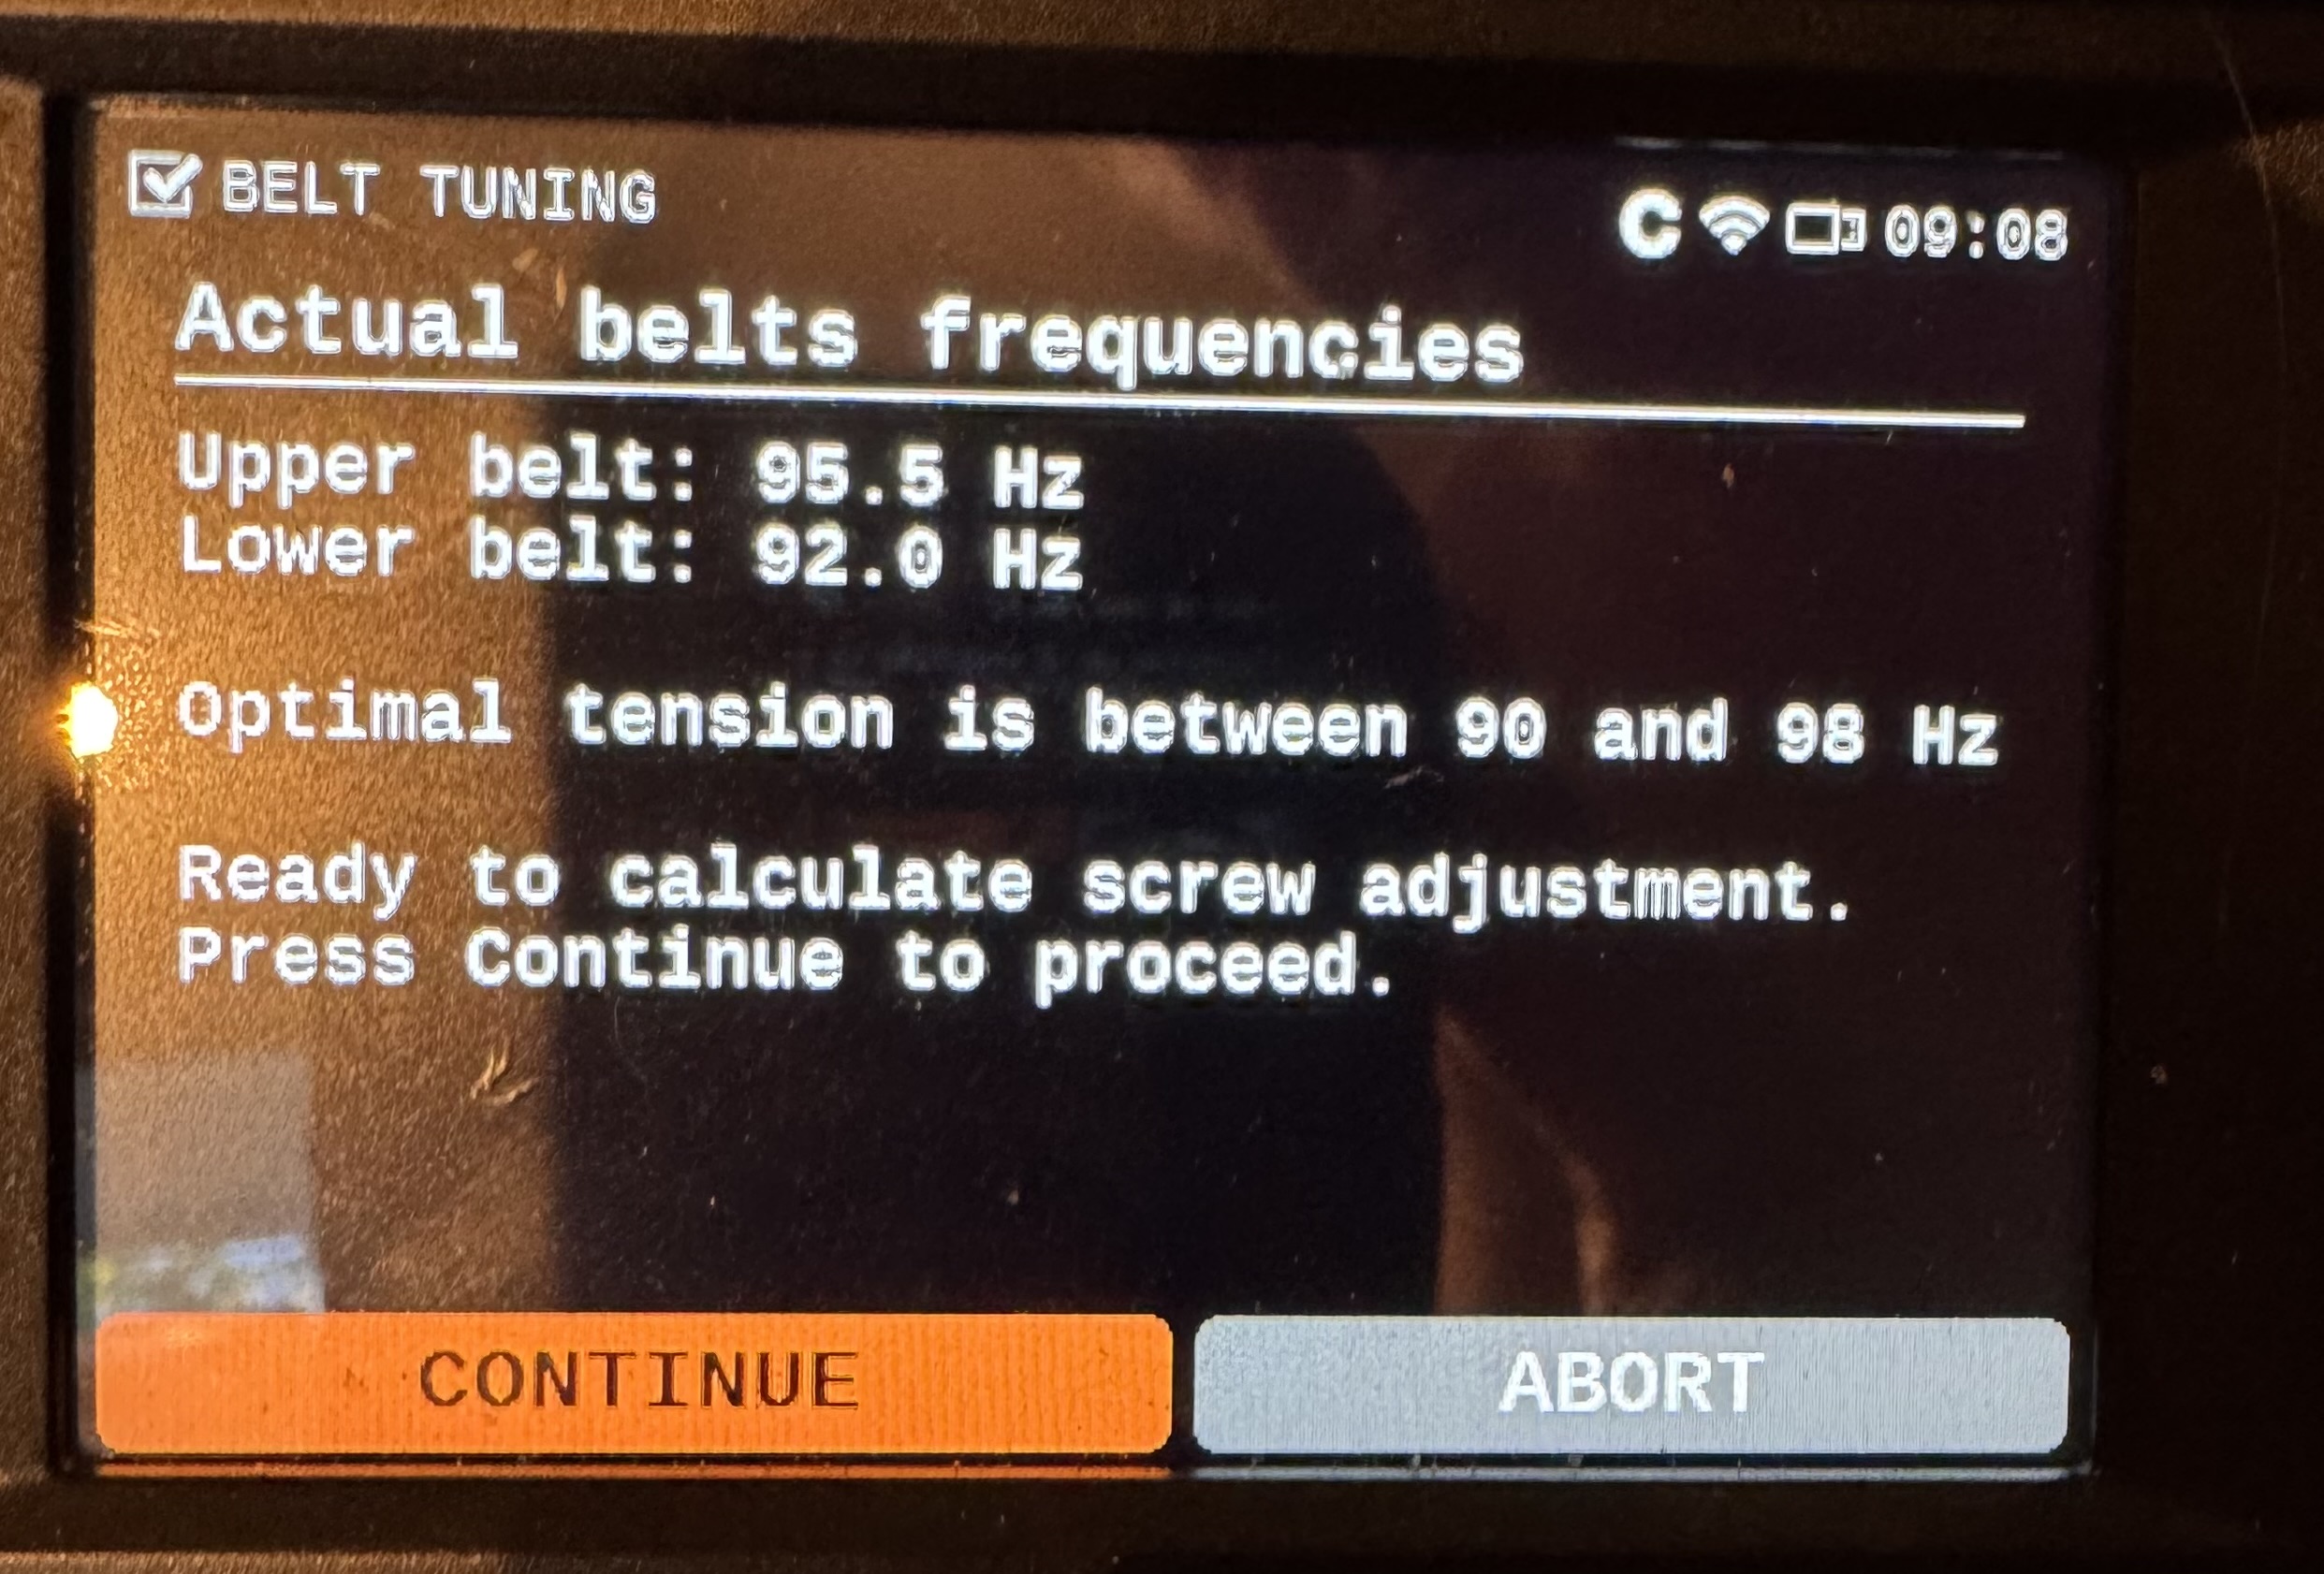
Upper belt actual frequency
Turn the knob to adjust frequency. Look
for slow belt movements with sharp,
regular peaks, then click the knob to proceed.
95.5 Hz
I went through the Tuning step a number of times to gain familiarity with the program. I found the wording in the linked instructions /screen a bit confusing.
My understanding is that WE have to manually adjust the knob UNTIL we see the belt resonate. Whatever we select as the frequency is what the program will use to calculate the amount of adjustment needed to tighten the belts to the correct frequency. It tested that by entering an very low frequency of 88 Hz that was out of the resonance range. The program recommended a tightening of the belts. When I restarted the test, the program started from the last frequency given.
The written step says:
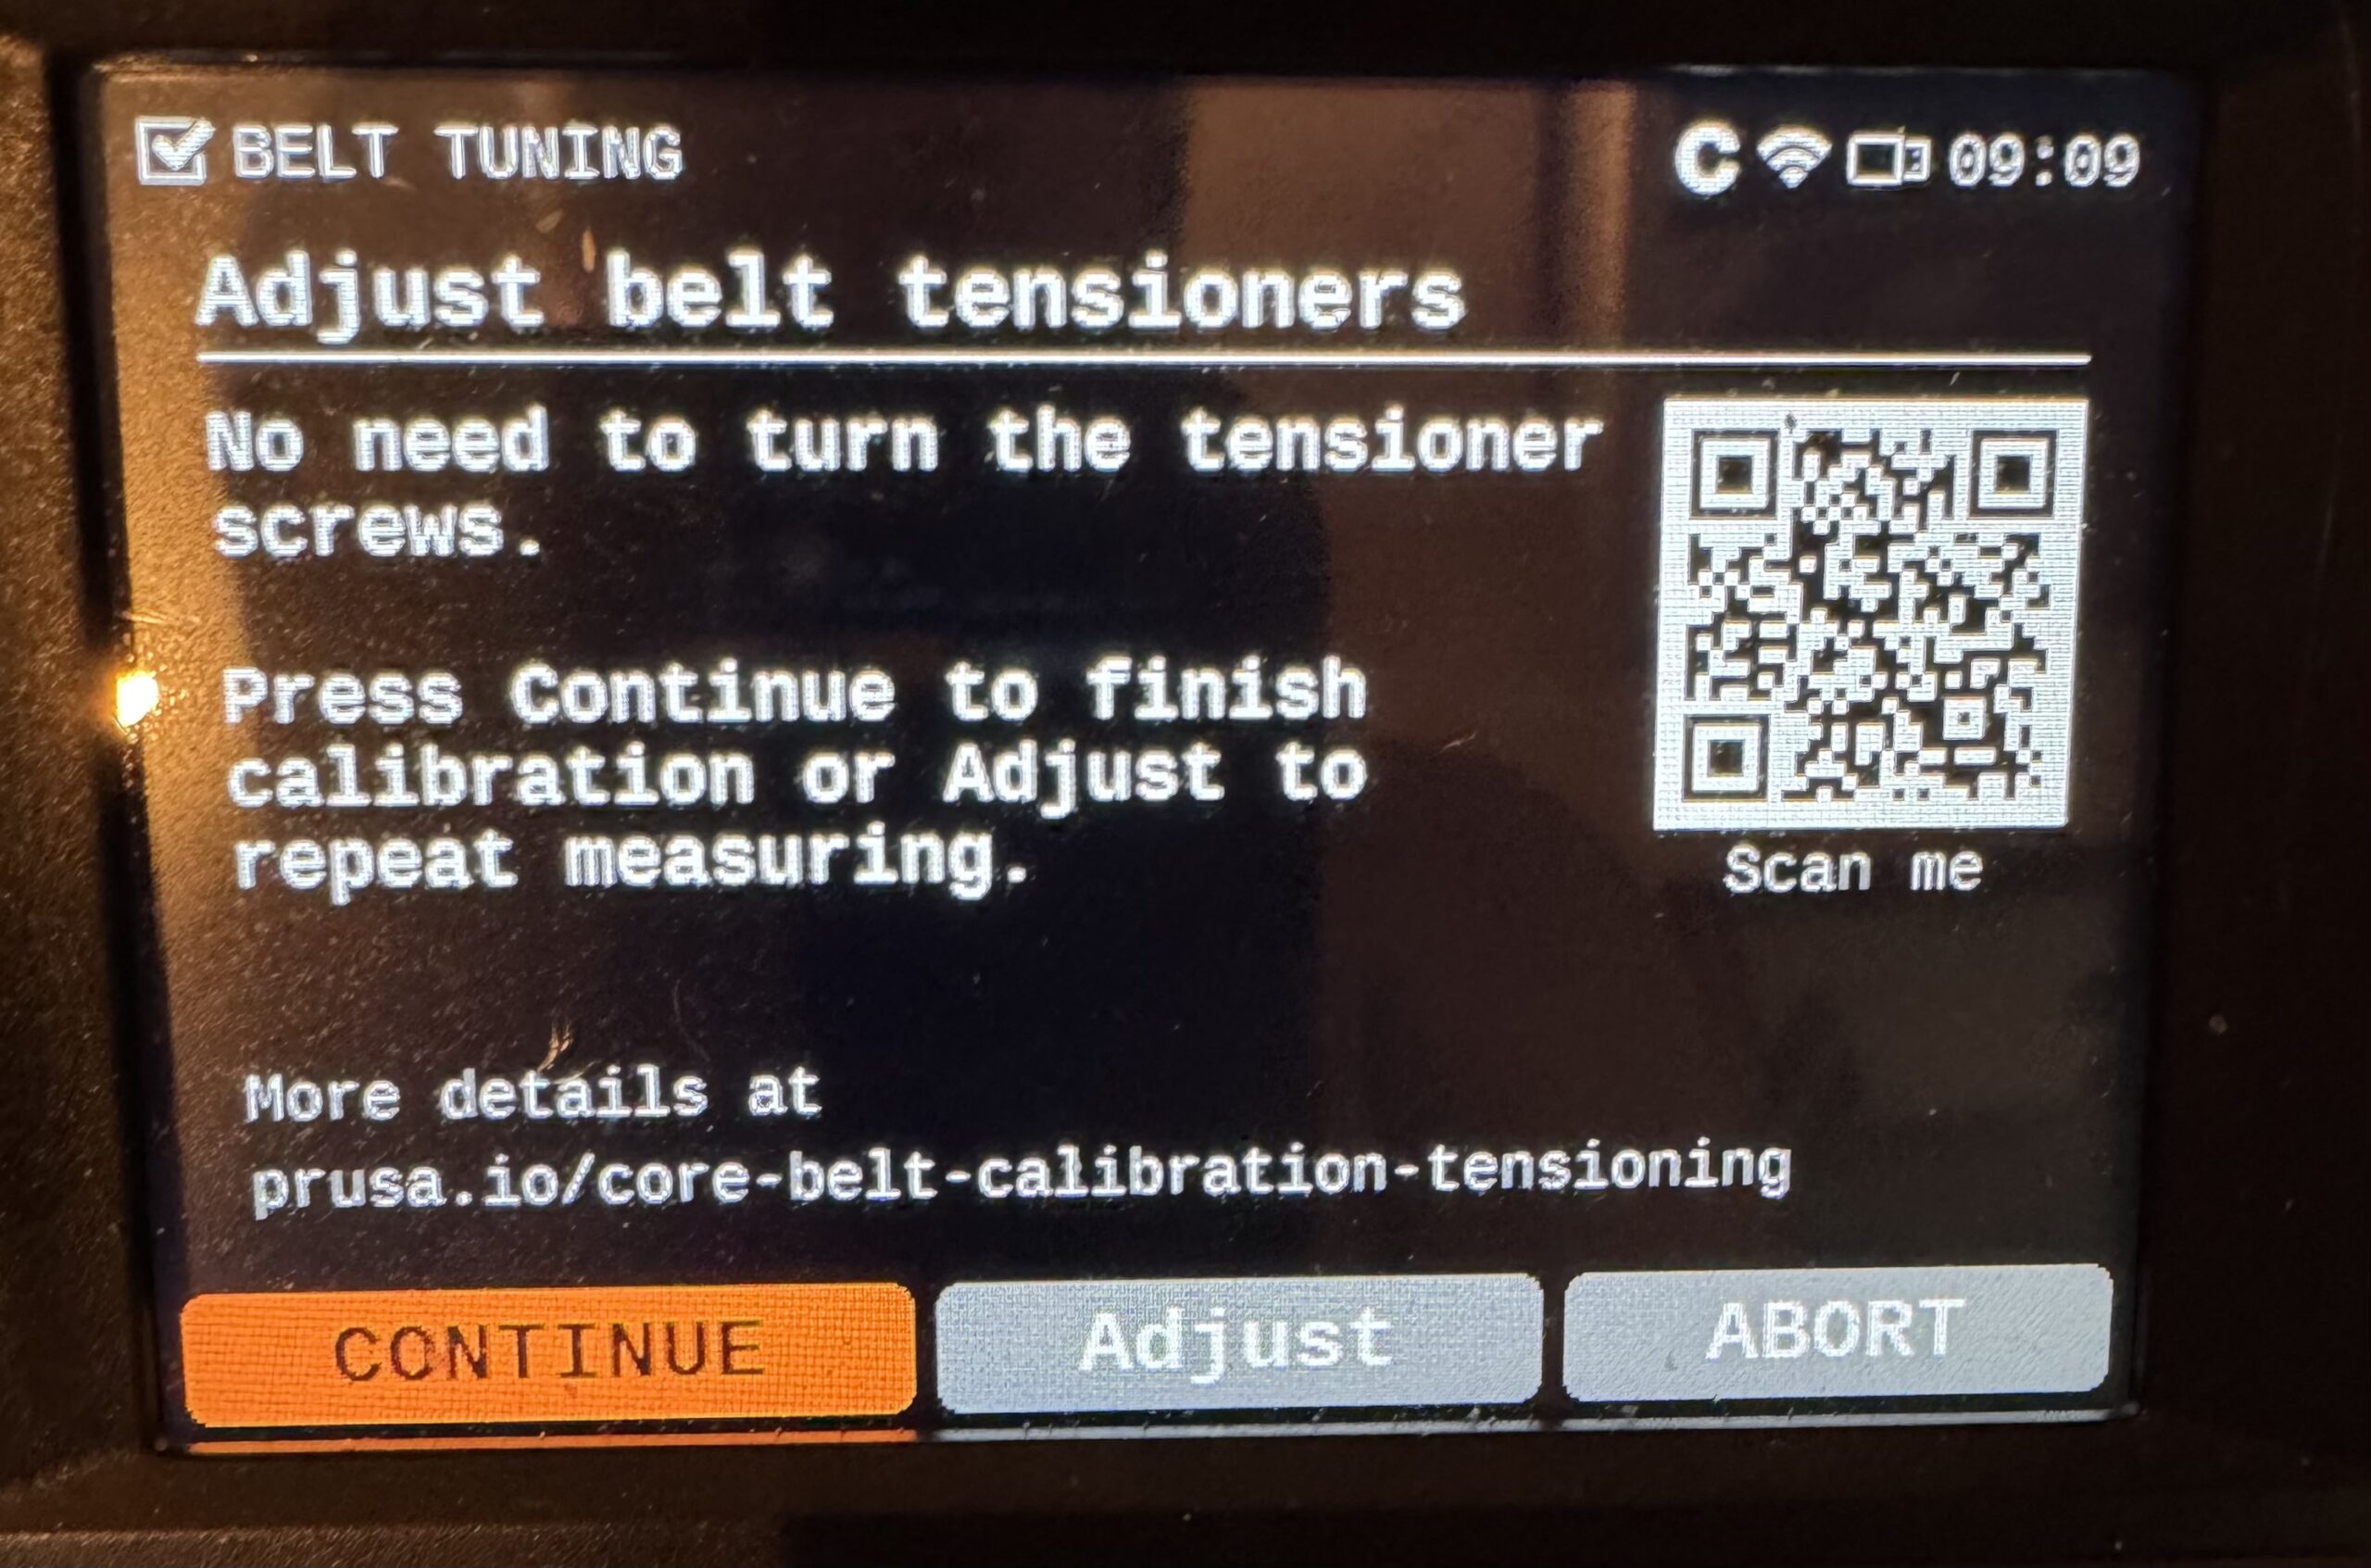
The wizard then measures the vibration frequency of both belts and recommends whether
to tighten or loosen them. Follow the in-screen instructions to turn the encoder to vary the
vibration frequency, and at the same time, observe the vibrating movement made by the
selected belt as the frequencies are changed.
So how is this confusing?
The Wizard is NOT measuring the frequency. The USER is using the knob to adjust the frequency UNTIL the USER observes the resonance frequency occurring in the belts. The Wizard is dependent upon our observation.
Perhaps the screen should say:
Upper belt observed frequency
Turn the knob to adjust frequency until the belt resonates (Large slow belt movements with sharp, regular peaks), then click the knob to proceed.
======
BELT TENSION
FINAL SCREEN
RE: Is this normal?
Yes, it could be worded more clearly. Maybe something like this?
- The wizard varies the frequency of belt excitation and stroboscopic light (under user control).
- The user observes the amplitude of the resulting belt resonance and tells the wizard when it is maximal.
- From that, the wizard determines the current resonant frequency and belt tension,
- and derives the required tensioner adjustments to get to the target values (while maintaining symmetric belt tension).
RE: Is this normal?
Much better.
what are we actually adjusting with the knob.
I assume there is a speaker playing the frequency. Can’t be the buddy cam as not all have them.
I assume we are changing the frequency of that speaker, The belt then resonates with that frequency. When we get to the correct frequency the vibration of the belt is maximal. Is that it?
Dont like ‘stroboscopic’. To high value a word.
I think you are saying the LED light is also blinking at the set frequency. So we see the maximal vibrations when the light and the belt are in sync ?
RE: Is this normal?
I assume there is a speaker playing the frequency. Can’t be the buddy cam as not all have them.
I assume we are changing the frequency of that speaker, The belt then resonates with that frequency. When we get to the correct frequency the vibration of the belt is maximal. Is that it?
Dont like ‘stroboscopic’. To high value a word.
I think you are saying the LED light is also blinking at the set frequency. So we see the maximal vibrations when the light and the belt are in sync ?
The belts are not excited via a speaker, but via the stepper motors. The LED modulation frequency seems to follow the belt excitation frequency, but always with a small (fixed) offset. You see that offset frequency as the slow apparent belt movement. If both frequencies were exactly the same, the belt would appear completely stationary, which would be harder to see. (You would have to look for maximum "deformation from straight", rather than "maximum movement".)
I actually like "stroboscopic". It's not such an uncommon term: Anyone who has tuned a car has used those stroboscopic flash lights for the ignition timing. And there are "stroboscope tuners" for musicians too, if you want very precise tuning.
RE: Is this normal?
I asked ChatGPT for some suggestions.
”1. User-friendly wording
The wizard changes the belt-excitation frequency and the timing of a flashing light (which the user can adjust).You watch how strongly the belt vibrates and tell the wizard when the vibration is at its peak.From this, the wizard determines the belt’s resonant frequency and current tension, then calculates how much to adjust the tensioners to reach the target values while keeping both sides balanced.
2. Technical but clearer
The wizard varies both the belt-excitation frequency and a synchronized flashing light (adjustable by the user).The user observes the resulting vibration amplitude and indicates when it is maximized.From this information, the wizard identifies the belt’s resonant frequency and tension, and computes the required adjustments to achieve the target tension while maintaining symmetry.
3. Concise version
The wizard sweeps the excitation frequency and controls a synchronized flashing light.The user reports when belt vibration is strongest.This allows the wizard to determine the resonant frequency, calculate the current belt tension, and compute the adjustments needed to reach the target tension symmetrically.
If you want an even more approachable “manual-style” version or a more scientific version, tell me the style and audience and I’ll tune it.”