RE: Belt Tensioning strips Screw/Nut thread
Hi. My two cents. I think the stripping can be avoided by „lubing“ the parts with some graphite where they make contact. Also check screw and bolt if the threads are good. ( I had some square nuts with a bad thread). Also put some grease on the threads of bolt/nut.
tensioning is very easy on mine, even up to over 100hz.
RE: Belt Tensioning strips Screw/Nut thread
Ah, I see -- a misnamed plate. It's actually a frame, connected at the corners by the small angle brackets we've been discussing. I hope I never have to eat a meal using a plate like that one. You need to understand that this "plate" isn't at all rigid, as you described it. Small forces can knock it out of orthogonality, which leads to many discussions like this one, in which people ask, "How do I make my Core-XY mechanism truly square?
What "angle brackets" are you referring to? The CoreXY frame is a single laser-cut piece, with folded-down edges for stability. It is suspended in a frame made of bent, angled sheet metal parts, but these frame parts do not define the CoreXY geometry in any way. You seem to be holding strong opinions based on limited information here, and are expressing them in a slightly annoying tone.
On a more general note -- how did this thread evolve into a discussion of CoreXY orthogonality? Is the general assumption that the stripped threads and/or blocked nut in the belt tensioner are due to non-orthogonal X/Y axes? I can't quite see how that would be connected.
RE: Belt Tensioning strips Screw/Nut thread
> What "angle brackets" are you referring to?
The Core XY frame is connected to the remainder of the assembly (meaning the X axis rail and many other parts) by metal brackets, two of which can easily be bent to assure orthogonality, as shown in my Web page: https://arachnoid.com/3D_Printing_Prusa_Core_One/index.html . Unless these brackets have the correct shape, the printer will fail its Y axis test and will show print skew to a greater or lesser extent, as shown in this picture: 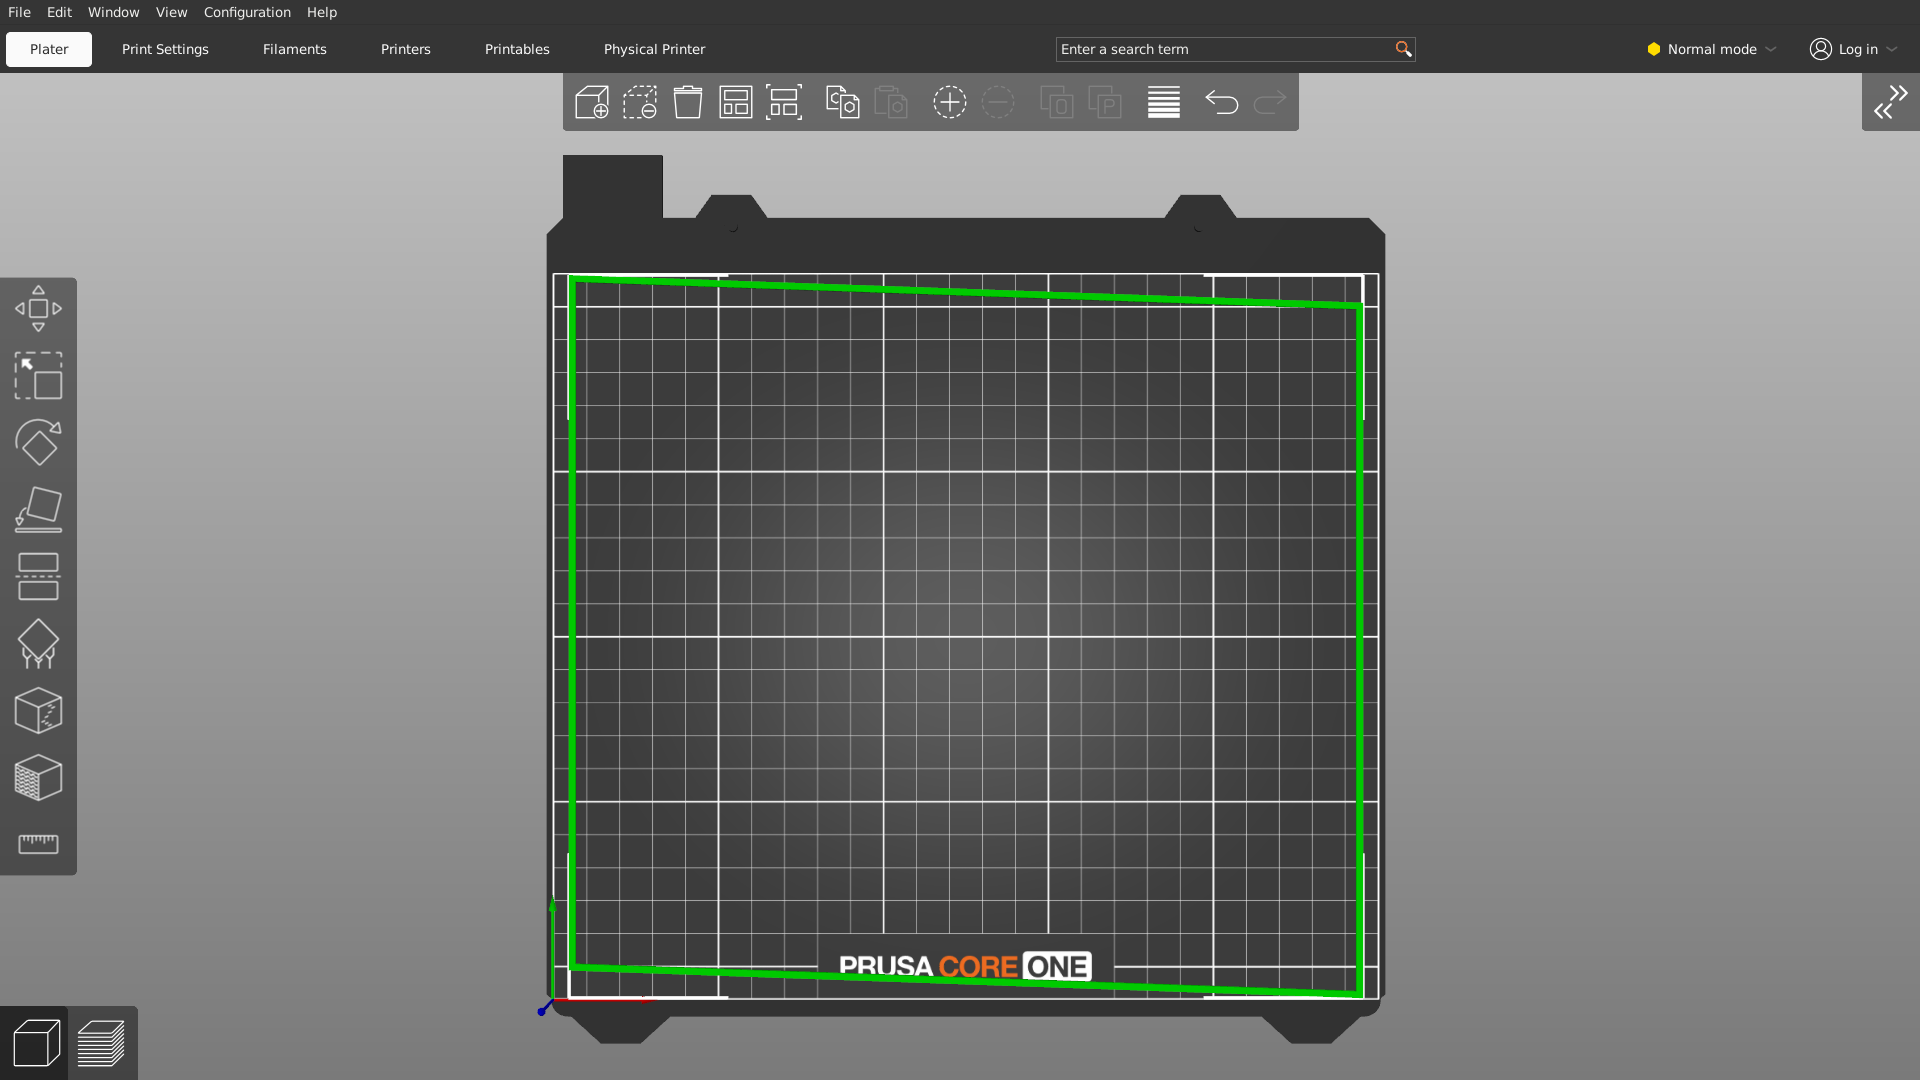 .
.
The two angle brackets I'm referring to are located at each end of the X carriage bar -- here is a closeup picture of one of them, located at the left end of the X carriage bar: 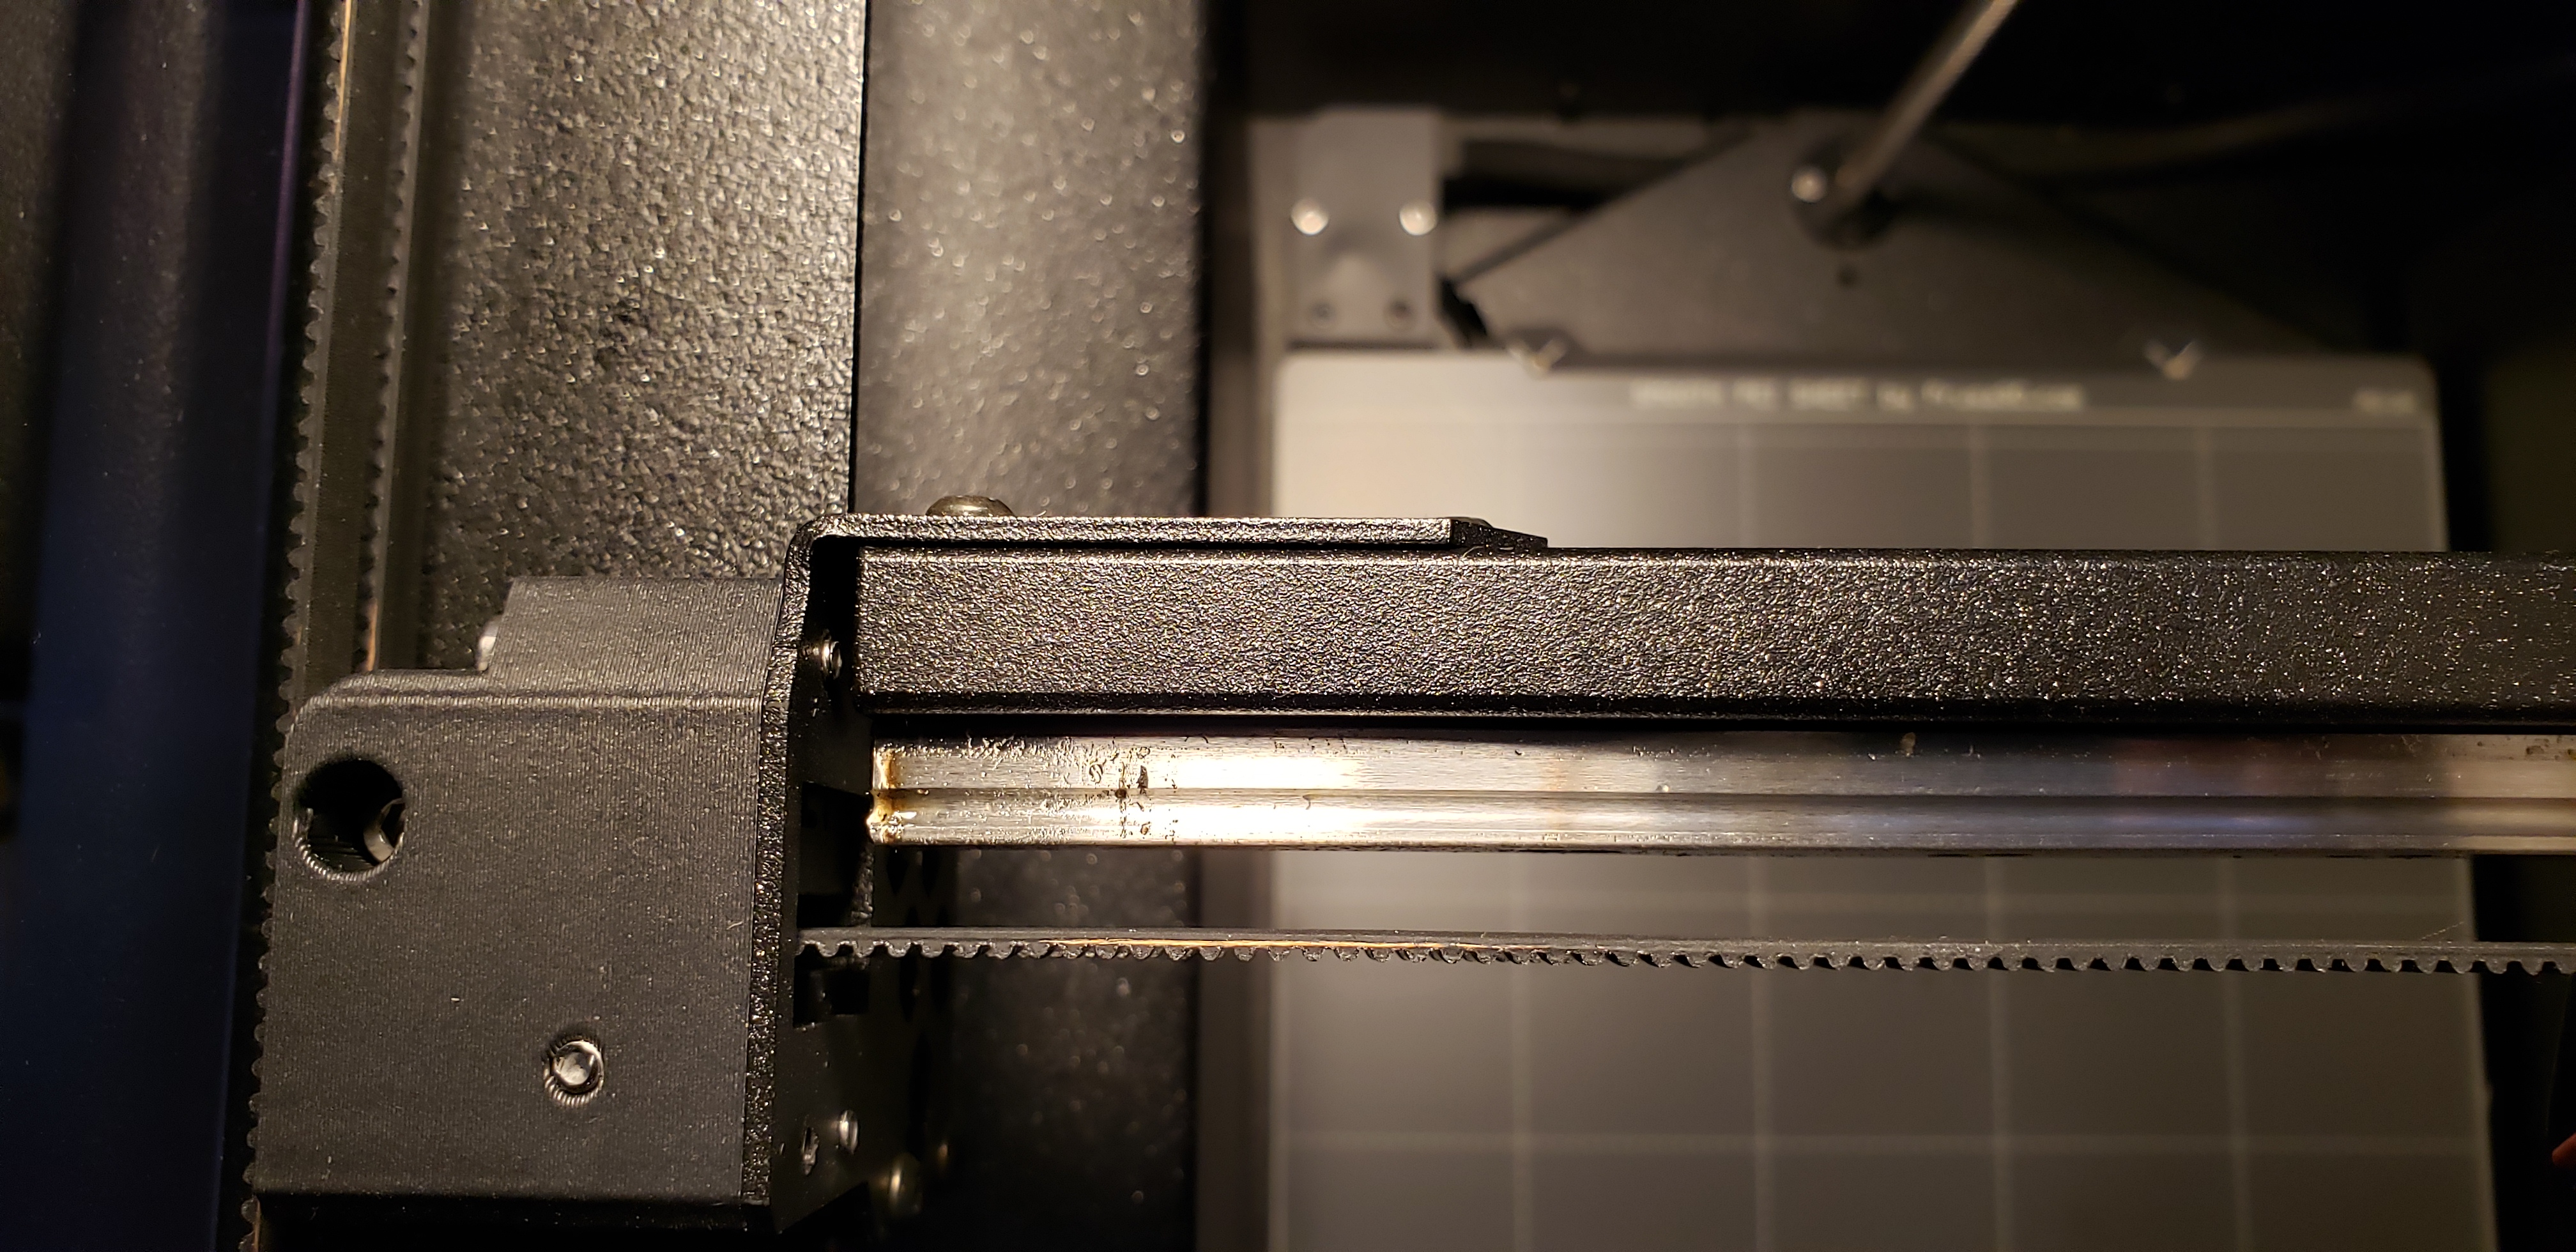 .
.
These brackets are clearly visible in this page of the Prusa Core One assembly instructions: https://help.prusa3d.com/guide/5-corexy-assembly_835522#845609 , note the blue arrows. These brackets support the X axis rail and -- crucially -- determine the angular relationship between the frame, the Y axis and the X axis. In a user-assembled printer, the likelihood that the X and Y axes will lie at 90 degrees is essentially zero. This BTW is true about factory -assembled printers as well, but the factory assemblers make sure to align the axes before shipping the printer. They align the axes by bending the brackets.
In my Web page I provide a method by which the relationship between the X and Y axes can be made equal to 90 degrees, a requirement for correct printer operation. Printer owners are free to use or disregard these instructions, but if the latter, the printer will (a) continue to fail its Y axis motion range test and (b) exhibit axis skew to a greater or lesser extent. Owners may elect to send the printer back to Prusa for factory repair, at which point a repair technician will ... wait for it ... bend the brackets in such a way that the relationship between the X and Y axes is exactly 90 degrees, then ship the printer back to the customer.
I emphasize this is only a suggestion, intended for people with a do-it-yourself philosophy, but people who don't like working with tools are free to get Prusa to perform this adjustment for them. But whichever approach the owner decides to take, this issue is solved by bending the angle brackets, by someone, somewhere.
> On a more general note -- how did this thread evolve into a discussion of CoreXY orthogonality? Is the general assumption that the stripped threads and/or blocked nut in the belt tensioner are due to non-orthogonal X/Y axes? I can't quite see how that would be connected.
They aren't well-connected, but some people have tried to fix the non-orthogonality issue by tightening their belt loops differentially, sacrificing the canonical 85 Hz tuning Prusa recommends, to try to force the X and Y axes into orthogonality, which is certainly the wrong approach -- I think this is how the topic got raised. Changing belt tensions to solve the orthogonality issue or a failed Y axis motion text, is a classic of bad ideas, which is why I raised this alternative.
> You seem to be holding strong opinions based on limited information here, [ ... ]
Strong views, yes, but certainly not based on limited information. The above should show I've thought this through and posted a remedy that would be obvious to anyone with an engineering background. Apropos, I'm a retired NASA engineer, most of my space-rated, man-rated designs became part of the Space Shuttle.
> ... and are expressing them in a slightly annoying tone.
I'm 80 years old. This is only meant to be informative, not explanatory. Before you judge, get to my age, see how the world looks.
RE: Belt Tensioning strips Screw/Nut thread
> What "angle brackets" are you referring to?
The Core XY frame is connected to the remainder of the assembly (meaning the X axis rail and many other parts) by metal brackets, two of which can easily be bent to assure orthogonality, as shown in my Web page:
Thank you for taking the time for a detailed reply. I am all with you regarding the brackets which mount the X gantry.
But you seemed to be talking about something else in most of your earlier post, mentioning four brackets, the fact that the CoreXY frame was mounted to them, and that the frame was connected at the corners by the brackets. Ah well, never mind.
> ... and are expressing them in a slightly annoying tone.
I'm 80 years old. This is only meant to be informative, not explanatory. Before you judge, get to my age, see how the world looks.
I very much hope that to me, the world will not look like it is full of morons which need to be talked to in a condescending tone. But I can't rule out that possibility. 😉
RE: Belt Tensioning strips Screw/Nut thread
> But you seemed to be talking about something else in most of your earlier post, mentioning four brackets, the fact that the CoreXY frame was mounted to them, and that the frame was connected at the corners by the brackets. Ah well, never mind.
There are four mounting points, two of which play a role in XY axis alignment. The other two are 3D printed parts, nearest the front of the printer's enclosure, that stand in for classical metal brackets, join the Core-XY assembly belts to the frame (and that contain the belt tensioners). I shouldn't have described them all as brackets, even though that's their role, and if the designers had wanted more metal parts, they would all be brackets as that term is commonly understood -- in this case sheet steel, shaped into a right angle and able to support a load. Making two of them out of plastic was a design choice, probably a good one.
And it occurs to me that the reason the rear supports are made of steel is because otherwise there would have been no way to properly align the X and Y axes -- steel's flexibility was essential to meet that requirement, so the added cost was necessary.
> I very much hope that to me, the world will not look like it is full of morons which need to be talked to in a condescending tone.
Your words, not mine. When I get into a conversation like this, what I think is that I'm talking to people who don't have an engineering background. It's not a fatal condition, but it places me in the position of having to be particularly clear in my communications, which some wrongly take as condescension.
One parting suggestion: avoid rhetorical escalation.
RE: Belt Tensioning strips Screw/Nut thread
For me, the screw and pully holder actually got stuck, and the threading inside the part stripped or something. I had to order replacements as well. I did find that you can print the parts in PETG and use them, at least temporarily. I've built my kit about a month ago and haven't put the replacement parts in yet, and it's still going strong. you can also replace the parts without having to reroute the belt and whatnot too--the only annoying part is the door sensor. I posted about it on another thread here if you are interested:
RE: Belt Tensioning strips Screw/Nut thread
> For me, the screw and pully holder actually got stuck, and the threading inside the part stripped or something.
Yes, I know this one. After something similar, I disassembled one of my pulley tensioners and discovered it's not strong enough to keep the square nut within it from beginning to rotate if enough stress is placed on it. Once the square nut begins to rotate, it feels as though something is stripped out in the classic sense. But this can all be disassembled and a new tensioner plastic part printed or purchased, after which the metal parts are all still functional (or easily replaced).
In my experience, after I saw this plastic stripping, I realized I needed to print a replacement tensioner, so I ordered some PCCF filament. Once it arrived, I faced a dilemma -- I needed a functioning printer in order to print the replacement part, to make my printer functional -- a classic Catch-22. So I jury-rigged a crude tensioner using baling wire, like this --
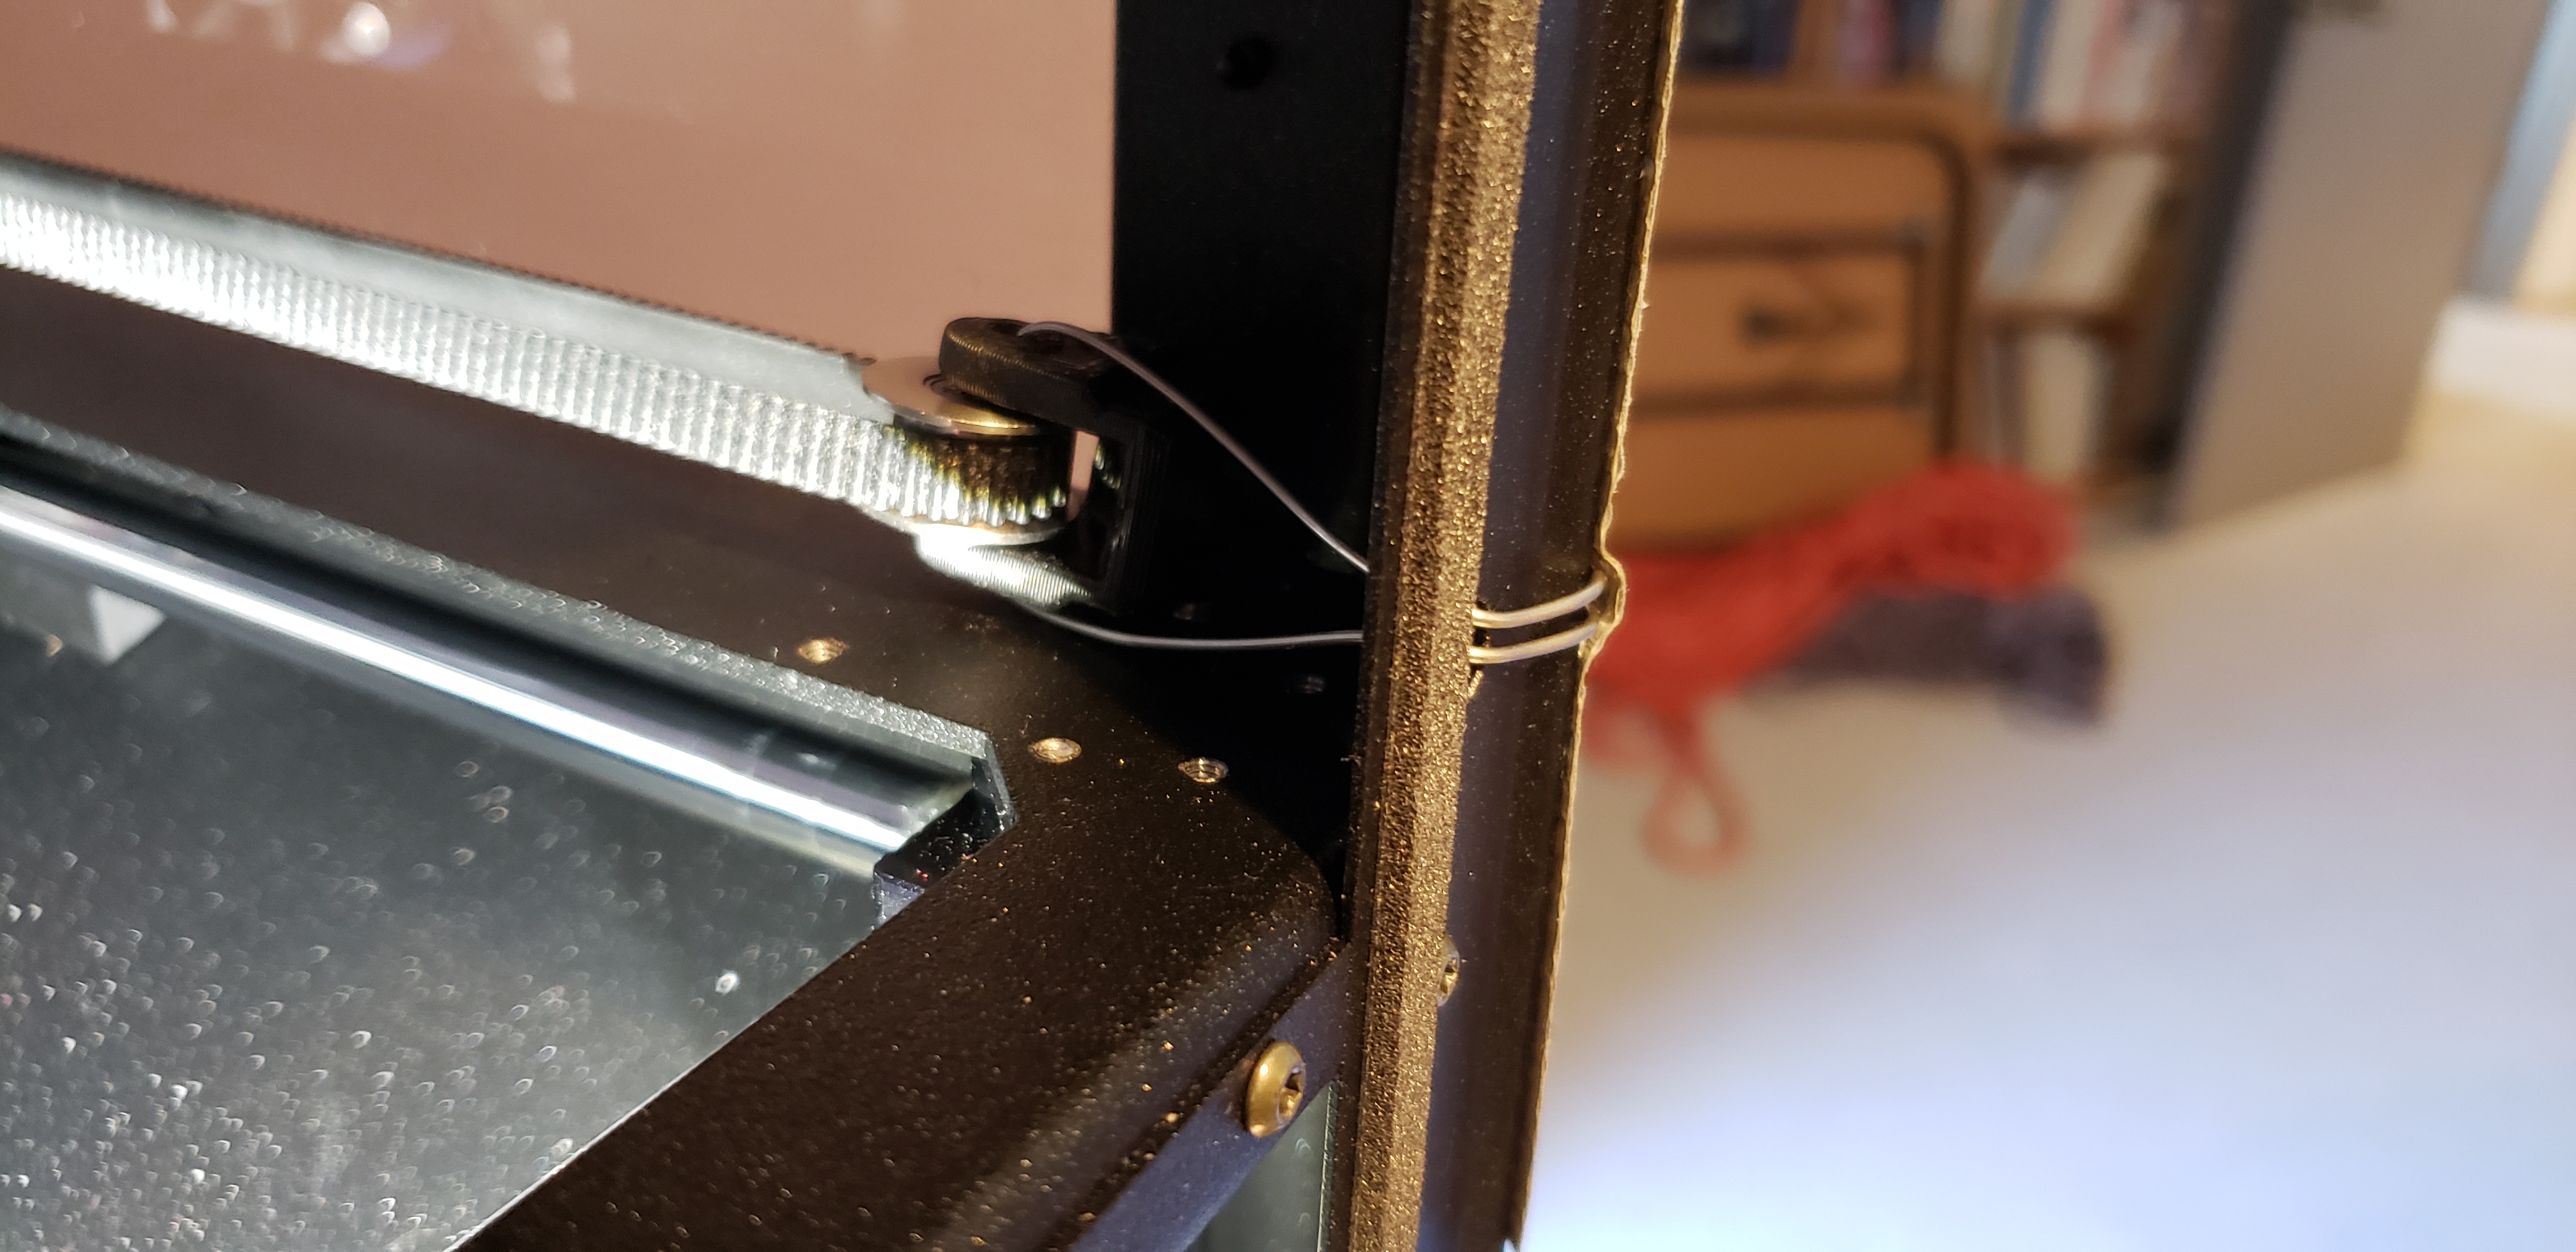
-- just to allow one essential print to proceed. This worked, I created a new tensioner, inserted a square nut and assembled things back to their original configuration, then printed more spares.
Another bit of information. This stripping-out business seems to be much more likely if you get to the end of the adjustment range before getting to the desired 85 Hz belt tension, and if this is true, it may be that the belt is too long, which in turn may be caused by not pulling through enough slack in this step from the assembly manual:
https://help.prusa3d.com/guide/5-corexy-assembly_835522#864764
Because the belt terminates at both ends in this device, one has two chances to get it wrong, and if the belt is a bit too long, it may not get to 85 Hz before you run out of adjustment range and strip another tensioner.
> the only annoying part is the door sensor.
As it happens, in newer firmware releases, Prusa has the door sensor set to disabled. The reason is if you open the door while the printer is printing, this sometimes cause a system crash and reboot (seen this several times myself). There are other reasons to disable the door sensor, this is just one.
I hope this helps.
RE:
Ah by this I meant that if you have to swap out the belt tensioners after completing assembly like I did, you have very little space for the allen wrench to unscrew the bolt holding the door sensor onto the belt tensioning assembly. It's doable but not pleasant. With regards to enablement of the door sensor, I already have it turned off as you suggested 🙂
> the only annoying part is the door sensor.
As it happens, in newer firmware releases, Prusa has the door sensor set to disabled. The reason is if you open the door while the printer is printing, this sometimes cause a system crash and reboot (seen this several times myself). There are other reasons to disable the door sensor, this is just one.
I hope this helps.
RE: Belt Tensioning strips Screw/Nut thread
I got the same problems. The belt tension part should glide into the other part, but it's just too large to slide, and works it's way out of the rail. The result was that the nut went crooked and destroyed the screw thread. The whole nut and screw where completely locked, so I even have to saw that screw at the front of the printer (no worries, because I did not damaged anything). I had to pull out the contraption from the tension slider part. Fortunately I had some very strong glue, that melted a new nut into the part. I then did some filing on the part, so it fitted better and added some grease.
It works for now, but I will order a new part as soon as possible. Sadly I only have some PLA here, but I printed a "emergency" part anyway (100% infill). I how I don't have to use it, but it's nice to have some "backup". It will not last long, but long enough to keep up until the new part arrives.
Of course when I brought the belt under tension again that belt popped out of the head assembly. It was just not my lucky day I guess. I had to disassemble the head assembly to fit the belt again. A real PITA I can assure you all. But that part is solved now, and the first prints are made (really good quality). I am glad I bought the kit, so I have good knowledge about the construction of this printer. That is a great help.
Of course I am not there yet, and I have those problems with the door sensor as some many of you above. For some reason the filament-out sensor is not working either. I hear the click when inserting the filament, so that does not seems to be the problem. Maybe the cable got damaged somehow (although I don't know how that's possible). Well - In the end that are relatively minor problems, so I can take my time to tackle them.
Even with these problems, the printer works great now, and I am really happy with it.
RE: Belt Tensioning strips Screw/Nut thread
Hi guys,
I am still trying to get past the Y calibration phase of my printer. Trying to discuss this with support as well. Last week one of the belt tensioning screws ( or the nut, who knows) stripped after some time adjusting the belts. I thought to myself: Yeah whatever my fault. I thought there wasn't too much tension on the belt to strip out a nut but whatever. Ordered replacement parts, waited for them to come. Today I've installed them and what do you know? Both left and right tension block stripped out their respective thread, both while loosening! And don't get me wrong guys, this happened with a relatively loose belt (under 80 Hz) The screw strips right in the middle of the thread, so its impossible to remove the pulley block from it.
My theory is, that the end of the screw starts to grind of a little bit of the PC-CF. If you mess around with the screw, tightening and loosening it, you end up getting some of the carbon fibre in the thread which leads to it stripping out. In my case that happened during inital build, but I guess thats also to be expected after some usage time.
Really disappointed with this. Anybody else have that problem?
My personal broken Pulley-Block-Count is now up to 3.
RE: Belt Tensioning strips Screw/Nut thread
Just a PSA:
Prusa has now included instruction to lubricate the screw during assembly, which should alleviate the galling issue which lead to many users stripping threads or getting the square nut spinning.