RE: Ideas to make enclosure for XL Multi Tool
I was just looking at the STL list. It is pretty lengthy. Looks like there will be approximately 50 STLs. Some are groups of parts. Some may be duplicates with modifications but not many as I normally replace the old file as not to get confused with parts list.
Great project!!! 😉 😉
RE:
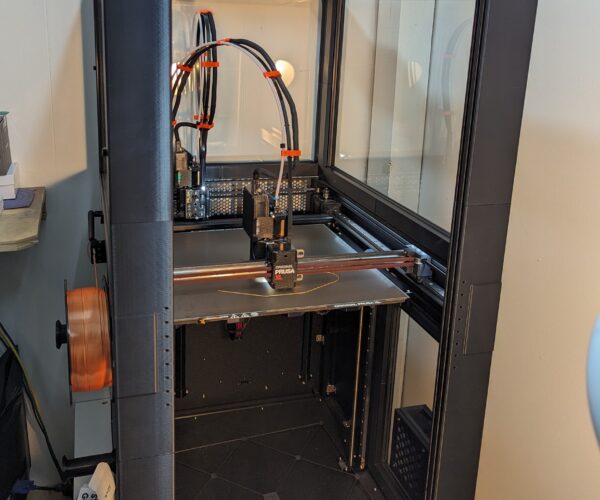
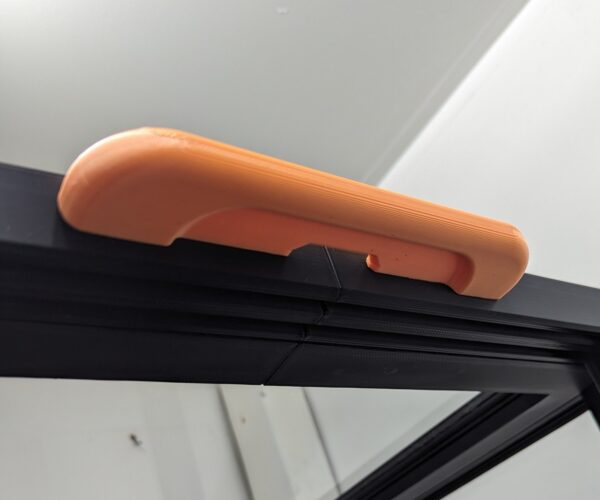
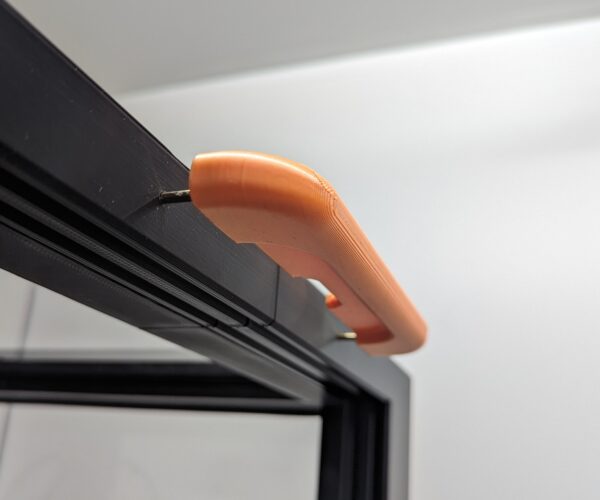
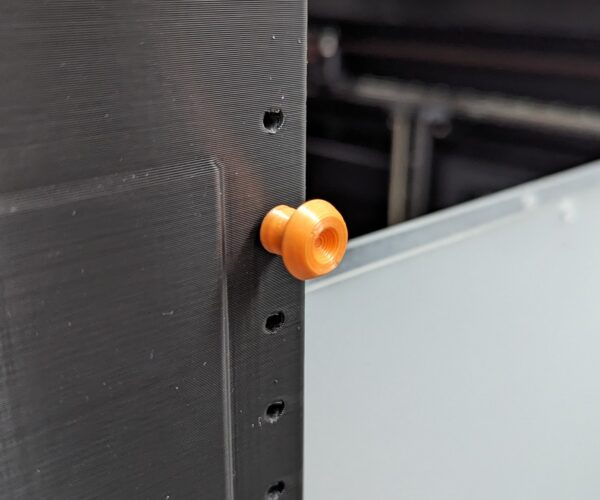
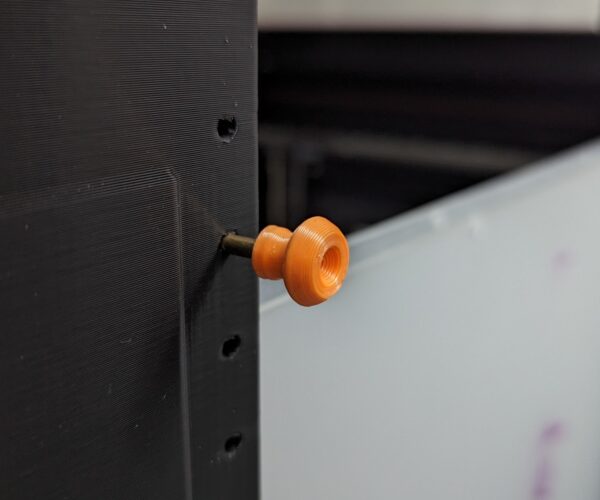
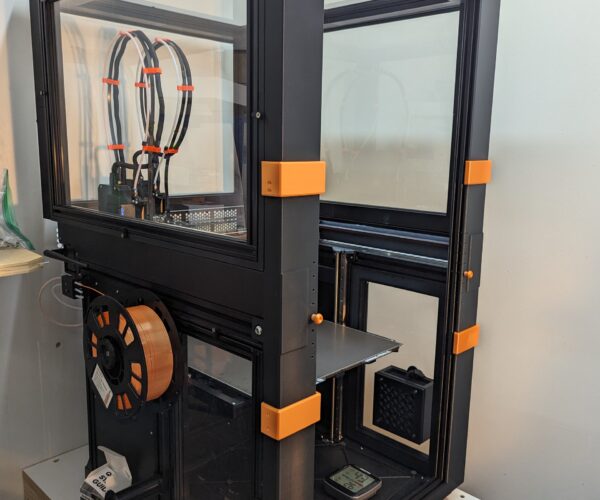
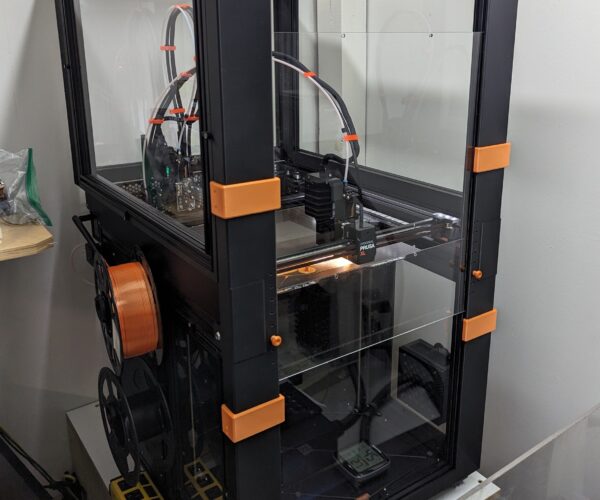
Moving right along! All the T2020 acrylic panels are finally in. I just have to finish printing some small parts like the front pin holders, front acrylic lift handles, and reprint the 6 front accent pieces which I changed the design on last night.
You can click on the pic to see it full size.
RE:
So this morning I decided to reprint the handle and knobs. I decided to print them in .20mm layers instead of .30mm. I just feel a thinner layer will look better. I am also printing the accent parts in .20mm layers for a more refined look. Although it extends the print time a few hours I feel it will look better. I still have to drill the acrylic panels for the side pin adjustments but want to wait till all the accent parts for the front are printed.
RE: Ideas to make enclosure for XL Multi Tool
Today's small projects for the enclosure. Printed some accent pieces. They just snap on but have countersinks for 1/2" #4 screws. Tomorrow I will reprint the upper acrylic panel holder handle and the two front panel adjustment knobs with .20 layer thickness.
RE: Ideas to make enclosure for XL Multi Tool
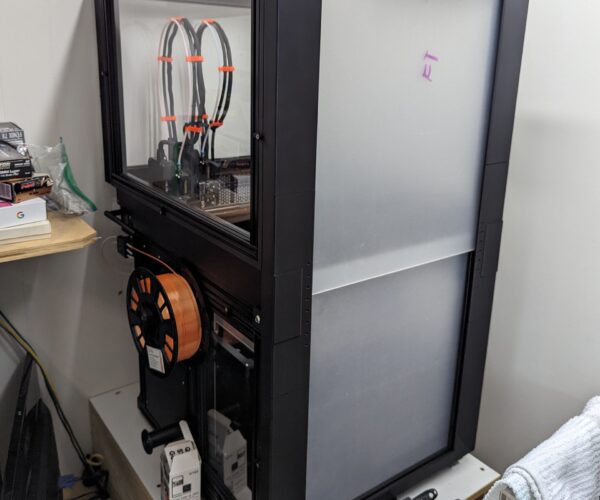
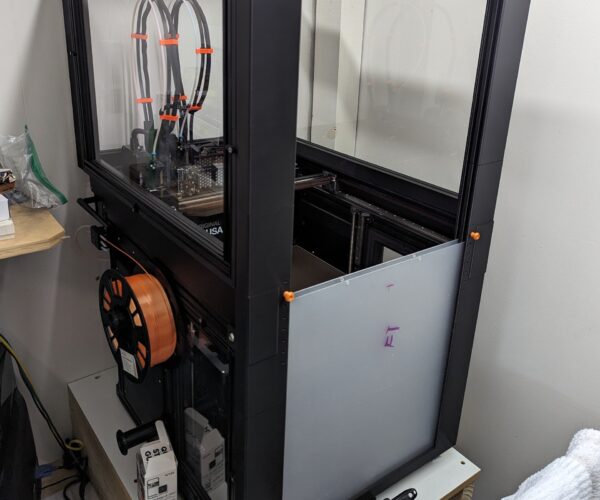
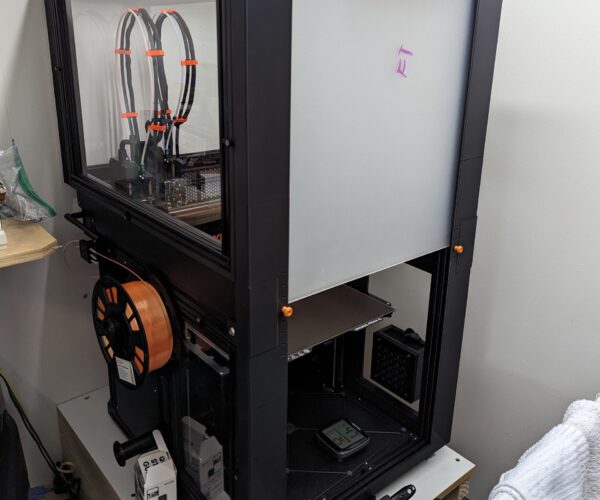
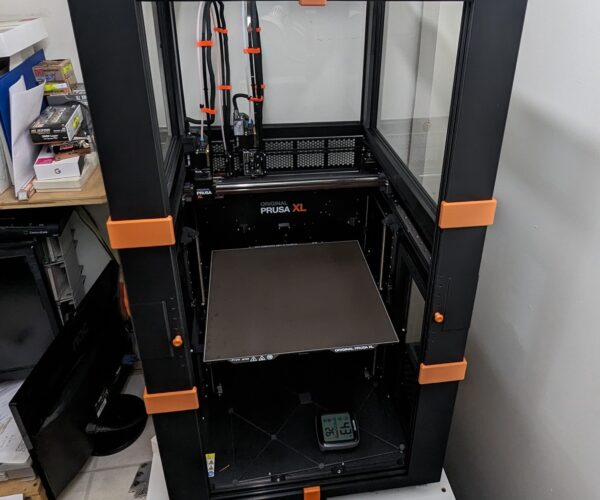
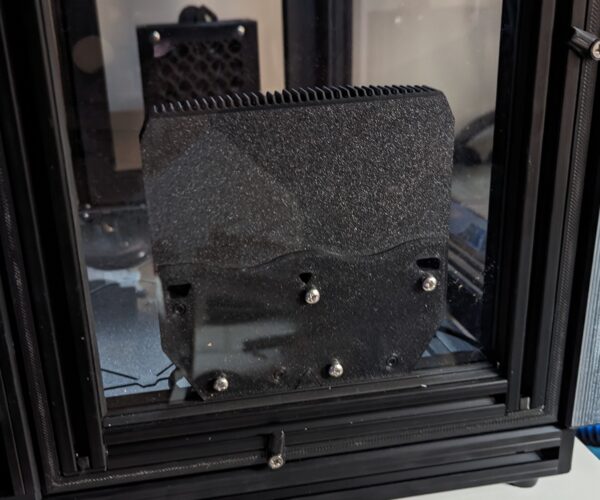
Alright moving along! Fitted and drilled the 2 front sliding acrylic panels. They fit perfect and all the adjusting hole line up as well. The reprints of the 2 knobs and handles are taking place right now.
Pics of the front panels installed. I am waiting on some 1/4" X 1/2" wide white foam tape to use as a fill on the edge of the front panel. It will be like a spacer between the 2 acrylic panels. I still haven't decided how to treat the vented area behind the print heads.
RE:
It’s coming on. I would say it’s almost done - but I’m aware you need to reprint everything in ASA! You can at least say the design is almost done, and it’s looking great. In terms of the back it partly depends on what your priorities are. If I wasn’t concerned about chemical/health stuff I might be tempted to do a variable opening/closing vent for the back - but designed in such a way I could control the amount it opens with a servo motor. That way, if I was so inclined, I would be able to automate the enclosure temperature somewhat if that was within my skillset.
If it’s about the health, then I’d close it, but I’d worry it might get too hot.
One other option thinking about it now is to leave your options open - by design. If you design a sturdy open frame around the whole grill space, with spare screw holes along the outside edges, you could make it modular. By designing different back panel inserts with different functionalities, you could swap the part/panel as needed once you know the enclosure behaviour - without having to take the whole enclosure apart. Longer term you could add powered fan options, or external extraction etc. as needed. Hope that makes sense - I can see it in my head! Happy to do a sketch if that helps. If you use this idea, I’d love a small credit but no pressure 🙂
RE: Ideas to make enclosure for XL Multi Tool
It’s coming on. I would say it’s almost done - but I’m aware you need to reprint everything in ASA! You can at least say the design is almost done, and it’s looking great. In terms of the back it partly depends on what your priorities are. If I wasn’t concerned about chemical/health stuff I might be tempted to do a variable opening/closing vent for the back - but designed in such a way I could control the amount it opens with a servo motor. That way, if I was so inclined, I would be able to automate the enclosure temperature somewhat if that was within my skillset.
If it’s about the health, then I’d close it, but I’d worry it might get too hot.
One other option thinking about it now is to leave your options open - by design. If you design a sturdy open frame around the whole grill space, with spare screw holes along the outside edges, you could make it modular. By designing different back panel inserts with different functionalities, you could swap the part/panel as needed once you know the enclosure behaviour - without having to take the whole enclosure apart. Longer term you could add powered fan options, or external extraction etc. as needed. Hope that makes sense - I can see it in my head! Happy to do a sketch if that helps. If you use this idea, I’d love a small credit but no pressure 🙂
Yes there are already mounting holes on the bottom of the back frame so you could make multiple panels for the back. I think I will try a solid panel for now. I am putting a Nevermore air scrubber/recirculation inside on the bottom. I am also putting a air exhaust output for my shop exhaust system. So I could switch back and forth depending on what I am printing .
The inside temp went to 30c fairly easy while printing the new handle and knobs. I felt the Inside frame work and it felt fine. I was hoping with the aluminum T2020 acrylic panels holder would heat sink the frame work and they seem to be doing that. Once done with everything I have a few ASA prints to do. They will be a good test on what to expect.
RE: Ideas to make enclosure for XL Multi Tool
I think the one thing I want to integrate into any enclosure design is a fire suppression system. I added a BlazeCut tube to the enclosure for my Mk3, and while I'm sure some might scoff, the peace of mind is worth the cost.
Aaron
RE: Ideas to make enclosure for XL Multi Tool
I think the one thing I want to integrate into any enclosure design is a fire suppression system. I added a BlazeCut tube to the enclosure for my Mk3, and while I'm sure some might scoff, the peace of mind is worth the cost.
Which model did you install?
RE: Ideas to make enclosure for XL Multi Tool
I'm reasonably sure it was the T025E. Which is also the same one Prusa uses in their enclosure or was at one point at least.
Aaron
RE: Ideas to make enclosure for XL Multi Tool
I'm reasonably sure it was the T025E. Which is also the same one Prusa uses in their enclosure or was at one point at least.
I appreciate the response. We have a fire suppression system in the shop but I Ike the idea of a localized system. I will most definitely take a serious look at the BlazeCut.
RE: Ideas to make enclosure for XL Multi Tool
Okay everyone I will be wrapping up this part of the enclosure next week. I have a few parts that I need to print. Below is a list of what's left to print.
1. I have to print a few more accent parts for the sides of the printer.
2. I need to print a upper corner camera mount for a wyze camera.
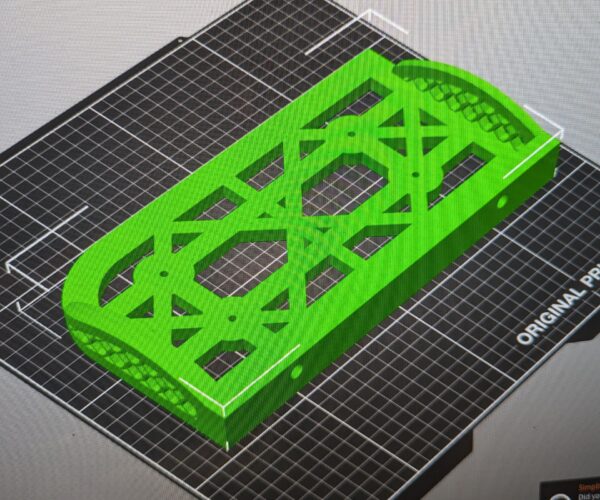
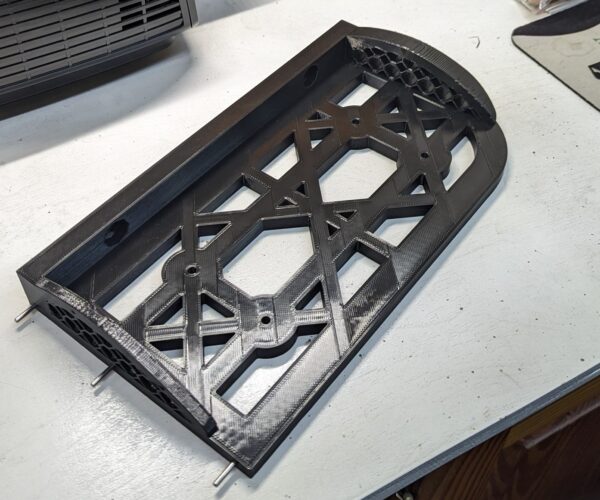
3. Must print a panel that will enclose the vented area behind the print heads. This enclosure is very close to being 100% air tight. More air will enter the enclosure from the original printer build than the Enclosure.
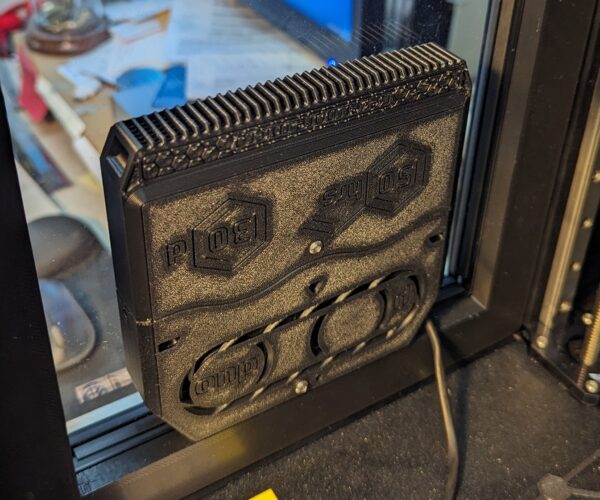
4. Install the Nevermore air scrubber/recirculator.
5. Print the Exhaust exit/filter with air control for ventilation. I will be able to switch back and forth from the standard ventilation and the Nevermore scrubber.
6. I have 2 filiment driers I need to print a mount for. The mount will be attached to the T3030 printer extrusions.
7. look into the BlazeCut system for small enclosures.
What else would everyone like to see included for the enclosure?
I will start on a material and parts to print list next week.
RE: Ideas to make enclosure for XL Multi Tool
@MME: Concerning the active heating of the print chamber have a look at this video from CNC Kitchen:
RE: Ideas to make enclosure for XL Multi Tool
I am interested but I have had good quality without a heated chamber. I am not sure it is needed.
@MME: Concerning the active heating of the print chamber have a look at this video from CNC Kitchen:
--------------------
Chuck H
3D Printer Review Blog
RE:
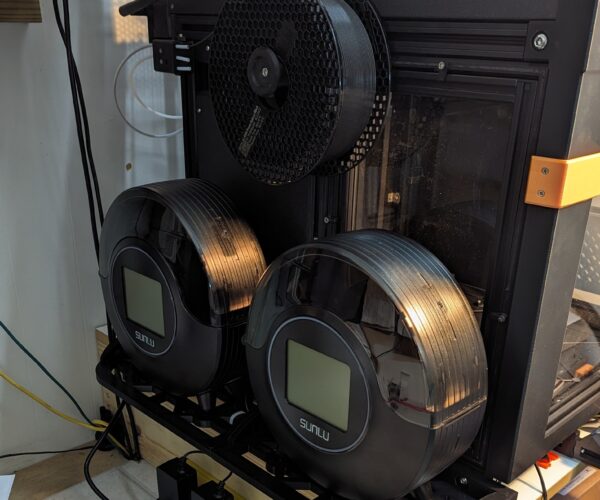
Still printing some accessory parts for the printer. Printing now is one of the 2 parts for the filiment driers. I had to opt for 2 due to space. They will mount in line on a 2 piece mount which will be mounted on the Printers bottom T3030 extrusions. These will take 13.75 hours each to print them.
RE: Ideas to make enclosure for XL Multi Tool
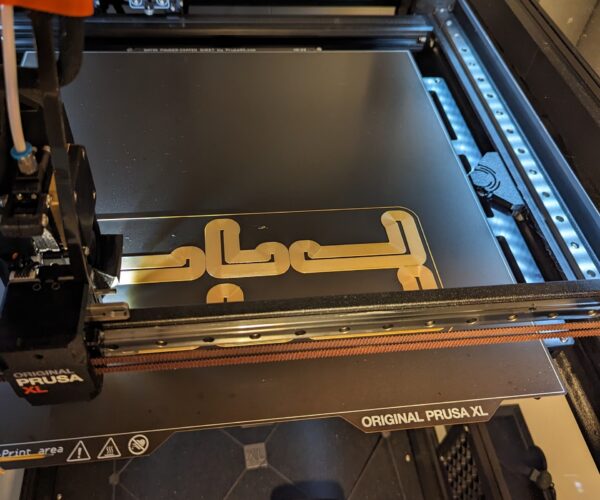
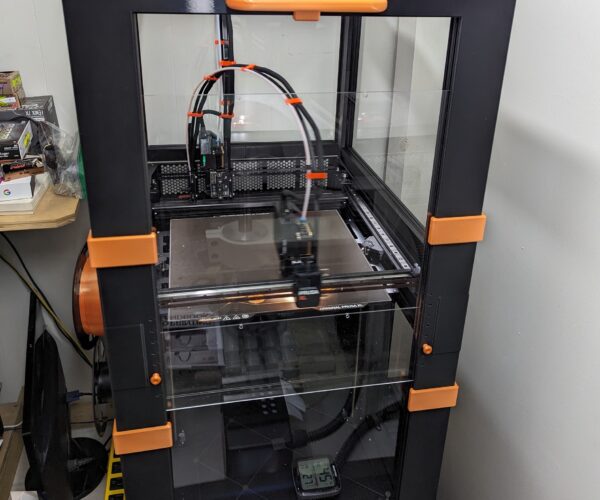
For those interested. This print was on hour 8 when I left the shop. The enclosure with the front top sliding panel open reached and held 30C. It didn't take long for it to reach that temp. The part I am printing is being printed in PLA and was printing very nicely.
RE: Ideas to make enclosure for XL Multi Tool
The first section of the 2 section drier mount finished last night. The second half is printing now. I printed these in .30 layer height. .20 would have been better on the curved section but .30 is acceptable for this drier mount.
RE:
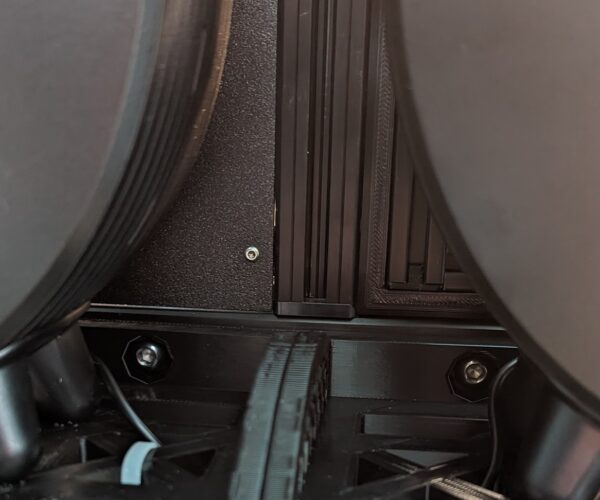
Been back at it this morning. The second part of the Sunlu filiment drier mount was done this morning. I went ahead and mounted it with the driers to the lower T3030 extrusions on the printer.
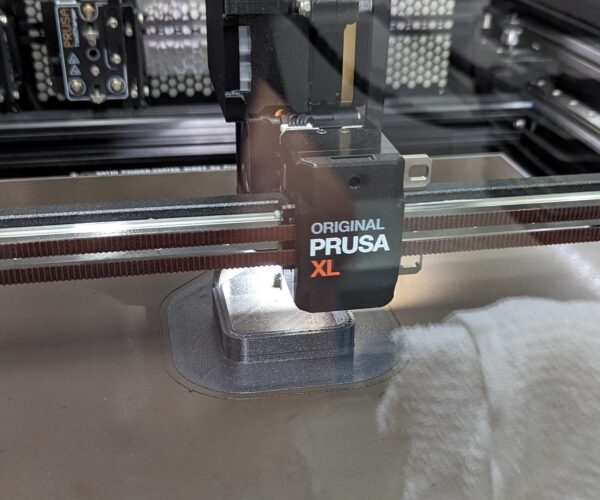
I finished the cad for the WYZE corner camera mount early this morning and it is being printed in ASA as I type. Bed temp is 105* all layers at 265*. My Nevermore air scrubber is up and running as well.
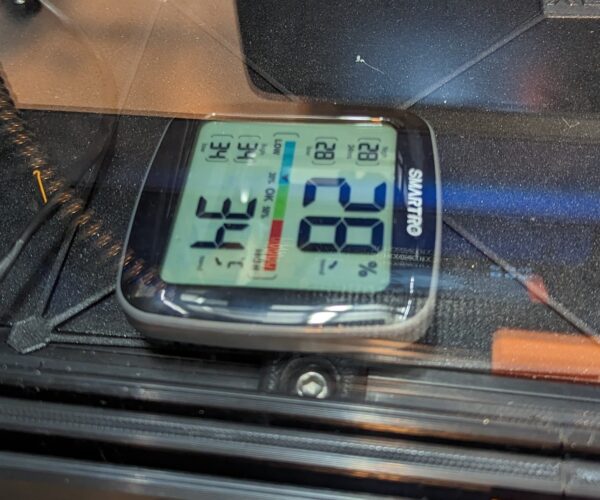
The temp in the enclosure has been holding steady at 34*C through out the print. I am anxious to see the finished camera mount after being printed in the enclosure.
The temp is 34*C and the humidity is 28%and dropping.
