RE: Ideas to make enclosure for XL Multi Tool
First, Kudos.
My 5 head XL kit has been on order since before time began. Finally got notice its shipped, has cleared customs and in theory should arrive on the 28th.
My first printing project was an enclosure for my then first printer, an MK3S + MMU.
Like you I was a rhino user coming into the whole 3 printing thing so it wasn’t a complete start from scratch.
So I sort overa engineered the enclosure:
https://www.printables.com/model/205693-prusa-mk3-convertible-print-enclosure
And further made the primary mistake in woodworking building the thing, rushing the finish job (as a result of having spent way too much time on the CAD work and not enough paying attention to the the deadline of getting it done, so so the sanding and finish part of the woodworking took a tool on the final fit.
But with that in mind, it’s been really cool following the evolution of your design.
As others have mentioned, it’d be nice to be able to get STL’s if not the 3dM, as STL’s are fairly useless for being able to make mods without an inordinate amount of work.
I’d also be interesting in perhaps porting the model to Fusion360 in order to be able to parameterize it.
Much as I love Rhino (and McNeels astounding great support forum) I’ve migrated a lot of my stuff to F360 simply because being able to put everything into a parametric format and having the majority of the dimensional stuff as user parameters and the rest best of formulaic derivations from those user parameters, it’s often extremely useful to be able to modifying a couple of those values and have the model just “Fix” itself without all the work I tend to have to do in rhino (interim layers with key values, boatload of save CPlanes / etc ) just in case I need to change some value due to a mis measured dimension down the road.
I Still use rhino on a daily basis (and have even started coding up some plugin’s in C# for stuff I had as python scripts that worked for years under the mac 5/6/7 versions and no longer run in V8 due to the .net migration), particularly for work stuff as I’ve already created scores of blocks and templates with user parameters / layout text etc.
For mechanical stuff that will involve iterations for 3d printing I tend to use fusion for that unless it’s something that’d be hellish difficult in 360 (which doesn’t take a whole lot to run into) at which point I’ll do that bit up in rhino, export as STEP to fusion and either derive the sketches from the step or just outright continue on from that point.
However I’m keenly interesting in your final solution for the XL. The types of mods I’d probably make would be someway to land print dryers on the spools as there’ll be a lot of ASA / Nylon / CF stuff that’ll get ran through the XL, and the dryers are gonna be a necessity.
Your approach very much mirrors what would most likely be mine as well, now that I’ve had a few years of designing for FDM (another nice bit of Fusion is my base template has everything built around “for printing” things like wall thickness based on nozzle size, dimensional stuff in the z orientation referenced against normal layer height based on the nozzle size etc) as well as built in tolerances for things like friction fit and sliding clearances, draft angles, etc., which a fair bit of work to “templatize” in Rhino.
And while I get the immense software design issues it’d take for Rhino to go to a full on parametric notion (as you have to address the whole constraints thing no matter how you slice it), and while the constraints are a necessity it’s also absurdly difficult to implement, and F360’s UI mechanism for that is not exactly the shining example of a good UX, in fact quite the opposite, making it incredibly counter intuitive to learn, particularly if you’ve come from a NURBs background like Rhino or the higher end Cad stuff out there.
Back to your design, even if it wasn’t a full on port it might be useful to reconstruct and parameterize the parts that would be the most likely ones users might have a need to modify. There’s not a lot of us Rhino folks in the Prusa / 3DM universe (the FAB365 guy is a noted exception), and Fusion360 has decently high adoption rate in the community, despite it’s well deserved and steep learning curve.
Did you end up using all McMaster Carr heat set inserts? I use a mix, MCMC for the more esoteric sizes I don’t use a lot of and bulk tapered inserts off Amazon for the common sizes I use by the boatload.
Thanks, and again Kudos not just for the design but the meticulous documentation of the process itself.
Mark
RE:
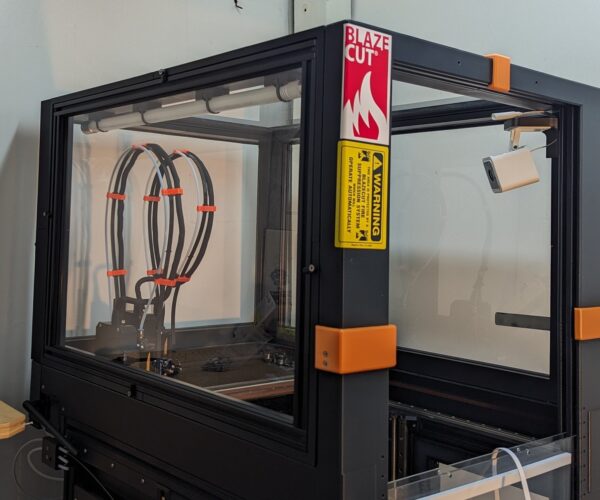
Hello again everyone. I have had some ask what accessories I have added to the enclosure. So I compiled a list with photos for you. I did fairly extensive testing over the past few months on all the accessories and I am happy with all the choices.
First thing of note here all these choices were researched for my use of the XL printer. Your choices might be different. This is not the ultimate setup but it does work for me. Another note I don't have access to these accessories locally so I ordered them all. All but one came from Amazon.
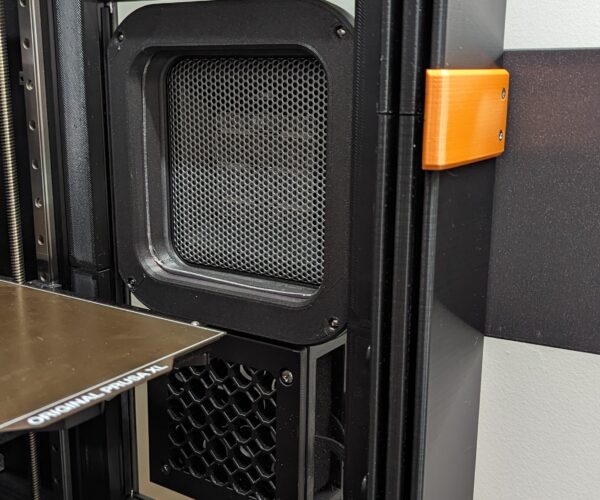
First pic:
1.Amazons Basic 500wt ceramic heater. It is small simple and fits with the printed mount on the right side lower panel. $21.00
2. Below the heater I installed a Nispira 3-in-1 True HEPA Carbon air intake filter. The housing was printed. The filters come in a 4 pack. $24.00
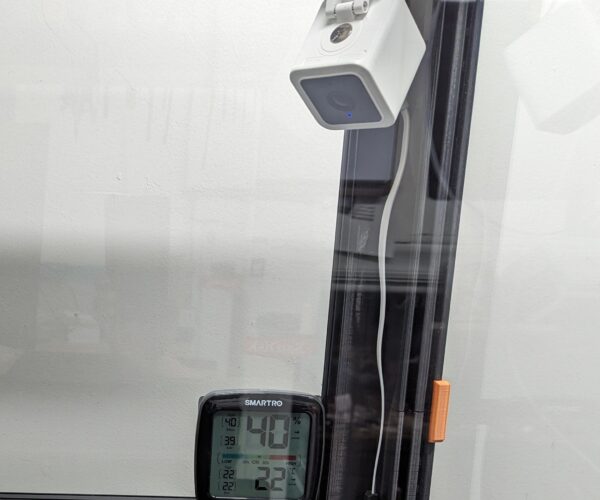
Pic 2:
1. WYZE Cam v3 1080P Wired Indoor/Outdoor Home Security Camera. Mount was printed $76.00
2. Under the camera a SMARTRO SC42 Professional Digital Hygrometer Indoor Thermometer Room Humidity Gauge $16.00
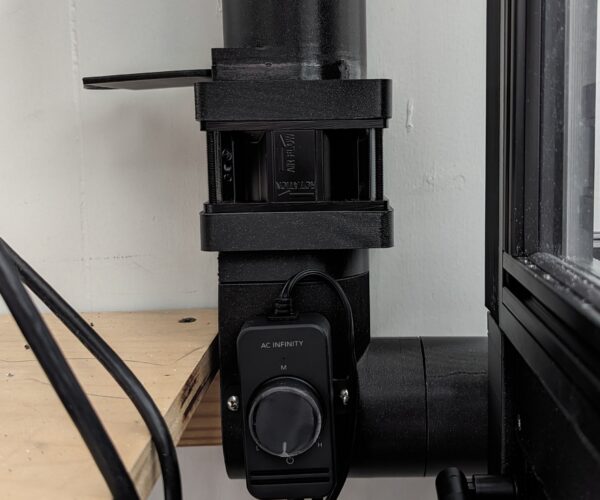
Pic 3:
1. AC Infinity AXIAL 8038, Quiet Muffin Fan, 120V AC 80mm x 38mm for exhaust baffling. $18.00
Under the fan.
2. AC Infinity, Fan Speed Controller for 100 to 125V AC Axial Muffin Cooling Fan. $18.00
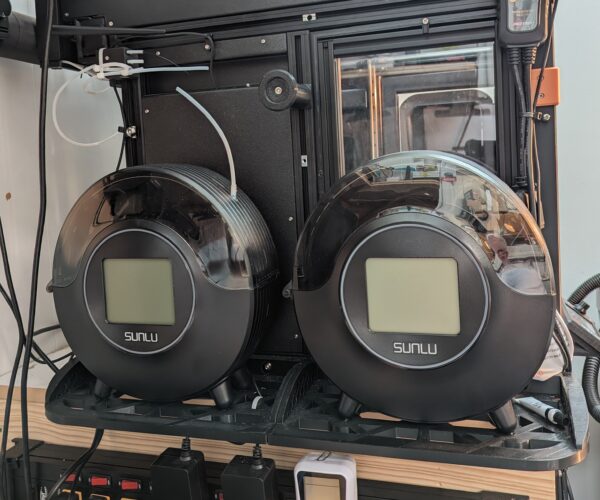
Pic 4:
1. Top right: DIGITEN DTC151 Temperature Controller Plug-in Thermostat Cooling Heating Temperature Controller 15 amp. $37.00 (For heater)
2. 2-SUNLU Filament Dryer with Fan, Upgraded Fast Heating 3D Printer Filament Dryer Box, Keep Filament Dry During 3D Printing, PLA PETG ABS TPU Nylon ASA Filament Dehydrator Storage Box, FilaDryer S2 Black $70 x 2 =$140.00
3. CRST 12 Outlets Heavy Duty Power Strip Surge Protector with Individual Switches, Metal Mountable Power Strip with Cord Manager, 9FT, 1020J, 15A/1875W. $53.00
4. SURAIELEC Watt Meter, Plug-in Socket Power Meter, Auto Cost Calculator, Backlit Large Display, Overload Protection, Kilowatt Wattage Voltage AMP Tester, Electricity Usage Electrical Energy Monitor. (For air scrubber.) $12.00
Pic 5:
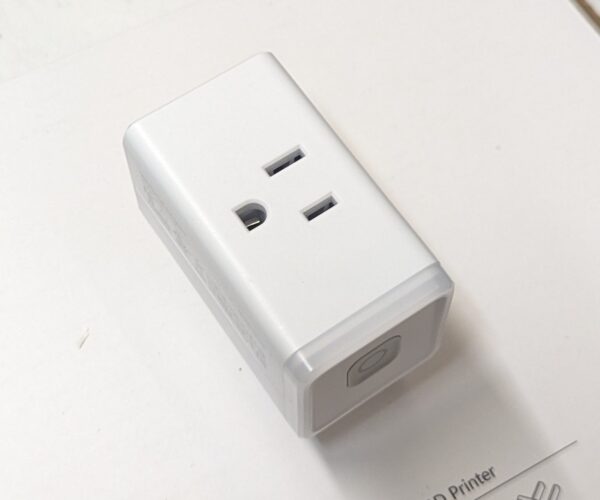
Kasa Smart Plug HS103P4, Smart Home Wi-Fi Outlet Works with Alexa, Echo, Google Home & IFTTT, No Hub Required, Remote Control, 15 Amp, UL Certified, 4-Pack, White $ 6.00 each (to turn system off remotely
Pic 6:
Nevermore air filtration ki with extra activated charcoal. $79.00
So if you wanted to just build this enclosure no accessories it would be roughly $550.00
If you wanted to add all the accessories add another $550.00.
So for everything around $1100.00
I was trying to stay below 1k so I was close.
Is it worth with it I believe so. I am at roughly 875 hours now on this printer and have enjoyed it even though it has a few issues to work around.
RE: Ideas to make enclosure for XL Multi Tool
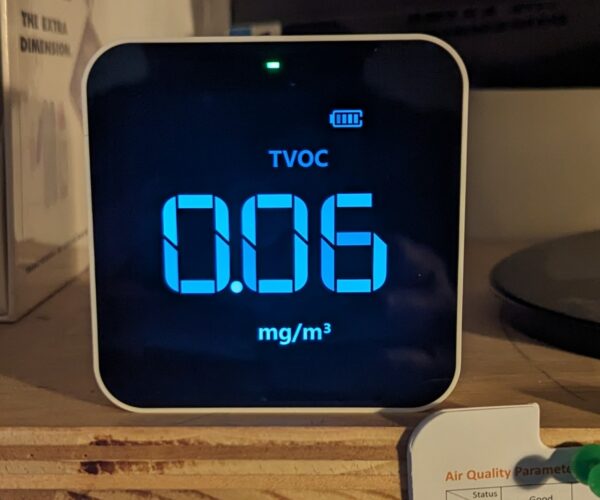
- Over the last week while the shop was closed I finished tidying up all the wiring and double checking everything and all is well. Just for entertainment I ordered a Temtop M10 air quality meter. Knowing it is not the most accurate for TVOCs. It still gives me a idea on what the range is while printing different filaments. I will report back with some data as I go through different filaments. Right now printing two new bearing enhanced spool holders in PLA the TVOCs are staying pretty low in the room with the exhaust on. Started at .02mg/m³ and now at .06mg/m³.
It's interesting to watch if nothing else.
RE: Ideas to make enclosure for XL Multi Tool
Do you have any more updates for us since the accessories list? Did you add LEDs to the enclosure for a pretty illumination (you know, to highlight all the amazing things you've designed and made?
And have you recently added any more gadgets or done any more testing? And do you have a final pic/vid of the finished enclosure?
Such amazing work - thank you so much for sharing, you are incredible!
RE: Ideas to make enclosure for XL Multi Tool
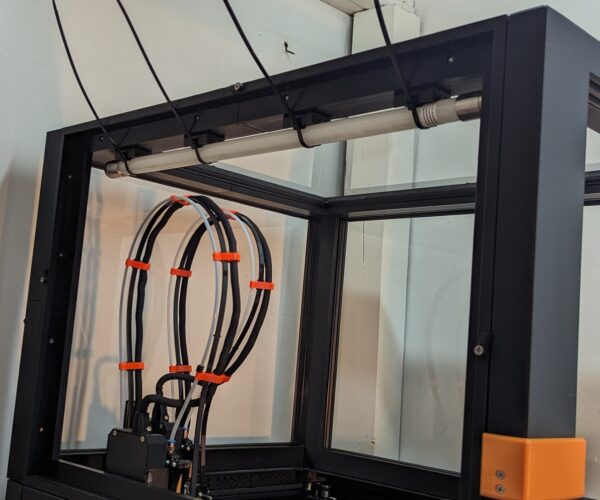
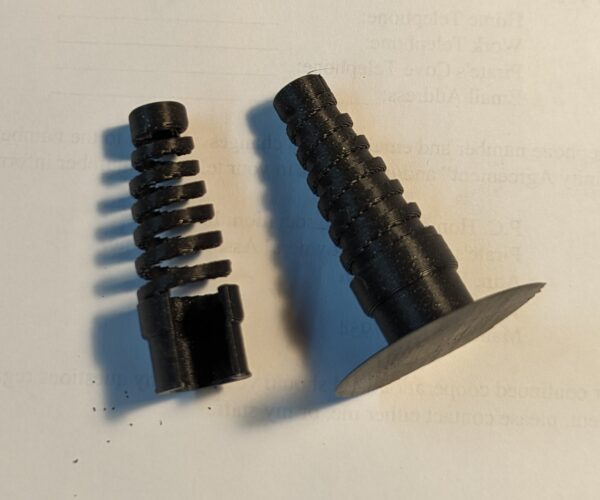
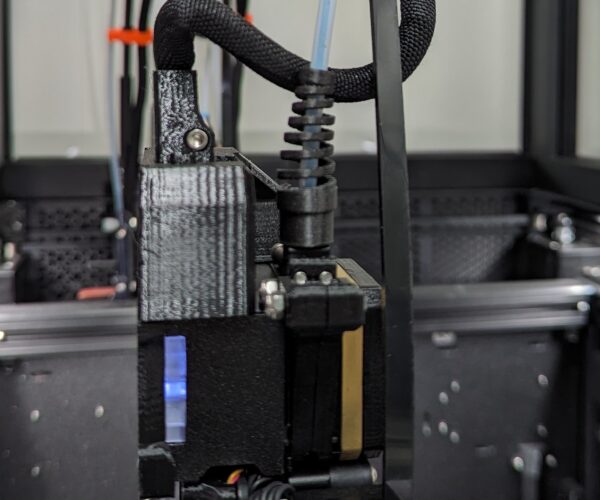
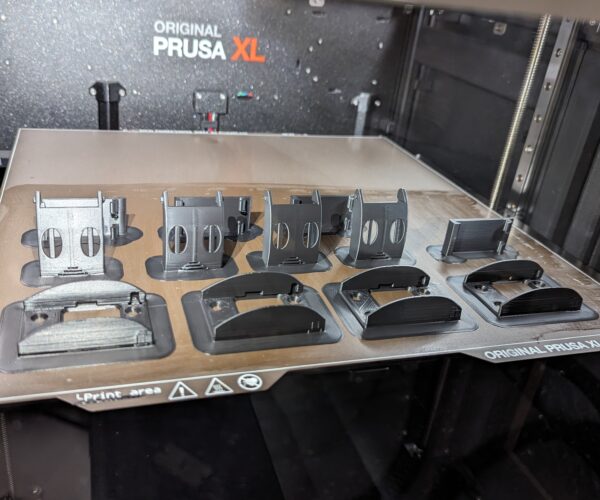
No I haven't really done or added much to the enclosure since before the holidays. Been busy in the shop. I have experimented designing these spiral PTFE tube protectors. So far they are working out well. They just snap on the the fitting after you run the PTFE tubing into them and the fitting. They are printed in ASA.
I have been working on the changes to the enclosure trying to get the parts ready for release.
RE: Ideas to make enclosure for XL Multi Tool
I have experimented designing these spiral PTFE tube protectors.
Can you explain what the purpose of these tube protectors are? The PTFE tubes seem to be under no stress that would be of concern and require additional hardware.
RE:
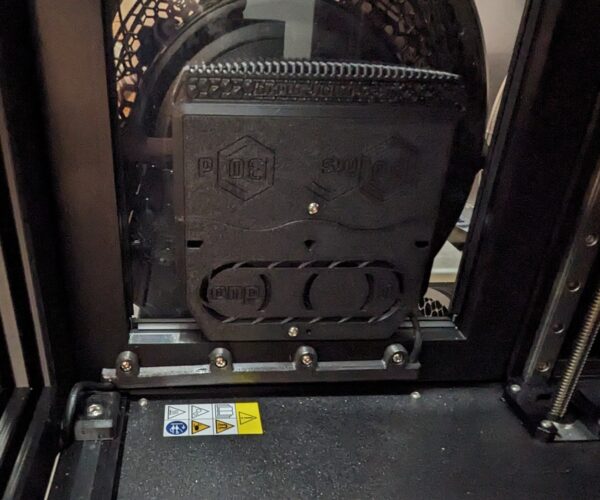
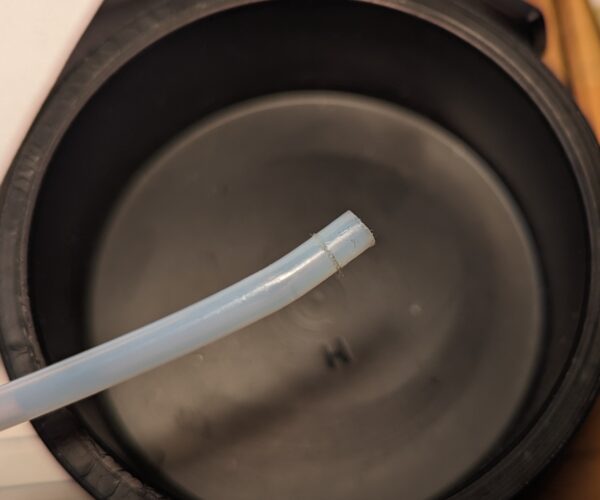
I don't know how many hours you have on your printer? I am a little over 1000. I print some rather large parts. While printing from one corner to the other in a heated enclosure my PTFE tubes were developing kinks/ pinched areas where the tubing entered the fitting on the Nextruder. This was slowing or stopping the feeding of the filament. Another problem area was where the wire tie goes around the PTFE tubing in the back near the mounting dock. See pic below. So after I changed to a larger id PTFE tubing I added these. So far no stressed area around the fitting. I print a lot of hi temp filament so I am sure between the heat and the long reaches this contributed to the slight kink. It was enough to cause some issues especially on long prints. Right now I am using 3mm id PTFE tubing and this has helped with filament binding issues as well.
RE: Ideas to make enclosure for XL Multi Tool
@MME - Great work on that spiral PTFE tube protector. It's very simple and elegant.
RE: Ideas to make enclosure for XL Multi Tool
I have been paying for this printer doing hard to find products for customers. These are circuit breaker protectors for marine double pole circuit breakers. They are printed in ASA in .15mm layer height. They will be post print processed.
RE:
The PTFE tube protector / support looks great, any chance you will be releasing it?
RE: Ideas to make enclosure for XL Multi Tool
The PTFE tube protector / support looks great, any chance you will be releasing it?
Thanks! Yes I will. Not sure when been pretty busy!
RE:
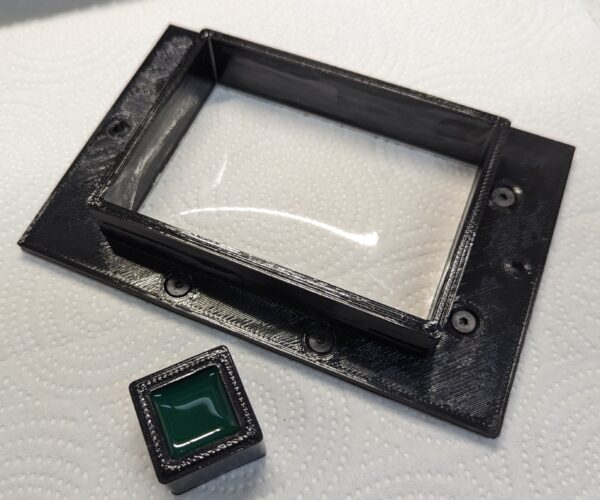
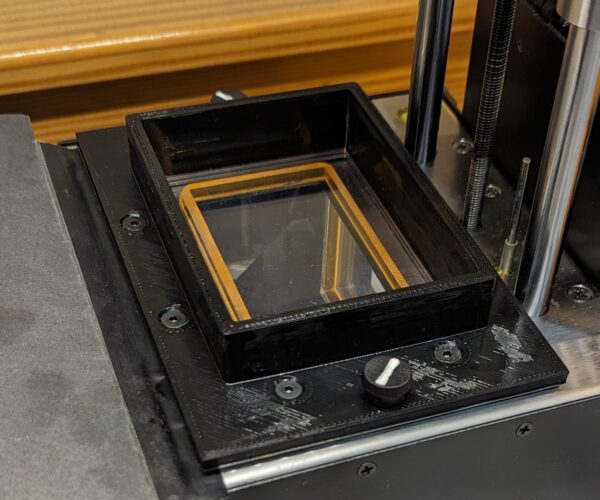
Been doing some experimenting on a few parts I need for a few of my DLP printers. I have one with a cracked vat. I printed a test which is the small cube container below. It and the vat are printed solid 5mm thick walls and base. There is a aluminum base that is attached to the bottom which holds the gasket and film. These are printed in ASA and post processed with acetone thus the glossy surface. The acetone fuses the layers together eliminating leaks. The test cube has had the liquid resin in it for a week with no leaks. The real test will be printing with the cat to see how it holds up to the stresses of the DLP printers. These printers have 1000s of hours on them.
I know some will say why don't you just buy one? Unfortunately these DLP printers were discontinued and replaced with a different version. The cats for mine are no longer available.
RE: Ideas to make enclosure for XL Multi Tool
The cats are vats good ol spell correction!!
RE: Ideas to make enclosure for XL Multi Tool
Now you need to reprint and re-do the whole thing after you've added a tiny little cat image to one of the corners 😸😂
RE: Ideas to make enclosure for XL Multi Tool
But also back to topic.
How is the enclosure??
I would potentially like to follow your footsteps one day in making one. I'm really hoping you make your files available, otherwise it's going to be trawling through the forum to reverse engineer your steps 🙂 you did such a great job.
Hey the enclosure has been great. No issues of any kind. I have been working on the files but have been super busy in the shop.
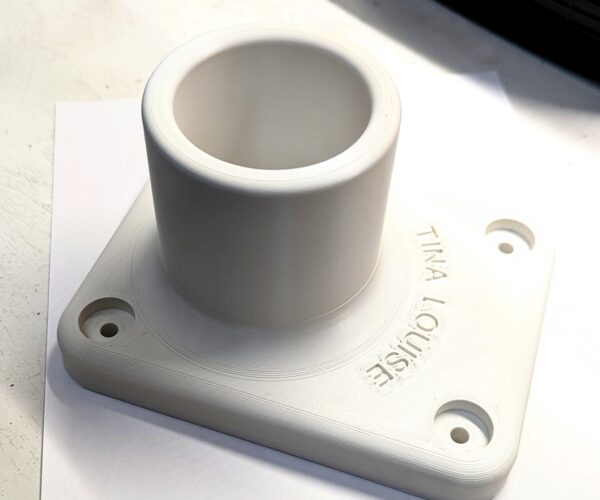
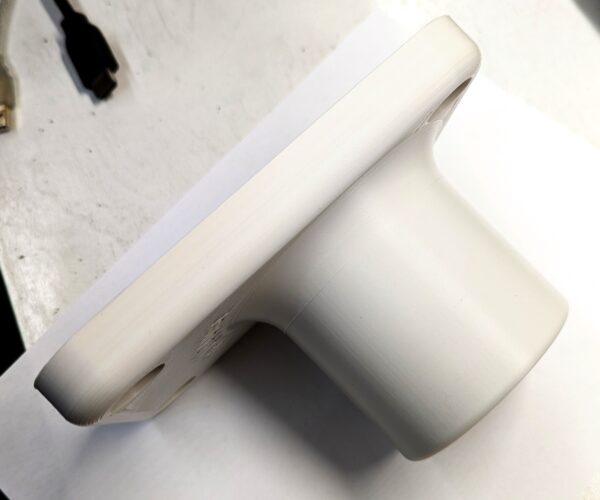
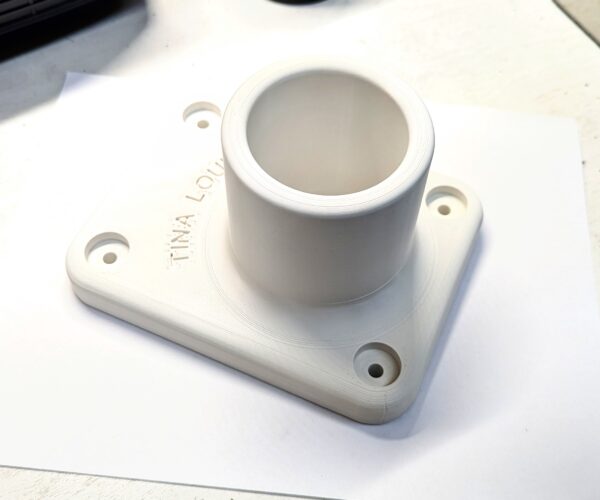
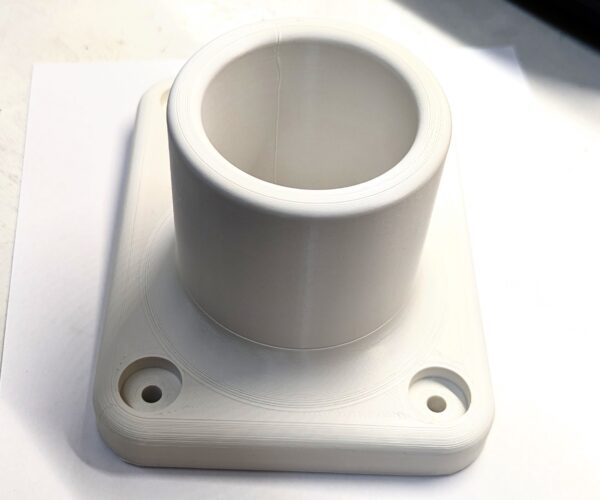
Lately I have been printing one off marine parts in ASA. They have been coming out great. The print below is printed in Signal White Prusament ASA. The print below was printed with 80% infill and was a 35 hour print. Two were printed. It is part of a coil hose mount
Filament first layer 270C all other layers 260C. 20mm brim. 574 grams of filament.
Enclosure preheat to 38C then held between 38C and 42C.
RE: Ideas to make enclosure for XL Multi Tool
@MME - Why do you use ASA? Why not nylon? Thanks!
RE: Ideas to make enclosure for XL Multi Tool
@MME - Why do you use ASA? Why not nylon? Thanks!
I felt it was the best all around filament for this application. It will be out in the sun and marine elements 24/7. I don't know how nylon would fair over the long haul. I have done quite a few exterior automotive accessories in ASA that have held up very very well over time.
RE: Ideas to make enclosure for XL Multi Tool
@mme - looks great!
What are the dimensions on that part, and what size nozzle are you using?
Did you slow the print speed down? (I heard that helps with larger ABS/ASA prints).
Regarding the print files. I'm very much looking forward to you posting them. My XL arrives on Monday. Fusion360 fileswould be preferred 🙂
