Ideas to make enclosure for XL Multi Tool
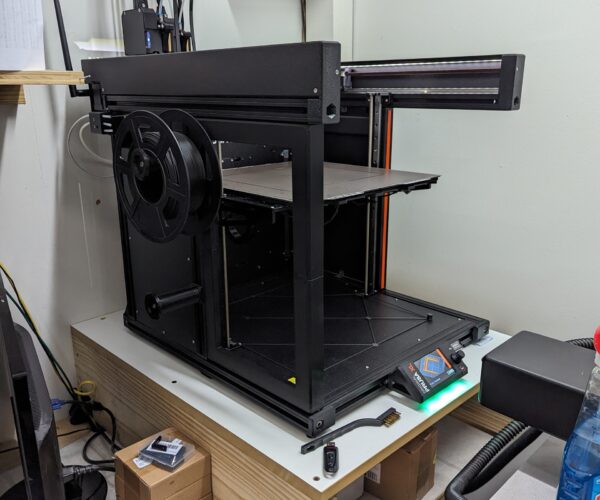
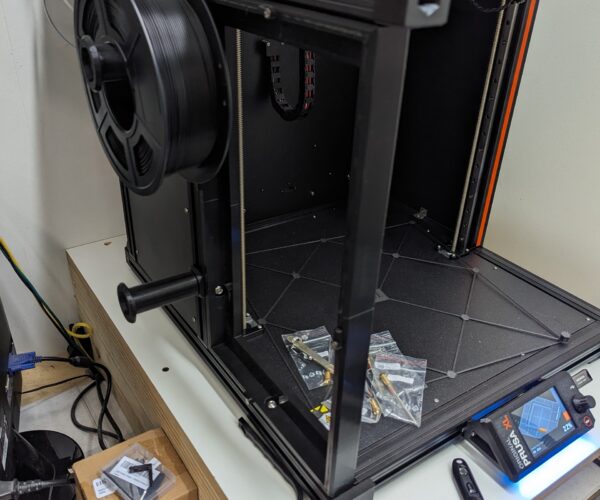
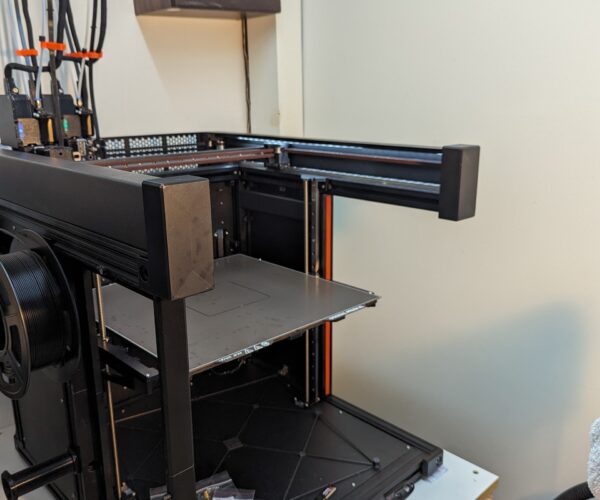
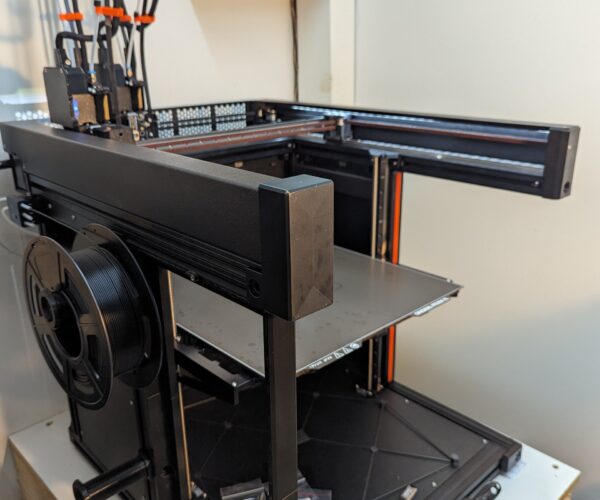
Hey everyone. I am getting ready to embark on this project. What would you enclude if you were going to design your own enclosure? The printer has a solid back wall and the walls on the sides come half way to the front.
My thoughts listed below. Feel free to add what you would do or not do if you were building a enclosure. Chime in.
1. A must, access to the top, front and sides of the printer. Either making parts of the enclosure removable or where the front and sides of the enclosure slide up high enough to be out of the way for access.
2. Do not enclose the entire back since it is pretty much enclosed already.
3. Move the on off switch to the front of the printer near the control panel. It's a bear to access in current location. Control panel and switch will be outside the enclosure.
4. Leave the spool holders and the filament feed box on the outside of the enclosure.
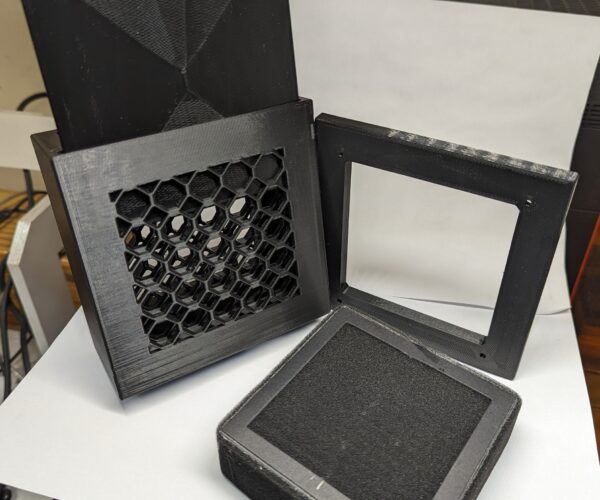
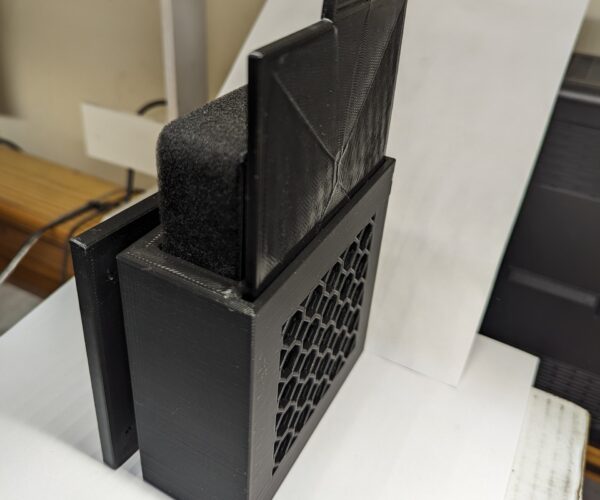
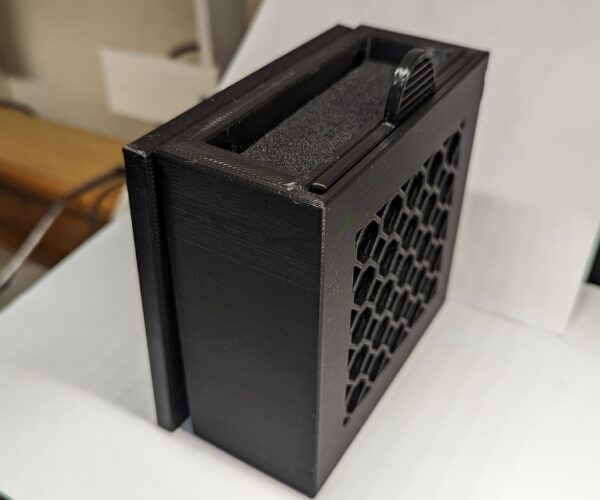
5. I have a exhaust system in the shop. I will print a exhaust port and connect it to the existing system. I will also print 2 HEPA filter housings for the air entry locations to mount through the enclosure. Making sure not to create a draft near the printing surface. Location to be determined. Thinking about mounting them in the back under or behind the expanded metal shroud?? Also possibly adding a sliding vent over the filters to control the temperature if it is to hot or to cold.
6. Add a temp and humidity display inside the enclosure.
7. On the fence about a fire suppression system. Maybe add a sensor to turn the machine off if smoke or excess heat is detected. We have a system in the shop for fire suppression already.
8. Clear panels will be acrylic. Other parts will be printed in combination T2020 t-slot rails.
RE: Ideas to make enclosure for XL Multi Tool
I am honestly wondering if it might be a good idea to just build a "hat" for it and 3 walls that are all single parts. That way you can still change filament and use the interface and if you get anywhere you can just take away the side or front panel or the "hat". Perhaps with magnets!?
I don't have my 2 head version yet though.
RE: Ideas to make enclosure for XL Multi Tool
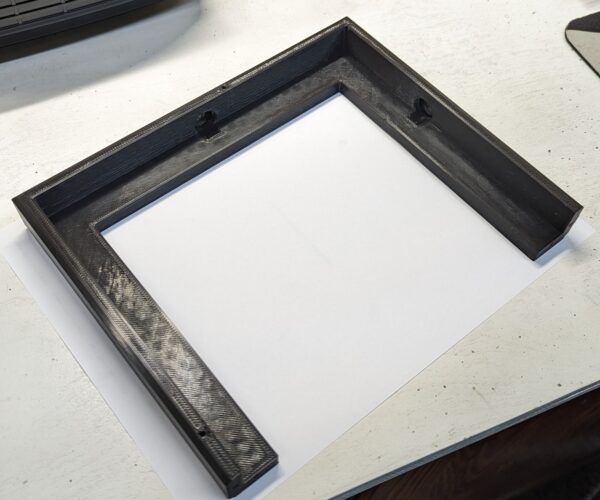
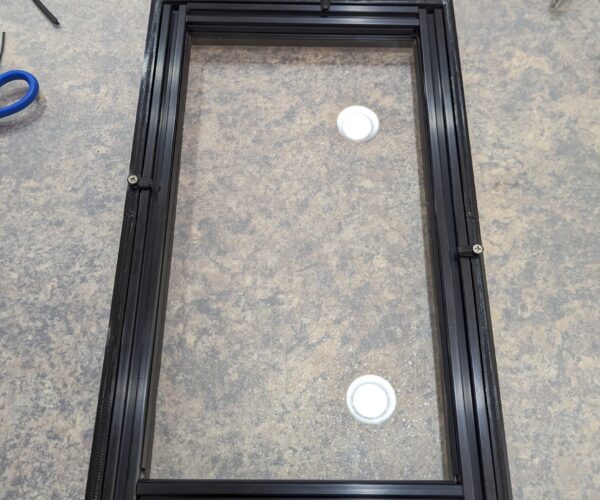
- Yesterday I designed the side panel inserts holers that will hold the removable T2020 side panels. I believe the outside dimensions were 400mm tall by 245mm wide.
RE:
Ideas that I have had (while waiting these oh so many months)...
1. A (printed) bar that would connect across the front of the XY frame. That bar would have some tool-less attachments to allow easy remove for servicing.
2. Clear acrylic side panels that would side into place from the front. The front edge would have hinges that would allow a pair of doors to be added that could swing in to enclose the front of the printer. The hinges would also allow the doors to be swung back along the sides of the printer. (They would likely bump into spools that would prevent them from going fully flush with the sides.)
3. A two-part canopy where the back section would enclose the back, sides and top of the tool wire hoops. (The back section would be semi-permanent.) The front section of the canopy would be hinge-mounted to the leading top edge of the back section. The front section would enclose the sides with the top sloping downward toward the front. The front section would have prop rods to support the lid in a lifted position.
4. A mix of gasket types would be used at seams to minimize air exchange.
I'll try mocking up a sketch or two.
RE:
I am back printing the side panel inserts for the enclosure. I made some small changes after the first print. It almost looks like Prusa designed the printer and rail system for panels similar to what I am printing. Everything lines up perfect for independent panels for the enclosure.
RE:
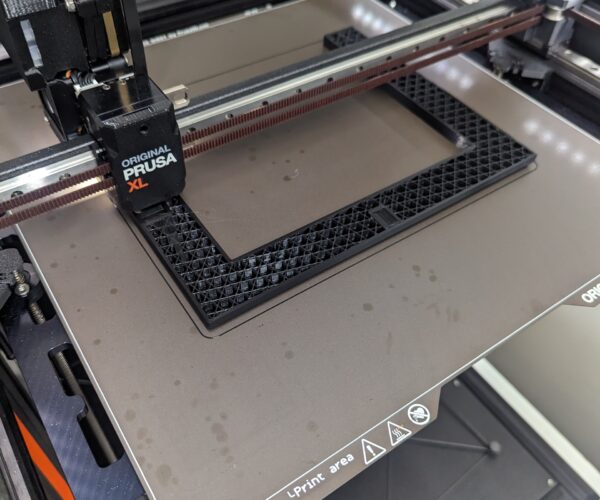
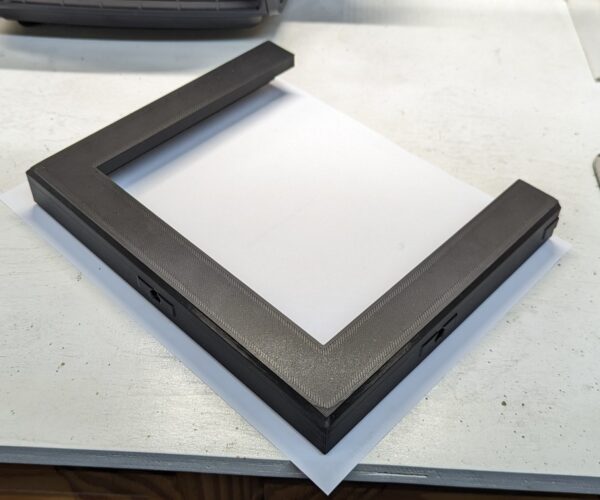
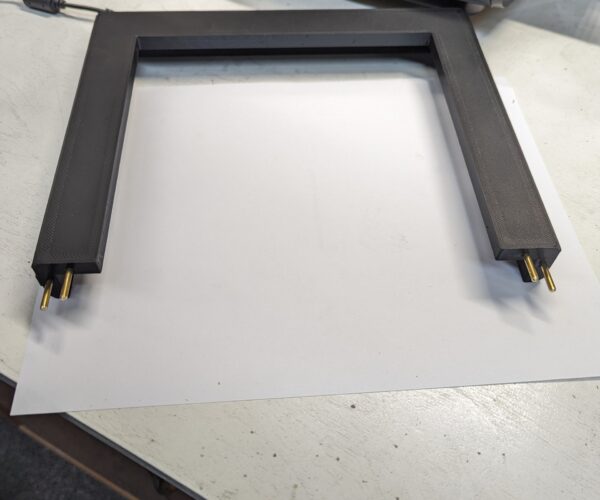
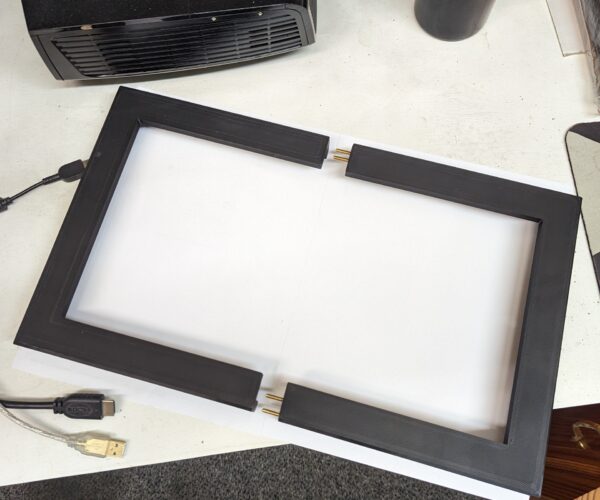
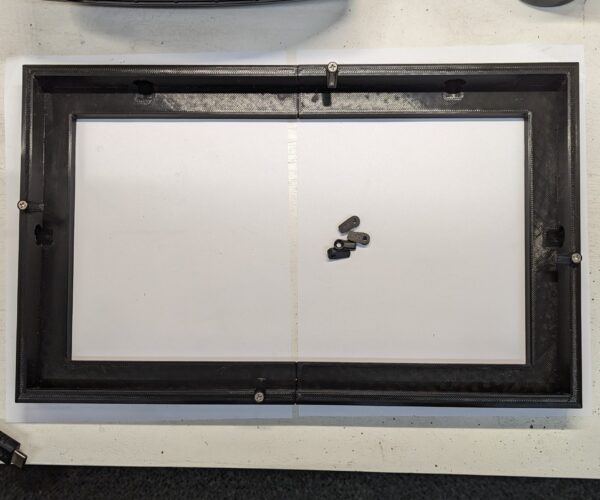
A little update. Finished the first two halves for the lower sided enclosure. They came out great. All the frames will mount to the existing printer frame via the t slots. The two haves are held together with 28mm long 3mm diameter pins The assembled frame fit perfect. These frames will hold the removable acrylic panels for access. Each of the panels 2 per side take 5hrs 45min each to print.
RE:
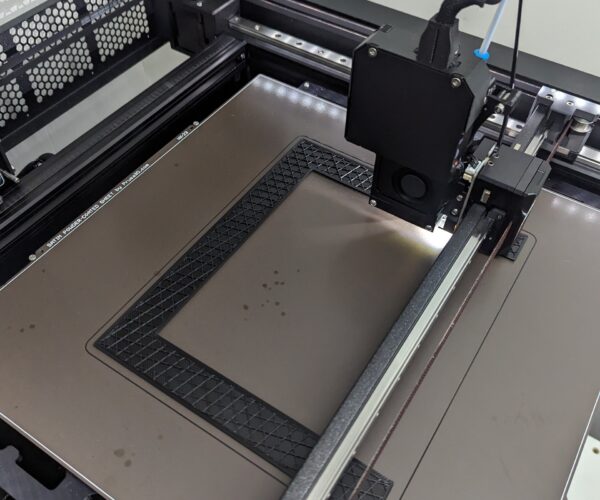
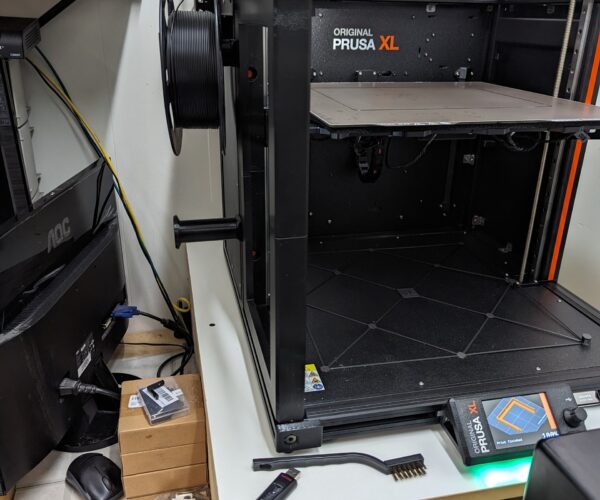
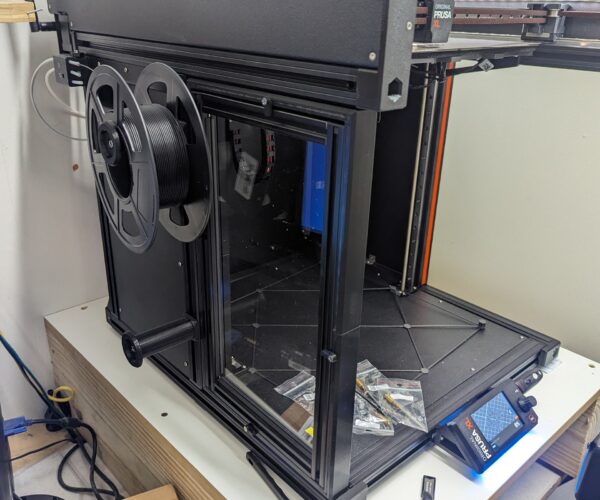
What is the net-like object on the base-plate of your XL?
RE:
That is a test print that comes on the USB that is shipped from Prusa with the XL. It crosses over the all the heat plates.
RE: Ideas to make enclosure for XL Multi Tool
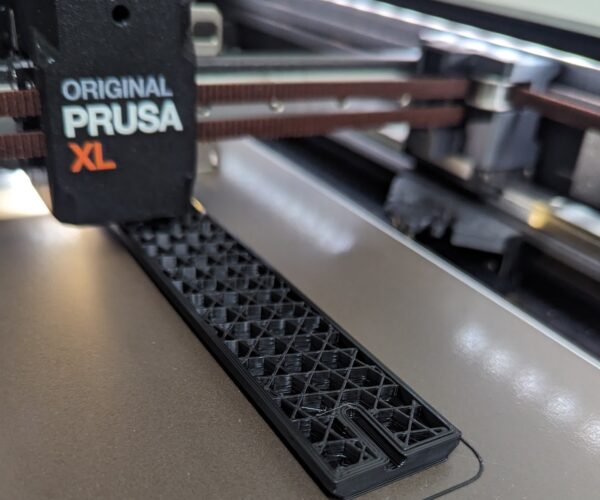
I was able to print some small parts this morning before I started printing the 2 second lower side panels.
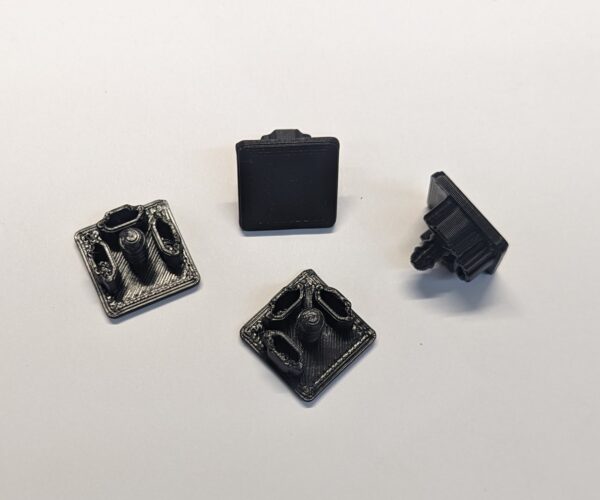
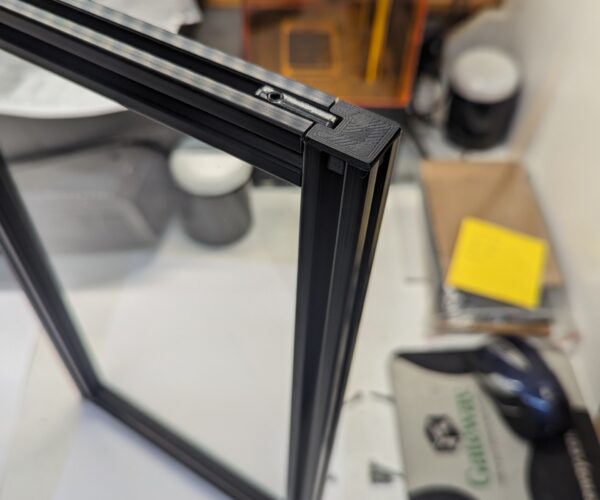
These are the T2020 end caps. I printed them in a block of 4.
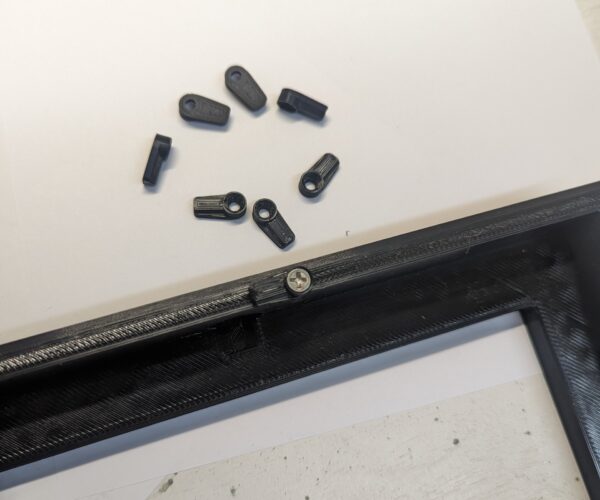
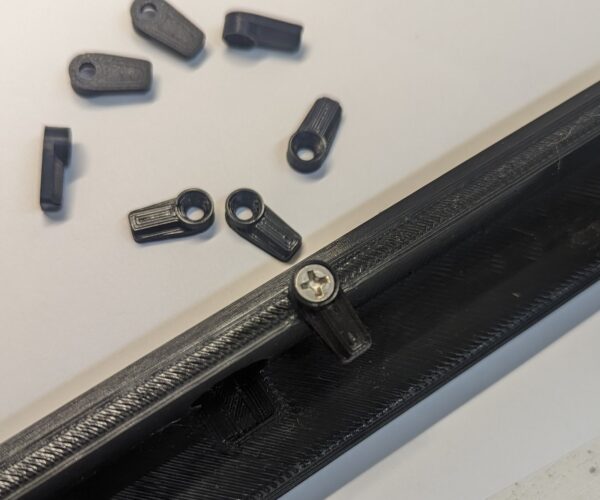
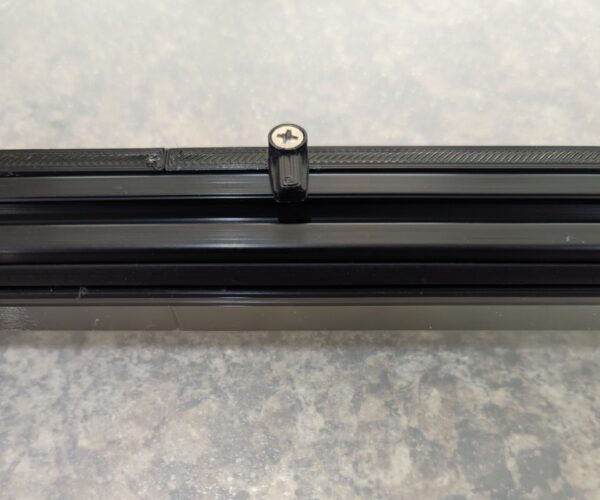
These are the little flip tabs to hold the removable panels. Thought about magnets but decided on the flip tabs instead.
RE: Ideas to make enclosure for XL Multi Tool
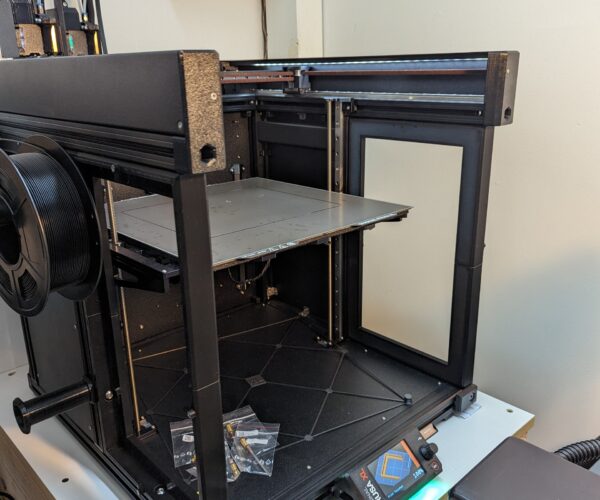
Moving along. Finally received my roll in t-slot inserts. First ones were to thick. You have to get the short spring inserts. The ball roll in inserts will not work. Here is the final dry fit of the complete side frame before I make the removable panels. The other side is printing now.
RE:
Both lower side panels and turn locks are now printed, assembled, and fitted. Now to start working on the front. Instead of opening door I believe I am going to do 2 acrylic panels. One that slides up and one that slides down. That way I can access the upper half and the lower half of the printer. The panels will also be removable like the side inserts.
In case anyone is interested the printer has been printing flawlessly. No issues of any kind.
RE: Ideas to make enclosure for XL Multi Tool
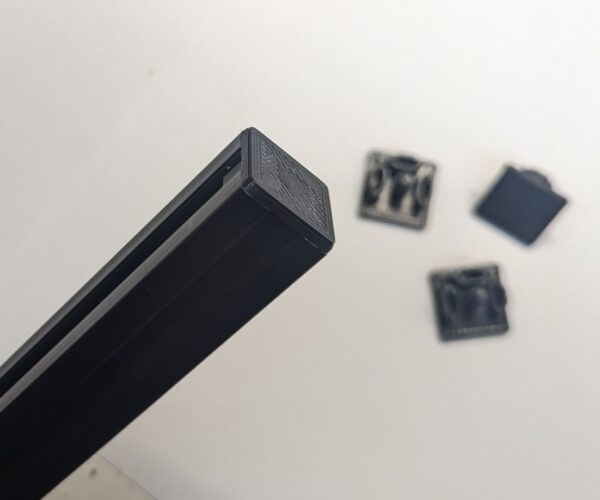
The test end caps came out perfect. The front of the enclosure will be made up of 10 printed parts. 2 on the bottom, two on the top and 3 for each side. I just pulled the end caps out of the middle section to make sure they fit over the existing end pieces and didn't interfere with the actual printing. All looks good.
I have a long print for early next week. I will print the two lower sections for the front which are L shaped. Will print them at the same time. Total print time for the 2 pieces is around 24hrs. Instead of making the lower sections of the front go around the display, I am going to move the display to the left a little and forward in front of the enclosure.
Here are the two test caps for the front.
RE: Ideas to make enclosure for XL Multi Tool
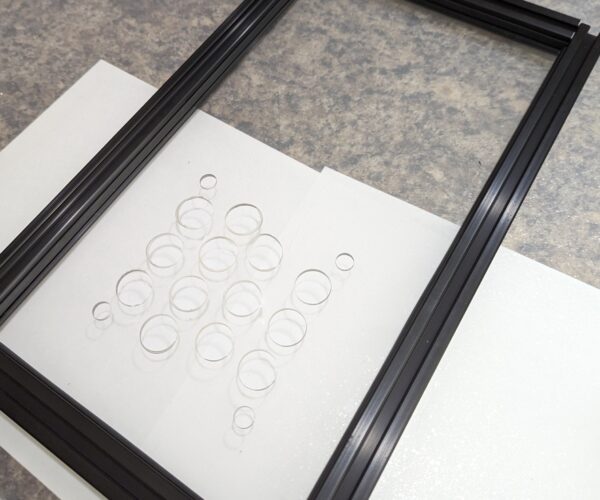
Thought I would take a little time this morning and put the acrylic panels in the lower TSlot frames. Looking good so far. The right side panel will have a vent with a 4x4 drop in filter for the exhaust system.
Left side lower panel is done. These TSlot inserts come out by adjusting the little flip tabs. I just have to add the TSlot end caps to the unfinished ends. Left them at the shop Friday!

