Curved lines on exterior walls
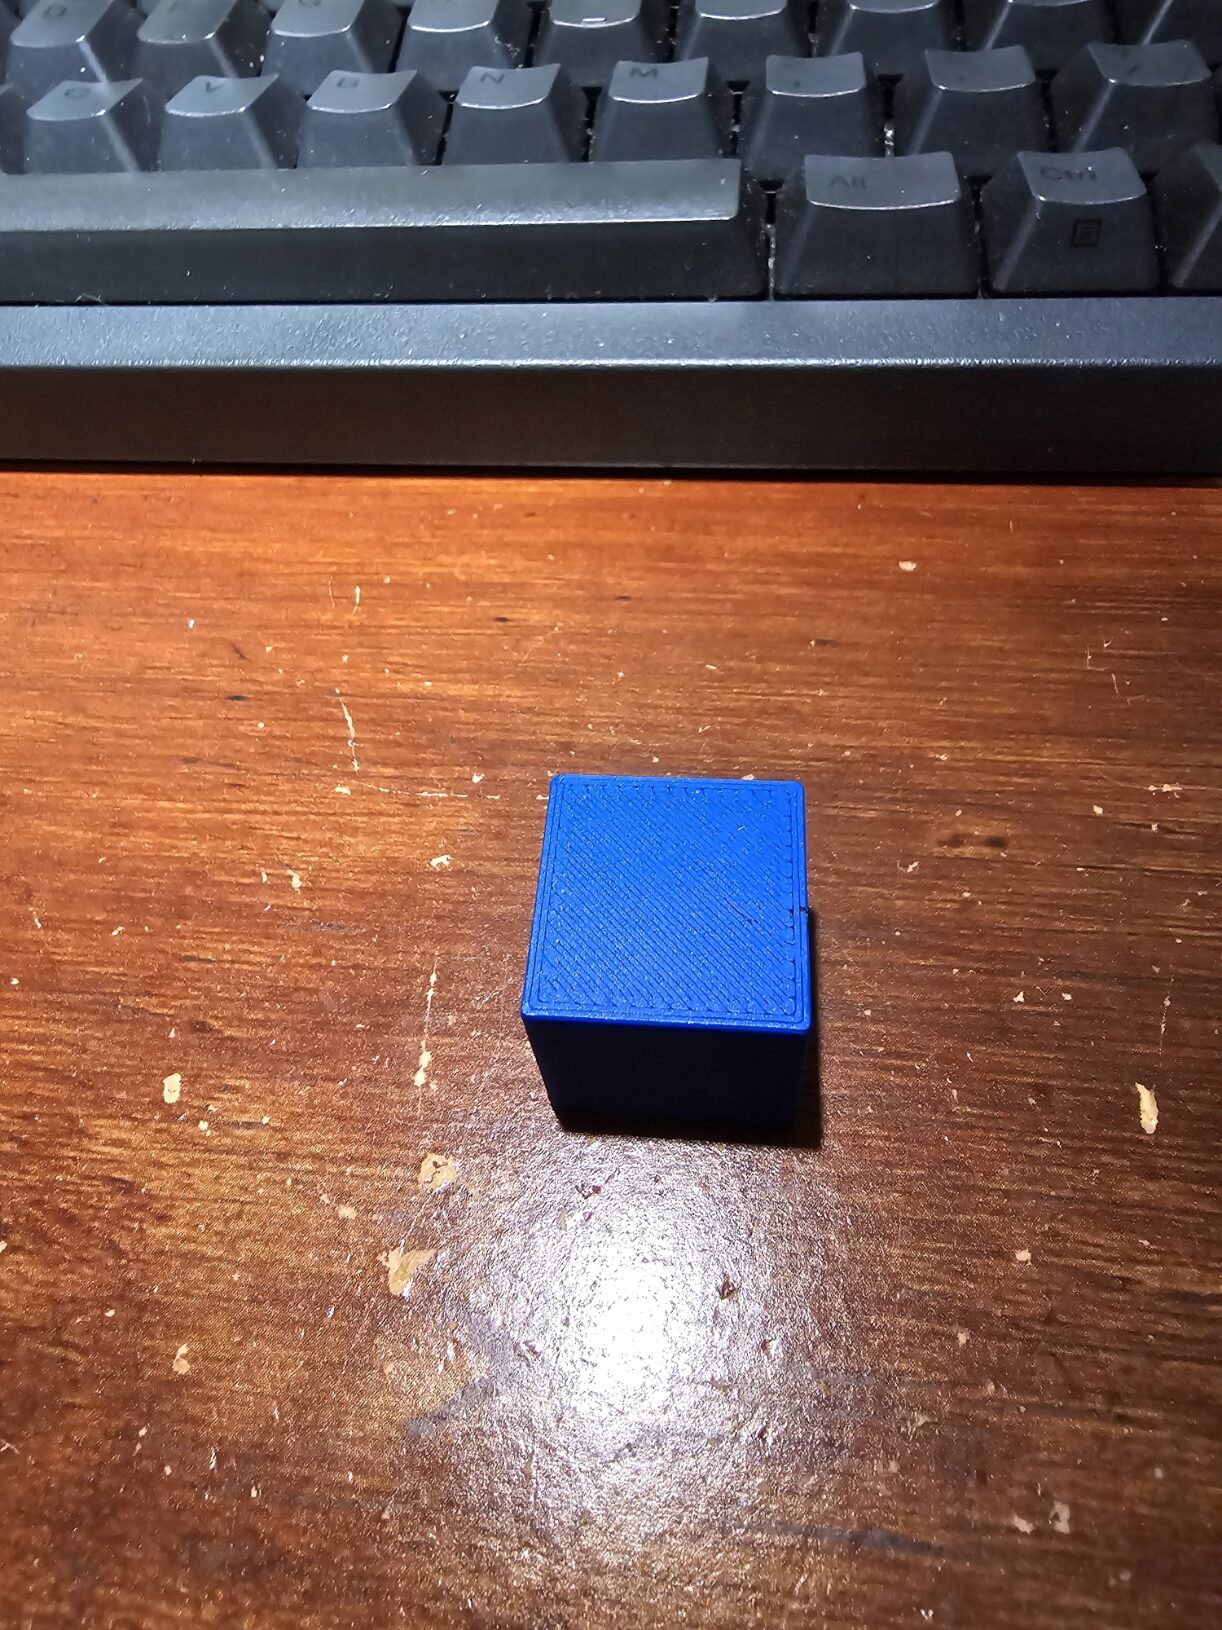
Hi folks, could really use some help in diagnosing what I am seeing here. Tried to look online but couldn't find examples of something that looked the same. Admittedly I am still quite new to 3D printing. On this calibration cube, I am seeing these sort of curved diagonal lines going across the face on the y-axis. However, I am not seeing this on the x-axis. I have attached some pictures below.


Print/filament details
Printer: Original Prusa XL - 5T Input Shaper 0.4 nozzle w/ Prusa Original XL Enclosure
Filament: 3D-Fuel Standard PLA (I used the default Prusa provided filament profile for this filament)
Nozzle Temp: 200 C
Print Settings: I used the 0.20mm SPEED profile. Did not change any settings here.
Where would I start in trying to diagnose this? It doesn't appear to be your textbook ringing/ghosting, so would there be another name for this kind of artifact? I am willing to try some test prints as time allows as well as try to check the printer itself as the enclosure was installed recently.
Check the underside, this sort of distortion is often due to poor adhesion allowing slight warping so that the top surface is fractionally undersize and the calculated amount of filament no longer fits neatly.
Cheerio,
RE: Curved lines on exterior walls
Hi Diem, thanks for your help! Taking your input, I took a look at the bottom and looks like there was some poor adhesion due to me being a bit lazy and not having cleaned my bed for some time. I have put an image of the bottom of the original cube print below.
For this test, I wiped down the bed with warm and dish soap. And then wiped it down once more with 99% IPA. I also increased the first layer temperature from 210 C to 220 C to hopefully help with adhesion. All other setting were left the same. I have put the images of the the new cube below. I put two images of the y-axis to hopefully better show the lines.


I believe the bottom for this cube looks better than before. Unfortunately, the curved diagonal lines still appeared on y-axis sides but this time they are steeper lines. Would this be a sign of improvement?
I think I should also ask how good should my adhesion be. My build plate is the Satin Powder-coated Steel Sheet. As soon as the print is finished (within 10 to 20 seconds), I am able to easily pull the cube off the build plate with just my hand with little resistance (for the both the original and the new test cube). Would this be a sign of bad adhesion?
RE:
Hi folks, really wanted to provide an update to this but life just gets in the way of course. I decided to just remove the enclosure entirely and then try printing the cube one more time. And it does look like something about having the enclosure installed is what is causing those curved diagonal lines. I have put some photos below of the test. (All print settings were the same along with the keeping the first layer nozzle temperature increase from 210 C to 220 C)


There are some diagonal lines but I don't think those are the same as what was happening before. In fact, I would say the overall quality of the print without the enclosure is much better than with it. The ringing is so much more faint as well.
When printing with the enclosure, I can see it wobbling quite a bit when printing at high speeds. Which makes sense since it makes the overall structure of the printer much taller. And I am guessing this extra wobbling/shaking transfers over to the print?
Will try reaching out to support when I can to share what I've been seeing and see what they have to say as well.
If the enclosure is resonatingwith the printhead movements leading to poor prints then changing the resonant frequency may be the answer - either add or remove weight to change the enclosure's frequency or change the print speed - slow down.
Cheerio,