Printing the new parts for LCD inside or outside enclosure?
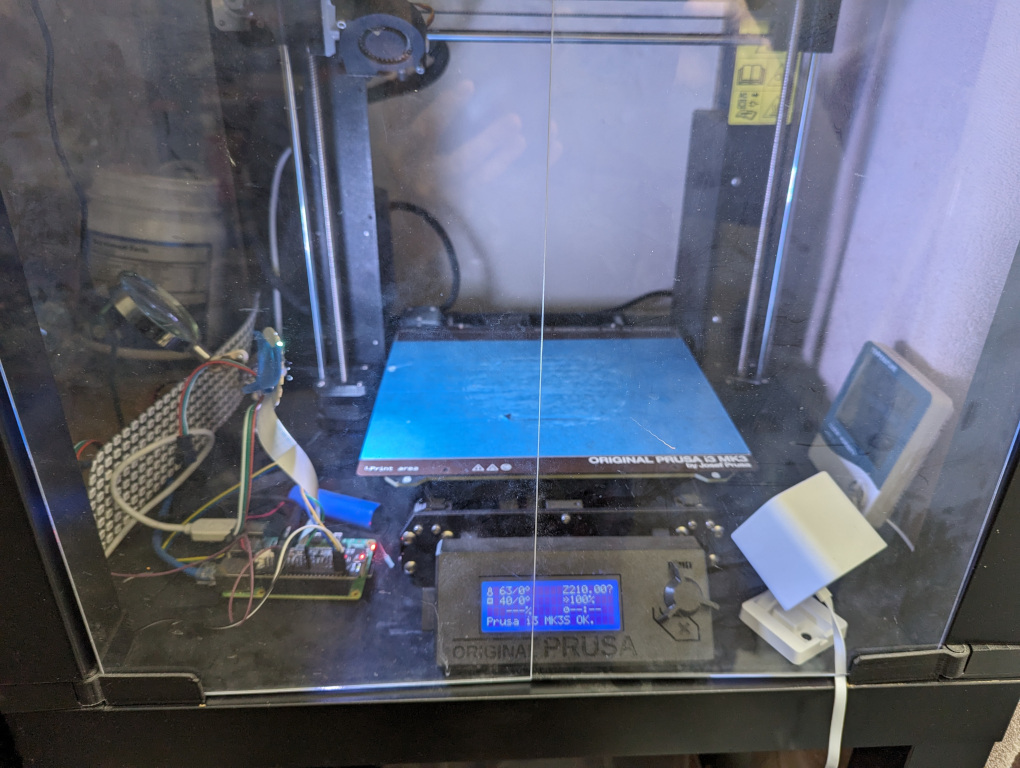
I've got the MK3.5 upgrade kit and I need to print the parts. Looks like there is a choice for the LCD to be inside or outside. Can anyone show pictures of what the two different final configurations look like? My enclosure is tight, so outside sounds nice, but I don't know if will work because I don't know what the final product will be?
Thanks,
RE:
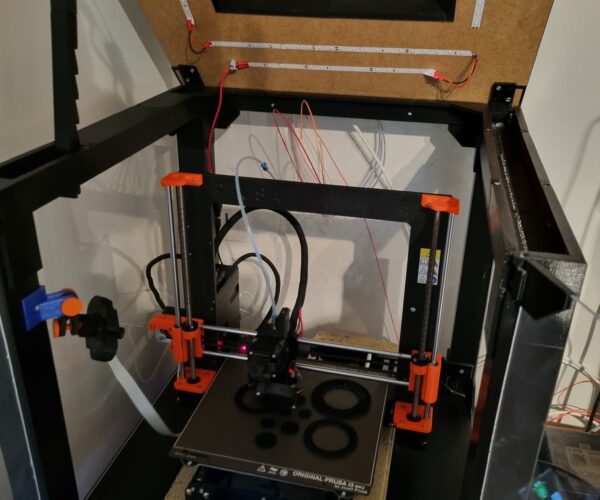
I can just give you the inside of a lack enclosure. There's more free space than the mk3 setup so you can do it. (the back of the bed (power cord) doesn't touch the glass wall)
RE:
Well, what enclosure? I am using one from PrinterBox and the outside modular control panel works just fine (I have used the one for the new PCB version front).
RE: Printing the new parts for LCD inside or outside enclosure?
Not sure why the image didn't stay with the first post, but I'm using a Lack enclosure as well.
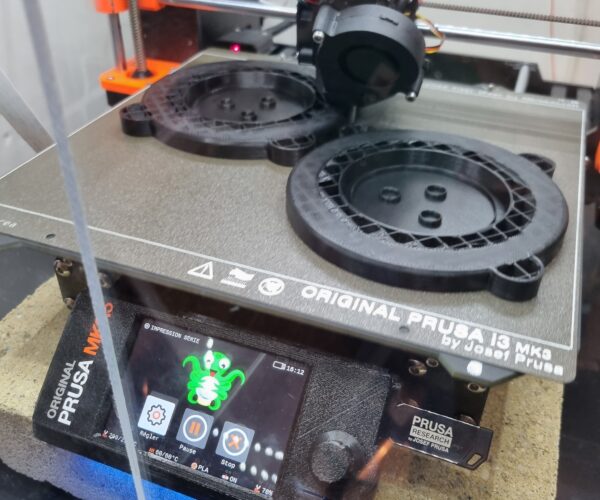
Hiigara: Your setup looks excellent! I'm already space constrained in all dimensions, looks like you have a brick under yours? Does the new setup have longer legs to make it higher too?
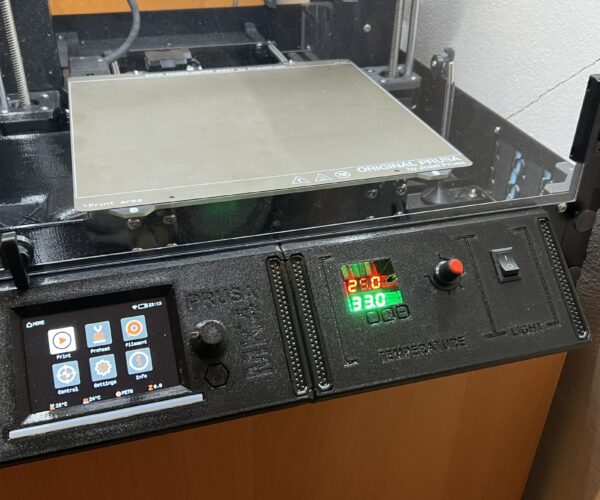
Numo: Your setup looks sleek an beautiful. Are your panels attached somehow to the outside base of your enclosure? Where does the cable to the display run, is it protected or exposed? If I could make a setup like yours and drill the display to the base of the bottom Lack table and have the cable protected for the run to the printer I think it might work for me...
Thanks to both of you for showing some high quality setups!
Robert
RE: Printing the new parts for LCD inside or outside enclosure?
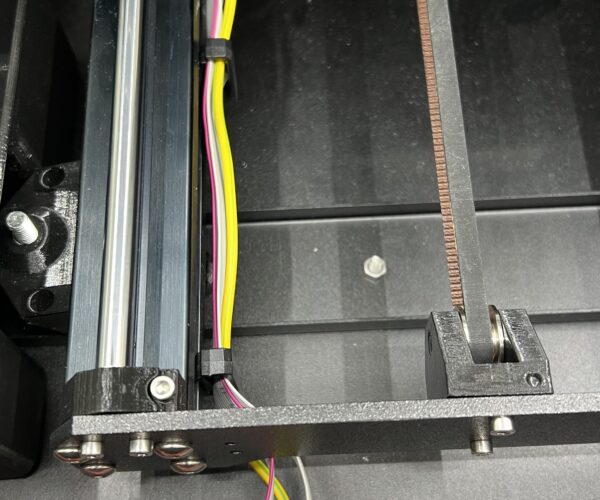
This is the product - the front base has cutouts where various variants of the panels can be mounted. The routing of the cable is the default mk3.5 one with clips; the cable is long just enough. It is unprotected but there is no stress along the path.
In your case the LCD would need to be below the base to be able to open the doors and the cable definitely does not have enough slack to go out, then down and still be routed this way. It most probably will be possible by routing it the shortest path and printing some clips/protection to attach it to the Lack table, if the panel is mounted on the left side. It will run very close to the left Z motor, which is kind of risky from the interference point of view, but well, just try.
RE:
Hi,
Yes, got a brick under the printer.
I'used to have the MMU2S before and didn't need longer legs. (MMU3 upgrade ordered)
But! I have the top carved to place the MMU2S (as show on this one https://www.printables.com/fr/model/3673-prusa-enclosure-v2-mmu2s)
I don't think Prusa provide enough lengh to set up the panel outside (except using a weird path and NO concrete brick)
RE: Printing the new parts for LCD inside or outside enclosure?
Thanks guys, looks like I need to do the panel on the inside!
Hiigara: Let me know if the MMU3 works. I bought the MMU2 and literally never was able to make anything print with it. Its collecting dust in the corner and I don't want to waste more time and money if the MMU3 is useless too.
Robert
RE:
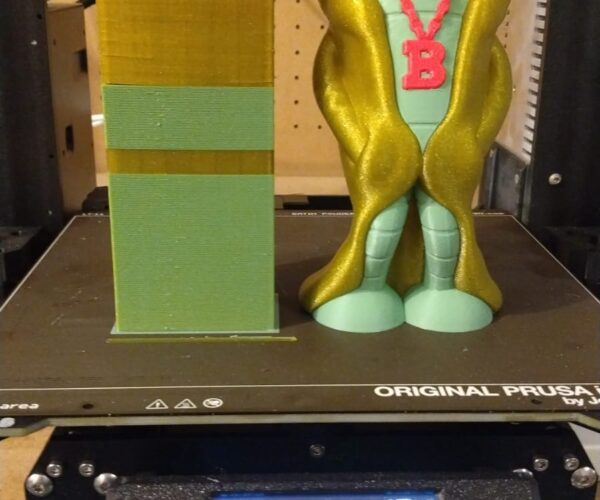
I have had MMU3 working well with Mk3s and Mk3.9
:-)PETG Bender
PLA Spiro
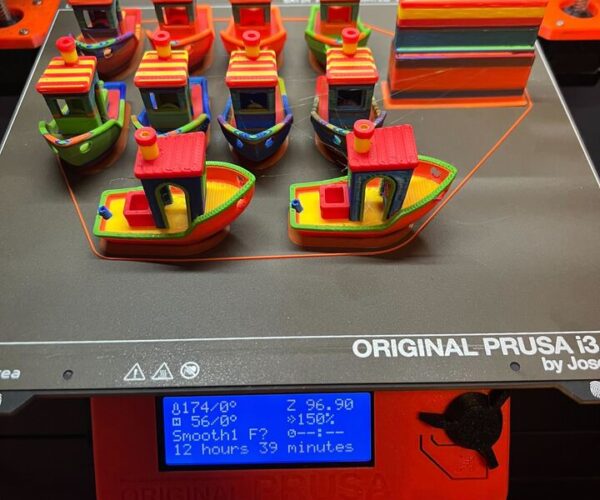
Test Benchies
I try to make safe suggestions,You should understand the context and ensure you are happy that they are safe before attempting to apply my suggestions, what you do, is YOUR responsibility.Location Halifax UK
RE: Printing the new parts for LCD inside or outside enclosure?
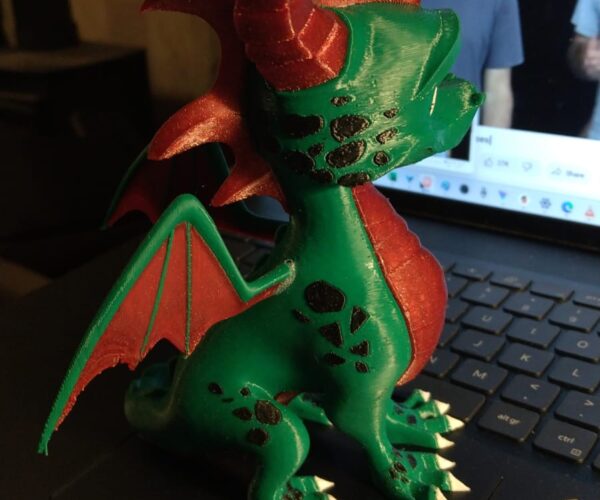
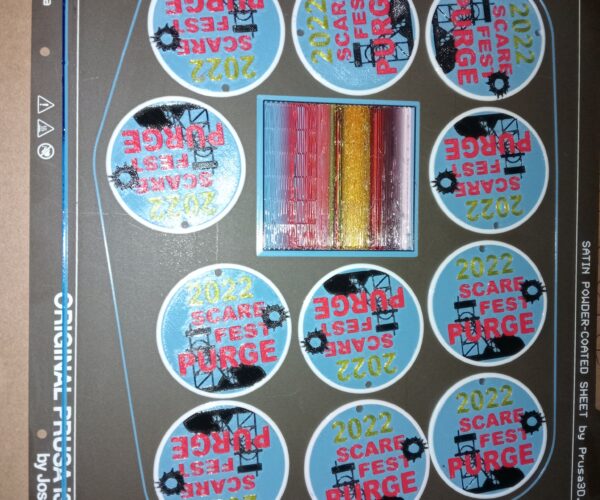
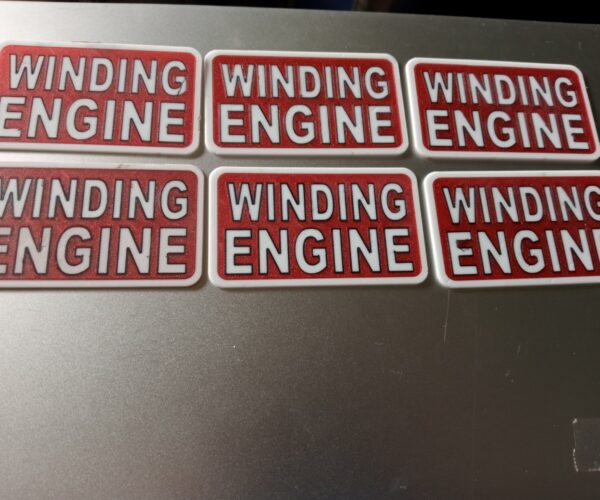
these were printed on mk3s with mmu3
I try to make safe suggestions,You should understand the context and ensure you are happy that they are safe before attempting to apply my suggestions, what you do, is YOUR responsibility.Location Halifax UK
RE: Printing the new parts for LCD inside or outside enclosure?
Hey I struggle a looong time with the mmu2s. Reprinting the idler did the trick.
https://www.printables.com/fr/model/19229-mmu2s-idler-improved-mounting-for-motor/comments/1517000
Print with 500 tool changes without any intervention.
Then did this upgrade. (sometime the finda think the filament is still engaged cause of debris or the Ball in the upper position.)
https://www.printables.com/fr/model/150514-prusa-mmu2-selector-with-magnet-and-opened-finda-c
After the first modification. The mmu2s was fully working.
I upgrade to mmu3 cause the mmu2s is not compatible with the mk3.5 (if I could. I'll stay with the mmu2s)
RE: Printing the new parts for LCD inside or outside enclosure?
Built it (mmu3) this week. If you follow the assembly guide it works out of the box (loading all filaments, unloading) Will test a multi filament print tomorrow. But it looks very promising.
Didn't set up the tampon as I have to find the good position with the lack enclosure.
