MMU2 - Real Multi Material
This is the next step towards the real multi material printing
Short version:
This post processing script improves Slic3r gcode for better MMU handling and allows true Multi Material printing.
There is no harm to use it in Slic3r all the time. In case of single material print and multi materials with the same filament temperature, it doesn't modify anything.
If you're using Prusa MMU1/MMU2 and Slic3r 1.41 you will encounter an issue if the temperature differ between the used materials. Slic3r sets the new temperature between toolchanges only once after cooling and before unloading. This causing an issue in the transition from high temp filament to cold because it is being purged with cold temperature. This script fixes it.
Please try it and post your experience
Files for Download:
PJR 11 Jan 2019 - Moderator edit: latest precompiled binaries link: https://raw.githubusercontent.com/workinghard/mmuGcodeParser/master/mmuGcodeParser_windows_20181231.zip
PJR 14 Jan 2019 - Moderator edit: YouTube video link:
PJR 6 Apr 2019. Moderator edit: A precompiled Windows binary file with temp drop is available here: https://github.com/workinghard/mmuGcodeParser/blob/master/mmuGcodeParser_windows_20190405_with_dropTemp.zip
Please read the thread for further details.
Often linked posts:
Going small with MMU2
Real Multi Material
My prints on Instagram
Re: MMU2 - Real Multi Material
Long version:
The logic behind this script is following:
Cold (200C) ==> Hot (255C)
==========================
-> Stay cool, do nothing. If needed, set lower temp but don't wait
-> Set hot. We can heating up while loading. Save some time
-> Nozzle might still warming up. Load to nozzle for smooth loading process
-> Before start purging, wait for destination temp
-> We are printing with the stabilized temp. No further intervention required
Hot (255C) ==> Cold (200C)
==========================
-> We need to stay hot because hot filament is still in the nozzle. If needed, set lower temp but don't wait
-> Stay hot, do nothing
-> Stay hot, do nothing. Load to nozzle for smooth loading process
-> Before start purging, set cool temp. We can cool down during the purging process
-> Before start to print, wait for destination temp. Most likely temp will bounce pretty hard
The target is always to print with the temperature which is currently required by the filament in the nozzle. This allows to print any filament combinations with any temperature. High temperature difference leads only to longer waiting times.
Often linked posts:
Going small with MMU2
Real Multi Material
My prints on Instagram
Re: MMU2 - Real Multi Material
Current state:
It's working for me like it should by the provided strategy. First I printed Yin/Yang symbol in PLA white and PETG black.
It was a good test to see a PETG filament bleeding into the white PLA. Increasing the size of the purge tower in this case makes sense.
Second object was a Kobayashi Fidget Cube with white PLA base and black PETG hinges:
The limitations of using PETG got obvious. The second hinges curled ab and the bad adhesion to PLA have done the rest. I had to stop it in the middle. Anyway, the first hinges are working fine and very smooth 😀
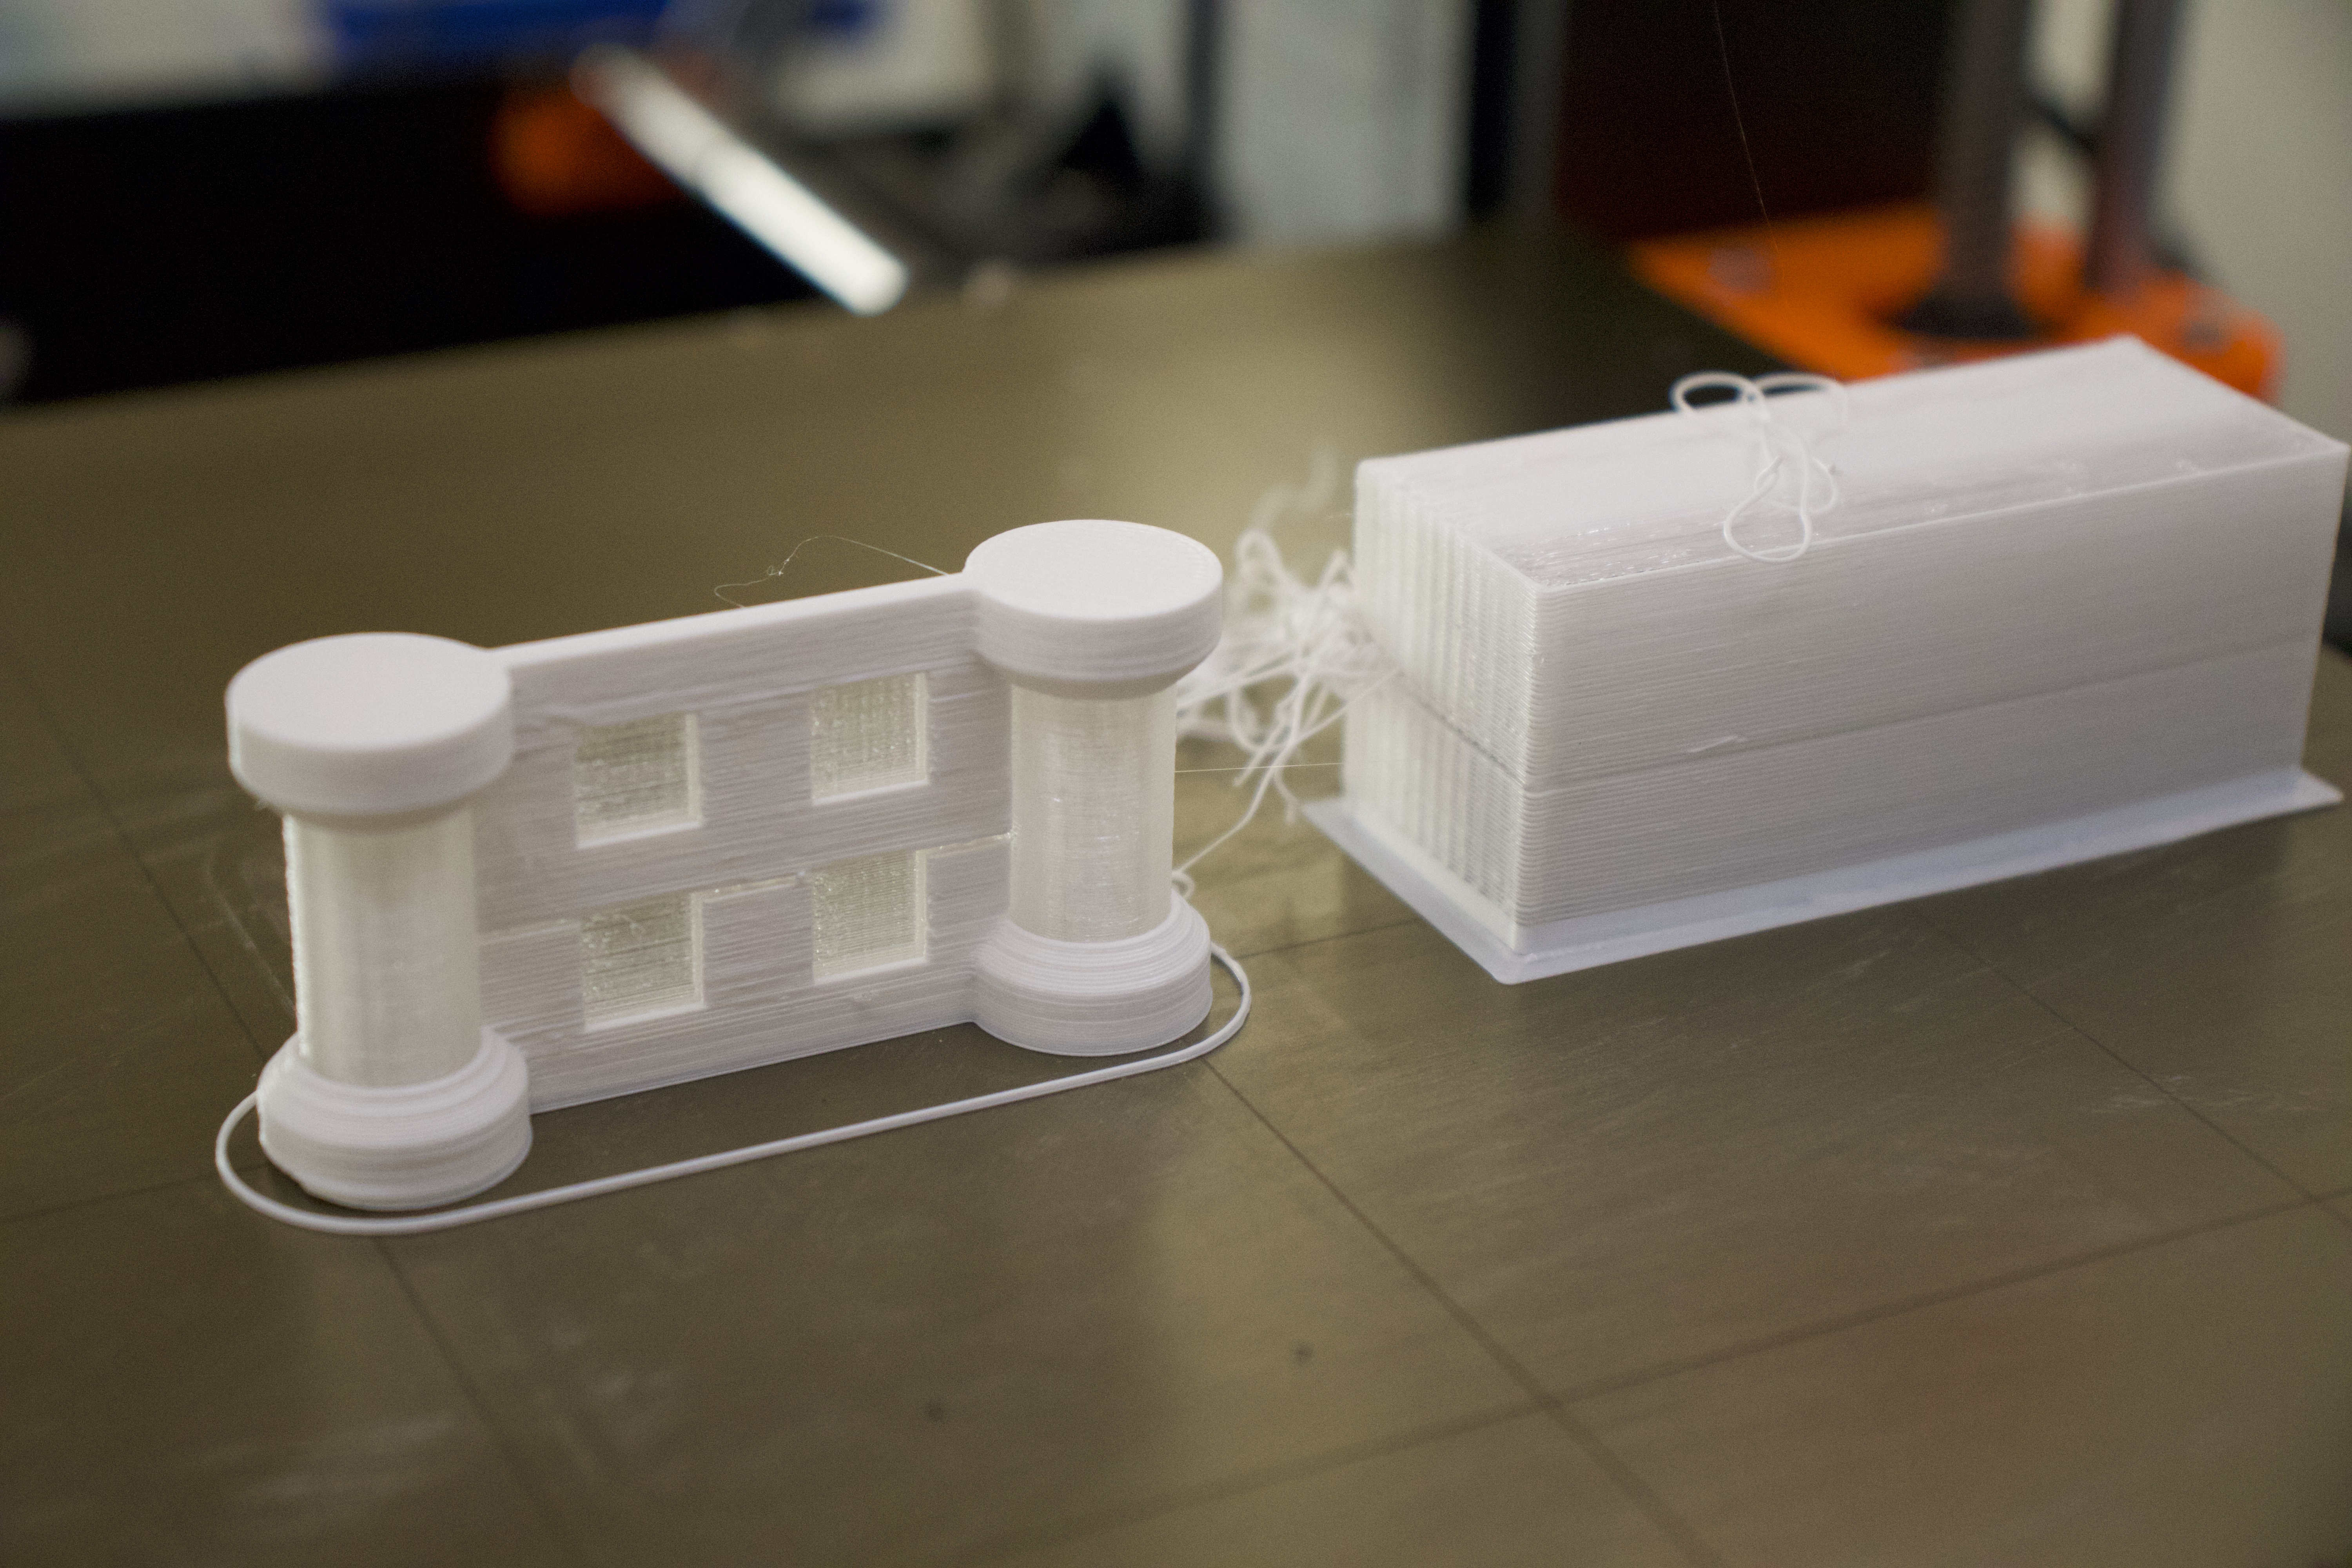
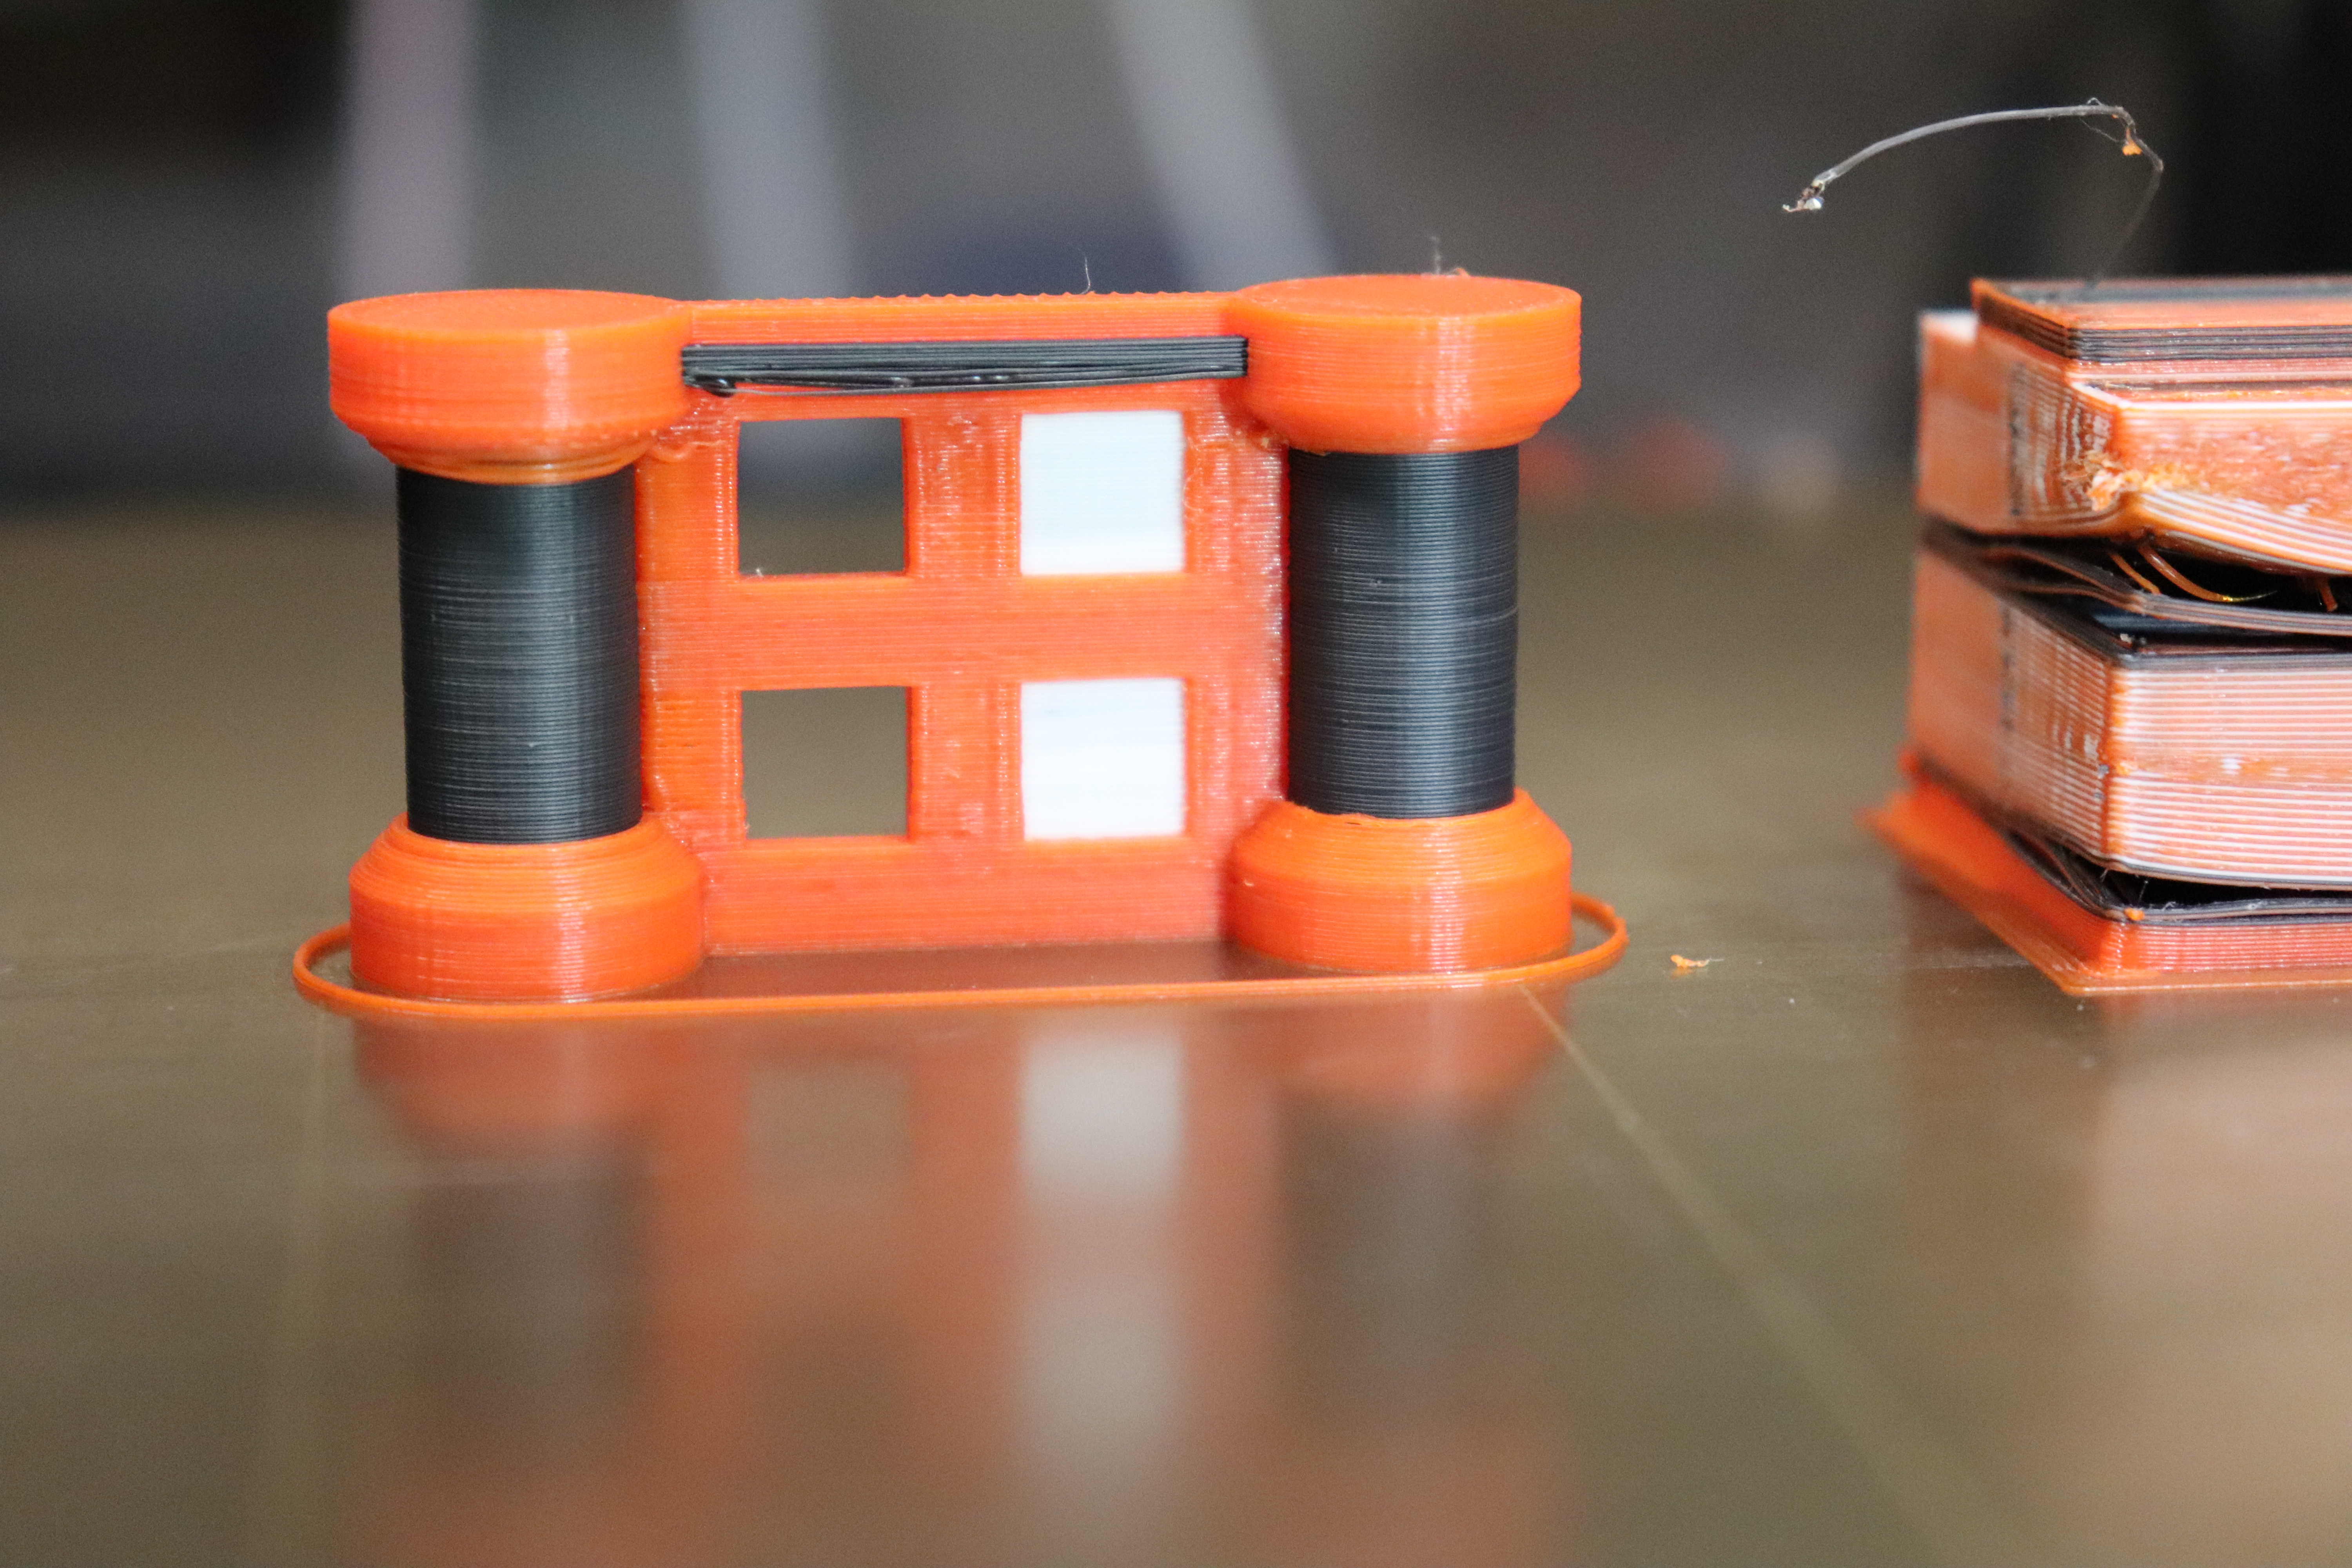
For the third test I've created a test object to use PLA, PETG and ABS in one print.
The idea is to have the base in PLA, the windows in PETG and the tubes in ABS. So far I've printed only base in PLA and windows/tubes in PETG. This is my first result:
As you can see one layer is missing due to hairy PETG. But it healed himself and printed without my intervention in 4 hours. I'm still fighting PETG in MMU. It was printed with 250C and I don't want to go lower as it will get brittle.
Anyway, this script helps me to print even with different types of PLA (190C vs 220C). My plan is to bring it into Slic3r at some point. This python script is just a proof of concept and much easier to modify. Any contribution is very welcome!
Often linked posts:
Going small with MMU2
Real Multi Material
My prints on Instagram
Re: MMU2 - Real Multi Material
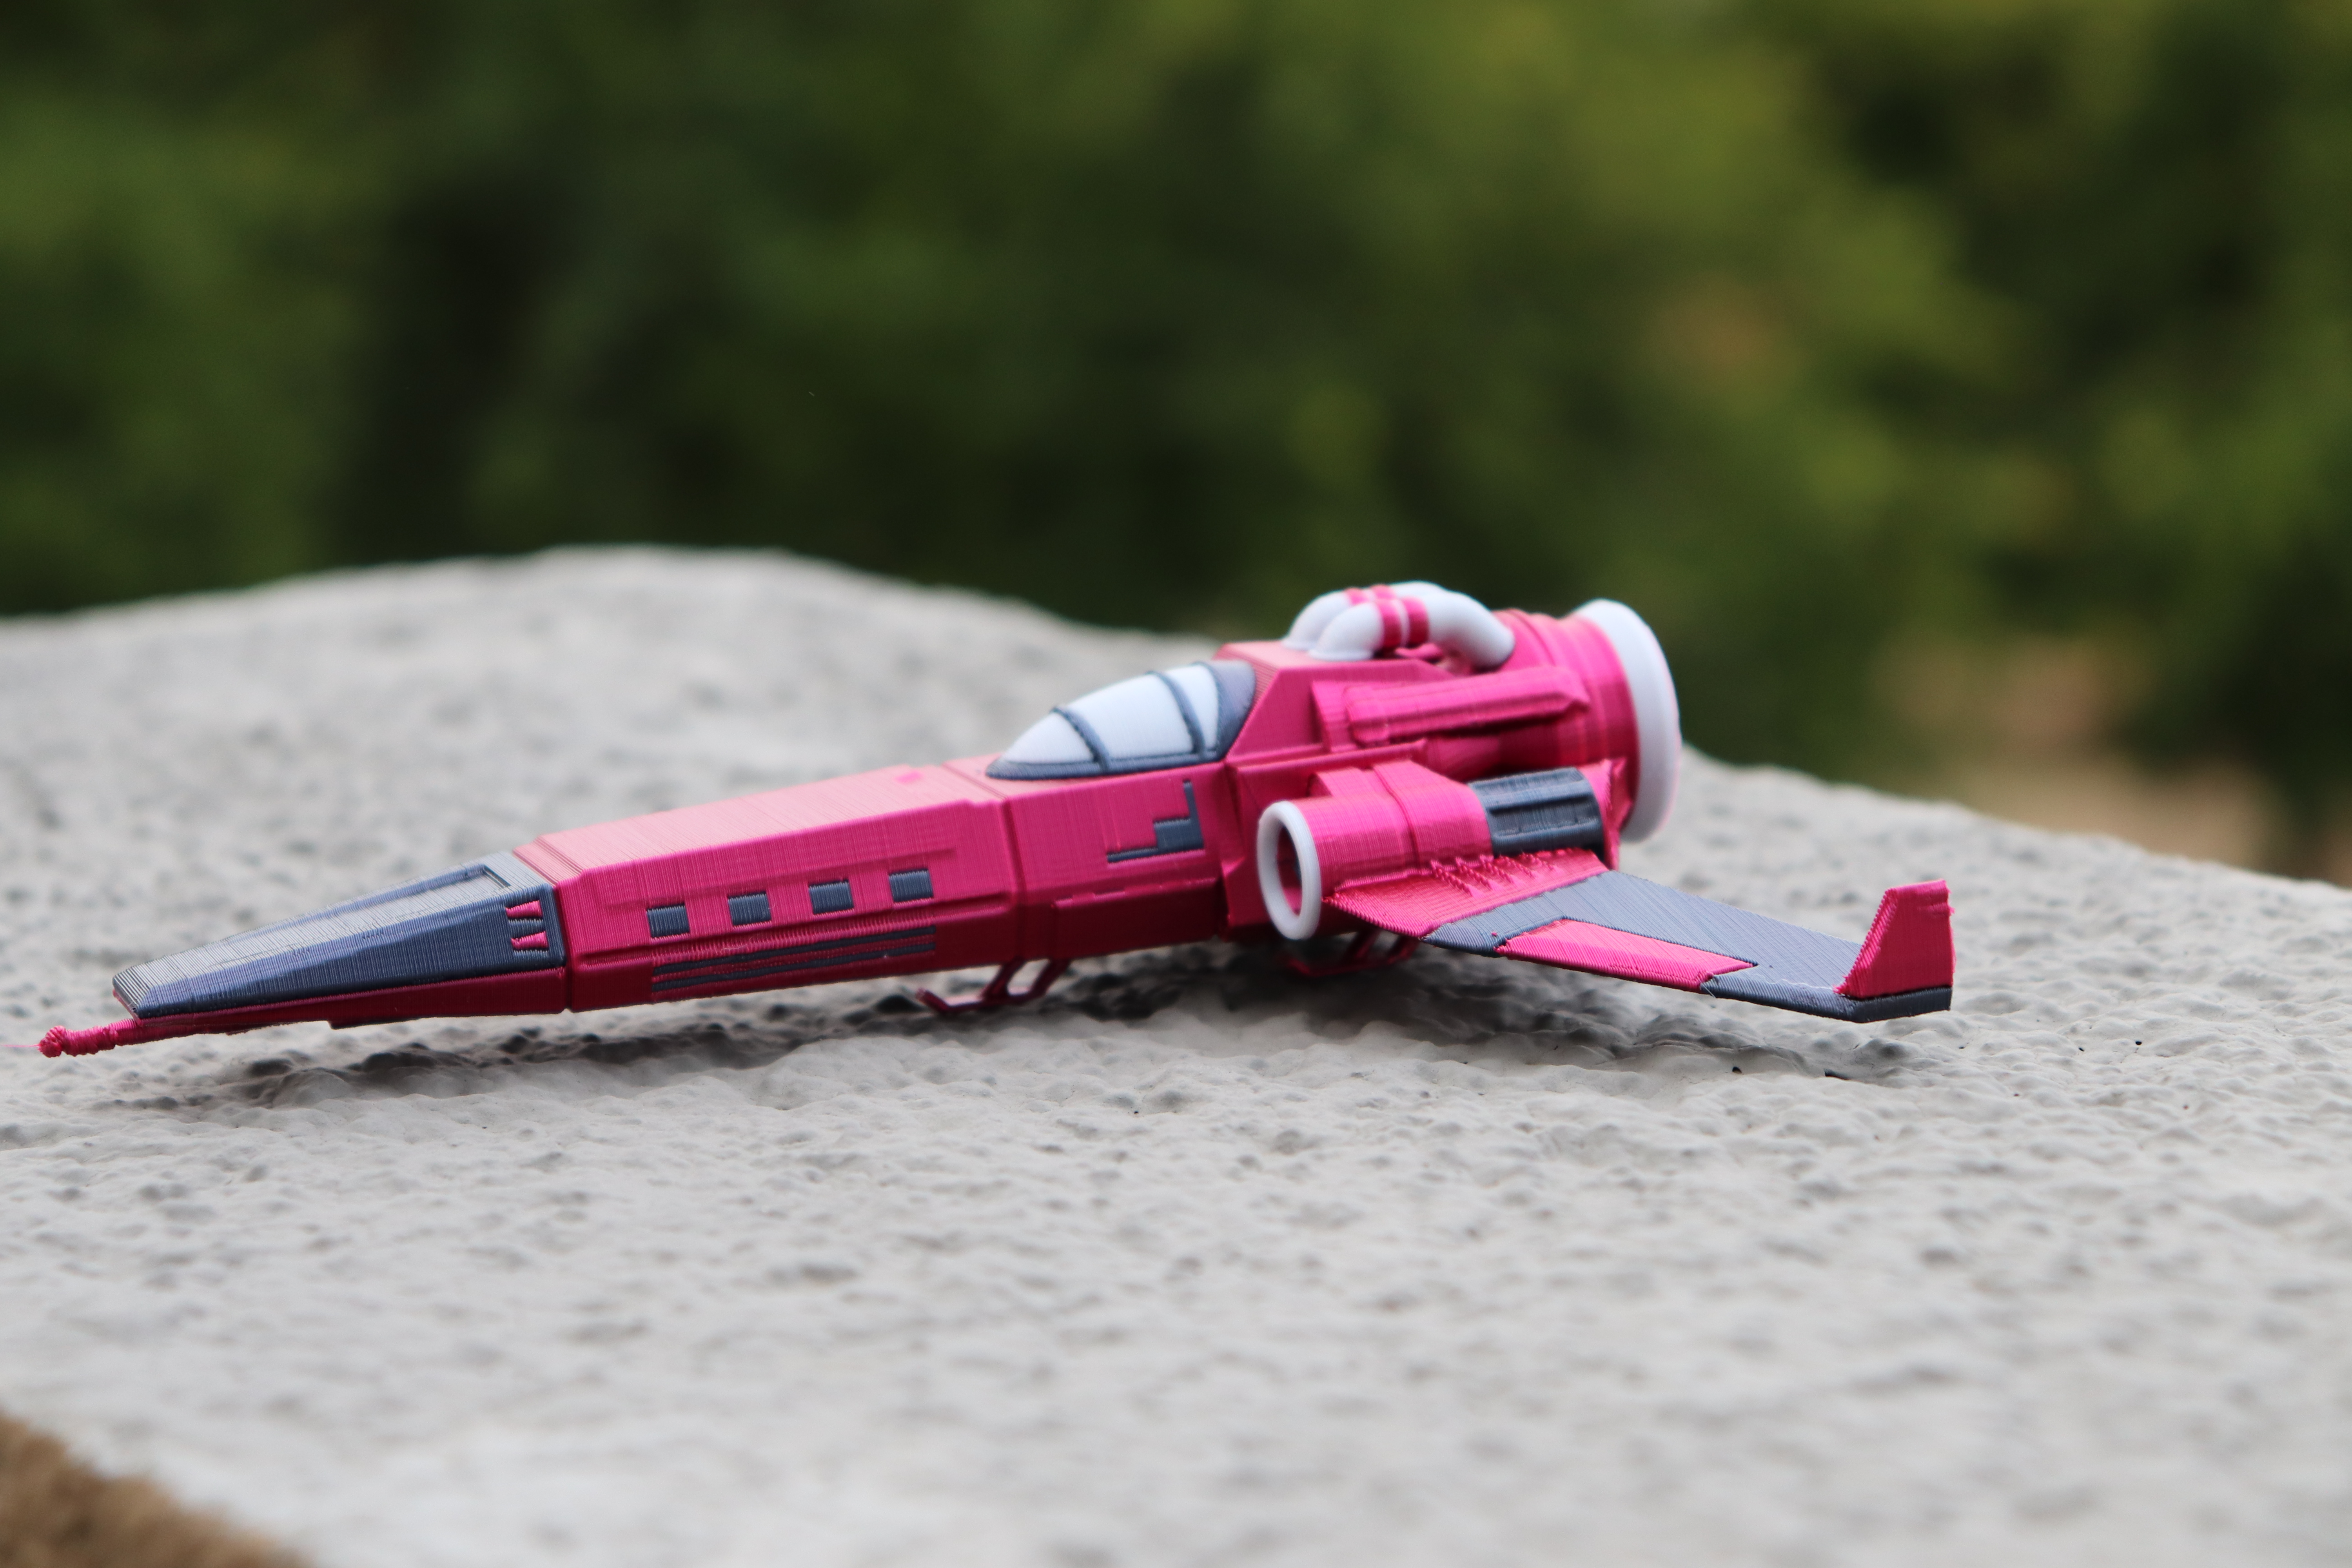
Next test looks very promising.
Came out of the printer like this, no clean up:
Often linked posts:
Going small with MMU2
Real Multi Material
My prints on Instagram
Re: MMU2 - Real Multi Material
Very interesting. And it is a shame that people still have to use scripts with the mmu2. 1.42 alpha has nothing new for the mmu2 regarding that matter. (At least we have tree support now 🙄 )
Re: MMU2 - Real Multi Material
Very interesting. And it is a shame that people still have to use scripts with the mmu2. 1.42 alpha has nothing new for the mmu2 regarding that matter. (At least we have tree support now 🙄 )
It's fine. I fully understand PR need to publish the next big thing (SL1) and most of the devs are most likely tied to this project.
The good thing is that the Software and Firmware is stable and open source. So it's easy to read, understand and modify. I assume to polish everything and implement additional features will happen during 2019.
This script is just a proof of concept which is easy to modify and adjust. I'm pretty sure it will make it's way into the main brunch of the Slic3r.
Often linked posts:
Going small with MMU2
Real Multi Material
My prints on Instagram
Re: MMU2 - Real Multi Material
Thank you for publishing your script. This might fix my issues with BVOH supports. Will try it next weekend and post feedback.
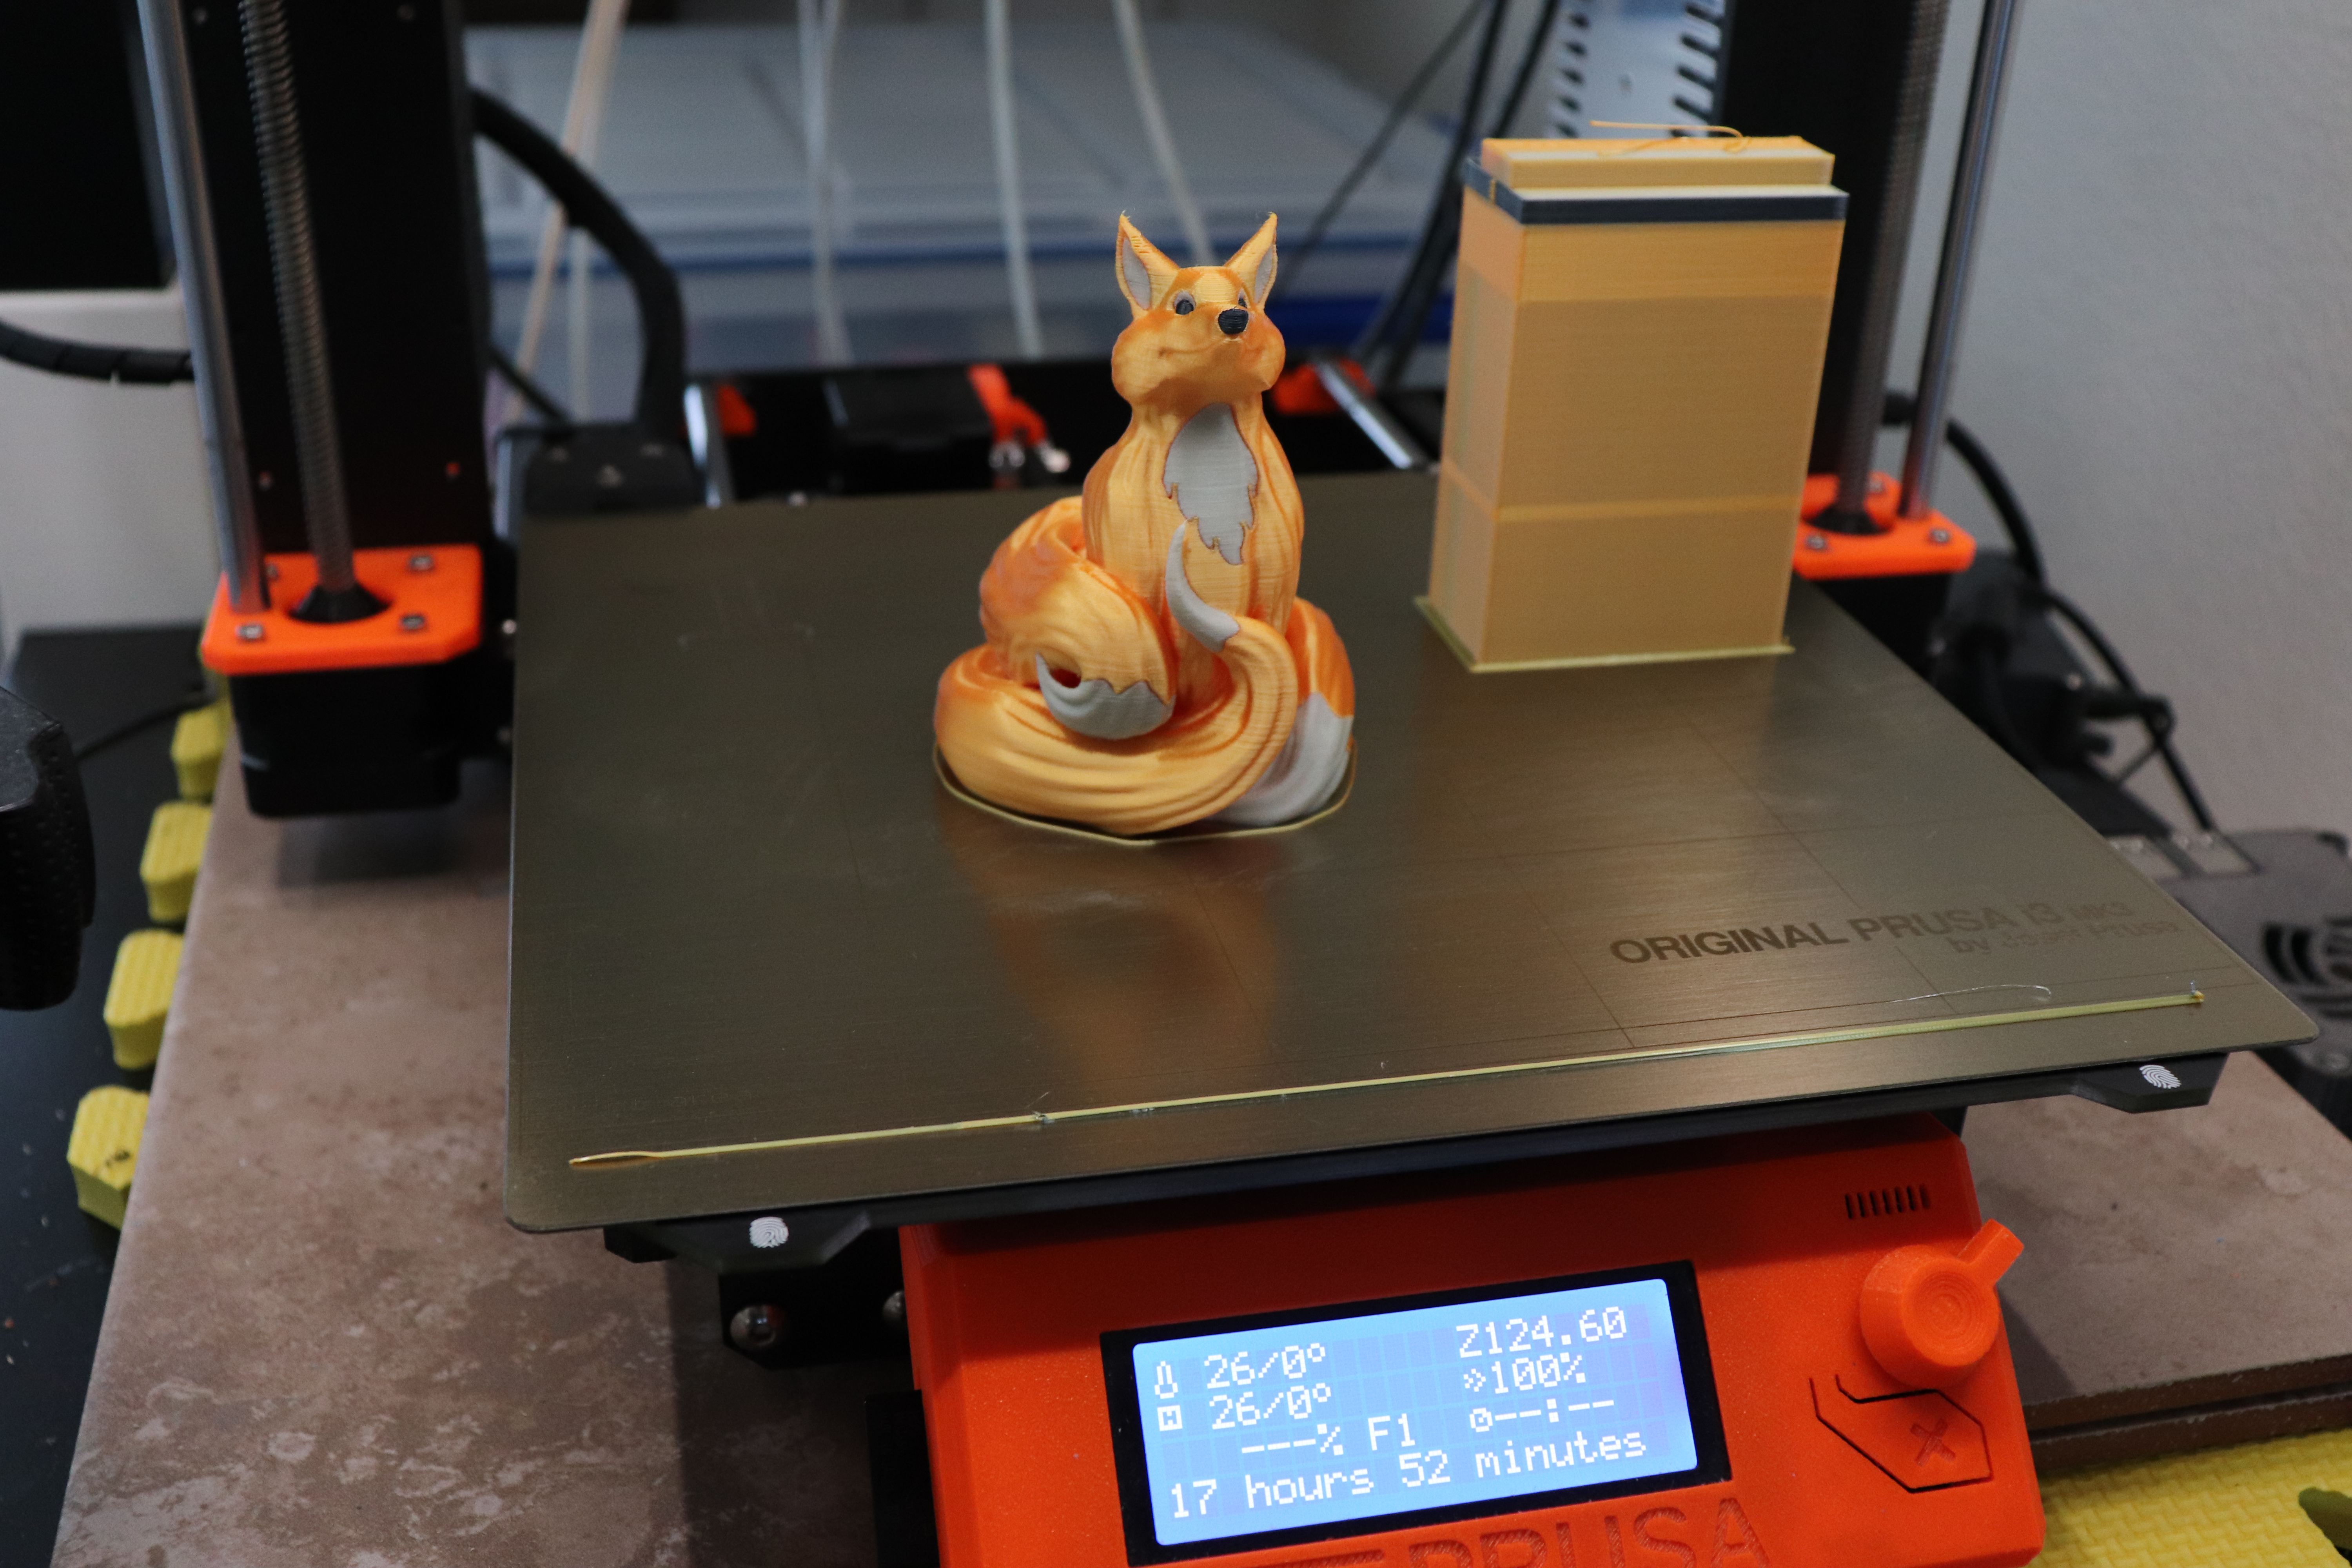
Btw. can you post link where you downloaded the fox? It looks great.
Re: MMU2 - Real Multi Material
Thank you for your time, effort, and for sharing. Good write up as well.
Mistakes happen. It's what you do next that counts . Current Printers
Original Prusa i3 MK2.5 +MMU2
Ultimaker Original +
Ender 2
Re: MMU2 - Real Multi Material
Btw. can you post link where you downloaded the fox? It looks great.
Sure thing: here it is
Often linked posts:
Going small with MMU2
Real Multi Material
My prints on Instagram
Re: MMU2 - Real Multi Material
Thanks for posting this solution for temperature problems when printing with materials that require different temperatures. This is the exact problem that I have been having and so am eager to try it out.
Having never set up a post-processing file in Slic3r, exactly what are the steps to configure Slic3r to call the Windows executable (not eager to install Python) and then use it? Once Slic3r is configured, does one just "Slice now" and then "Export G-code..." like normal?
Thanks in advance!
- Brad
Re: MMU2 - Real Multi Material
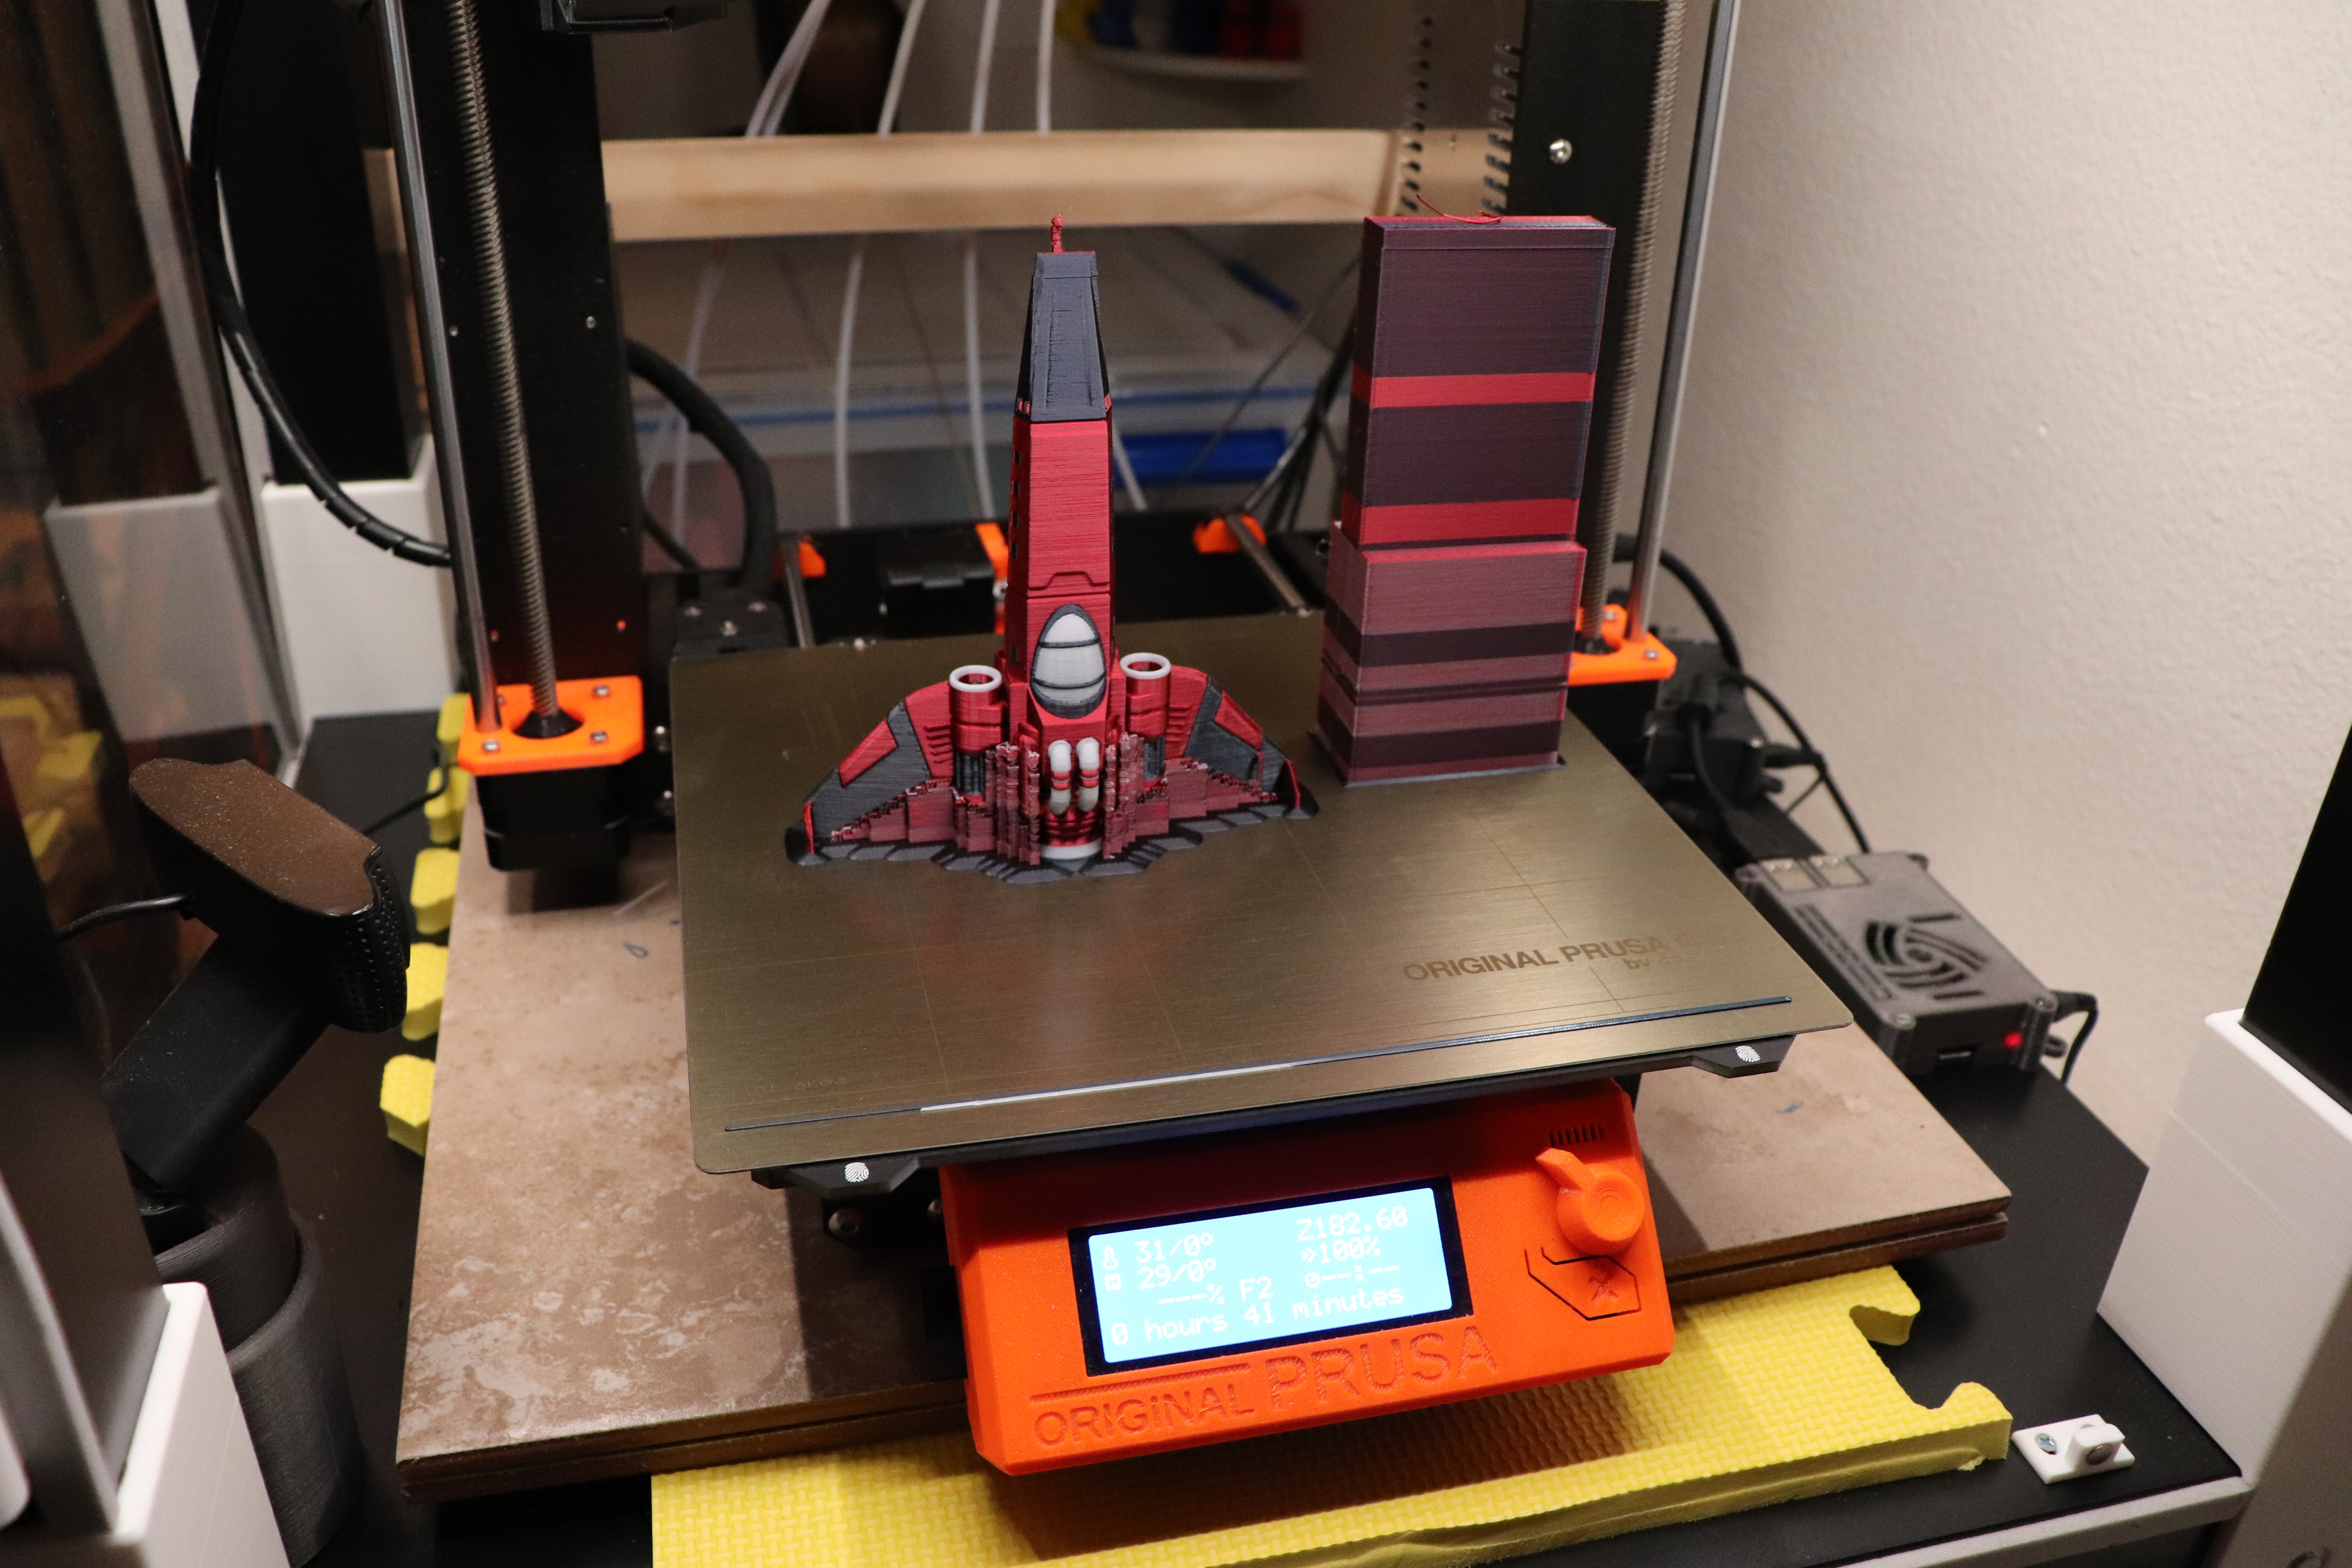
Another successful print:
PLA with different temperatures is working reliable for me. Next step is to get nice ABS tips and try PLA+ABS combination ...
Often linked posts:
Going small with MMU2
Real Multi Material
My prints on Instagram
Re: MMU2 - Real Multi Material
pla and petG worked good for me( stock prusa pla/pet settings).I wish I had a material that used a higher temp. but switching from 200- 240 seems to not be an issue so far.
I have a Prusa,therefore I research.
Re: MMU2 - Real Multi Material
Can you do a write up for people who have no idea how to use your scripts? Something that assumes a person does not know anything about scripts. It would be...umm...for a friend. Yeah, a friend asked me to post this. 🙂
Re: MMU2 - Real Multi Material
@CybrSage @Brad:
The script doesn't require any special parameters. It just need to be maintained like explained in this official manual.
After it's maintained, you just slice and export gcode as usual. As a result you will get original "*.gcode" file and "*_adjusted.gcode" file which I'm using for printing.
It can be also called stand alone in the terminal. Only parameter is the original gcode file.
If you have any issues to let it run, please create a separate thread. Because it can get complicated to include a python script into Slic3r and I would like to stay on-topic here.
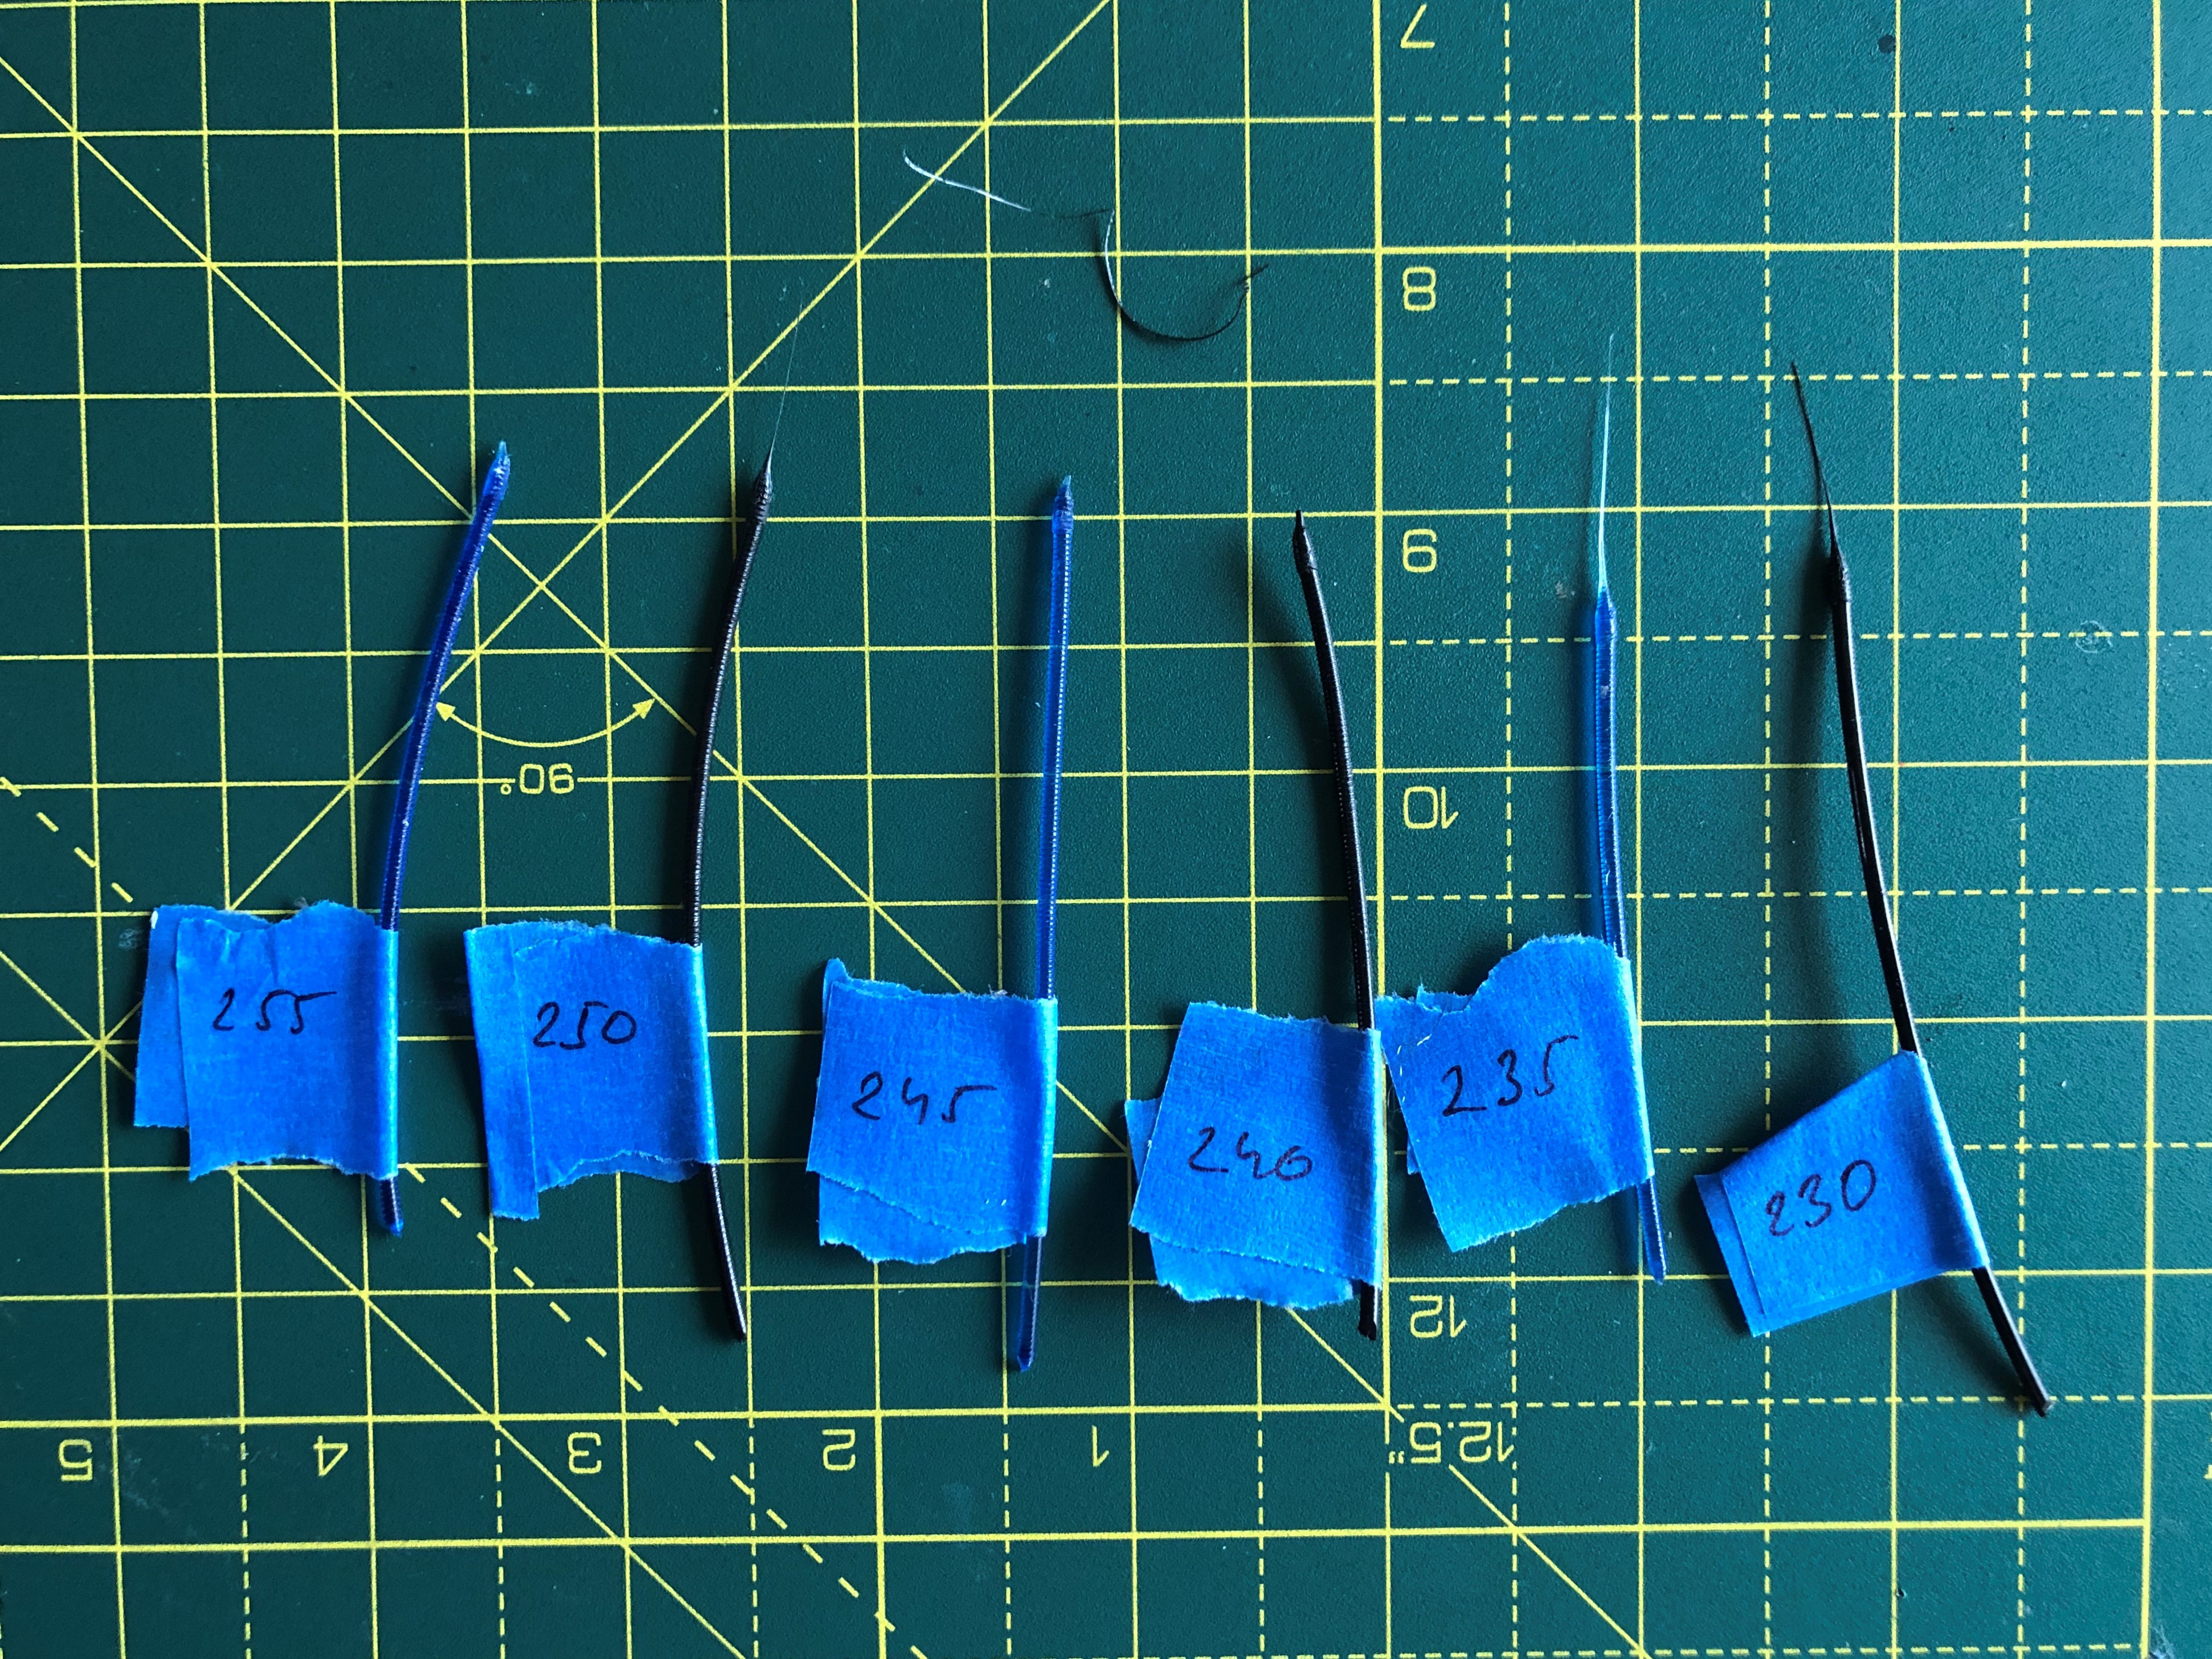
First temperature test for the ABS filament. Range from 230C - 260C with very interesting results:
Lower temperature produces worse filament tip. That was unexpected. 255C,260C are looking good. Next test is to print my PLA+ABS test object. 5 hours to go ...
Often linked posts:
Going small with MMU2
Real Multi Material
My prints on Instagram
Re: MMU2 - Real Multi Material
I haven't played with ABS, but I hear it's dreamy on the mmu2
I have a Prusa,therefore I research.
Re: MMU2 - Real Multi Material
Ah, okay, I understand now. When you said post-processing, I thought you meant inside slic3r using something inside the program. But you mean post slic3r.
You just take the G-Code from slicer and use that to create the new G-Code.
Outstanding!
Re: MMU2 - Real Multi Material
Test object with ABS+PLA: Full success!
I printed without any chamber, so the purge tower delaminated on ABS lines. But it was no issue. Everything printed as expected.
Next step is to dig into PETG settings. I would like to reduce those stringing to finally print PLA+PETG+ABS test object.
Often linked posts:
Going small with MMU2
Real Multi Material
My prints on Instagram
Re: MMU2 - Real Multi Material
I just started to edit gcode thinking about writing a script to dial in a MMU print with PLA and PVA. Found this now. This looks very promising, I will try it on PVA/PLA.
Because it can get complicated to include a python script into Slic3r and I would like to stay on-topic here.
Complicated? I would suggest you include a tiny tutorial in your Github-readme. Something like this (use if you like):
How to include the post-processing script in Slic3r (for Windows users):
1. Download the ZIP-file and unpack its content to a folder, e.g. here: "C:\ppscript".
2. Open Slic3r and go to "Print Settings" tab. Go to "Output options" entry. Enter the path to the executable (which is in our example "C:\ppscript\mmuGcodeParser\mmuGcodeParser.exe") of the post-processing script under "post-processing scripts" like in the picture:
3. Profit.
Re: MMU2 - Real Multi Material
Complicated? I would suggest you include a tiny tutorial in your Github-readme. Something like this (use if you like):
...
Thanks for the write up. All this details are already there. I've added a link to the official Slic3r manual. Maybe your three items are easier for some people to understand.
Often linked posts:
Going small with MMU2
Real Multi Material
My prints on Instagram
Re: MMU2 - Real Multi Material
Here is the test with PETG nozzle tips at different temperature:
Don't get mislead by those nice tips. Tiny hairs were there and were dragged away by the carriage. It might be beneficial to use the filament inputs which are far away. Like 1-5 for two color, 1-3-5 for three colors. This way the tiny hairs can be dragged out of the filament path during the filament change.
Next step is to print the test object with ABS+PLA+PETG. I'm really excited if it can really work....
Often linked posts:
Going small with MMU2
Real Multi Material
My prints on Instagram


