Re: Still zero successful prints
It is clear PLA (and some colorbleed)
Re: Still zero successful prints
I used your parameters and my filament tip still measure more than 2mm... 🙁
My tips look like yours, maybe a little less string than the black.
I use the default Prusament settings except setting the load speed to 19mm/s.
It works great.
But i also did this mod to prevent failure to load (missing layers):
20181204_065206.jpg
20181204_070558.jpg
But i also did this mod to prevent failure to load (missing layers):
general-discussion-announcements-and-re ... ml#p115345
I've seen your mod, this is a very interesting one, but I doubt it will solve my filament tip problem (I will probably do it after resolvinfg my problem). I also noticed your printer is a mk3, mine is a mk2.5. It seems my kind of problem is related to the heatbreak of the mk2.5. I will probably try to install the extruder from my MMU1, I've never used it and some forumers say it's the same as the mk3.
My youtube channel about the Prusa I3 MK2 https://www.youtube.com/channel/UCz-zQZcKcvEDdd9C9hOKYWg
Re: Still zero successful prints
After lot of tweaking and many different failed prints I was able to get here:
All together there was 440 color changes. Before I went to bed everything seemed OK but unfortunatelly one layer skipped. This is maximum I can do...I'm quite sure that the callibration and assembly is good. So I will put the the whole thing to ice and rather print single color and glue it together.
EDIT: Just noted about the wrong MMU2 alignment in firmware 1.0.3 https://shop.prusa3d.com/forum/general-discussion-announcements-and-releases-f53/firmware-1-0-3-for-the-mmu2-unit-t26512-s20.html#p121664 Downgraded the firmware and will give it one more try. It seems that Prusa is working against us 😯
Re: Still zero successful prints
.... It seems my kind of problem is related to the heatbreak of the mk2.5. I will probably try to install the extruder from my MMU1, I've never used it and some forumers say it's the same as the mk3.
The MMU1 heatbreak is bit wider than the MK2.5 one. I was trying both and with the MMU1 you will get jams when printing smaller models with lot of retractions. The fillament gets pulled back too hot and it cools down in the wider heatbreak. Then it can't be pushed back to the nozzle or pulled back out of the hotend and you will have to disasemble the whole thing.
Re: Still zero successful prints
Hey all,
I have been following this thread since I received the MMU 2.0 kit in November time. For background, I have an MMU 1.0 kit and this never really worked in my opinion - always clogged and a total waste of time. I do appreciate some people got it working though, but I wasted hours and hours trouble shooting and only got 1 successful print.
Anyways I persevered with MMU printing and bought an MMU 2.0 kit. At first I thought, this was the same and I couldn't get any prints to be successful until I found this post.
I wanted to detail what I did so other users can piggy back off this and potentially not waste as much time as I did trouble shooting. Here is a list of
- Change all PTFE tubes in the entire assembly from 2mm ID 4mm OD to 2.5 mm ID and 4mm OD. This includes the PTFE tubes in the extruder, the filament sensor cap, the long bowden tube connecting the MMU and extruder assemblies, the 5 tubes in the front of the mmu, the five tubes at the rear of the MMU and the single tube in the mmu selector where the finda sensor sits. I have also cut the length of the rear ptfe tubes to 50mm and they just provide a guide. I aim to complement this with the modification discussed next....
- Removal of the filament guide on the spool holder assembly. See attached photo. I tried the spool modification listed in the forum here: https://www.thingiverse.com/thing:3113520 but found it to offer no improvement. However, I am keen to try this modification as it will avoid the spaghetti jungle of filament noted in the attached photo: https://www.thingiverse.com/thing:3252111
- Adjust the tension of the sprung screws on the mmu unit. The instructions say to have it flush to sub flush and they do for a good reason. I found that prints would fail on retract or selection if they were too tight. Others noted this on the forum.
- Change the filament settings for PLA in the Advanced section in tool change parameters.
- Loading speed at the start from 3mm/s to 19 mm/s
- Loading speed from 14 mm/s to 22m/s
- Unloading speed at the start from 100 mm/s to 140 mm/s
- Unloading speed from 20 mm/s to 90 mm/s
- Number of cooling moves increased from 1 to 3
- Speed of first cooling move from 2mm/s to 20 mm/s
- speed of the last cooling move from 1 mm/s to 10 mm/s
- These settings are a bit up for debate but are generally in line with what most people report. I copied from at about 8 mins in. All other stuff in the video I found didnt help me but hey it worked for this dude.
- Has anyone got a link to potentially modifying settings for ABS or PETG? Testing with different materials is on my to do list.
Attached are a few photos of prints I have managed to get with these modifications. I have managed to get a 2 colour sheep , 2 colour benchie, 3 colour lizard and now I am 20 hrs into a 53 hr 4 colour adalinda dragon with no issues yet (fingers crossed). If successful I will try a few 5 colour prints and water soluble prints.
Thanks all who posted in this forum. It has been very useful and I hope I have repaid with the summary above.
Cheers,
Andy
Re: Still zero successful prints
Additional photos from last post that didnt seem to go through
Andy
Re: Still zero successful prints
- Change all PTFE tubes in the entire assembly from 2mm ID 4mm OD to 2.5 mm ID and 4mm OD. This includes the PTFE tubes in the extruder
I am very surprised that changing the PTFE in the extruder to 2.5 mm helped. Prusa actually went the opposite way and are using a 1.85 mm which is even smaller than the capricorn tubes. I was even thinking about getting a 1.80 mm one because I am using only high quality filaments with small tolerances. (problem is Verbatims BVOH though which has large tolerances)
Re: Still zero successful prints
It seems that al the bigger prints stop feeding filament at some point.....At this point the MMU2 is to unreliable to use and is more of an expensive gimmick....
👿
Re: Still zero successful prints
I did some progress since.
The only change I did was to use this mod https://shop.prusa3d.com/forum/general-discussion-announcements-and-releases-f53/mmu2-another-solution-for-layer-skipping-due-to-fi-t25334.html#p112798 and in settings increased cooling moves to 3 and load speeds to 19/21. Since than I print 4 prints 500+ changes each without any skiped layer or manual intervention.
Btw. I noticed that the MMU2 FW is quite poor not even homing properly (half times is about 1 mm off). Created ticket to address it: https://github.com/prusa3d/MM-control-01/issues/103 But I'm afraid that curently everyone in prusa is focused on SL1 and no one will do anything on MMU for some time...
Re: Still zero successful prints
I'm curious if you guys with successful prints are on MK3 or MK2.5. I know they're both "officially supported" but I haven't read of any success with 2.5 yet, at least with the stock heat break.
Re: Still zero successful prints
I'm curious if you guys with successful prints are on MK3 or MK2.5. I know they're both "officially supported" but I haven't read of any success with 2.5 yet, at least with the stock heat break.
I'm using MK2.5. You have to use the HB from the MK2 kit not from the MMU1. The later is bit wider and I got jams with it when printing something with a lot of consequent retractions. The material was pushed back to hot and cooled down in the wider HB and couldn't be pushed forward or pulled backward.
Re: Still zero successful prints
You have to use the HB from the MK2 kit not from the MMU1.
Well, the heat break from the MMU1 is the same as later Mk2 printers and all Mk3s, so that should be the one to use rather than the standard early Mk2 heat break.
Peter
Please note: I do not have any affiliation with Prusa Research. Any advices given are offered in good faith. It is your responsibility to ensure that by following my advice you do not suffer or cause injury, damage…
Re: Still zero successful prints
Well, the heat break from the MMU1 is the same as later Mk2 printers and all Mk3s, so that should be the one to use rather than the standard early Mk2 heat break.
Interesting...because with the MMU1 one I had problems to print even small parts single color....
Re: Still zero successful prints
Well, the heat break from the MMU1 is the same as later Mk2 printers and all Mk3s, so that should be the one to use rather than the standard early Mk2 heat break.
Interesting. I am using the heat break from my MK2 but I just received a MK3 heat break I ordered from Prusa. I look forward to seeing if it reduces my tip thickness. Sadly I gave away all my MMU1 parts, thinking I wouldn't need them anymore.
Re: Still zero successful prints
I'm curious if you guys with successful prints are on MK3 or MK2.5. I know they're both "officially supported" but I haven't read of any success with 2.5 yet, at least with the stock heat break.
I am using a mk2.5, Jeremy. I did order the MMU1 kit though so got the upgraded heat brake.
I have now finished my adalinda dragon there after 53 hours of printing and it looks good. However, I have noted that there is a bit of bleaching of other colours on the white portion of the print? I am assuming it is only on the white portion as it is more easily shown up there.
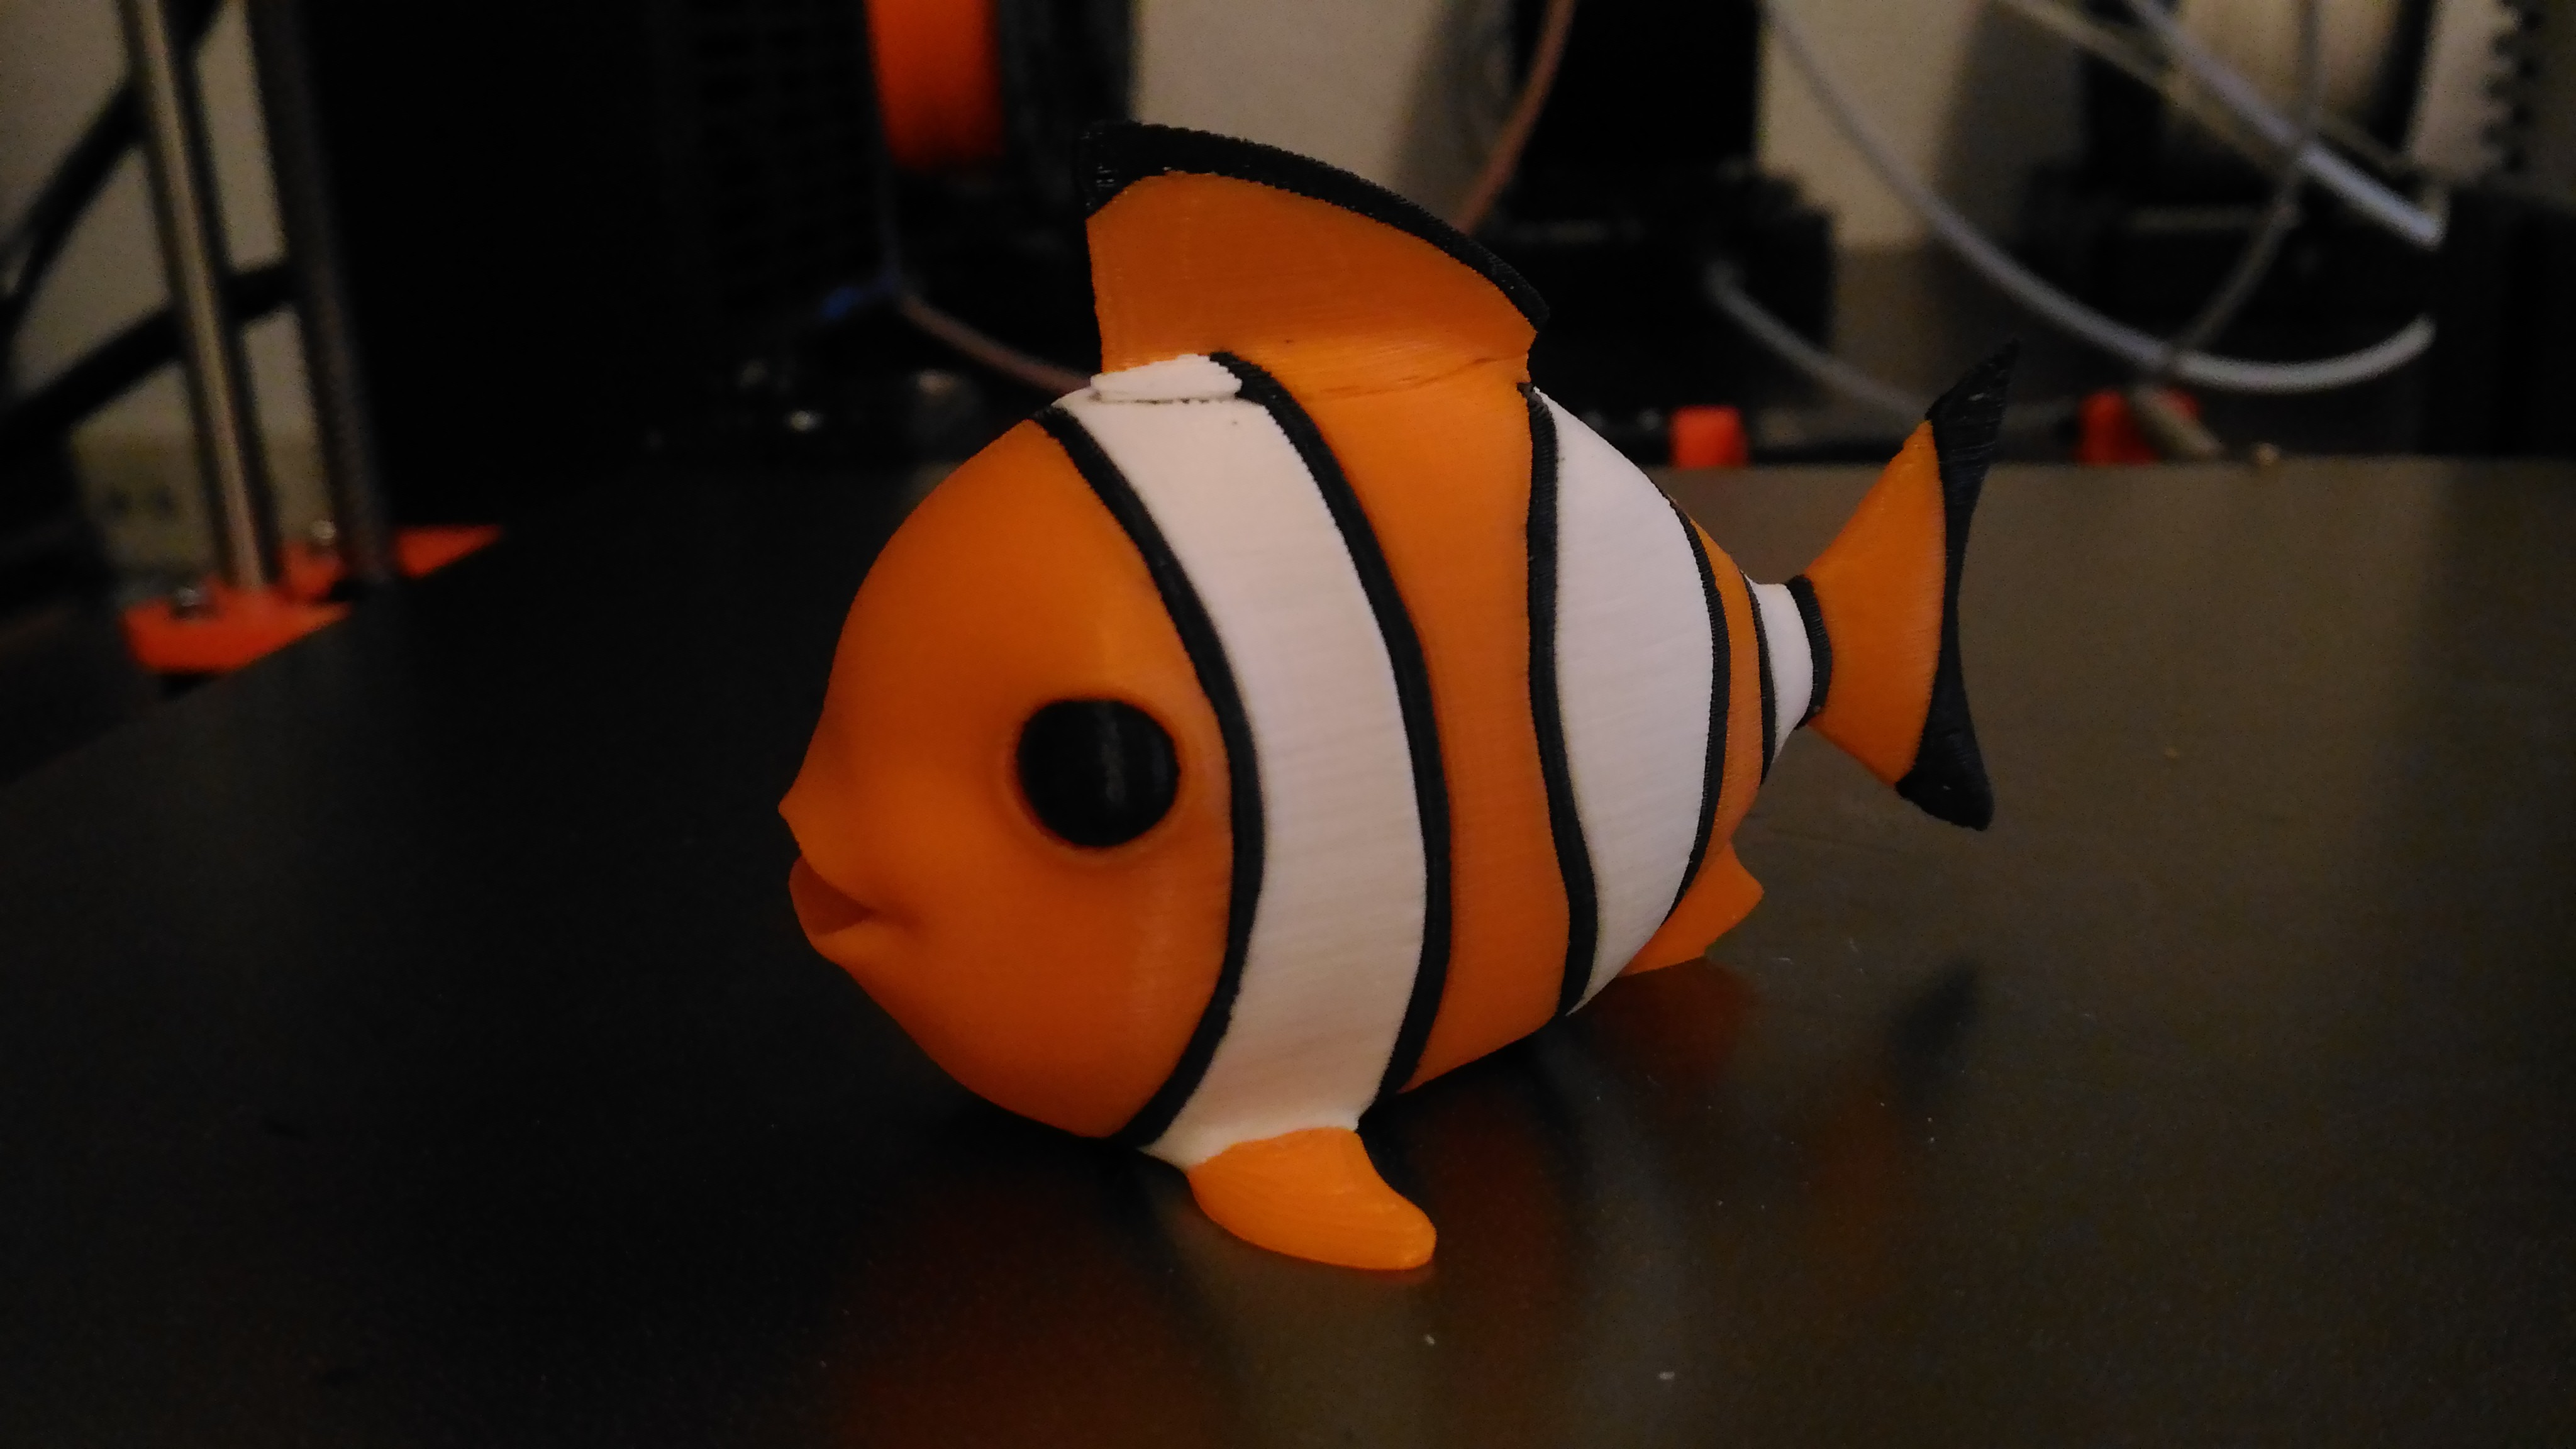
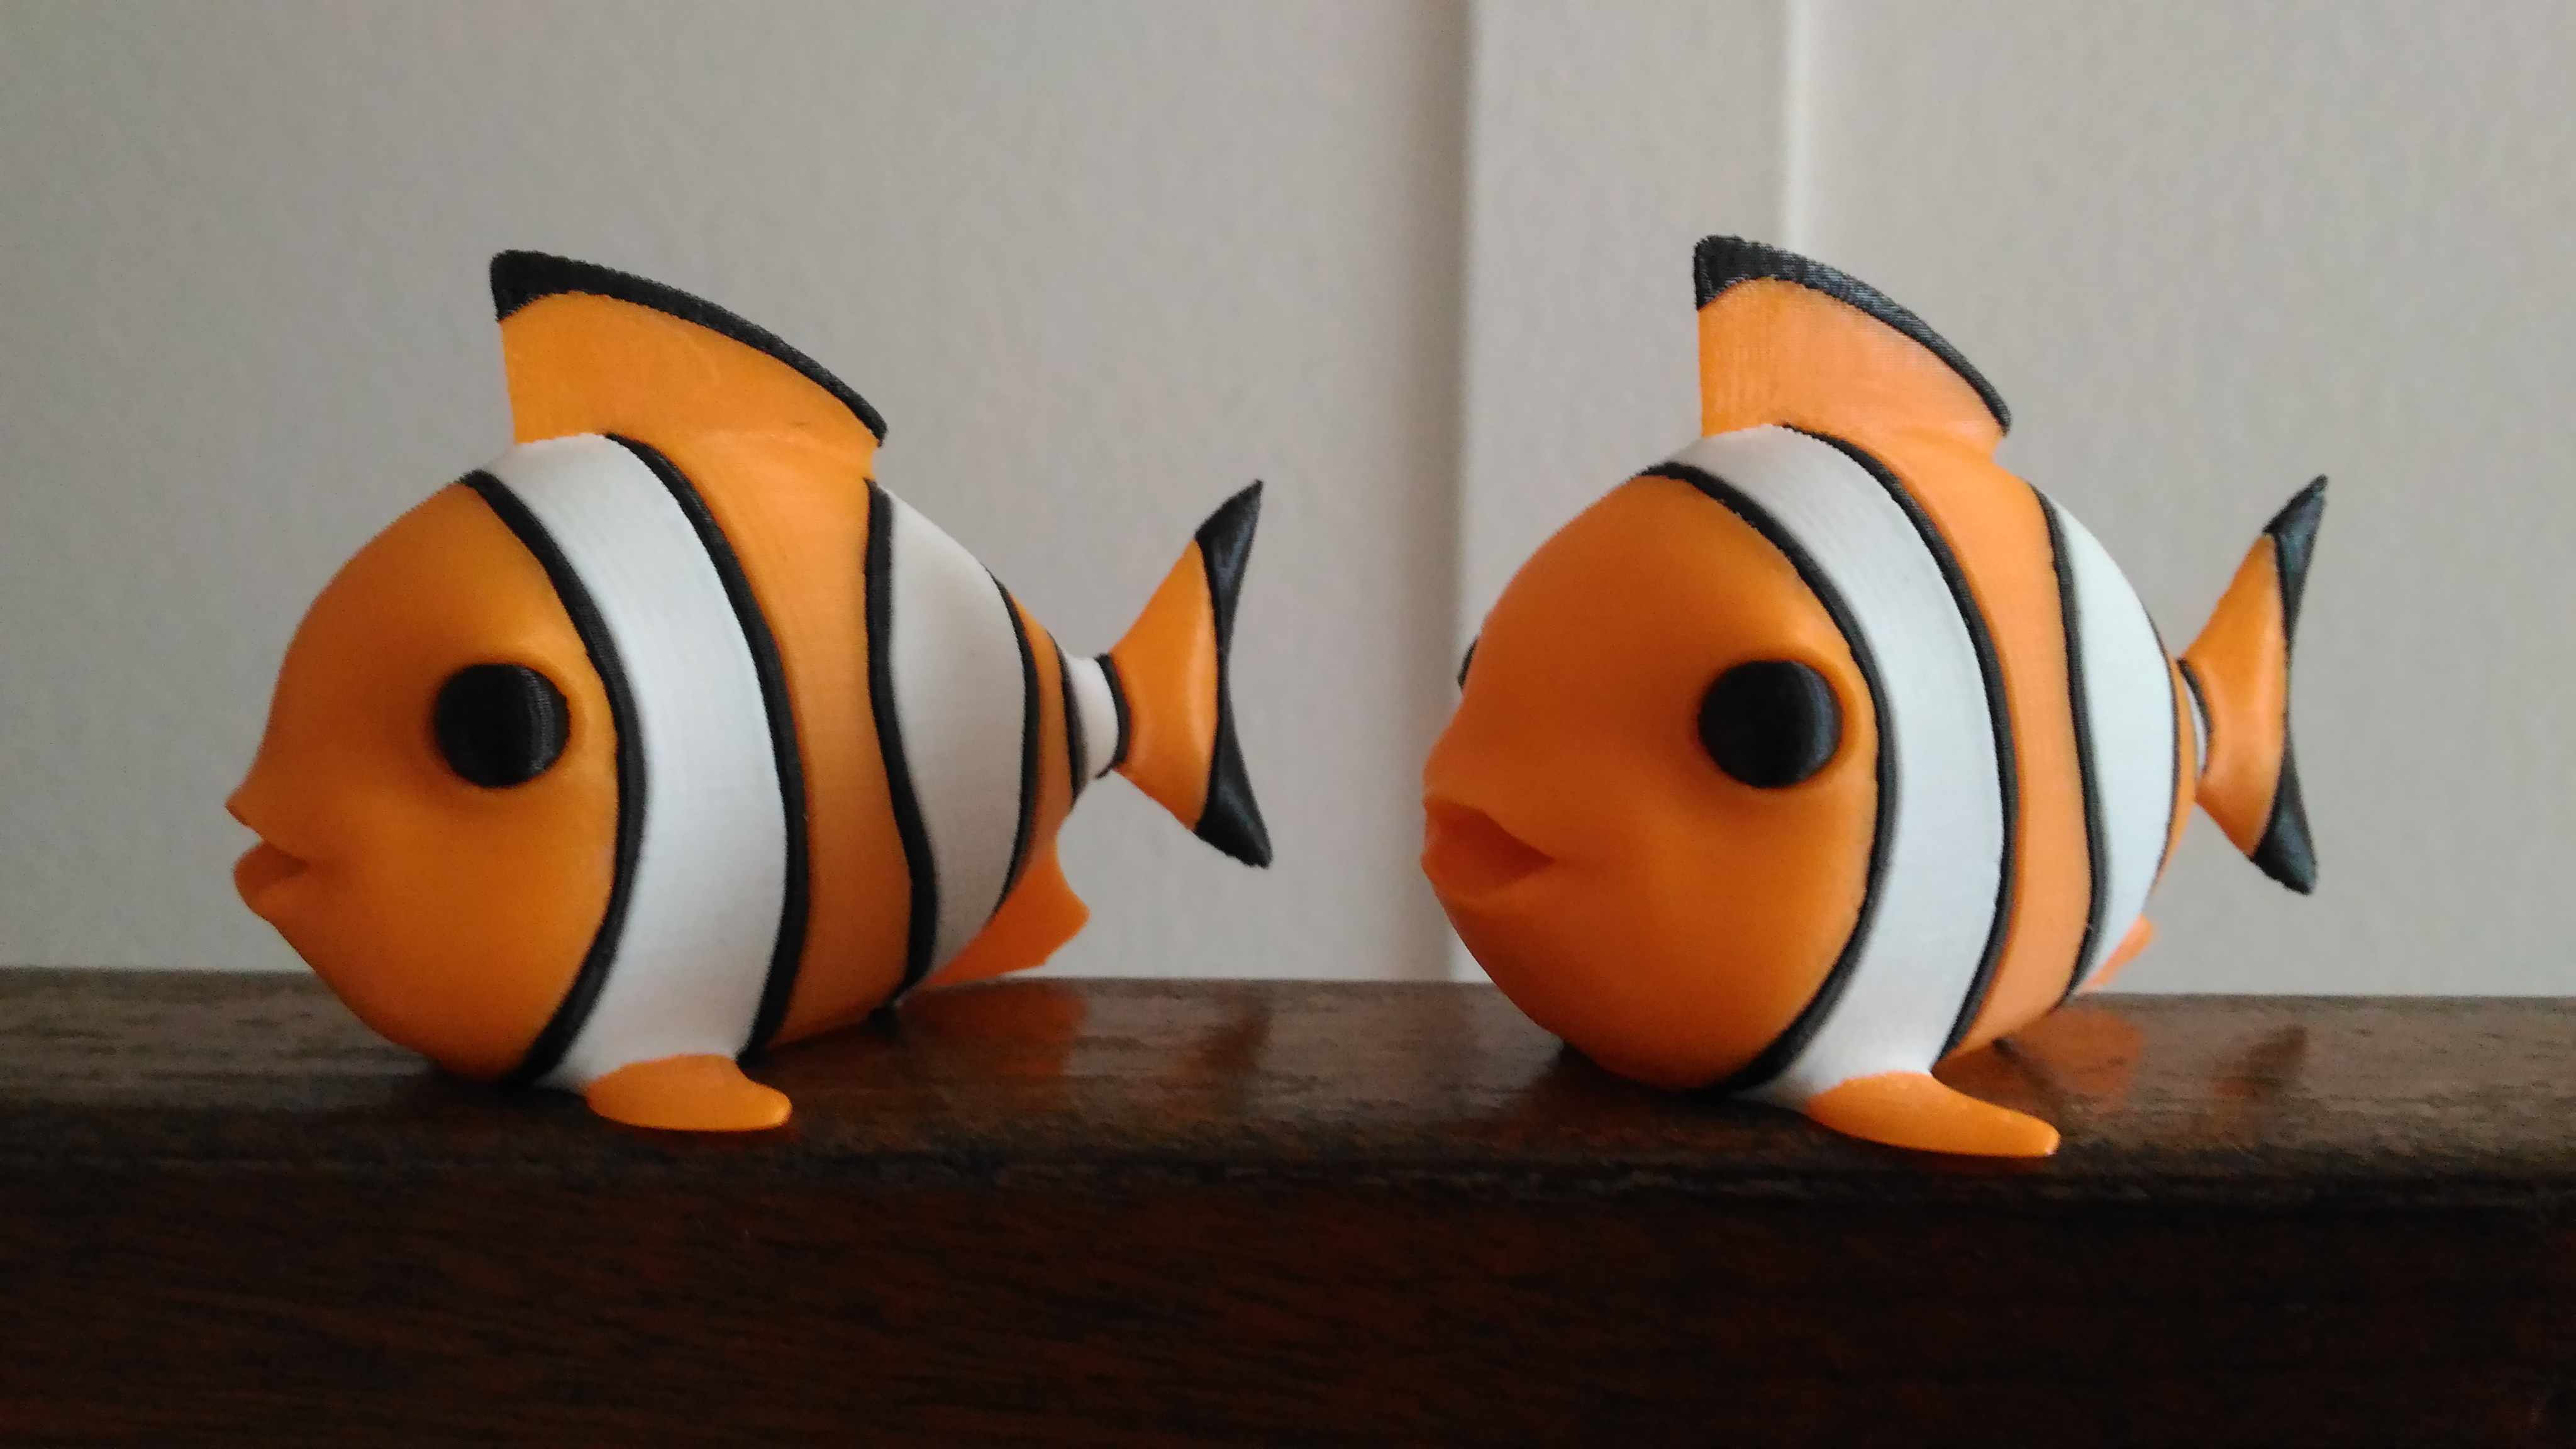
@Kolous, did you have any different colour come through on to the white portion of the clown fish you posted? They look really nice!
I have also noted that my purge structure tends to miss a few lines before it starts to extrude the new filament. Leads to patterns noted in the photo below - you can see it missed the first few lines as it changed from blue to white. Has anyone got suggestions on how to correct this? I believe this late extrusion is the reason why my white layers get slightly contaminated.
After lot of tweaking and many different failed prints I was able to get here:
P_20181231_092252.jpg
All together there was 440 color changes. Before I went to bed everything seemed OK but unfortunatelly one layer skipped. This is maximum I can do...I'm quite sure that the callibration and assembly is good. So I will put the the whole thing to ice and rather print single color and glue it together.
EDIT: Just noted about the wrong MMU2 alignment in firmware 1.0.3 https://shop.prusa3d.com/forum/general-discussion-announcements-and-releases-f53/firmware-1-0-3-for-the-mmu2-unit-t26512-s20.html#p121664 Downgraded the firmware and will give it one more try. It seems that Prusa is working against us 😯
Re: Still zero successful prints
...
😆 Thanks. Need more of those 😀
Often linked posts:
Going small with MMU2
Real Multi Material
My prints on Instagram
Re: Still zero successful prints
😎 😆
Thomas
Re: Still zero successful prints
Very very good ! 😆 I love it !!
By the way, I'm now printing flawlessly with my mk2.5+MMU2 since I've replaced my MK2 extruder with the MMU1 one (mk3 heatbreak). I'm talking about it here https://shop.prusa3d.com/forum/hardware-firmware-and-software-help-f56/success-how-i-resolved-my-mmu2-issues-mk2s-gt-mk2--t27173-s10.html if you want to have a look
My youtube channel about the Prusa I3 MK2 https://www.youtube.com/channel/UCz-zQZcKcvEDdd9C9hOKYWg
Re: Still zero successful prints
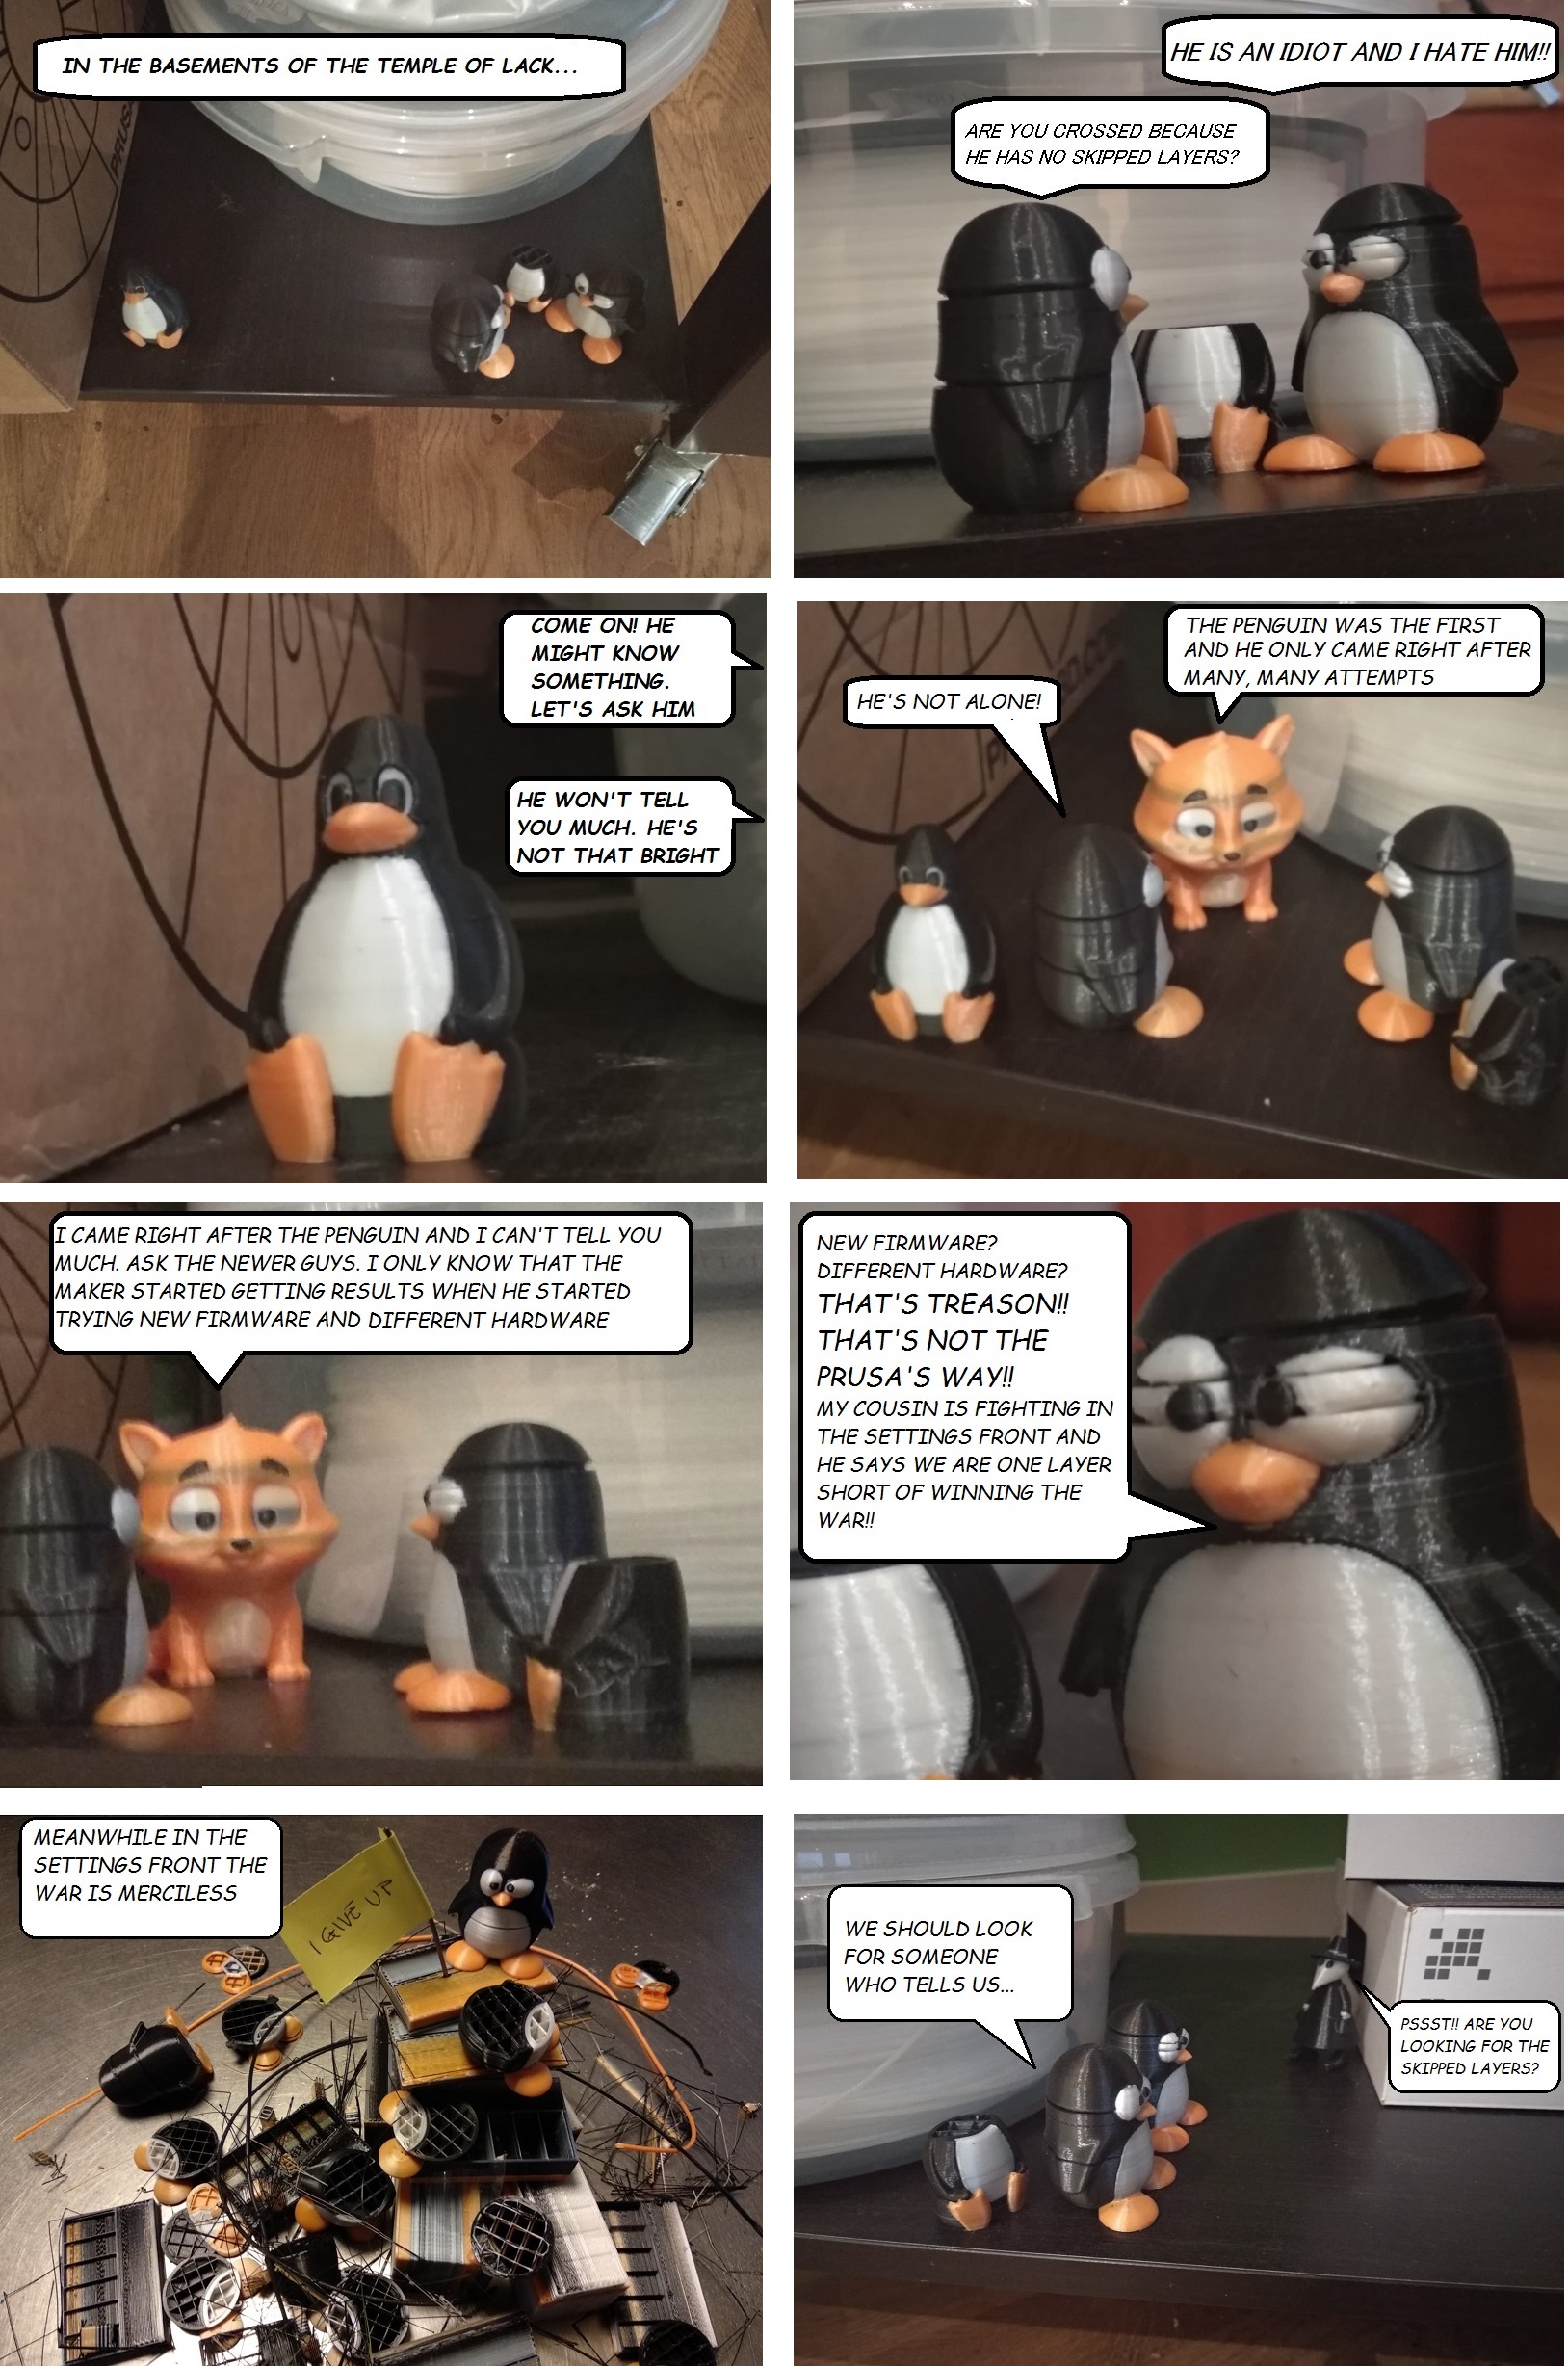
pagina1.jpg
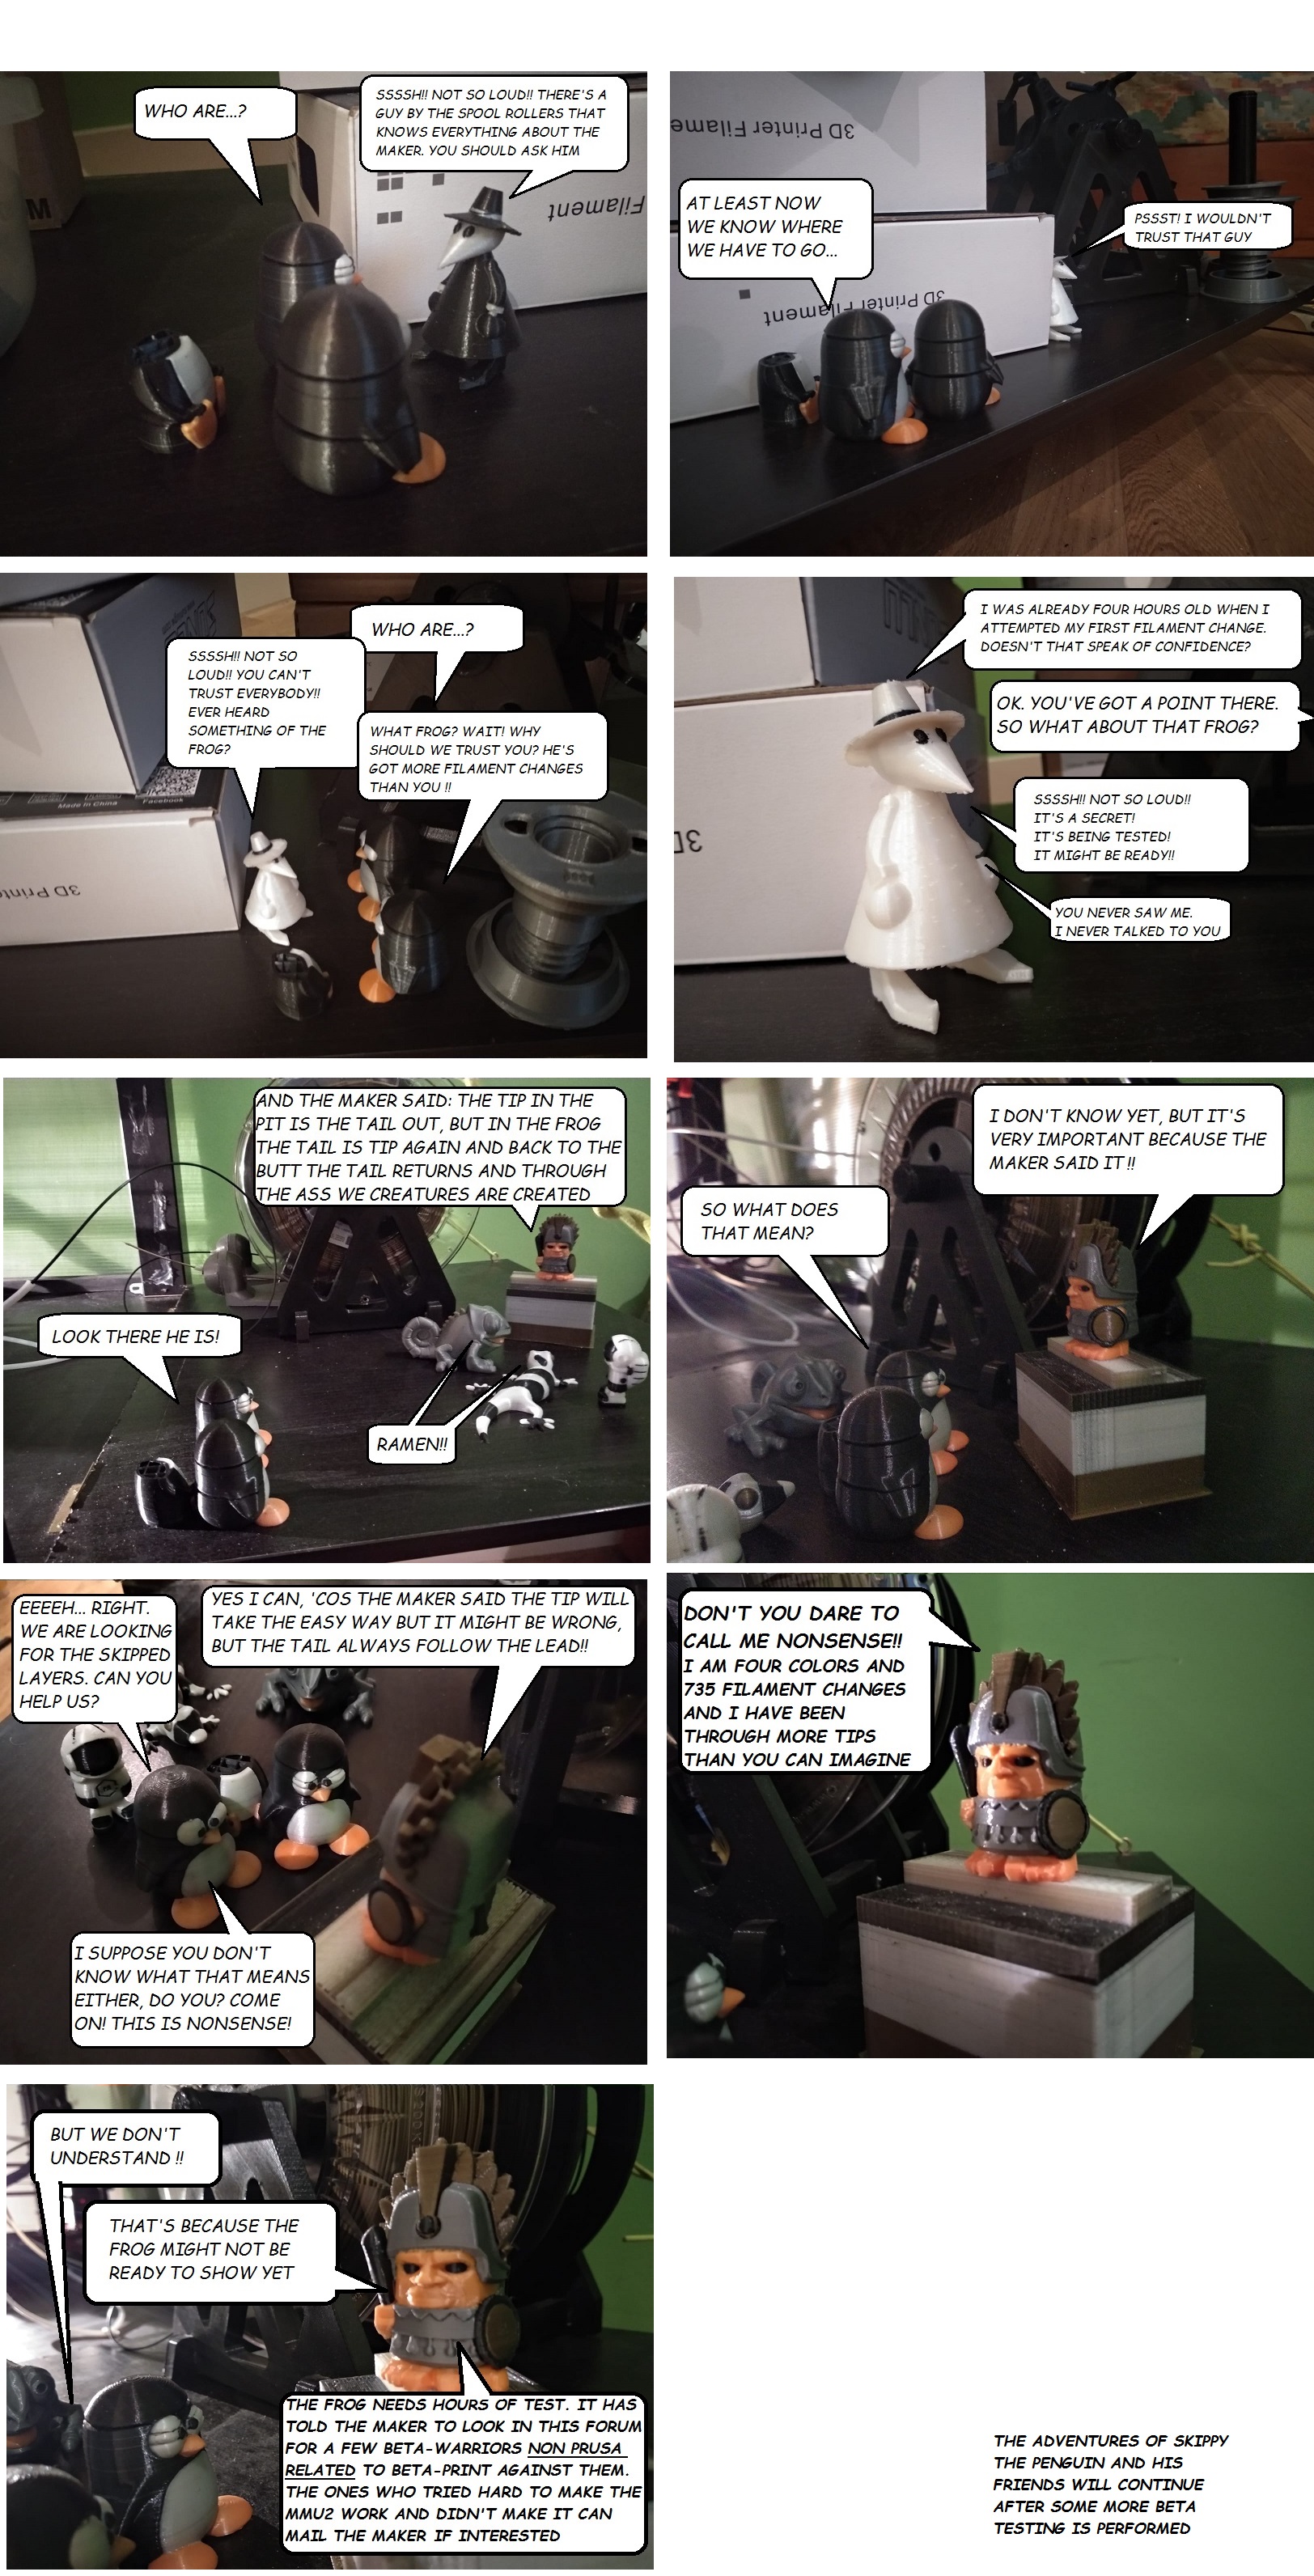
pagina2.jpg
funny stuff. 😀
I have a Prusa,therefore I research.


