Prusa i3 MK2S :: Take II :: Some Conclusions
Prusa i3 MK2S :: Take II :: Build Conclusions
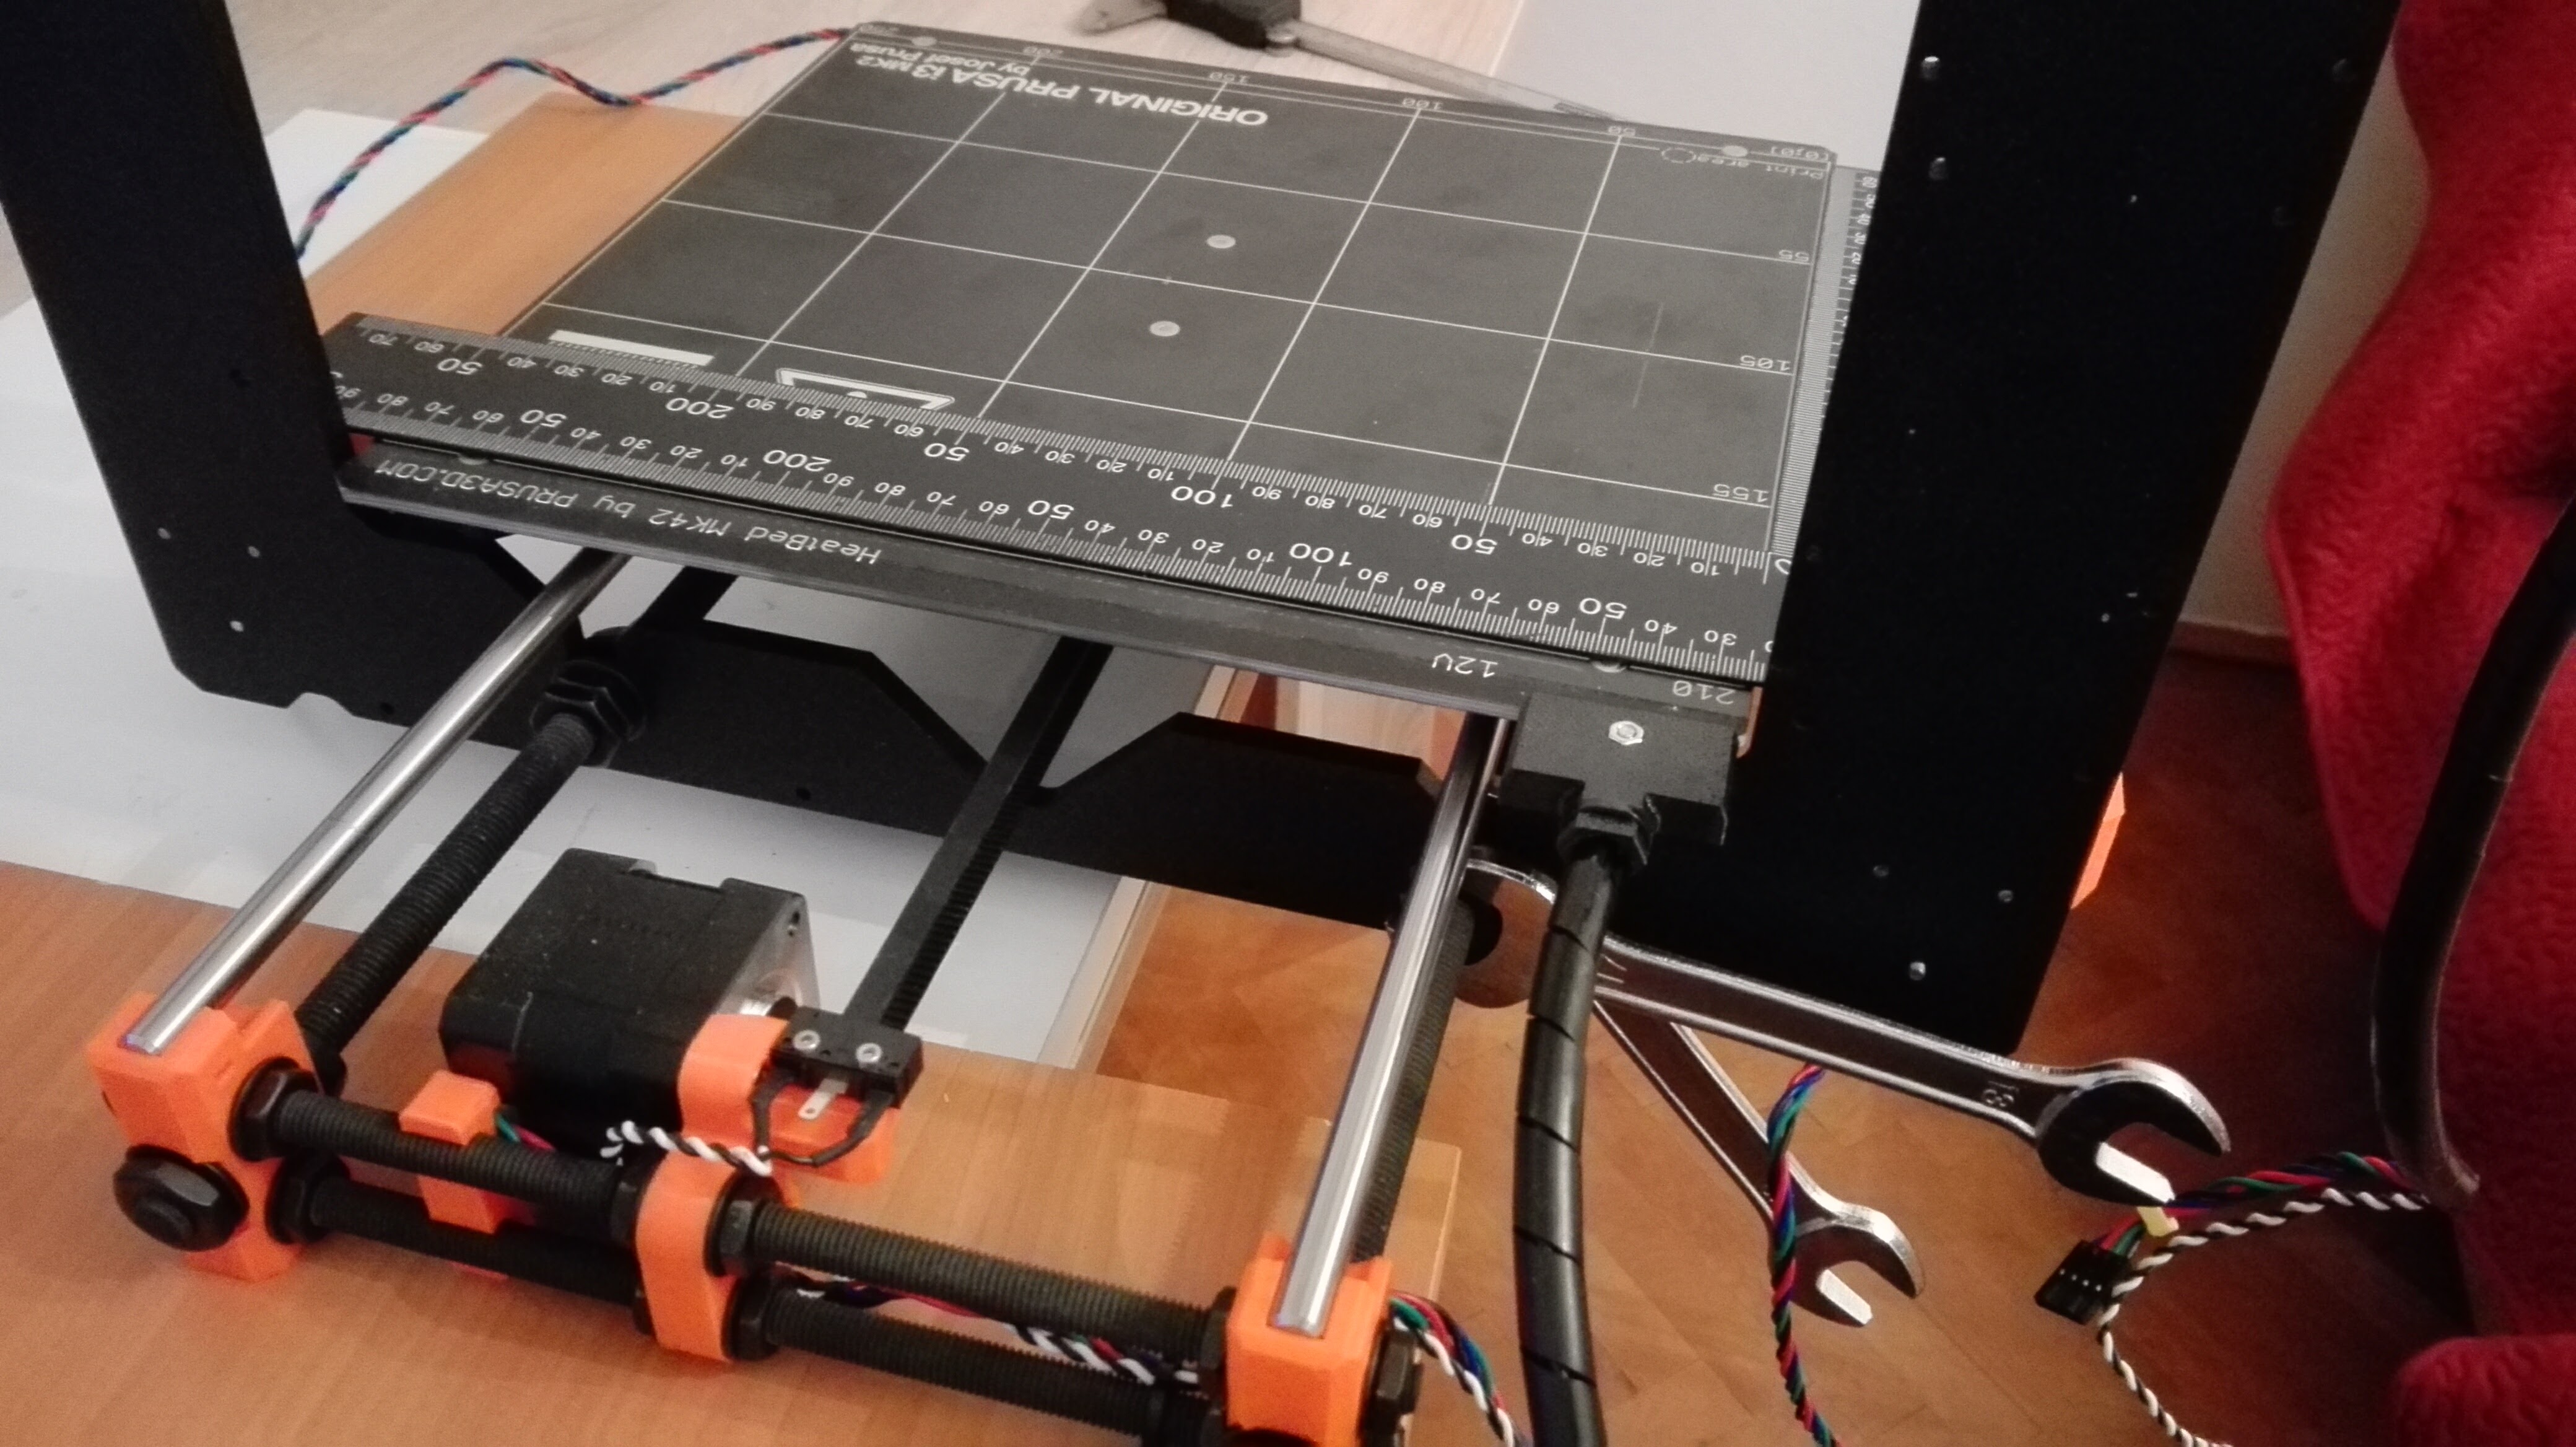
I thought I will find a repetable and comfortable and gentle way of building the MK2S and tried putting it on boxes, ZPlate up so that you get easy access to both the calibration lines on the bed and the nuts mounting the ZPlate to the YRods.
Long story short: even if there are easier ways to put the printer together, like the one mentioned above, the calibration is more difficult than one would think. I had to eventually place the printer in its normal position and access the under-bed nuts by pulling it past the side of the desk and, because I alternatively adjusted ZPlate position with the under-bed nuts so it is parallel/perpendicular to the grid on the bed and also adjusted the elevation of the ZPlate by lowering one corner away from the initially-bottomed YRod, so that the bed ends up level with X, I would loose some of the former adjustment.
After some tries I ended up with the following process:
1) adjust distance of the ZPlate from back foots / check squareness with the grid on the bed
2) measure distance from top of plate to bed / tap one corner of the ZPlate with hammer and a thick rubber pad to protect the aluminum until both left and right distances were in the 0.2-0.3mm difference ballpark
3) Fasten the nuts a little bit more and Re-Check ZPlate is square to the grid, if not GoTo Step 1 🙂 and Repeat the whole thing until satisfied.
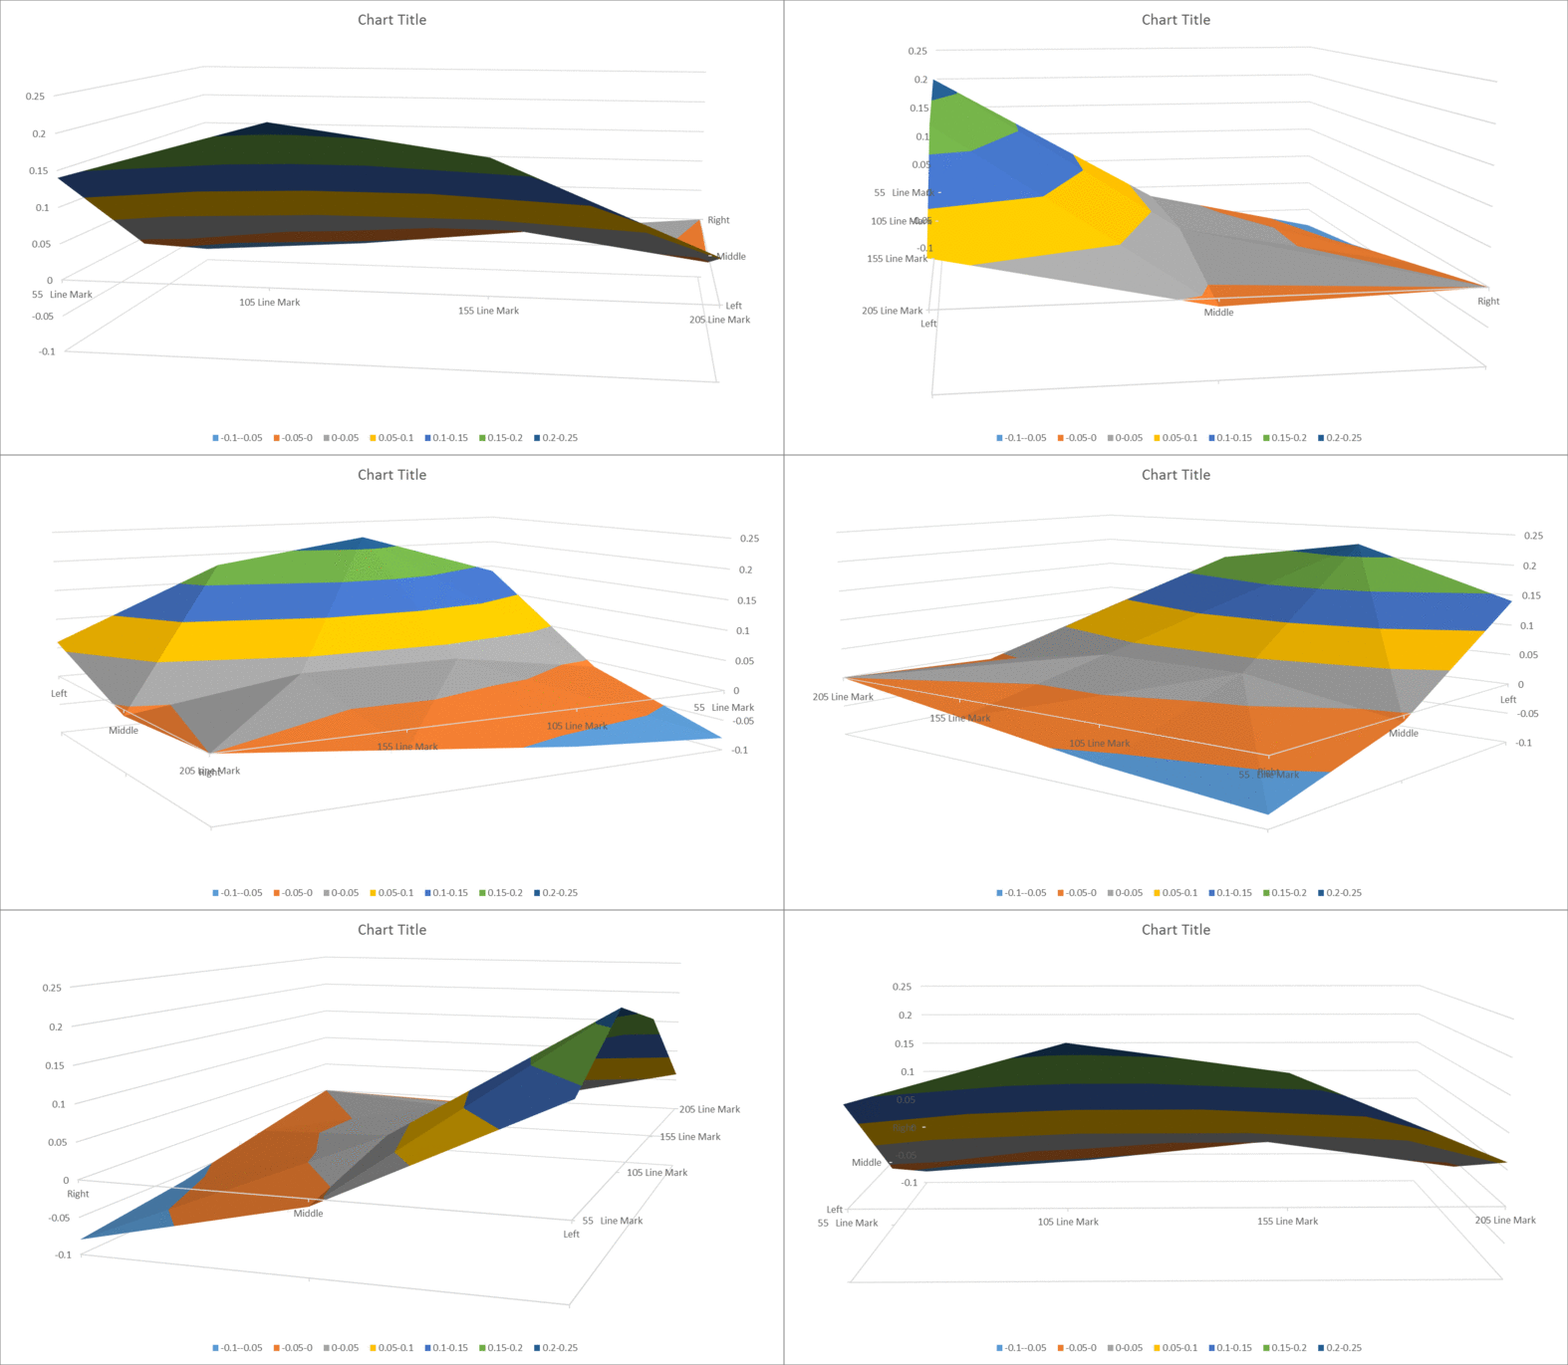
After 3-4 such iterations I ended up with a good matrix you can see in the attached pics.
I am quite worried about the three largest values that would imply that the bed is bent in that corner and in a quite substantial way (0.2, 0.3mm isn't a small deviation). And there isn't really a way to pull that corner down.


