Re: How to improve this print?
Um, you shouldn't really put dampers on the base of the printer that isn't firm like rubber or felt. It will actually increase resonances to travel in skew possibly whacking your printer out of true. Why Prusa thought a parallelogram held square with friction against an inherently flexible plastic with questionable dimensional accuracy is beyond me, but anyway you want the printer on a perfectly flat and strong surface such as glass, granite, concrete, wood, metal, anything flat that doesn't flex. If you then choose to dampen the flat thing, go for it.
I put the entire thing on a yoga mat. Bad idea? I reprinted the cube and it looks the same except for the fact that the small cilinder is now dead center in the bigger hole.
Concerning your other remarks, I will check everything. The problem is also that this is my first 3d printer and I don't know what to expect quality wise from the prints.
Re: How to improve this print?
1. Belt is too slack. Tighten to "base E" as per Tom Sanladerer, or as close as you can, they should be tight enough to have noticeable spring.
I can play music on the belt, so I guess it is tight enough
2. Drive gears are loose (grub screws loose) or grinding on belt (not perfectly aligned with belt path).
These are fine too
3. Rods are not tight and right, did you remember to tighten gantry side screws for x-axis? Is there any play in Z-rods? Does your bed shift at all when rotated about it's center (aka yaw slack), up and down is not as important.
All is fine there. No bed shift when trying to rotate it around its center
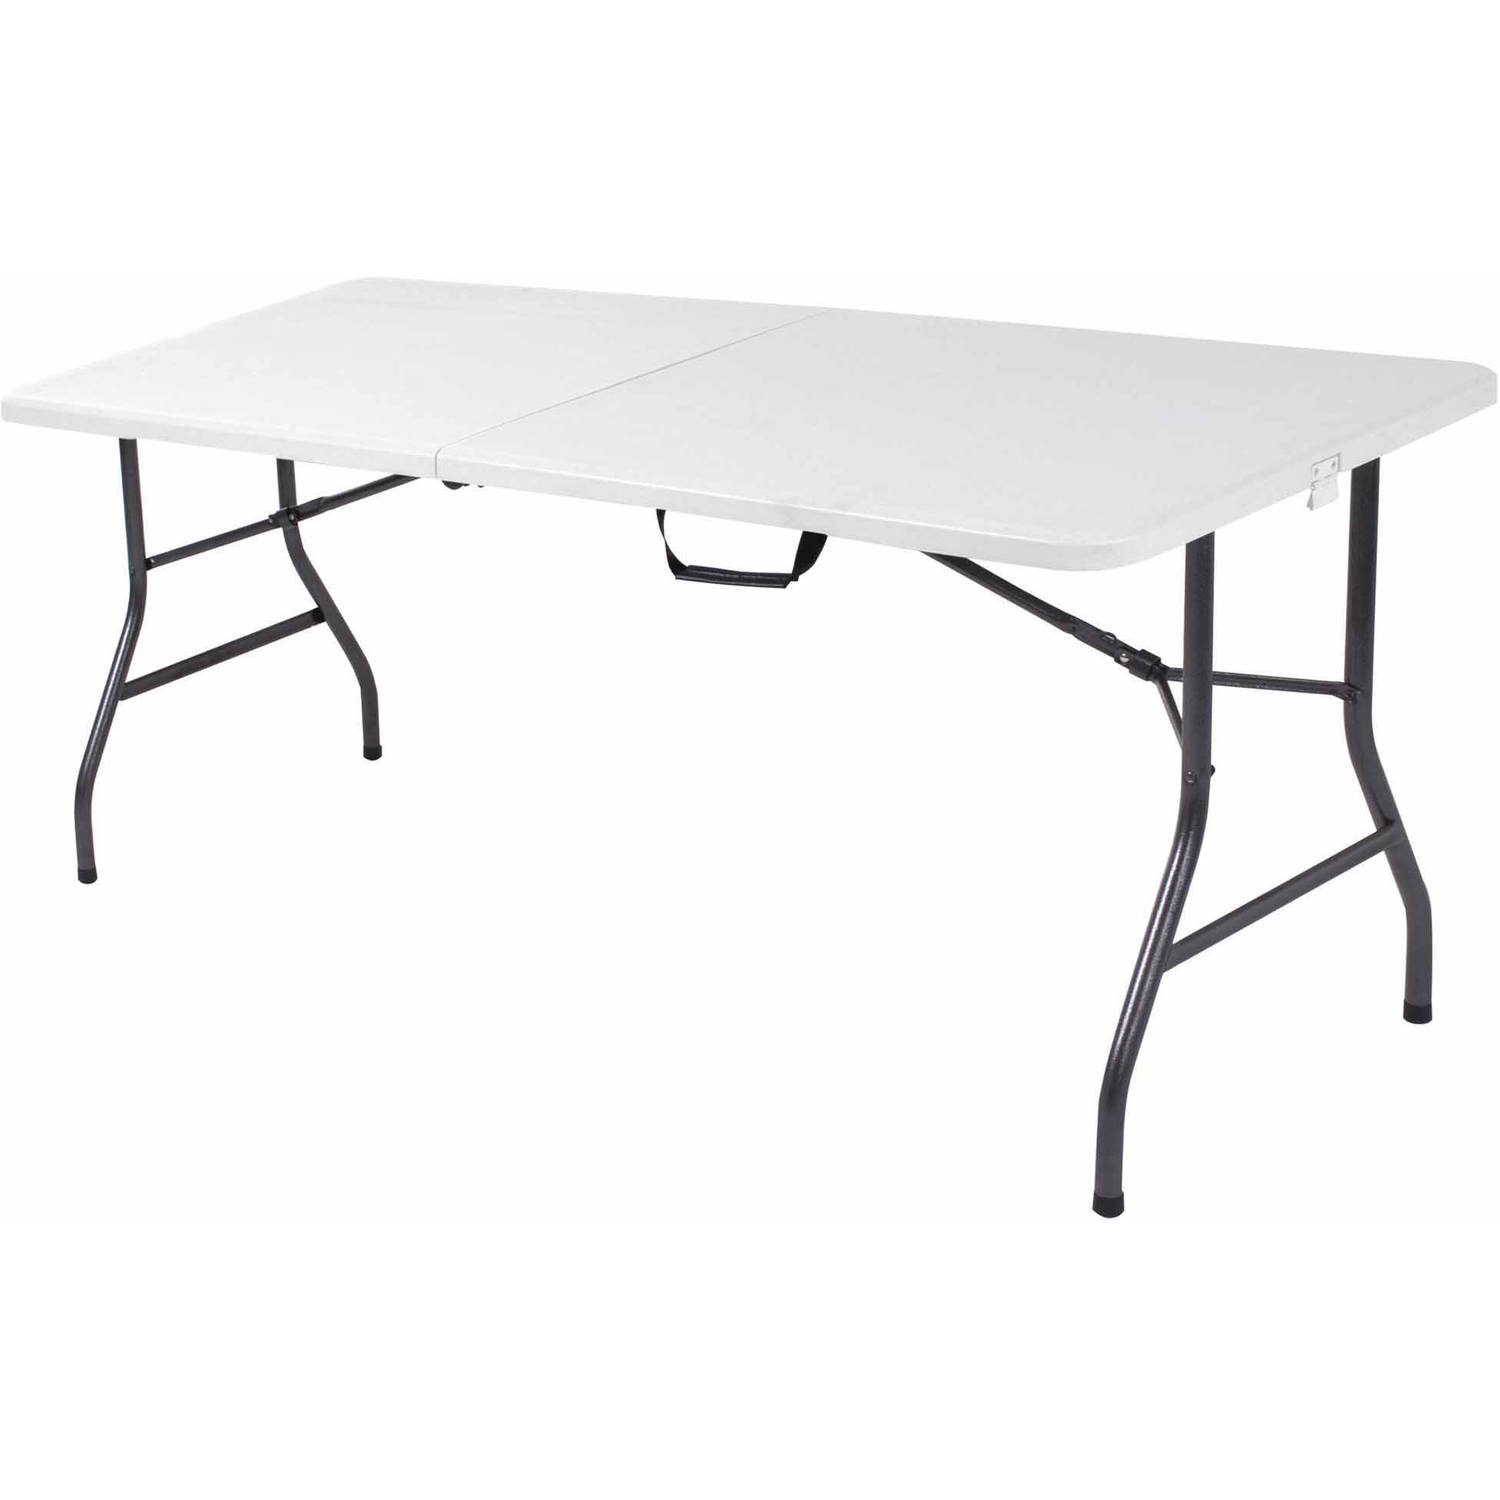
Maybe it's the table that's not stable enough. It's currently on one of these until my real table arrives next Wednesday:
Re: How to improve this print?
this is my first 3d printer and I don't know what to expect quality wise from the prints.
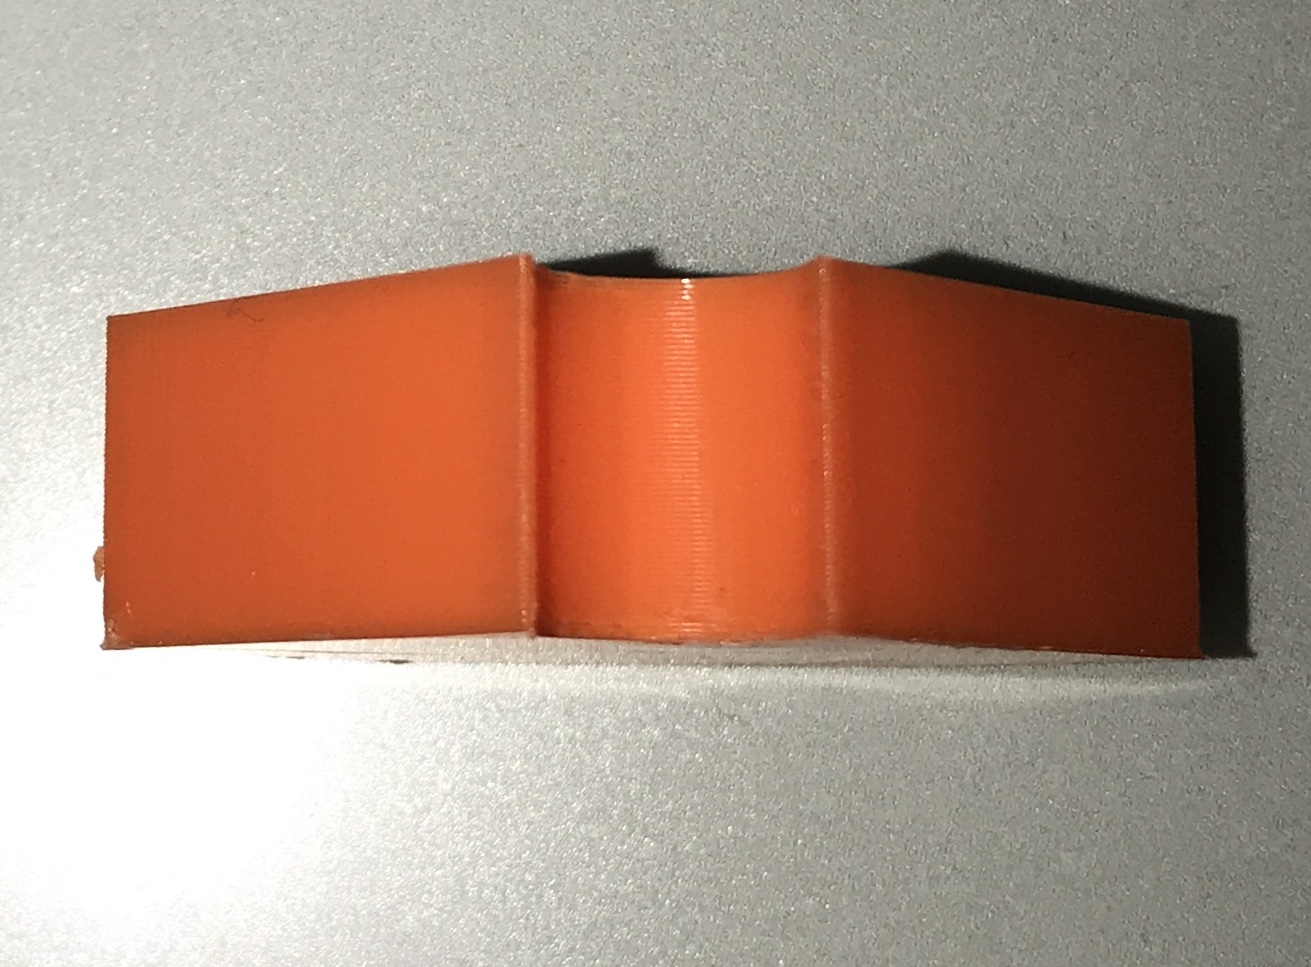
That's a similar object to yours which I've designed and printed with PLA, a corner protector for tables and it shows what quality to expect at least:
Your first model looks like under extrusion to me, to combat this you can put some oil or greas on the bearing of the spool holder so the roll spools smoother. Also try to find the right settings for the little screws with the springs on the extruder (my distance is 4.7mm but still not 100% happy) and check that the part can move freely with a screwdriver or something, pushing it 1mm back should require only very little force. Also try with different filament, maybe this one is just of bad quality or there are nasty twists in the filament which prevent a smooth spooling. I had this problem once with a spool and all prints looked like yours with gaps in the layers.
Also from own experience with the MM upgrade: take extra care to place the PINDA perfectly and check that all PTFE tubes are placed correctly without gaps, in the Multiplexer and on the extruders where those silver-blue tube-connectors are placed. I haven't read the instruction carefully enough and have pushed the PTFE on one extruder almost too far in but it should be "pushed" in by screwing in the silver-blue connector. Lastly also check that the small metallic tubes are placed correctly inside the Multiplexer, according to some comments this posed problems for other Makers.
The testcube you printed though... I don't know what might cause this jittered corner edge other than something mechanical, that's supposed to be a straight line similar to the object above. I would start debugging this by running a full XYZ Calibration and then check the "XYZ cal. details" page on the LCD. It's well hidden under "support" and then scroll all the way down, it's the last line. Please report the values for Y Distance and Measured Skew, maybe the problem becomes more obvious then 😉
For bed adhersion I found my perfect combo by first cleaning the bed with Glass Cleaner and a paper towel, then put some "3DLack" on it, basically hairspray optimized for printing (only activates if bed is heated). It's not necessary for PLA to put Lack on the bed but the cleaning part is, sweat from hands is a killer for adhersion and I seldom manage to get a part off without touching the bed.
Hope this helps 😉
cheers
raphael
Re: How to improve this print?
That's a similar object to yours which I've designed and printed with PLA, a corner protector for tables and it shows what quality to expect at least:
20171026_203037.jpg
Good to know!
Your first model looks like under extrusion to me, to combat this you can put some oil or greas on the bearing of the spool holder so the roll spools smoother. Also try to find the right settings for the little screws with the springs on the extruder (my distance is 4.7mm but still not 100% happy) and check that the part can move freely with a screwdriver or something, pushing it 1mm back should require only very little force. Also try with different filament, maybe this one is just of bad quality or there are nasty twists in the filament which prevent a smooth spooling. I had this problem once with a spool and all prints looked like yours with gaps in the layers.
Yeah this is my biggest gripe with this MM upgrade. Feeding the filament has become a lot more complicated / error prone. Didn't expect this hurdle (didn't really look into it either up front tbh ...). I also had the filament loading process. It seems the holes should be a little bit bigger to make loading a new filament spool a lot easier, because if you fail and it misses the hole after the extruder motor, the device thinks the filament is loaded and you can't simply retry, no you have to "unload" which you can't without preheating the printer ... If those holes were a bit bigger and conical it would be a lot easier to feed bent filament in (and they are all bent because of the spool). Wonder if I should try making my own version of that part.
I filed down the top and bottom of the part that should move freely as it was rubbing against the plastic when installed, so that should be ok.
It's also hard to tune the idler so that it doesn't deform the filament too much. I don't know if you tested loading and unloading, but can you get to a point where there is absolutely zero impressions on the filament?
Also from own experience with the MM upgrade: take extra care to place the PINDA perfectly and check that all PTFE tubes are placed correctly without gaps, in the Multiplexer and on the extruders where those silver-blue tube-connectors are placed. I haven't read the instruction carefully enough and have pushed the PTFE on one extruder almost too far in but it should be "pushed" in by screwing in the silver-blue connector. Lastly also check that the small metallic tubes are placed correctly inside the Multiplexer, according to some comments this posed problems for other Makers.
I have an upgraded MMU, there are no small metallic tubes to be installed separately. All those bowden connectors were preinstalled in the factory. It's become (imo) impossible not to install the tubing correctly now.
The testcube you printed though... I don't know what might cause this jittered corner edge other than something mechanical, that's supposed to be a straight line similar to the object above. I would start debugging this by running a full XYZ Calibration and then check the "XYZ cal. details" page on the LCD. It's well hidden under "support" and then scroll all the way down, it's the last line. Please report the values for Y Distance and Measured Skew, maybe the problem becomes more obvious then 😉
I'm currently blaming my table. If you lean on it with your forearm it also bends a little (not that I do that while printing), just to show you how stable it is. I am not going to investigate this further until I can do a print on a solid table somewhere next week. Then I'll recalibrate and get back on the values you talked about. No use in tinkering with stuff if the base (and you can take that literally in this case) is not ok.
For bed adhersion I found my perfect combo by first cleaning the bed with Glass Cleaner and a paper towel, then put some "3DLack" on it, basically hairspray optimized for printing (only activates if bed is heated). It's not necessary for PLA to put Lack on the bed but the cleaning part is, sweat from hands is a killer for adhersion and I seldom manage to get a part off without touching the bed.
I have absolutely no adhesion problems. I always print a brim if there is a small surface area. Only had issues previously with PETG warping at the corners and that was solved by increasing the bed temperature
Hope this helps 😉
It's appreciated. 🙂
Re: How to improve this print?
Didn't expect this hurdle (didn't really look into it either up front tbh ...).
yeah I also only realized that I am turning my Direct Drive into a Bowden when I actually began with the upgrade. Initially I was worried to say the least but now it works quite well, I like in particular how silent and smooth the print head is without a stepper attached to it, I also like the print results much better.
I also had the filament loading process. It seems the holes should be a little bit bigger to make loading a new filament spool a lot easier, because if you fail and it misses the hole after the extruder motor, the device thinks the filament is loaded and you can't simply retry, no you have to "unload" which you can't without preheating the printer ... If those holes were a bit bigger and conical it would be a lot easier to feed bent filament in (and they are all bent because of the spool). Wonder if I should try making my own version of that part.
completely agree, happened to me several times too and it's why not getting thrown out of the "Unload" Screen is near the top of my wishlist for an UI update. I also wasn't impressed with the overall print quality of the extruders, lots of stringing which I had to cut and file away, something I would've expected to be done in the factory (given that it took them 5 months to deliver it, scnr :D).
It's also hard to tune the idler so that it doesn't deform the filament too much. I don't know if you tested loading and unloading, but can you get to a point where there is absolutely zero impressions on the filament?
Nope I can't, that's why I wrote that I'm not quite happy yet with the settings, filament gets grinded up a bit. Does not impact print quality as far as I can tell but it's something I didn't experience on the Non-MM version.
I have an upgraded MMU, there are no small metallic tubes to be installed separately. All those bowden connectors were preinstalled in the factory. It's become (imo) impossible not to install the tubing correctly now.
lucky you 😉 Although I only received my kit end of September I still had the old version. So that's no issue then.
I'm currently blaming my table. If you lean on it with your forearm it also bends a little (not that I do that while printing), just to show you how stable it is. I am not going to investigate this further until I can do a print on a solid table somewhere next week. Then I'll recalibrate and get back on the values you talked about. No use in tinkering with stuff if the base (and you can take that literally in this case) is not ok.
I have no experience with printing on such unstable surfaces but it's not hard to imagine that it might impact the print, especially when not printing in Silent mode and stronger forces are applied. Do you see the table jitter or move when printing? But it sure is a good idea to wait for a more solid table and then run XYZ cal, this should point you in the right direction. Please let us know if you could solve the problem and how 😉
[EDIT]: one last thing: have you already printed with all 4 extruders and do you get the same poor results with all of them or only with some? If the latter, than it's not the table - most likely 😀
Re: How to improve this print?
That's the next step (or one of the next steps): printing the cube with each extruder.
Re: How to improve this print?
I actually forgot about this.
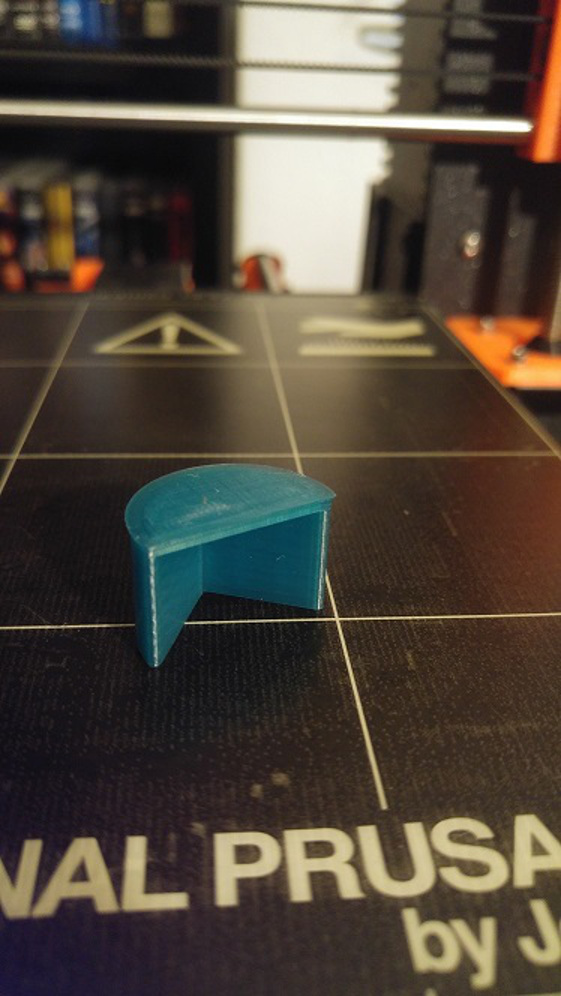
This is one of those anti vibration feet I printed before converting my printer to MMU. Same brand of filament, different color.
Must say the difference is quite substantial.
Joris - those feet should be printed without top/bottom layers and zero infill, so you end up with just the perimeters.
They work even better, but do need replacing every couple of months.
Peter
Please note: I do not have any affiliation with Prusa Research. Any advices given are offered in good faith. It is your responsibility to ensure that by following my advice you do not suffer or cause injury, damage…
Re: How to improve this print?
Ah ok 🙂
It was to show that that object doesn't exhibit the issues the green cube has.
btw the problems with the cubes, could it have something to do with filament cooling?
Re: How to improve this print?
The green prints show inconsistencies in X or Y, most likely belt or grub screw problem which you have already checked.
Could also be a filament feed issue (spool/badly would) or a filament diameter variation.
The A/V foot looks very nice.
Peter
Please note: I do not have any affiliation with Prusa Research. Any advices given are offered in good faith. It is your responsibility to ensure that by following my advice you do not suffer or cause injury, damage…
Re: How to improve this print?
I'm printing the cube now with the orange filament I used for the foot.
Re: How to improve this print?
I really don't think dampers are your problem, or the table quite frankly, that is more for long term stress causing skew. I've tested printing with the printer on three feet, no difference on small print sizes. So, no. It doesn't matter except for noise and long term stress gradually causing skew. Your examples point to moving parts not performing as it's peers. Filament feed can mess up lots of things but it usually results in messy surface quality not entire layers shifting as you have. I had a print that spat out a blob that had accumulated until half print, it was the size of a ball bearing. It lodged itself right smack on an outer wall. The printer jumped, made a loud thunk sound then just kept printing, no skip, no shift, just a hump that gradually evened out after 5 or 6 layers. So, unless my printer is uniquely amazing or Prusa is distributing prototype AI logic in some customer printers, little extrusion issues can't cause what you are experiencing. Your printer is printing off target, this is belt slip, bad stepper, shifting bed, really sticky bearings, a loose V6 capture collar, or poorly assembled extruder head assembly.
Since the last one is the newest theory, give your hot end a wiggle first when cold, then when it is hot. If it moves, or the whole assembly rattles, you might have found your problem.
And condolences on your situation, that damper looks fantastic. Very sorry.
MK2S kit owner since 8/15/2017
Re: How to improve this print?
I tightened all the screws and printed the cube with the orange I used for the feet. Did it on extruder 2 though. Now printing again with the green on extruder 1, and will probably print the orange on extruder 1 after that to compare.
Re: How to improve this print?
Good luck!
----------------------------------------------
PRUSA MK2
- Noctua fan 40mm
- MK2/MK3 hybrid extruder
Re: How to improve this print?
Seems to be better now. On to the next issue ... 😀


