Scratched MK52 magnetic heatbed
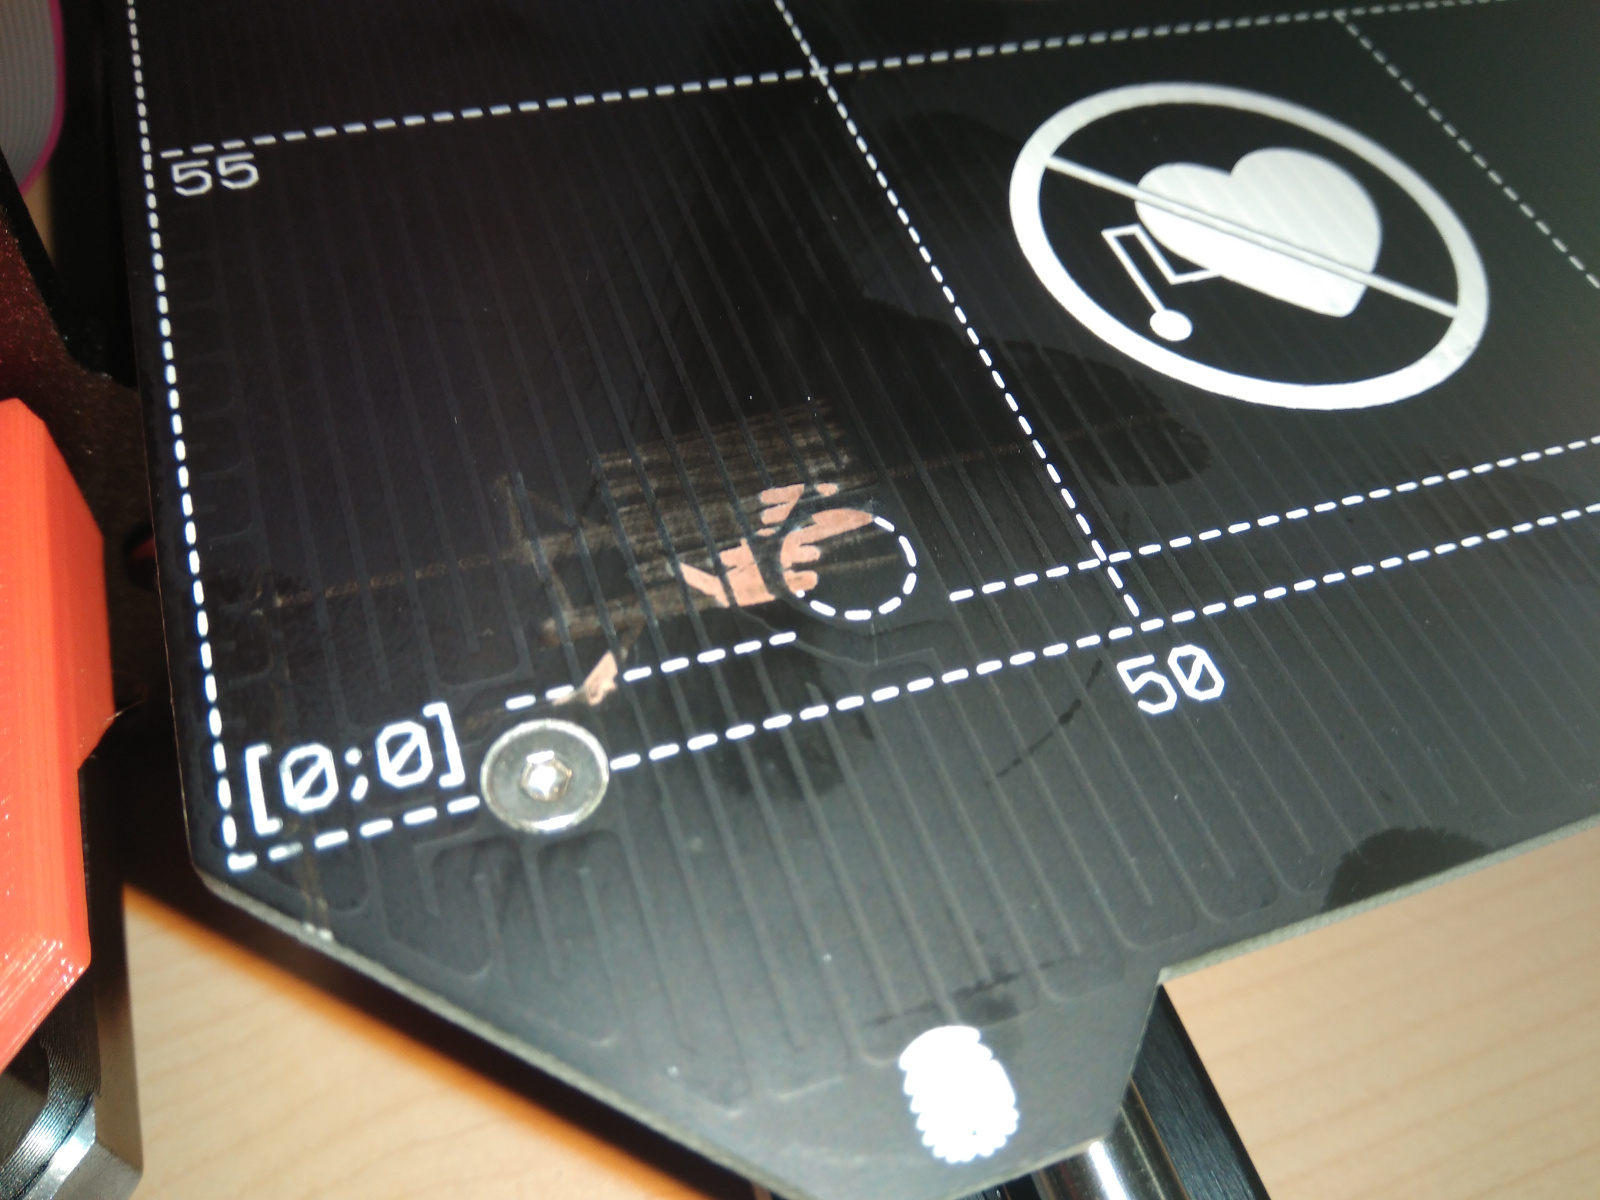
While doing the initial calibrations, I managed to scratch the heatbed as seen in the attached image (hint: PINDA should probably be much lower than it appears).
Is it safe to use as it is (I'd assume the PEI sheet is nonconductive) ? should I cover the copper traces with a clear nail polish, or something similar ?
Re: Scratched MK52 magnetic heatbed
It should be safe, just coat it with something preventing oxygen getting to it 🙂
Re: Scratched MK52 magnetic heatbed
While doing the initial calibrations, I managed to scratch the heatbed as seen in the attached image (hint: PINDA should probably be much lower than it appears).
scratched_bed.jpg
Is it safe to use as it is (I'd assume the PEI sheet is nonconductive) ? should I cover the copper traces with a clear nail polish, or something similar ?
It happened to me with my mk2. I damaged the PEI on that though. I found the instructions for that to start too high as well.
Re: Scratched MK52 magnetic heatbed
When I did the initial calibrations on my Printrbot a few years back, I always had my hand on the power lead to remove power IF the nozzle crashed into the bed.
Infact, i still do this now, if I have made significant changes to the print head...
This tip should apply to a Prusa and any 3D Printer.. Just assume that you might hit the bed and be ready, rather than letting it happen.
Re: Scratched MK52 magnetic heatbed
It should be safe, just coat it with something preventing oxygen getting to it 🙂
Thank you, Josef. Black acrylic nail polish did the trick.
It happened to me with my mk2. I damaged the PEI on that though. I found the instructions for that to start too high as well.
Yes, the zip tie seems to be positioning the PINDA much too high. In the end, the best position seems to be a hair below the orange fan shroud.
This tip should apply to a Prusa and any 3D Printer.. Just assume that you might hit the bed and be ready, rather than letting it happen.
Yes, I missed the warning displayed on the LCD to power off immediately if the paper gets stuck underneath the nozzle. My bad, never good to perform calibrations at 4:00 AM.