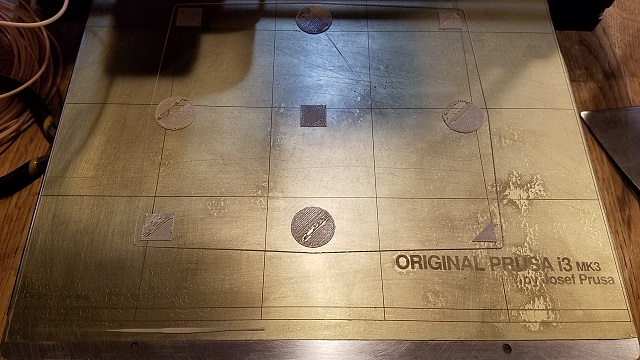
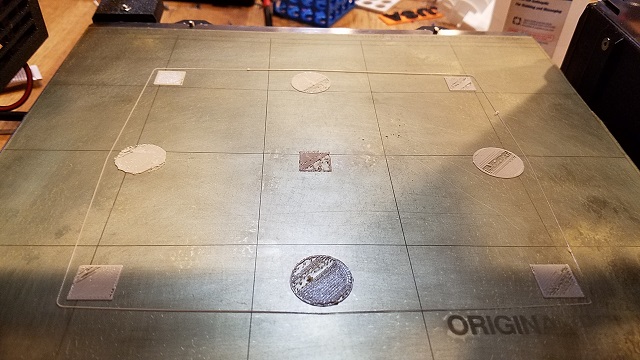
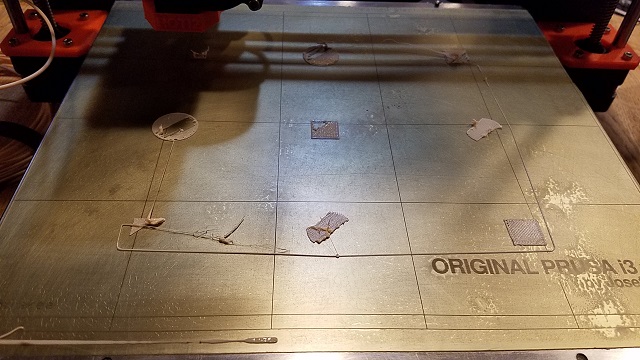
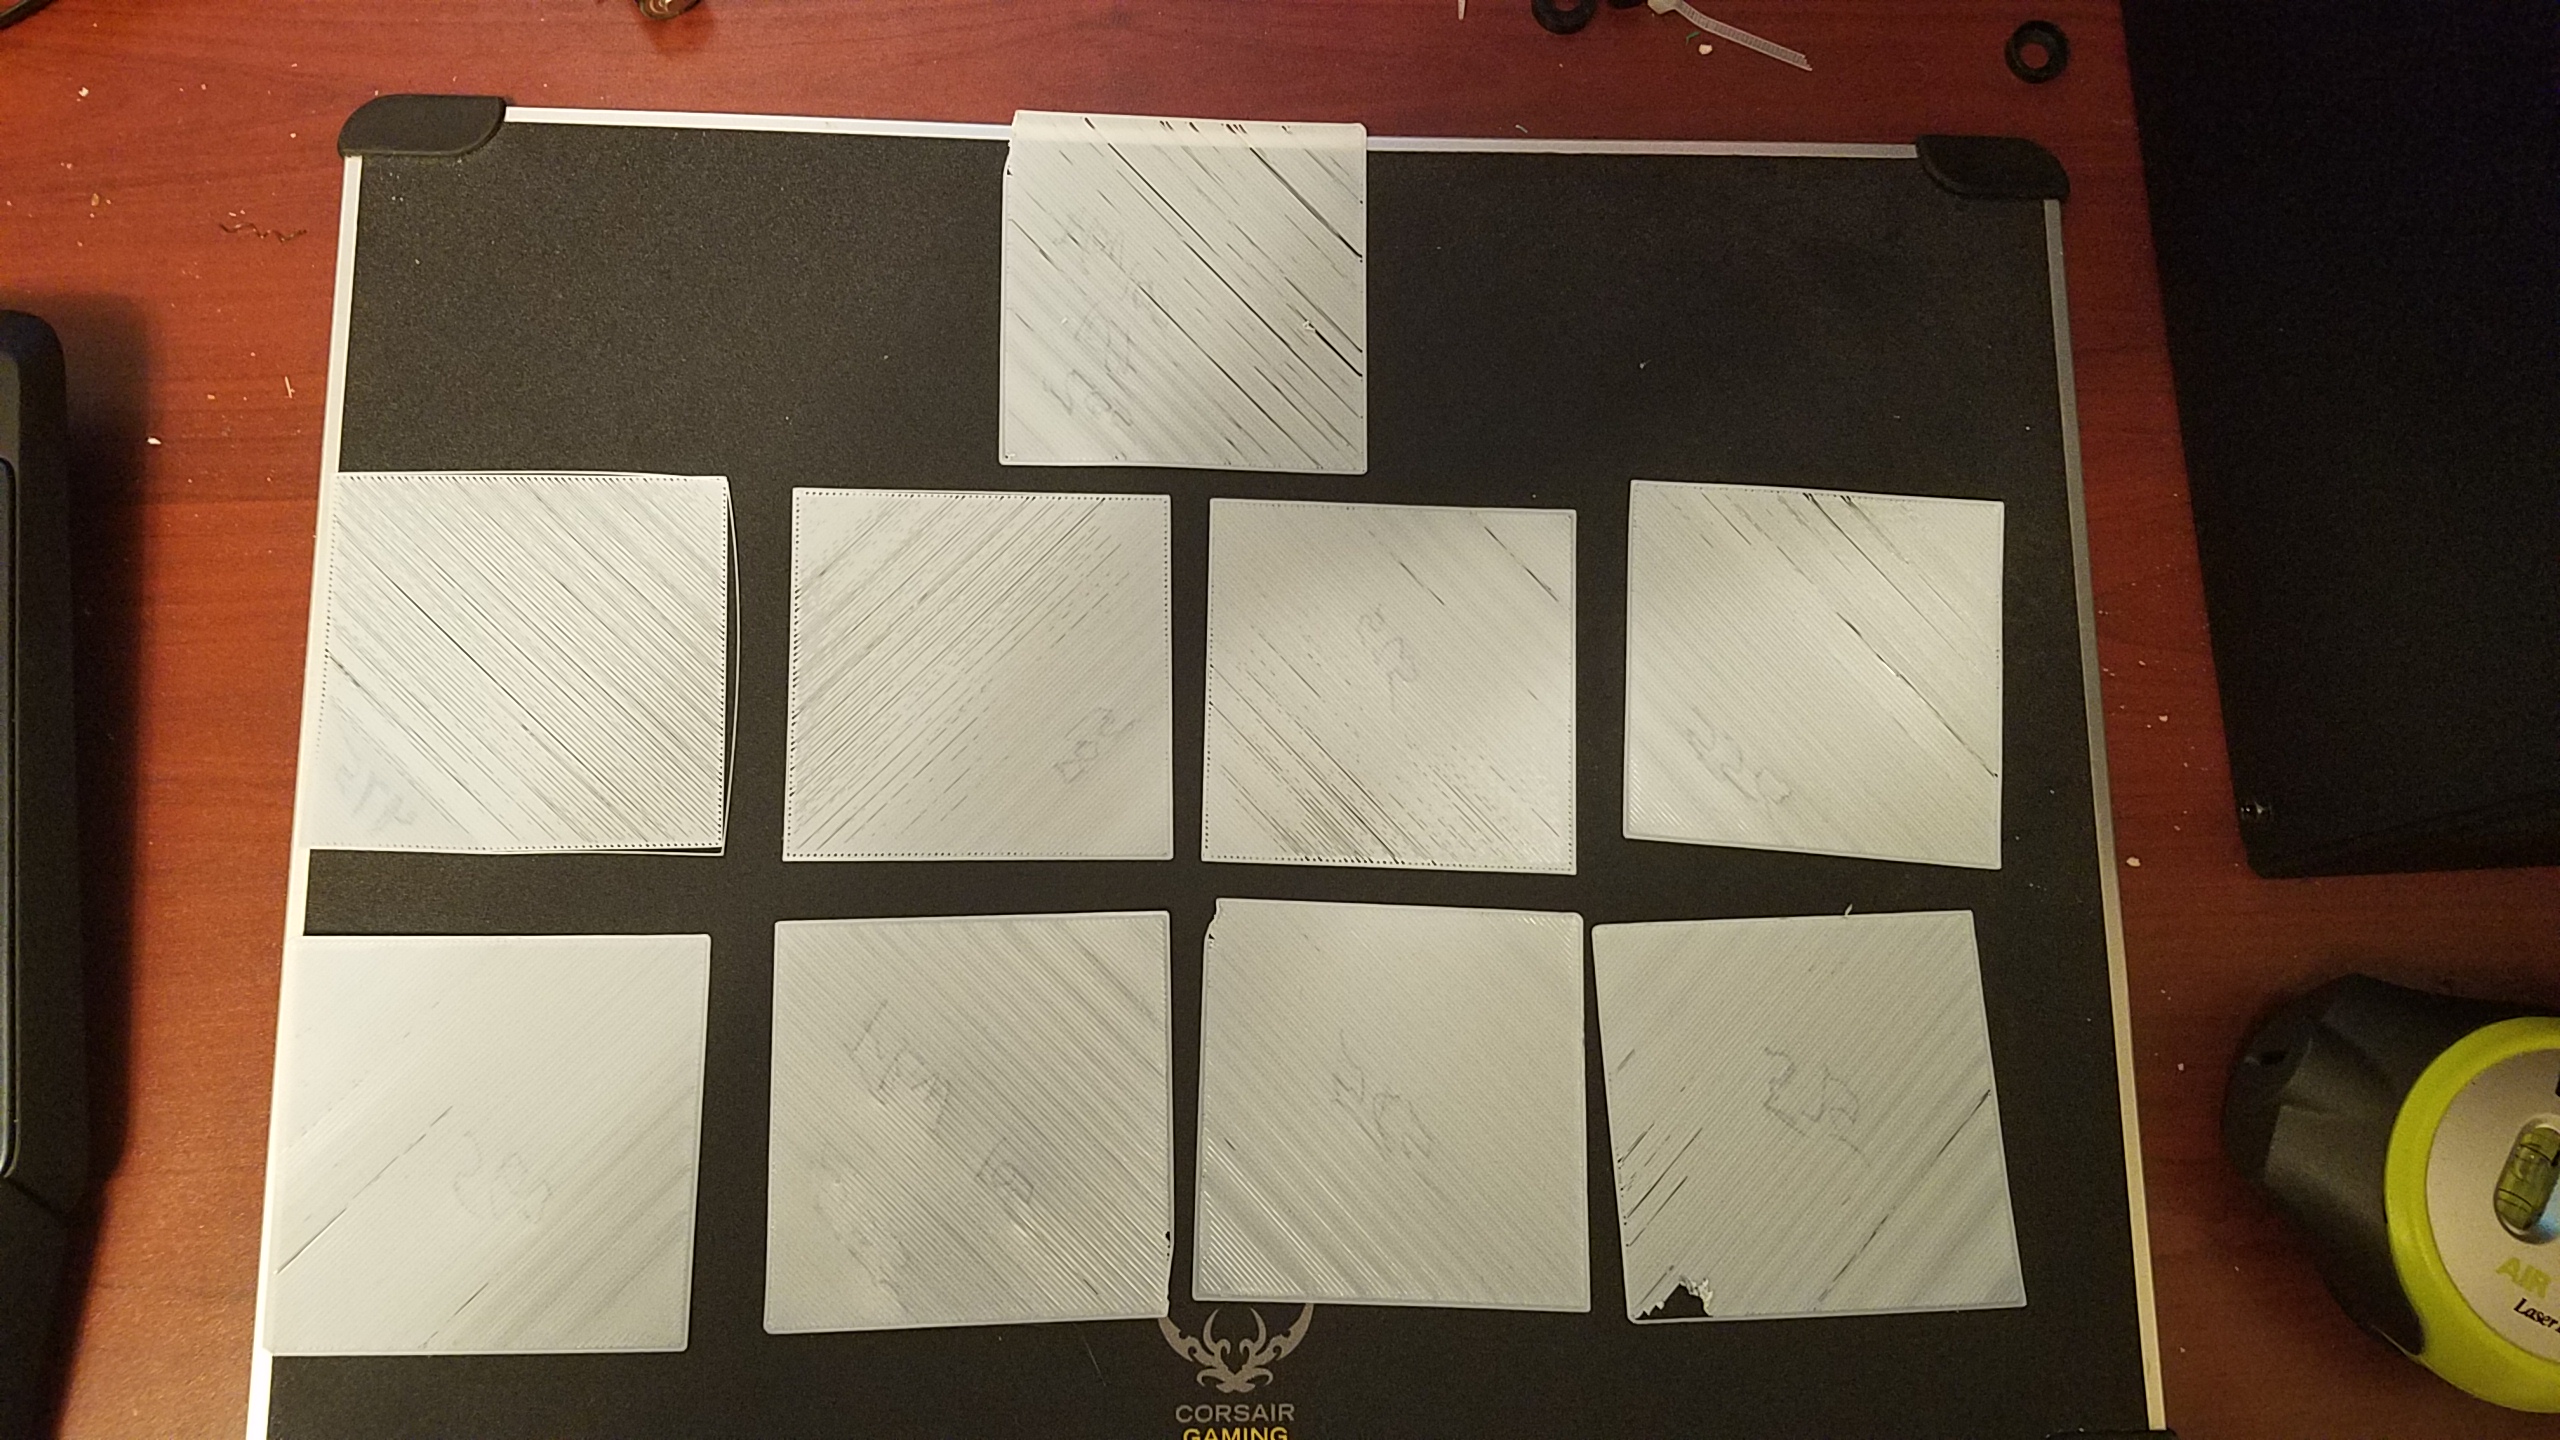
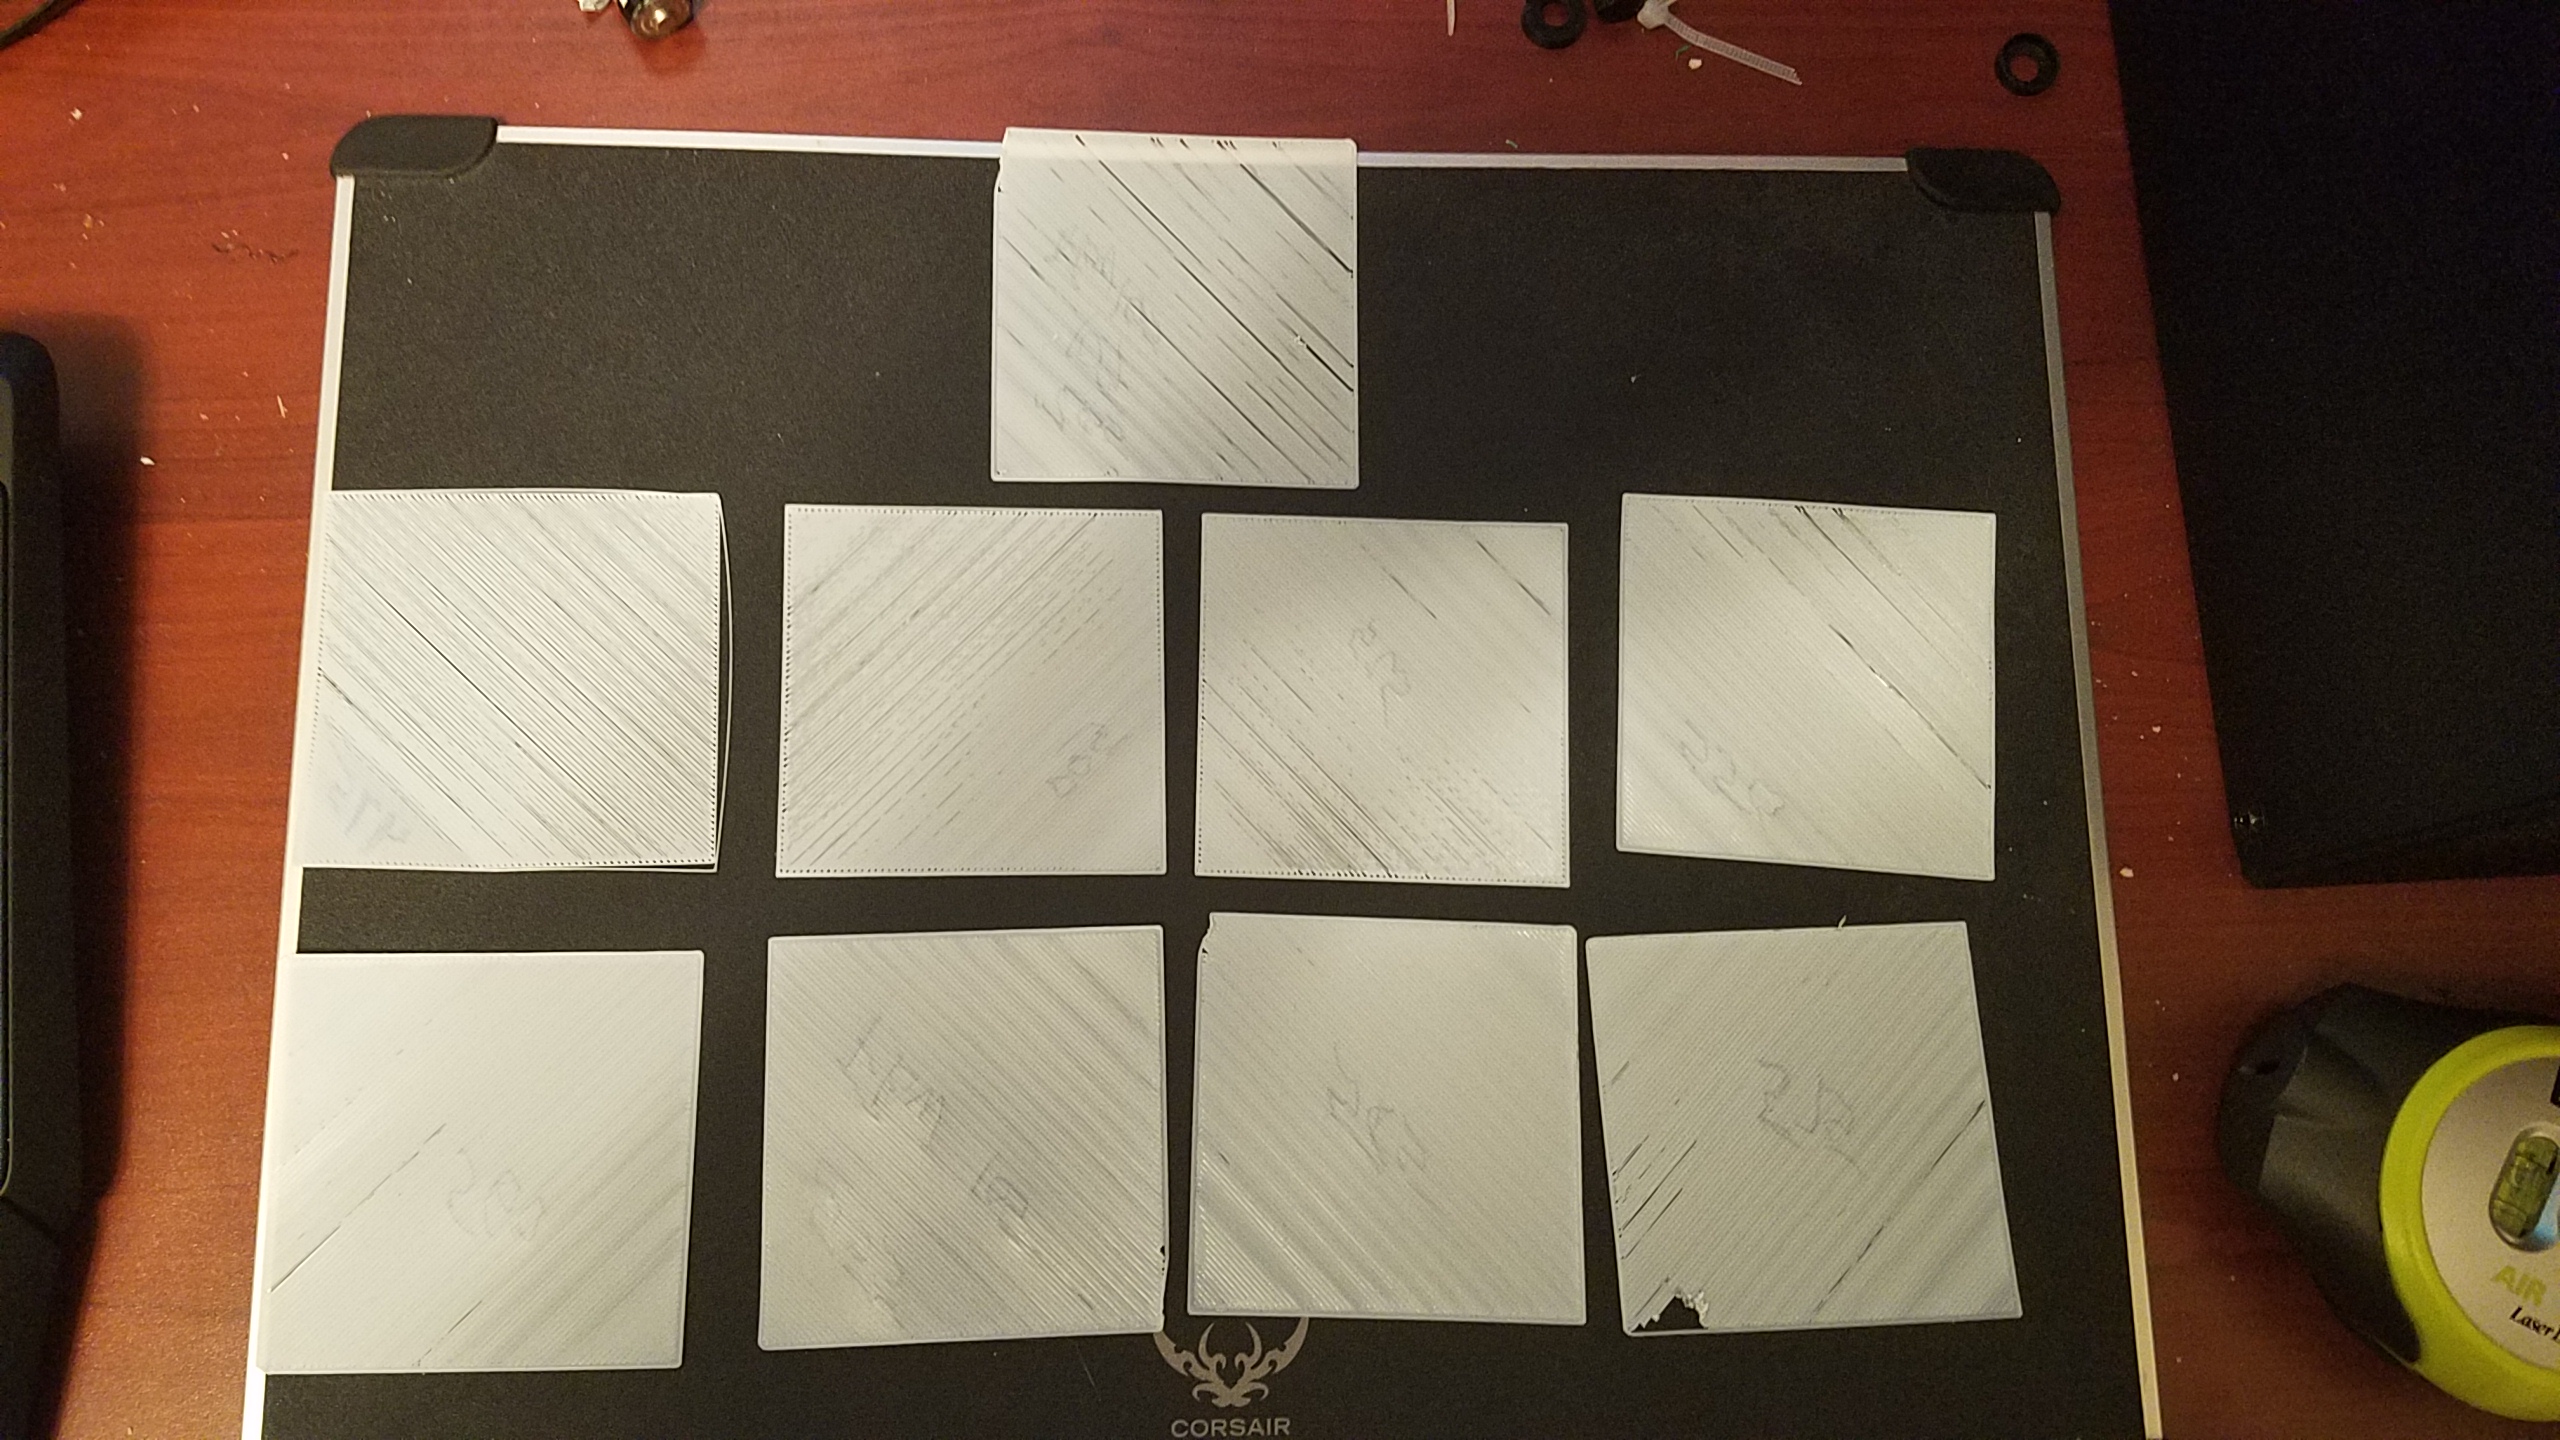
Horrid first layer any help would be nice
Well my Mk3 was printing like a champ till I got a twisted Plastic corkscrew of doom I took the hot end apart replaced the Nozzle and PTFE tube but I can't get a first later to stick to save my life anymore.
Cleaned the Hobb gears with a tiny wire brush and blew out the area with canned air
Replaced the Nozzle Real e3d V6
Replaced the PTFE tube with one exactly 4cm as I was told my tech support chat
Cleaned bed with soap and water
Cleaned bed with 99% Isop
Cleaned bed with Acetone
I have real Prusa PEI bed on my wish list will order as soon as they hit the store till then I am using a PEI replacement sheet but I get the same issue on the other side of my sheet also
I did noticed I forgot to replace the washers on the screws that tighten down the Hobb gears, when I replaced them the gears squeak and the Extruder motor gets hot to the touch so I removed them again
I have been trying different settings for tightness of the hobb gear adjustment bolts from max tight to barely grabbing the nut and can't get a decent flow, if I go too tight the squeak comes back if I go to loose it sounds like it is skipping.
Any Suggestions?
How tight are your Hobb gear bolts ie how much of the bolt can you see on the other side right now I see about 1 mm
Re: Horrid first layer any help would be nice
Did you redo your Live-Z calibration? With that level of teardown it's likely something shifted a bit.
Re: Horrid first layer any help would be nice
I think I have used 1/2 a Kilo of Filament just reduing Live Z-Axis calibration
Re: Horrid first layer any help would be nice
This is a known MK3 PINDA firmware issue which also appears to effect the xyz calibration see https://shop.prusa3d.com/forum/original-prusa-i3-mk3-f30/1st-layer-problems-in-depth-look-at-software-pinda-t14815.html
The Latest Firmware can be found here https://github.com/prusa3d/Prusa-Firmware/releases
Open Firmware Issues https://github.com/prusa3d/Prusa-Firmware/issues
Re: Horrid first layer any help would be nice
How tight are your Hobb gear bolts ie how much of the bolt can you see on the other side right now I see about 1 mm
Mine was a kit, I put the bolt heads down nearly flush as described in step 15 of the E axis assembly. The tips of those bolts are then basically flush with the idler door. I don't recall having any washers there though? Those are the two bolts with the springs on them, right?
Re: Horrid first layer any help would be nice
Correct those are the two bolts with springs, I didn't remember any washers and I didn't have any extra but after putting it back together and seeing how much skipping I had I started looking around and found photos and videos online of them having washer so I thought I had lost them.
Re: Horrid first layer any help would be nice
I went back and checked my assembly manual, doesn't show any washers on those two bolts, just springs. One pic shows two plastic washers on the idler door but the caption says they are only placed there so you could see them in the pic, (pic has a white background) they actually go on either end of the idler door where the hinge bolt goes through. I wonder if that's the pic you saw? Or maybe the earlier parts and later parts use different hardware? I had the revised parts in my kit.
Re: Horrid first layer any help would be nice
Other then flashing a non-supported Firmware can I do anything to get this 1000 dollar paperweight working again.
Re: Horrid first layer any help would be nice
Other then flashing a non-supported Firmware can I do anything to get this 1000 dollar paperweight working again.
Maybe post a photo so we can see what your first layer looks like. Sometimes a picture is worth a thousand words.
Re: Horrid first layer any help would be nice
Wow, even the intro line looks wonky.
Re: Horrid first layer any help would be nice
What happened to your original PEI sheet? And what is wrong with your bed that you have to replace it?
To me, it looks like it is massively over extruding...
Re: Horrid first layer any help would be nice
I'm beginning to suspect a partially clogged nozzle. It looks like it extrudes OK for a while, then stops extruding for a bit, then starts again.
But that print surface...Did you coat it with something like tons of gluestick?
Re: Horrid first layer any help would be nice
I just re-read the OP:
I have real Prusa PEI bed on my wish list will order as soon as they hit the store till then I am using a PEI replacement sheet but I get the same issue on the other side of my sheet also
Is it possible that you got sold a bum PEI replacement sheet that isn't really PEI?
Re: Horrid first layer any help would be nice
I replaced both sizes of the PEI sheet today, I put the spring steel sheet in the freezer for an hour pulled both PEI sheets off soaked in Acetone scrubbed with a brass brush, soaked scrubbed, soaked scrubbed took over three hours and it still looks like CR@p
Really getting annoyed with this
I upgraded to the latest firmware, I replaced the nozzle I replaced the PTFE tube I have calibrated so many times I am sick of even pushing the buttons.
All of these are done with PrusaControl with Genertic PLA settings
215 Nozzle
55 Bed
95 Flow except as listed
Very top Flow 105 Temp Dropped to 205
Z 555
Top Left
Z 475
Top Middle Z 500
Top Right Z 525
Top Far right Z 550
Bottom left
Z 560
Bottom Middle Z 555
Flow bumped to 105
Bottom Right z 656
Bottom Far Right 575
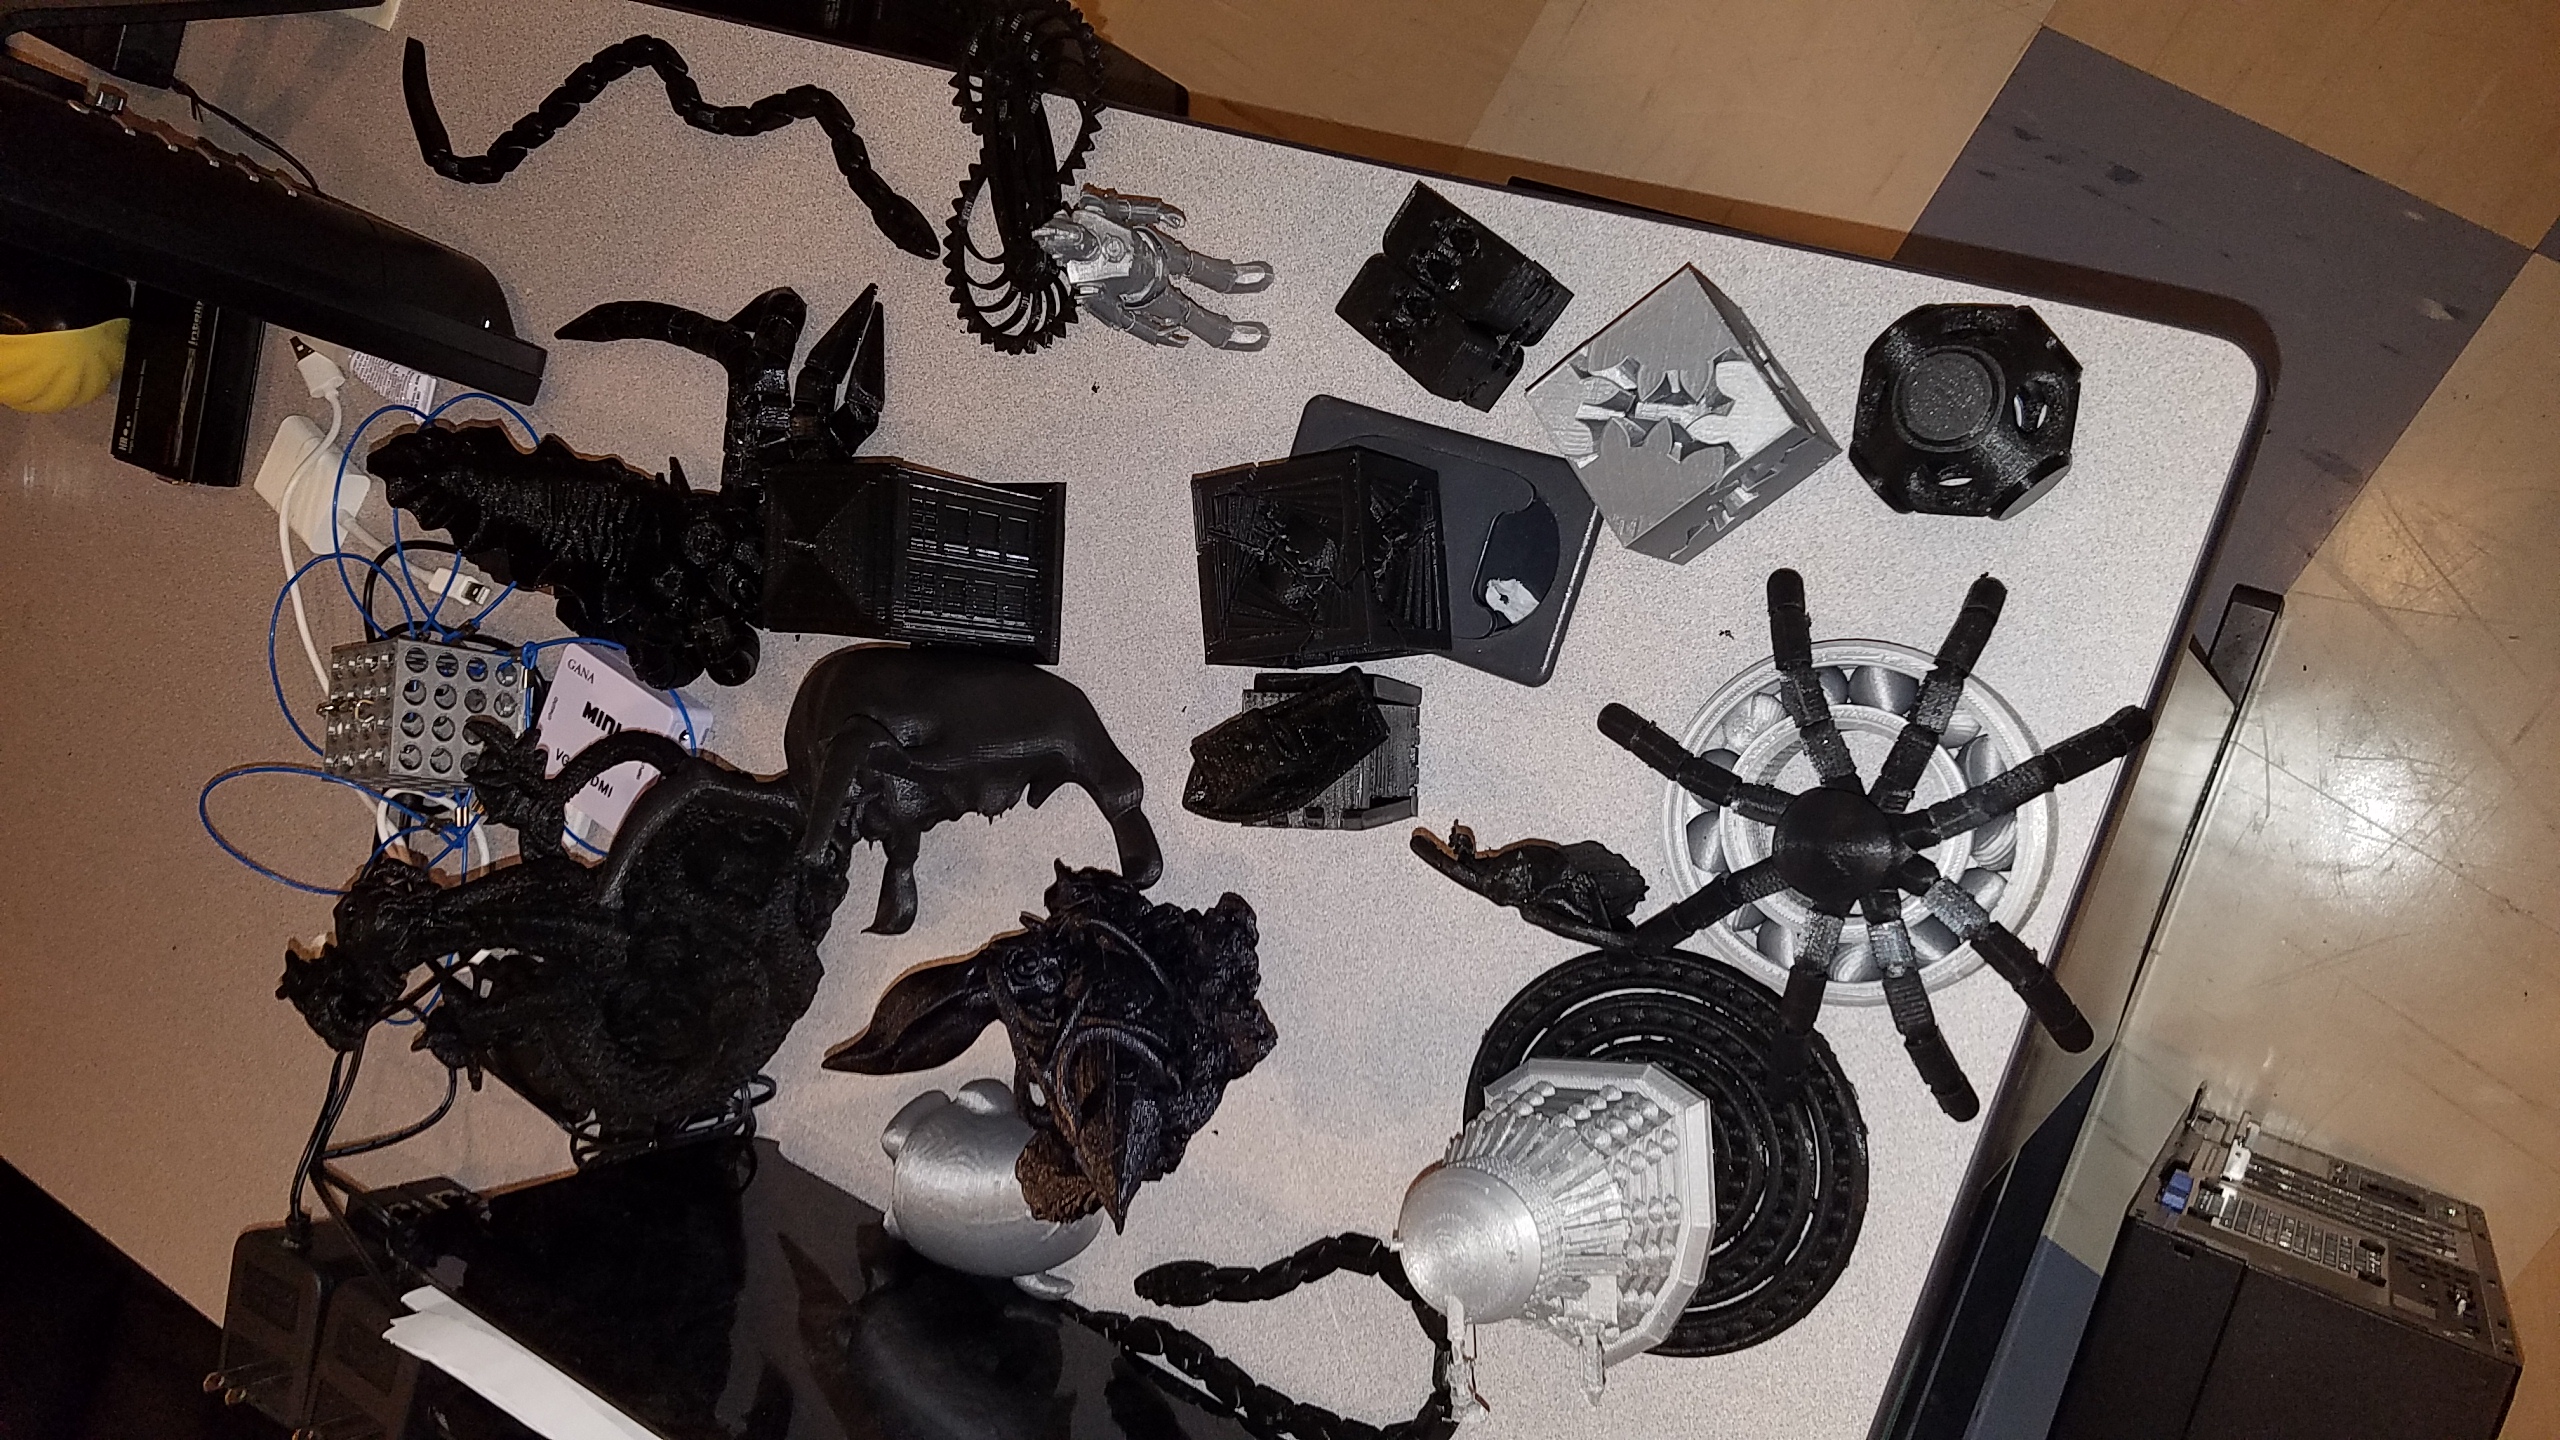
Suggestions before I throw this printer out my 2nd floor window and go back to my Wanhao I3 Plus which was far from perfect but it worked and 1/3rd the price (last photo)
Re: Horrid first layer any help would be nice
Been watching youtube for an hour I noticed no one else having these issues but my Pinda is gray most of the ones in Videos are black ?
different model or just the luck of the draw on color?
Re: Horrid first layer any help would be nice
At this point to say I am disappointed in my purchase would be the understatement of the century, I ordered on Oct 26th I paid 1123 bucks with shipping, It shipped in Jan 31th. I have ran 7/8 of one spool of Plastic through it and you can see from the photos the print quality I am getting.
I could have purchased three Wanhao I3 Plus for the same money, had them in my position sooner and dam it they print.
This was not ordered as a kit so I did not assemble it incorrectly. The first few test items were fine, it got the plastic corkscrew of death on the first big Item I tried to print and hasn’t printed correctly since, I replaced the nozzle twice now and I used genuine e3d V6 ones, I replaced the PTFE tube using exactly the length Prusa tech support told me to use, I have cleaned the Hobb gears I have leveled and calibrated till I am blue in the face. I have tried three different firmware versions, I have checked belts, I am only using Prusa Control because it is supposed to support this printer.
I have done everything except conduct an Exorcism.
If someone from Prusa would just come forth and say, “hey you must have broken XXX part when you had that jam” dam it I would just buy the part and get this thing working, did that happen? Nope… I contacted tech support three times and they can’t even tell me which parts I have with any level of certainly, I have been told I have a Real e3d v6 hot end, I have been told I have a e3d v6.1 and I have been told I have a e3d v6 with a custom part for the Mk3.
If the huge twisted corkscrew of death broke the hot end or something inside the extruder then I will buy a new one, if someone would say hey… you have a bad 3d printed part in your hot end I would order a new set of plastic parts off Prusa (assuming you can buy them) but if I spend another 100 bucks plus shipping on a Hotend and plastic and I get the same garbage prints I am posting on YouTube… “Punt vs Prusa I3 Mk3” and buying a Taz 6
Re: Horrid first layer any help would be nice
Wow what happened to your PEI bed sheet? i have been printing a lot of pla, abs and petg and my bed sheet still looks like it did when i pulled it out of the box.
Any ways try using Prusa3D Slic3r MK3 to slice your project's and under Print Settings - Advanced - Extrusion width - First Layer: originally its is at 0.42 change it to 0.5
I was having a poor first layer and this has solved it for me.
please note i am printing with IPrint-3D Filament and have made individual print setting for each of my Filaments.
From the photo you have posted it does look you need to lower your live z and it looks like you are having a very poor first layer bed adhesion.
Cant stop thinking about the bed sheet.
What filament are you useing? if it some really cheap cheap stuff that also might be your issues.
Re: Horrid first layer any help would be nice
I got the same print quality on the other side of the sheet that wasn't tore up and I have tried matterhackers, hatchbox and the included Prusa filament no difference.
The best of five attempts at printing the updated extruder parts using your suggested setttings and dropping print speed to 85% in PETG
Re: Horrid first layer any help would be nice
I got the same print quality on the other side of the sheet that wasn't tore up and I have tried matterhackers, hatchbox and the included Prusa filament no difference.
Try the slic3r print setting change i suggested and see if that helps. Also pre heat the printer for about 5-10 min before printing, i usually start the pre heat to pla go slice my object come back to printer clean printbed with 99% isopropyl alcohol then hit print.
