Underextrusion shows Z layer artefacts?
I'm printing some parts for printer box and found out that I might have issues due to extrusion multiplier which is now set to 0.92, I'm using Prusament PETG printing at 235 deg C and 80 deg C for bed. Anyone can point me to the right direction?

RE: notes
Just a note here - been playing with X and Y belts - Y is easy and currently sitting ~ 265, while X is a bit of mystery to me - took the belt out, installed again - too tight, so I went again and too loose - every time I do belt check X goes from 260 - 252 sometimes 250 then next check gives 262 and so on...
I also lubricated all rods a bit as it's over 2 months without lubrication. Also swapped a nozzle to the same size - 0.6 triangle labs nickel plated, found out that the previous nozzle had a small leak but it's the cause of boogies, not those weird layer shifts. Extruder has now silicone sock with a big hole and I ordered E3D Pro Silicone Sock. Heatblock is cleaned with a copper brush. I also did PID calibration after applying silicone sock.
The only thing left is to do bed level again - I have silicone mod on the bed and previously about 2 weeks ago went down to 0.01 after fine-tuning leveling.
Filament - I'm struggling is Prusament PETG, temps 235 / 85, extrusion multiplier is applied - 0.97 (did extrusion multiplier calibration)
Honestly, I'm running out of ideas - small things print fine, calibration cube prints fine for extrusion multiplayer but anything more complex is a hard task.
And all and all I did live Z cal at the end.
Note2
Cold pull was done before swapping nozzle - clean, loading filament nothing goes to side - straight all the way down so extruder meant to be free of any debris inside.
dvdv
Make your next print this:
https://www.prusaprinters.org/prints/46639-tension-meter-for-the-gt2-belts-of-i3-mk3s-or-prus
It MUST be printed in Prusament PETG or the spring tension will be wrong.
Cheerio,
note3
I have this one printed already and on Y it's in the middle toward the max and on X it's just below medium position so it's all OK, I find those values from belt check confusing and it's easier to check tension with fingers, also I can't move carriage on X-axis as per manual so I assume it's ok.
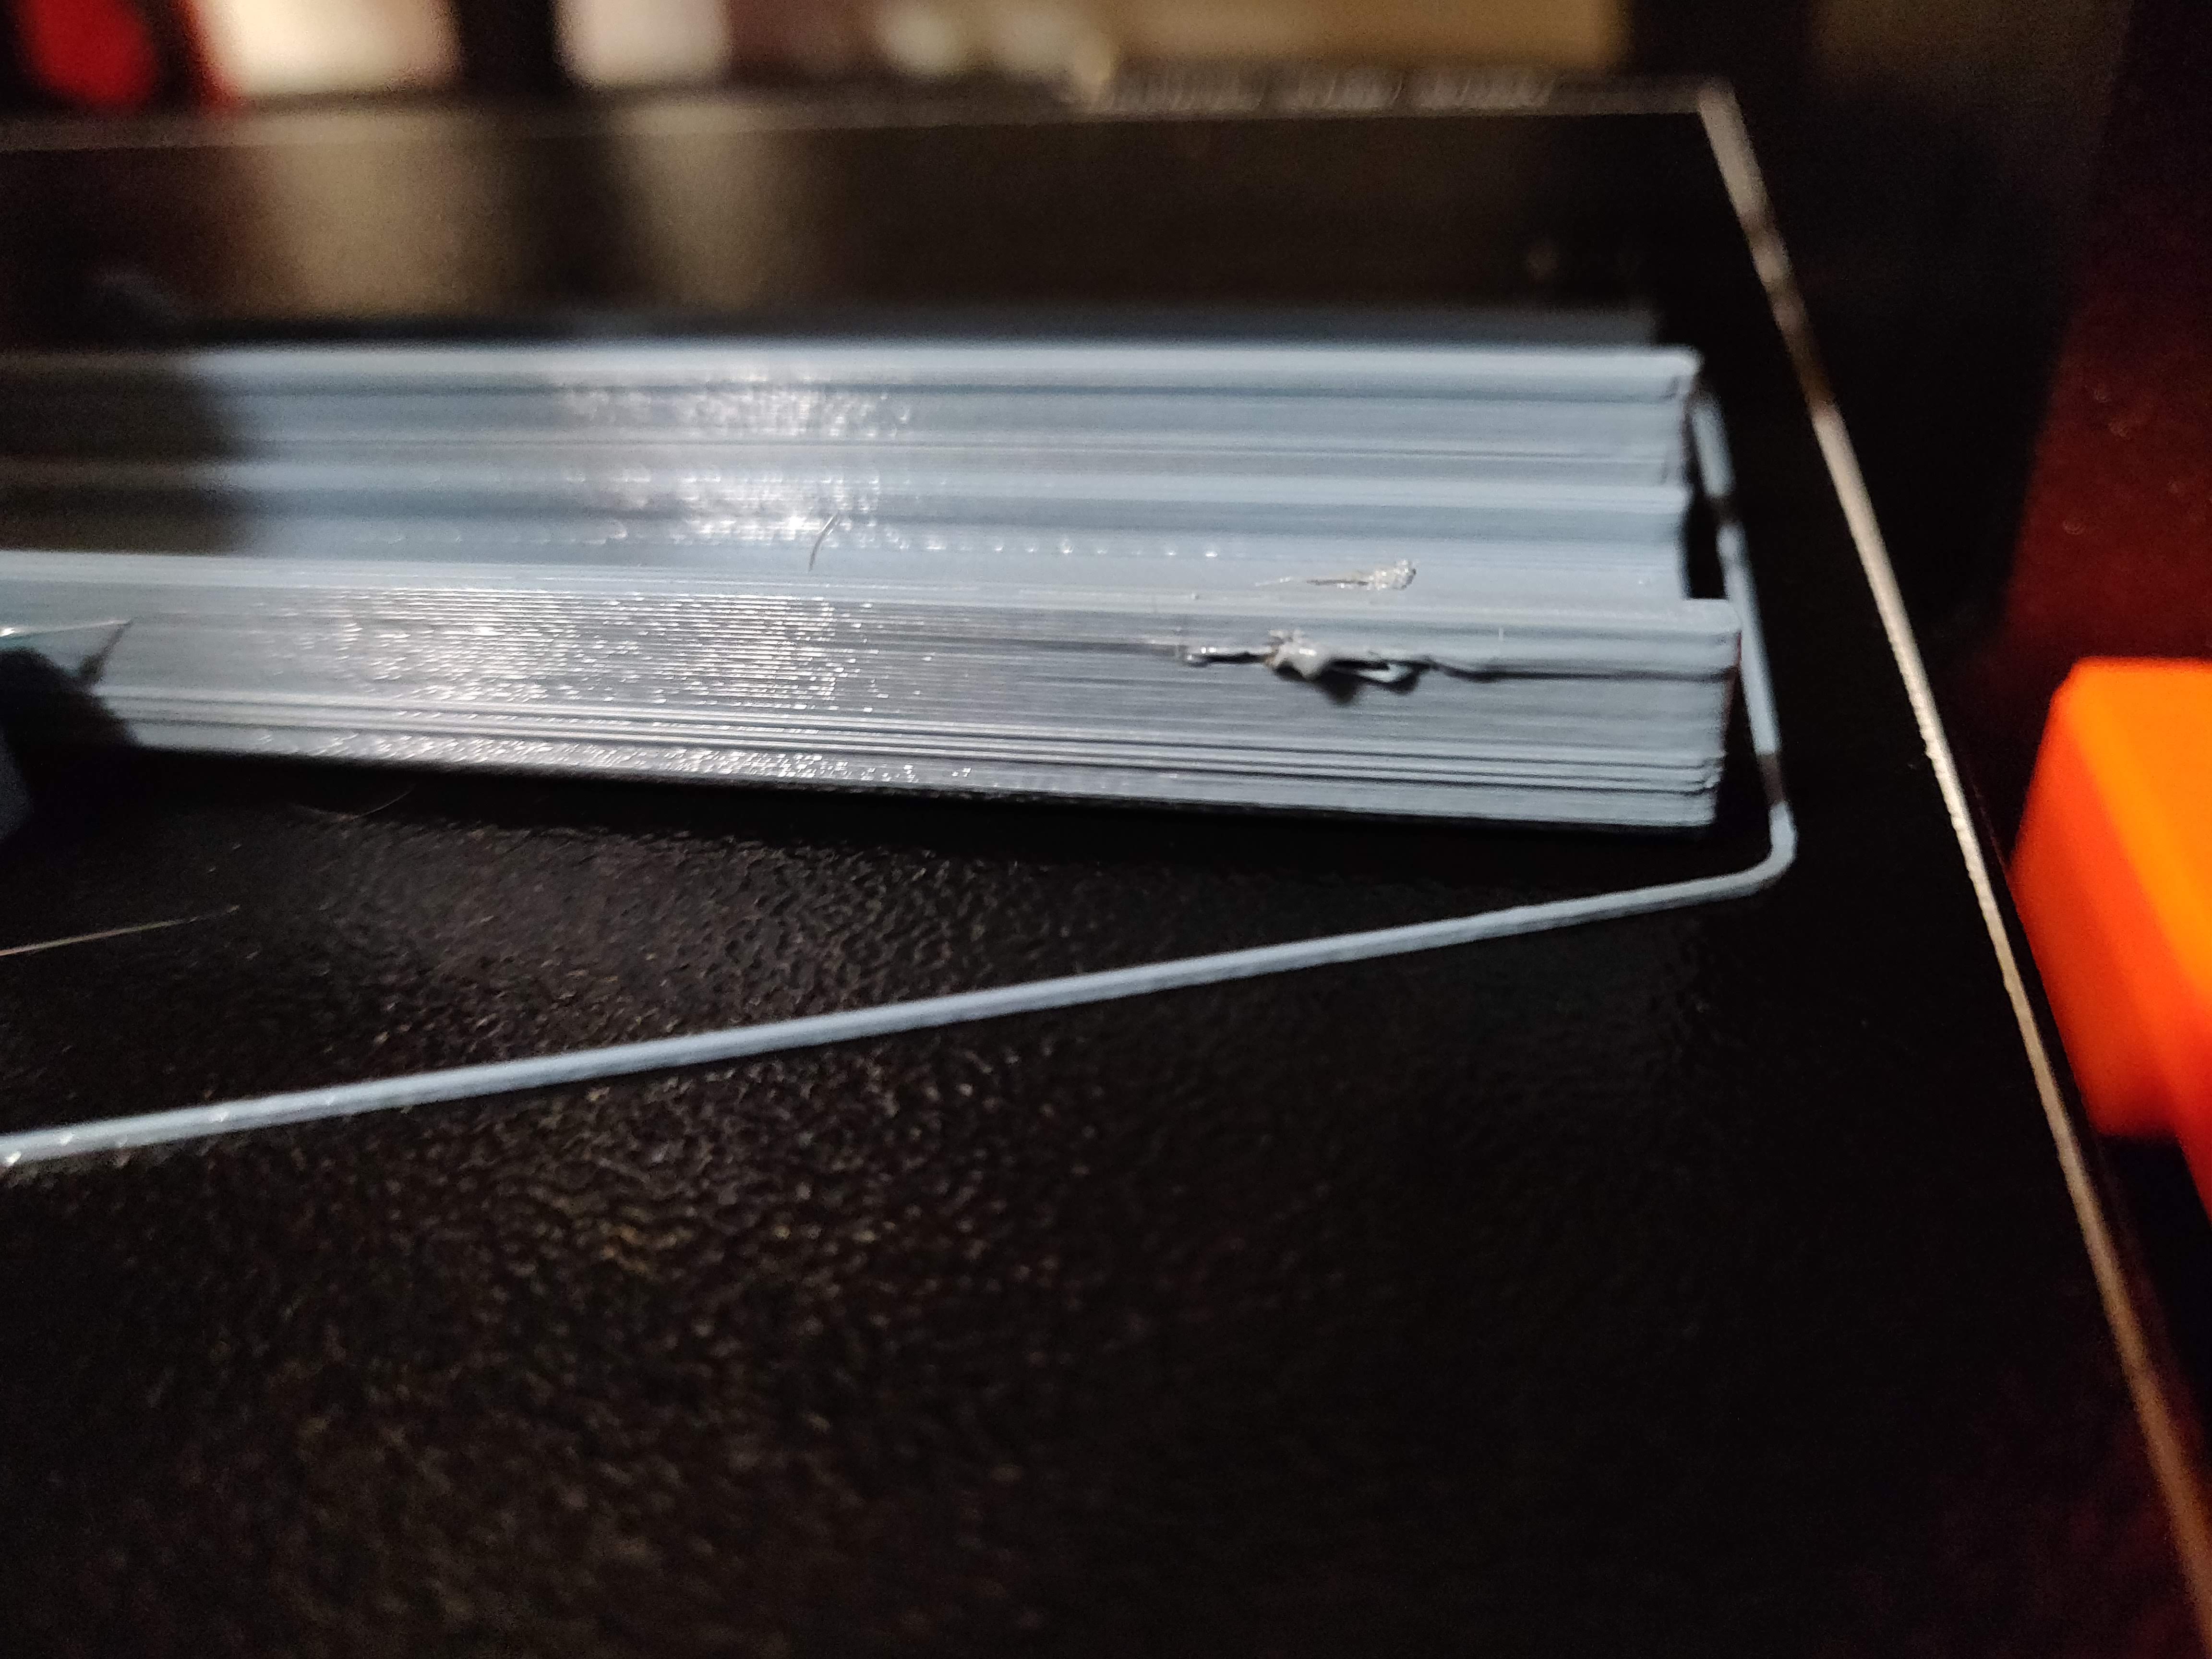
Humidity is between 60-65% but those pictures are from printing this filament straight out of box on same day I opened it.
So my two options - bed leveling again (unlikely) and drying filament?
Note4
this is going to be a long road chasing issues
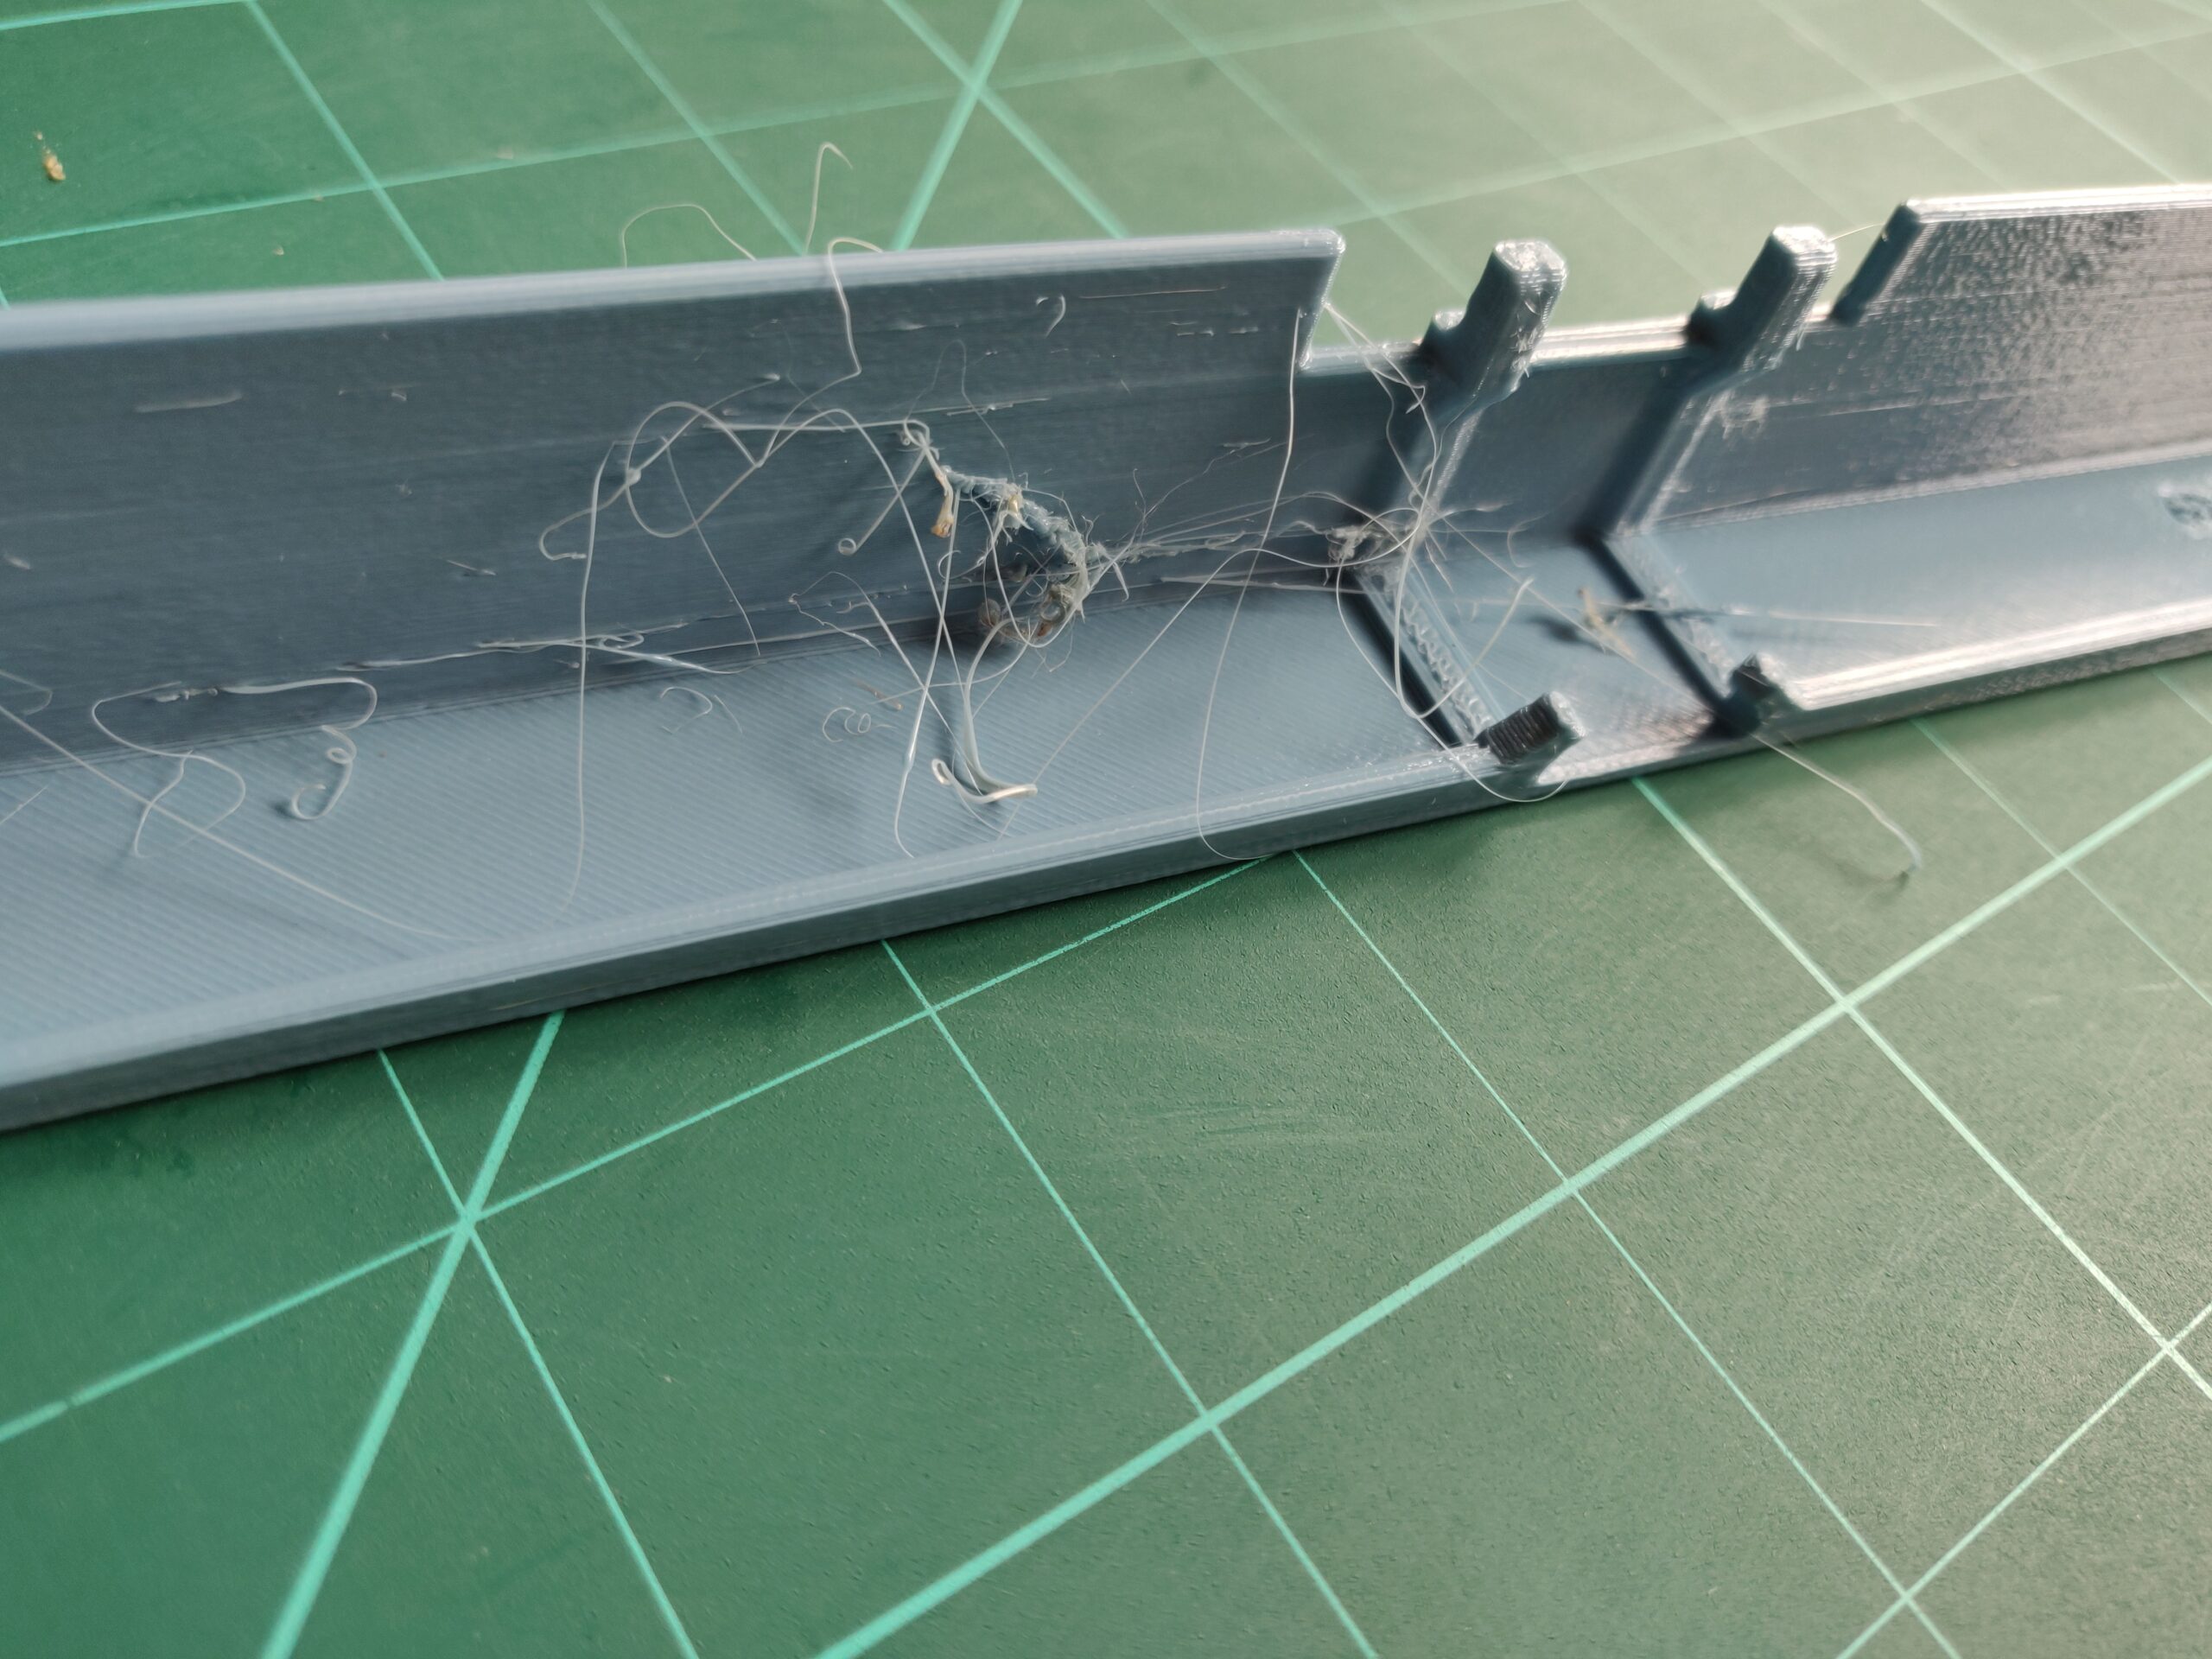
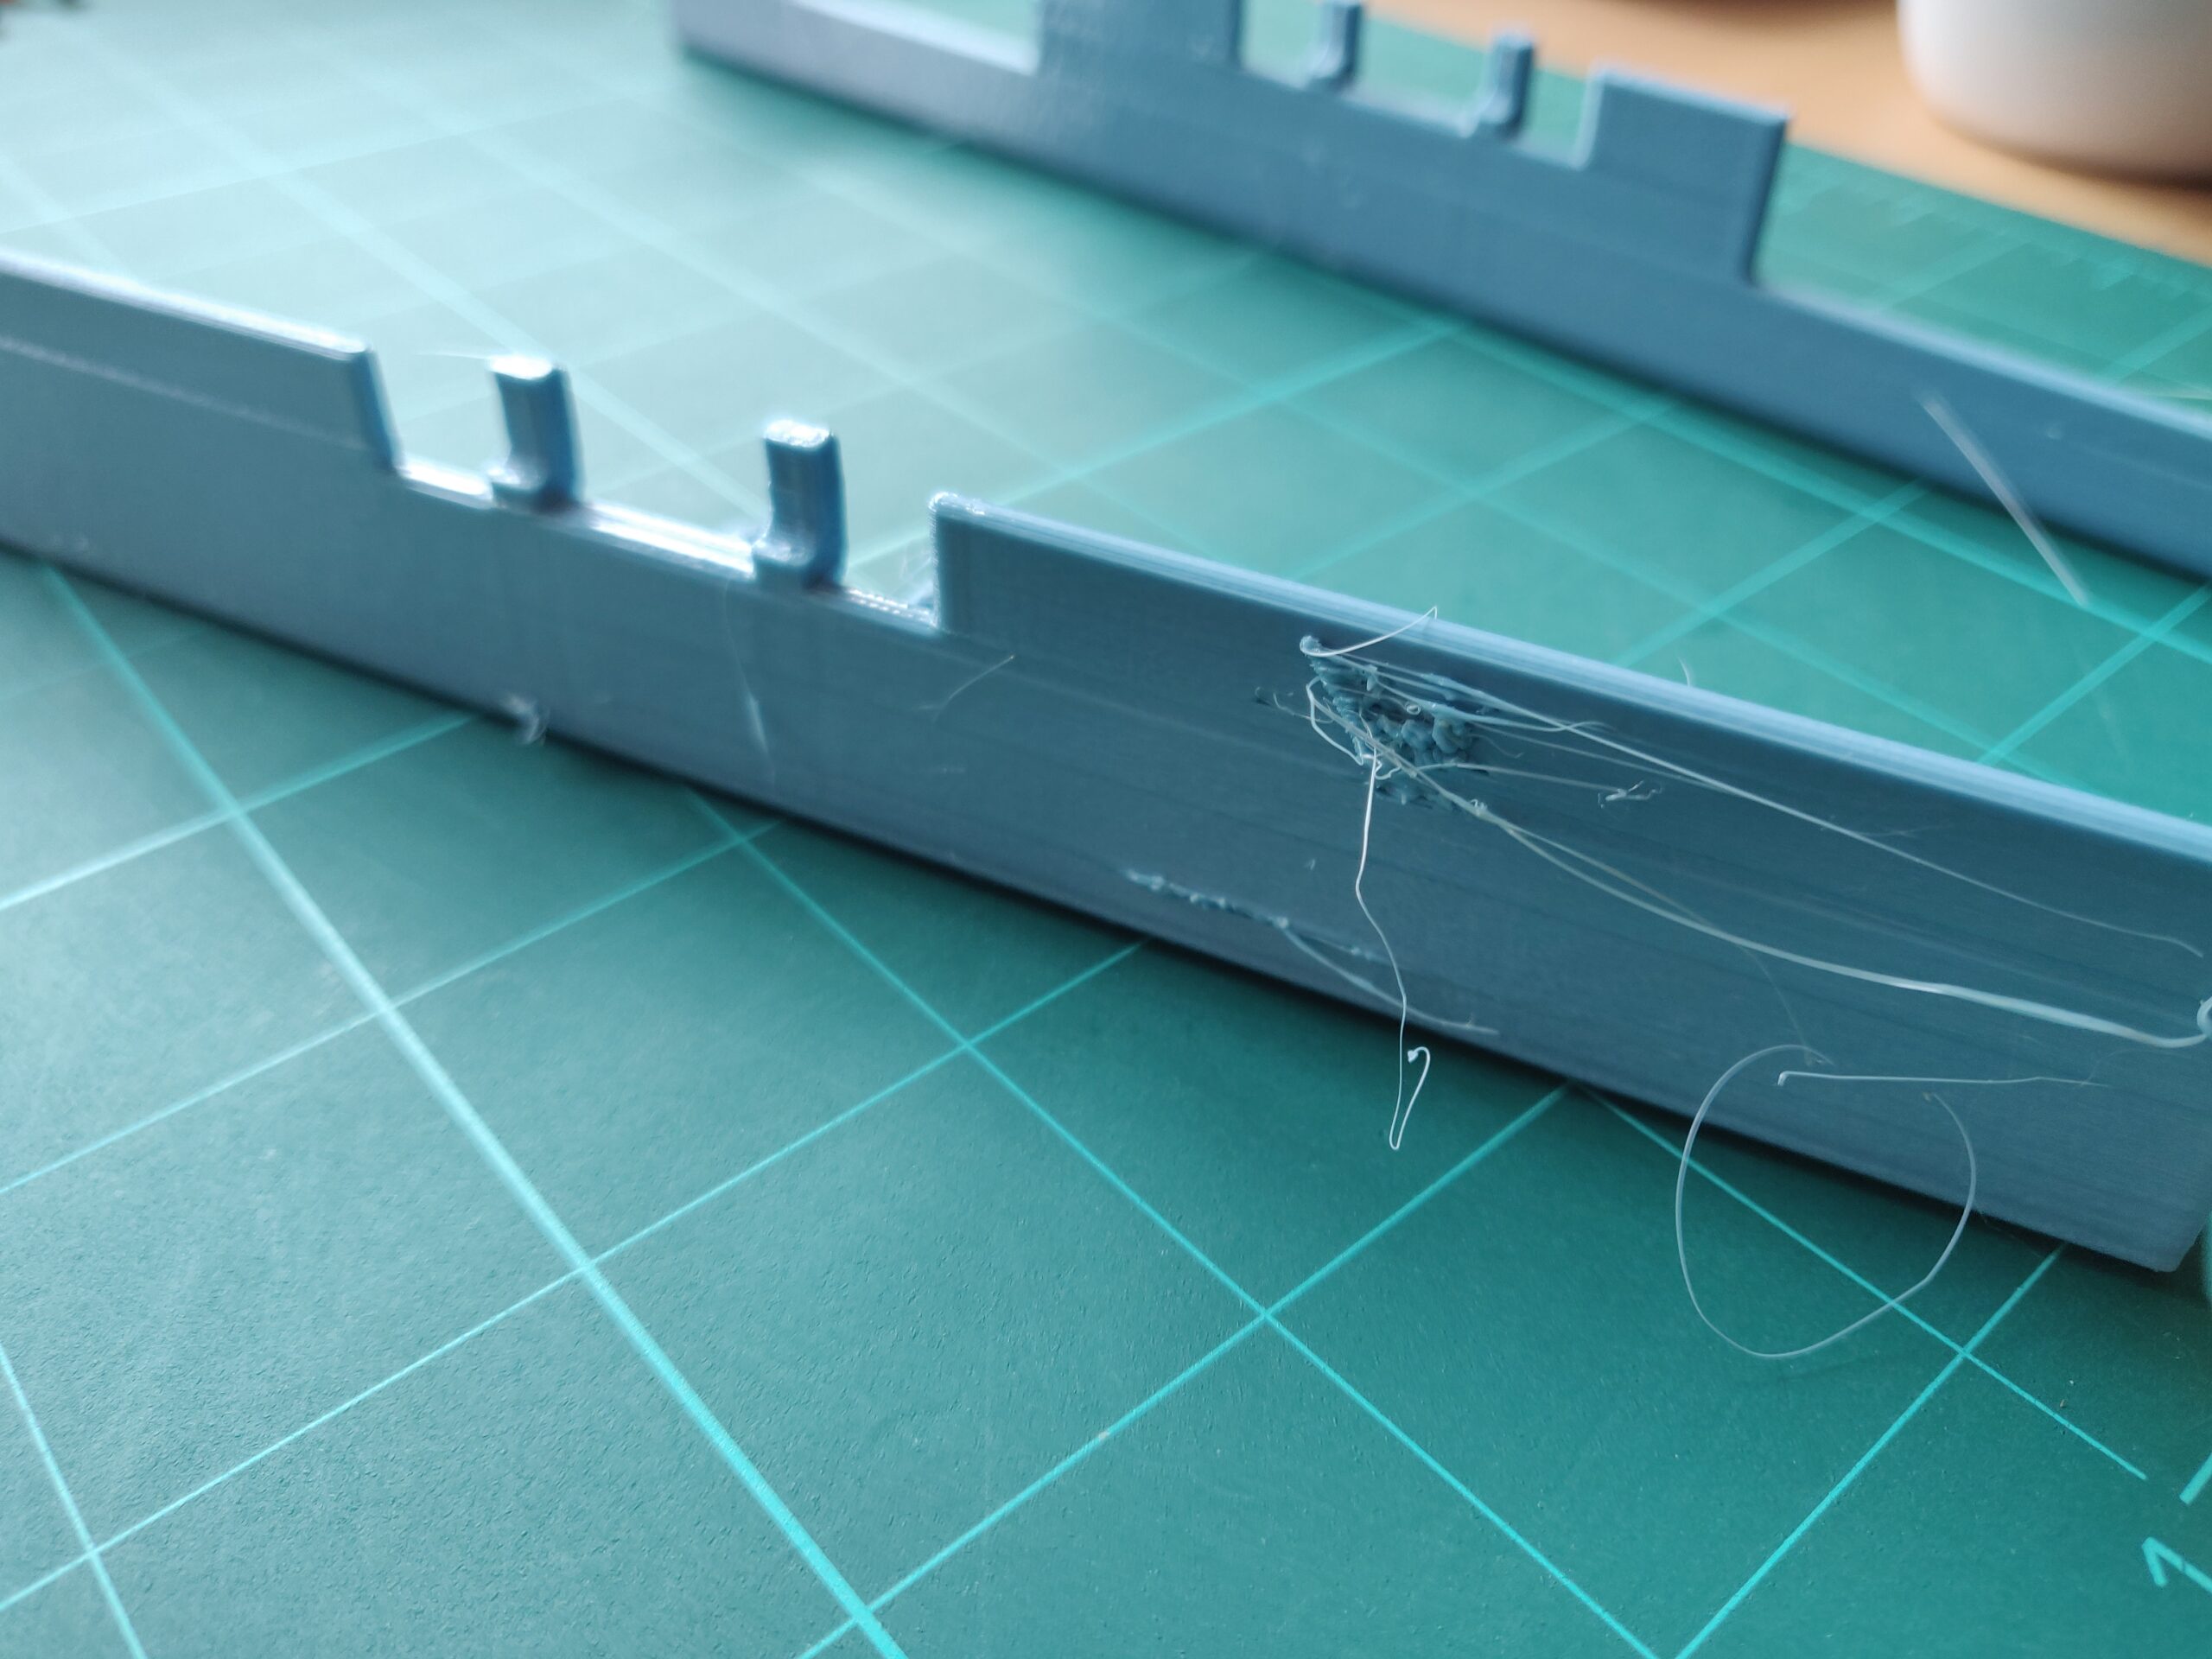
The sock may be hiding something. Take a look underneath, is there plastic running down from above or is all blobbing from the nozzle?
Cheerio,
update
I had to take apart hotend anyway so I did this and found that after big blob I had about 3 weeks ago I can't recover thermistor and cartrige 🙁
So used spare 50W cartridge + dragon hotend as I planned on doing this for easy nozzle swap, now waiting for the last part - thermistor, and hopefully I'm going over this nightmare.
Btw this last print is on brand new 0.6 nozzle nickel plated - I think I did this right this time - small gap, gentle but firm tight, no leaks underneath sock after this 3 hrs print.
Maybe it's due to humidity?
Your particular stringing looks more like a hotend assembly issue than humididity; that said this year has thrown up a lot of dampness issues. If you have a themister problem fix that first and return to the default settings as a starting point.
Cheerio,
note6
Ok so the plan is:
Dragon hotend assembled with 50W cartridge, waiting for thermistor and I'll start from scratch, this time I'm going to tighten this properly - as I'm thinking on this now it makes sense that I didn't see any spots around brand new nozzle as it's nickel-plated rather than brass so it's less possible to see anything. I've got time now to dry filament before parts arrive on Tuesday. Fingers crossed and I'll post the same part printed properly and drama will end - one third of spool is already in trash 🙁
OK, please take careful note of the diagrams in the Final Inspection section of:
https://help.prusa3d.com/en/article/changing-or-replacing-the-nozzle-mk2-5s-mk3s-mk3s_2069
Cheerio,