Strange lines (artifacts?) on bottom of rounded pieces
Still nailing down my technique. I've gotten several decent prints but my first layer is still questionable. Of more concern are these strange artifacts (?) whenever I print an object with a rounded bottom. I'm using supports because I assume it won't work without them but don't really know the difference between 'everywhere', 'only on the bed', and whatever the third option is. (I'm using the only on bed option but supports still seem to be pretty much everywhere?) I'm using the prusa slicer and the pla that came with my printer, stock settings other than the 7x7 bed calibration which seemed to help.
Bad first layer?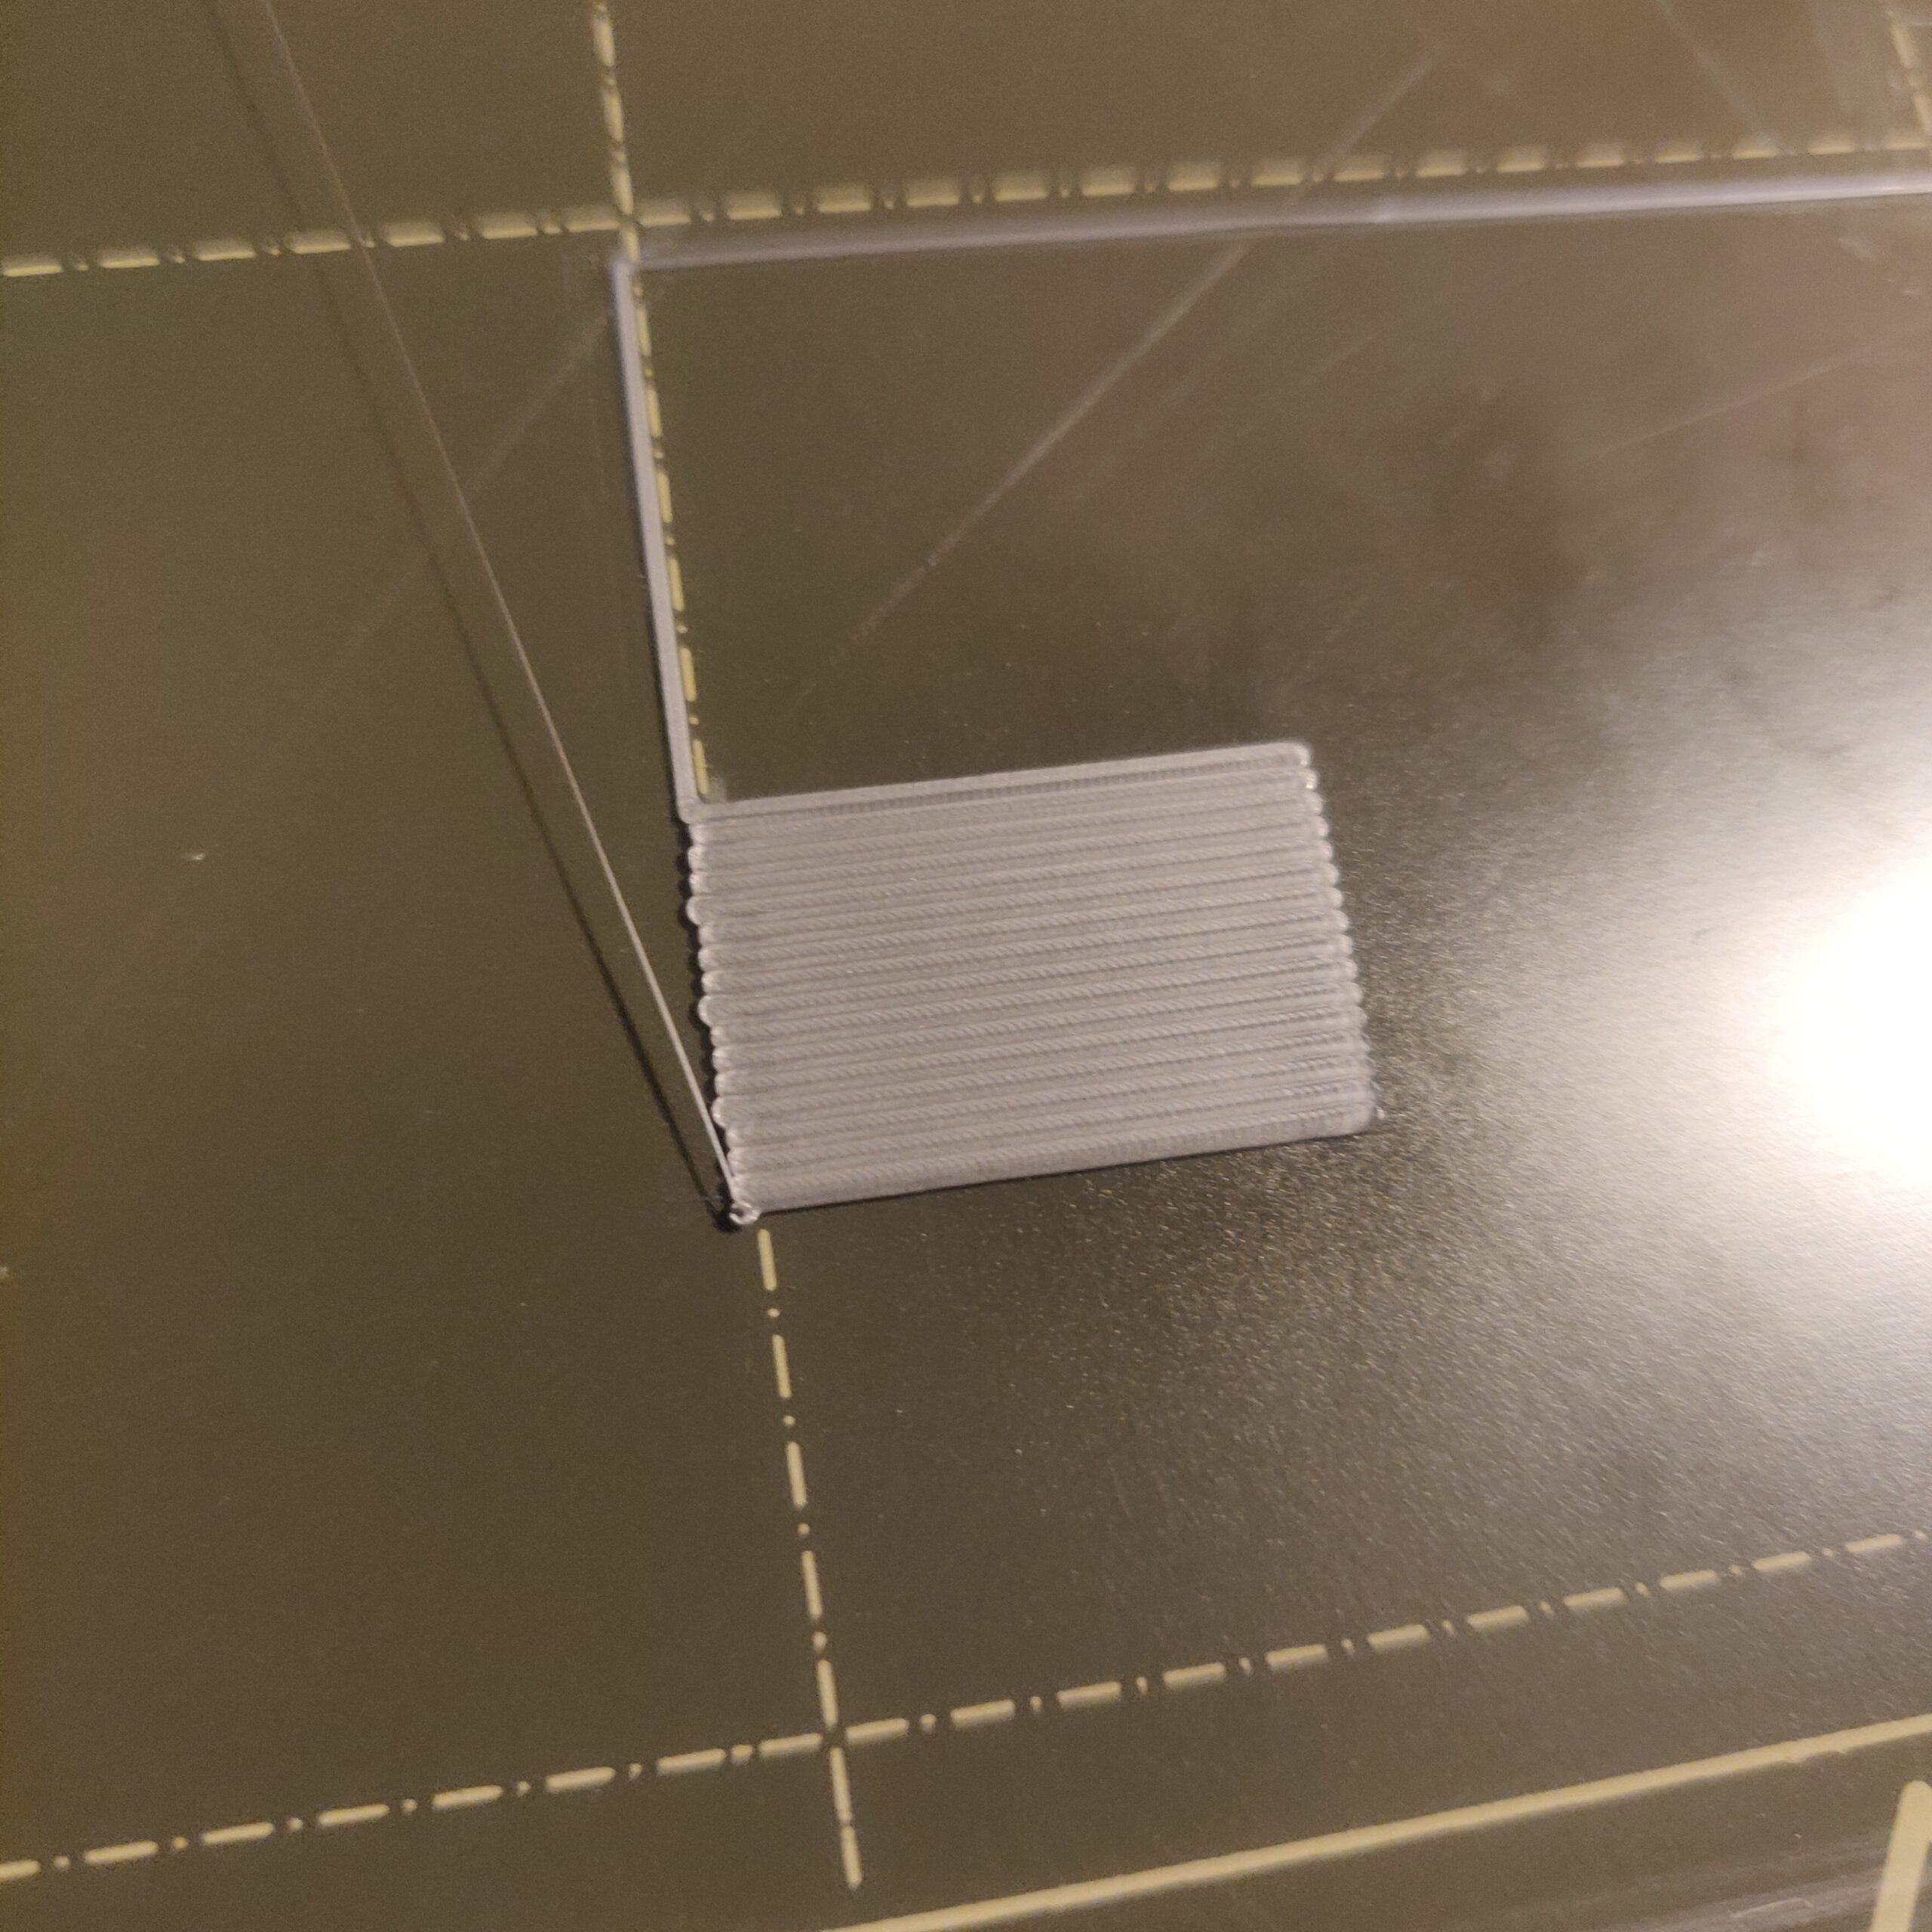
Good first layer?
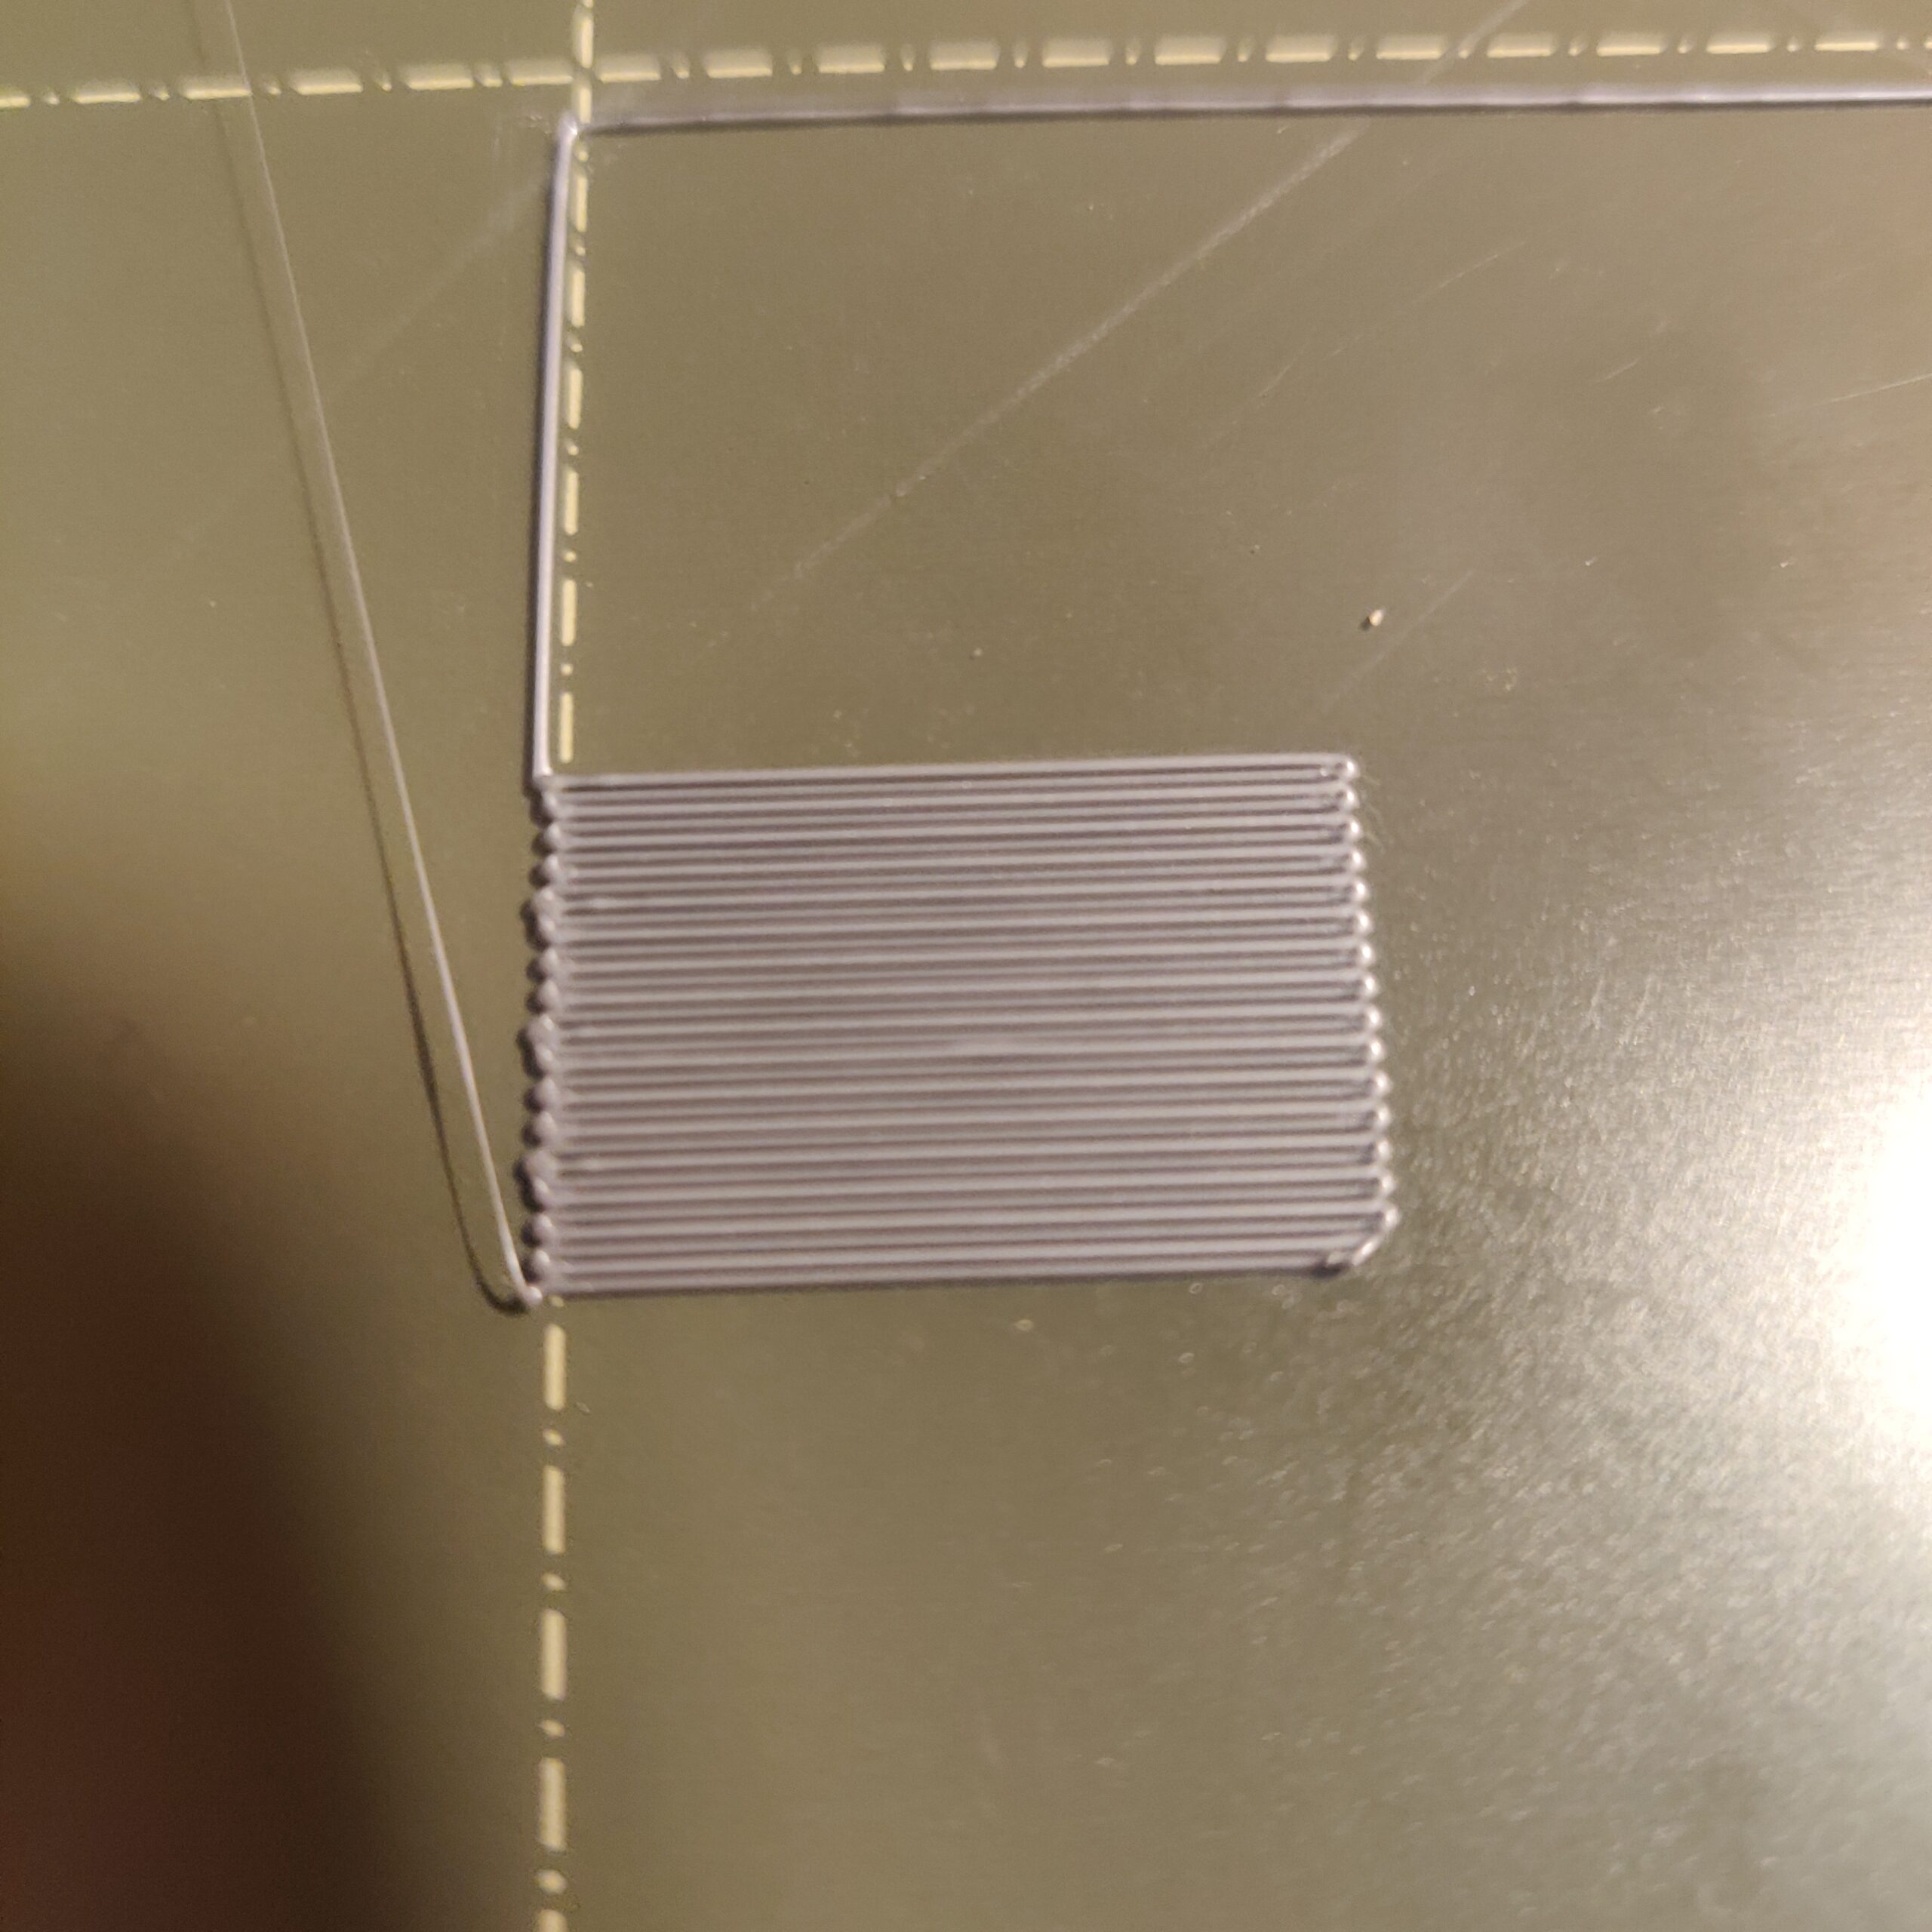
Two bottom pieces with the strange lines.
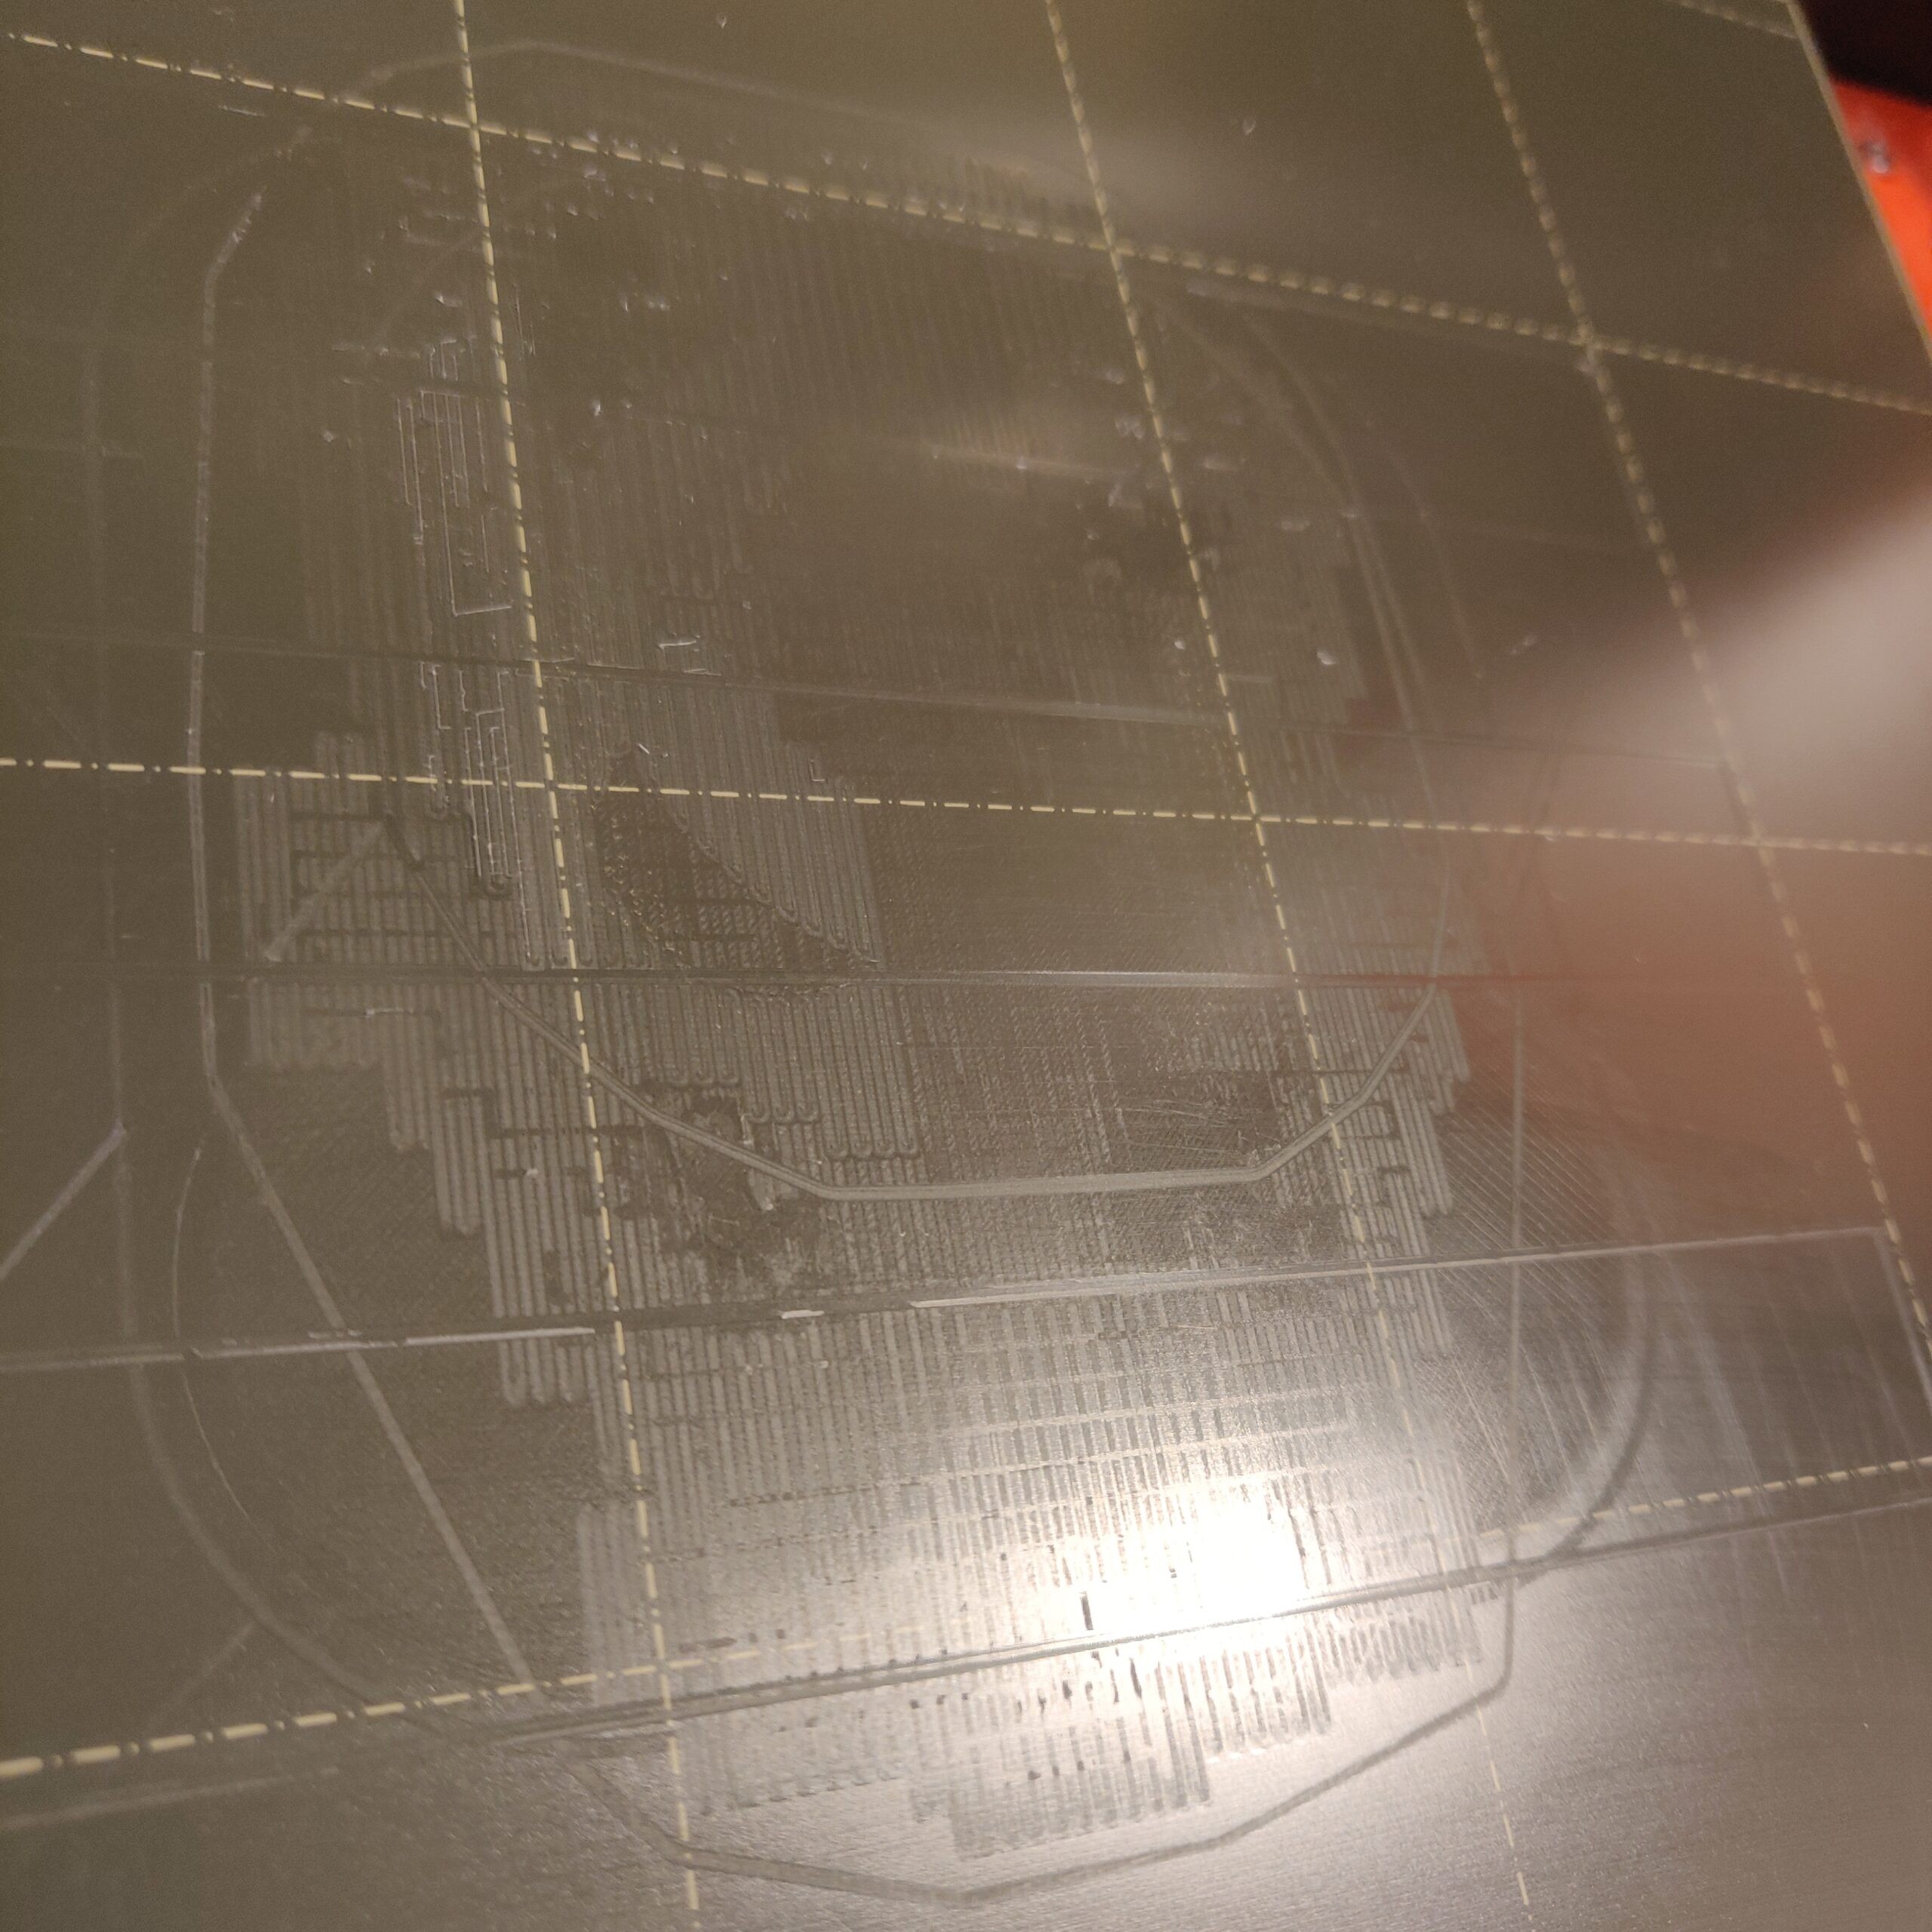
Bed condition.
As you can see the rounded portions in question don't contact the bed but rather the supports. The parts that do contact the bed don't look perfect either which is why I'm wondering about my first layer but any help appreciated. Another possible issue is that whenever I print an object with a fairly large footprint, say half of my bed space but centered in the middle, looking at the bottom I noticed the first layer doesn't seem consistent in every spot. This is why I'm using the 7x7 leveling but apparently it doesn't go higher than that. I know my bed isn't perfectly clean but it doesn't look like anything there is big enough to offset a level, someone mentioned I should clean it with dish soap so I'm going to try that but at the moment I'm just wondering about those strange lines on round pieces that don't even contact the first layer.
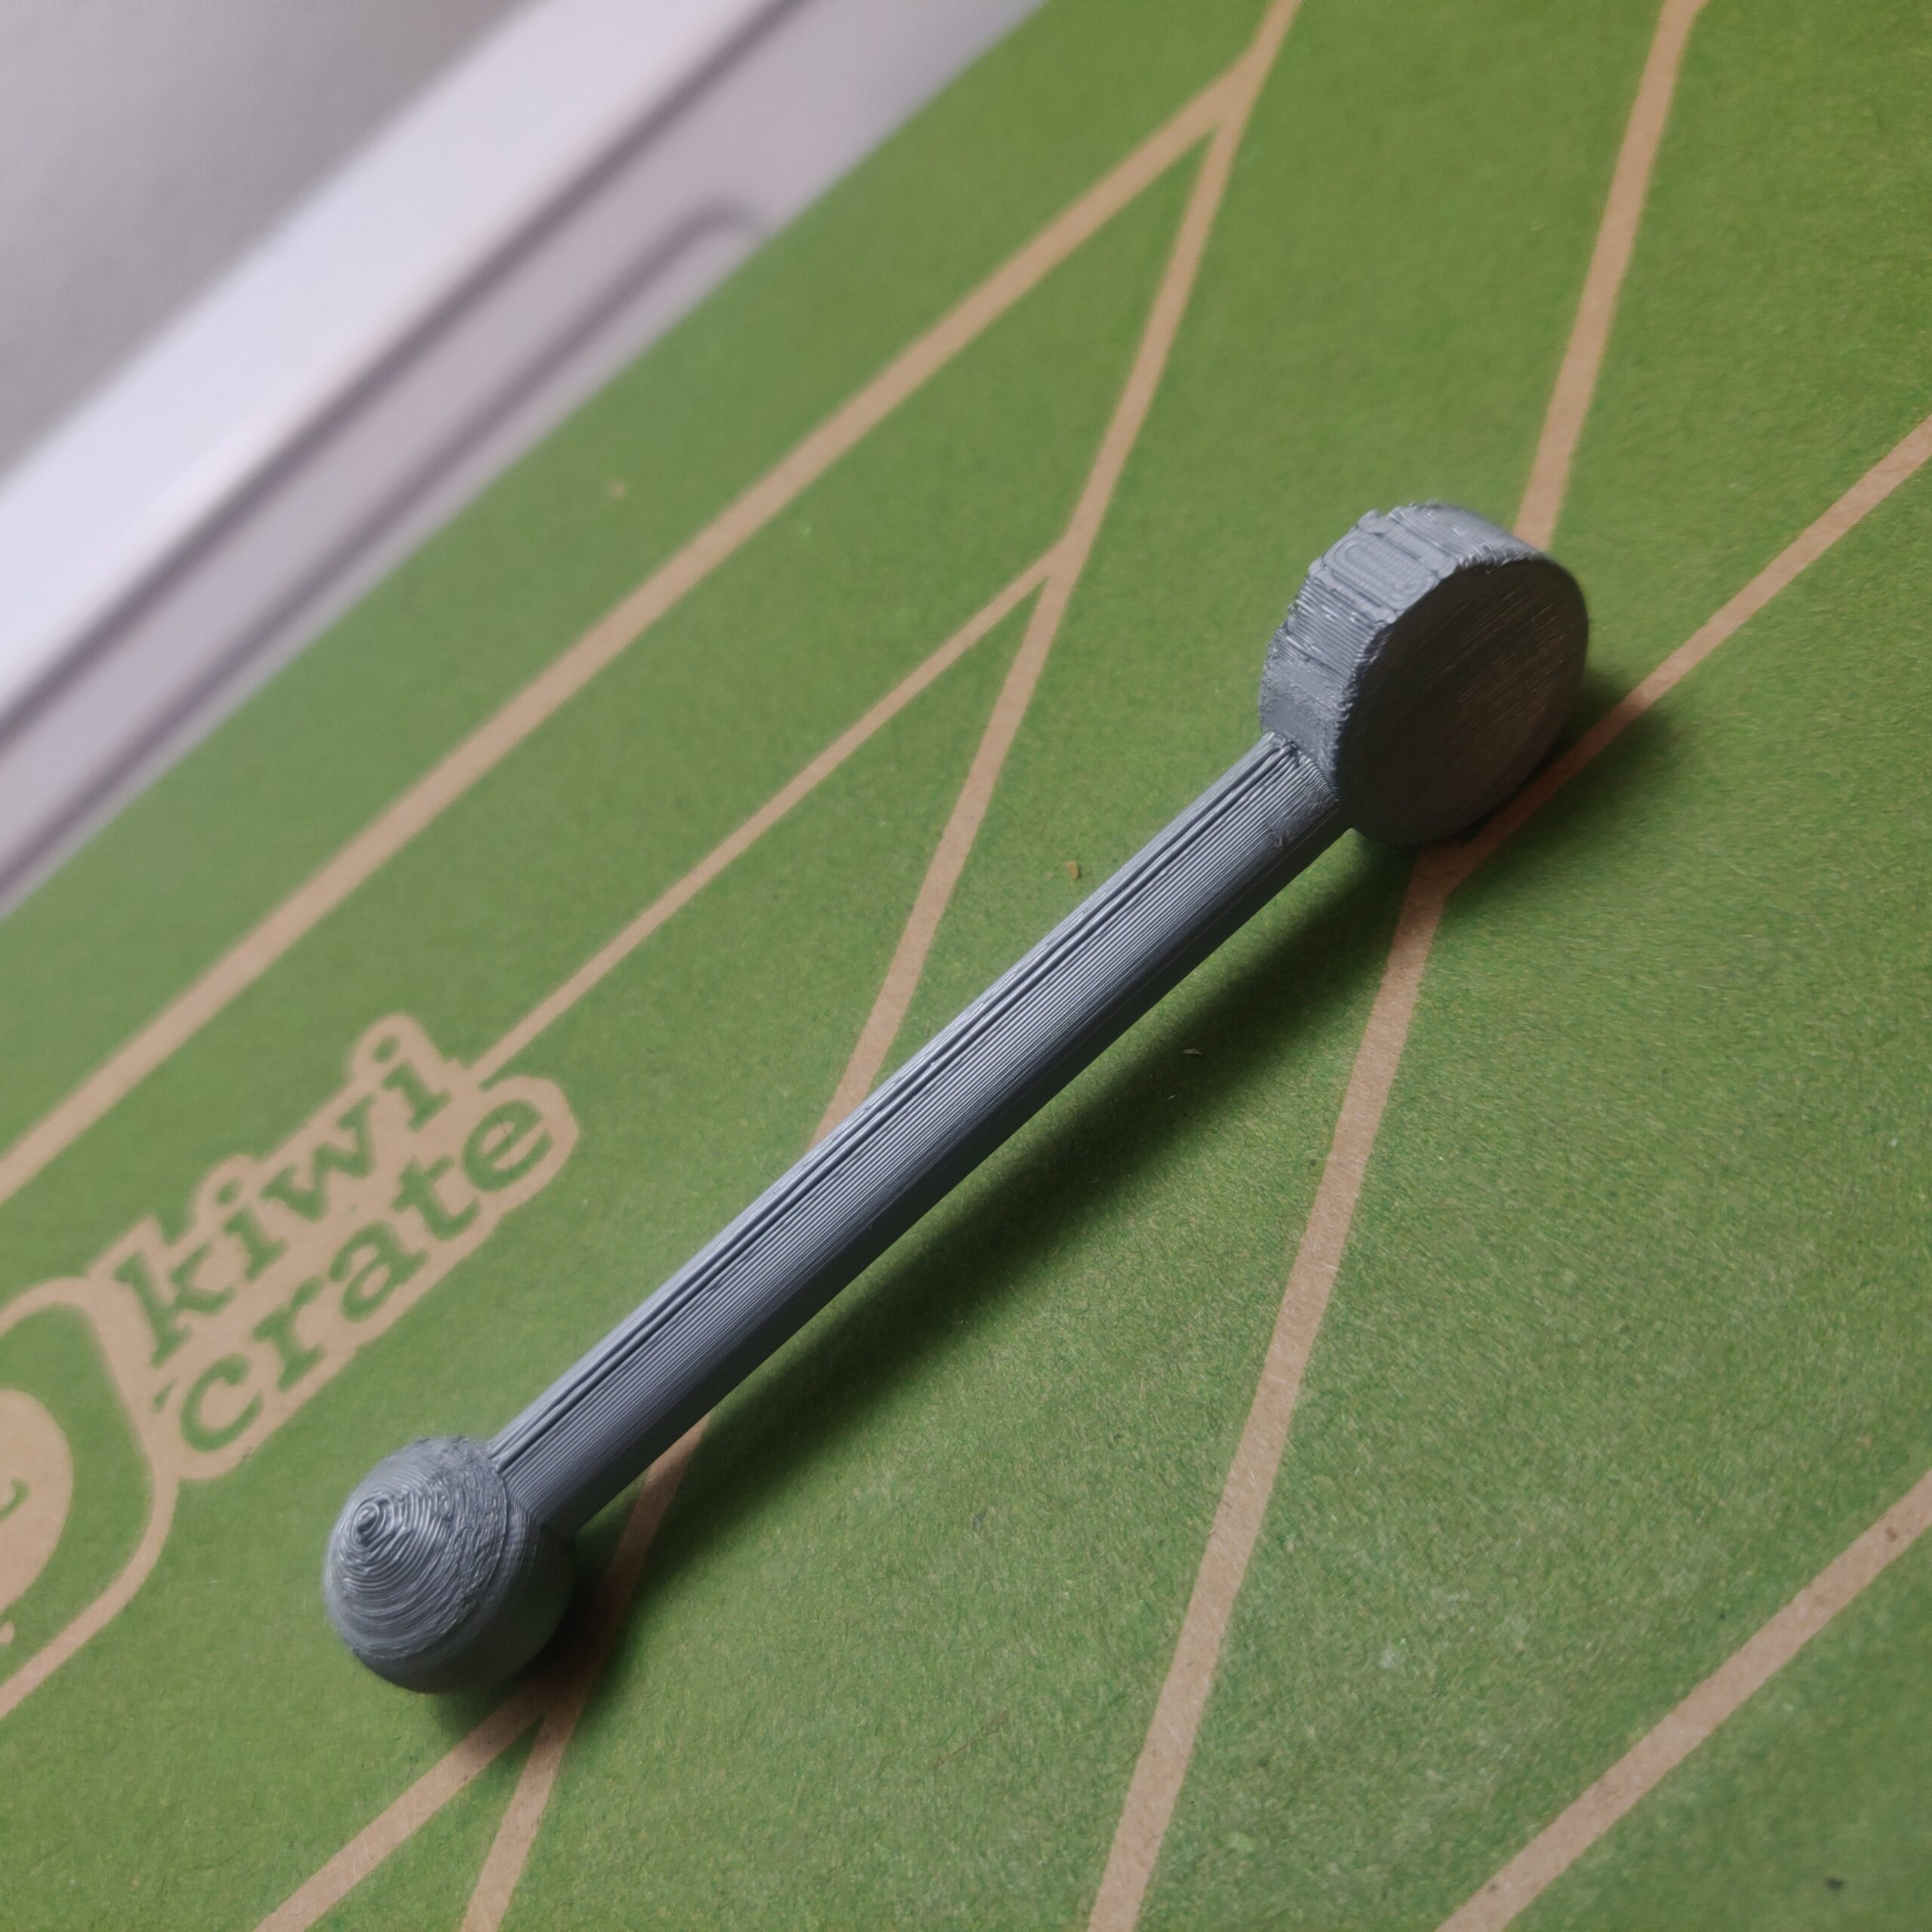
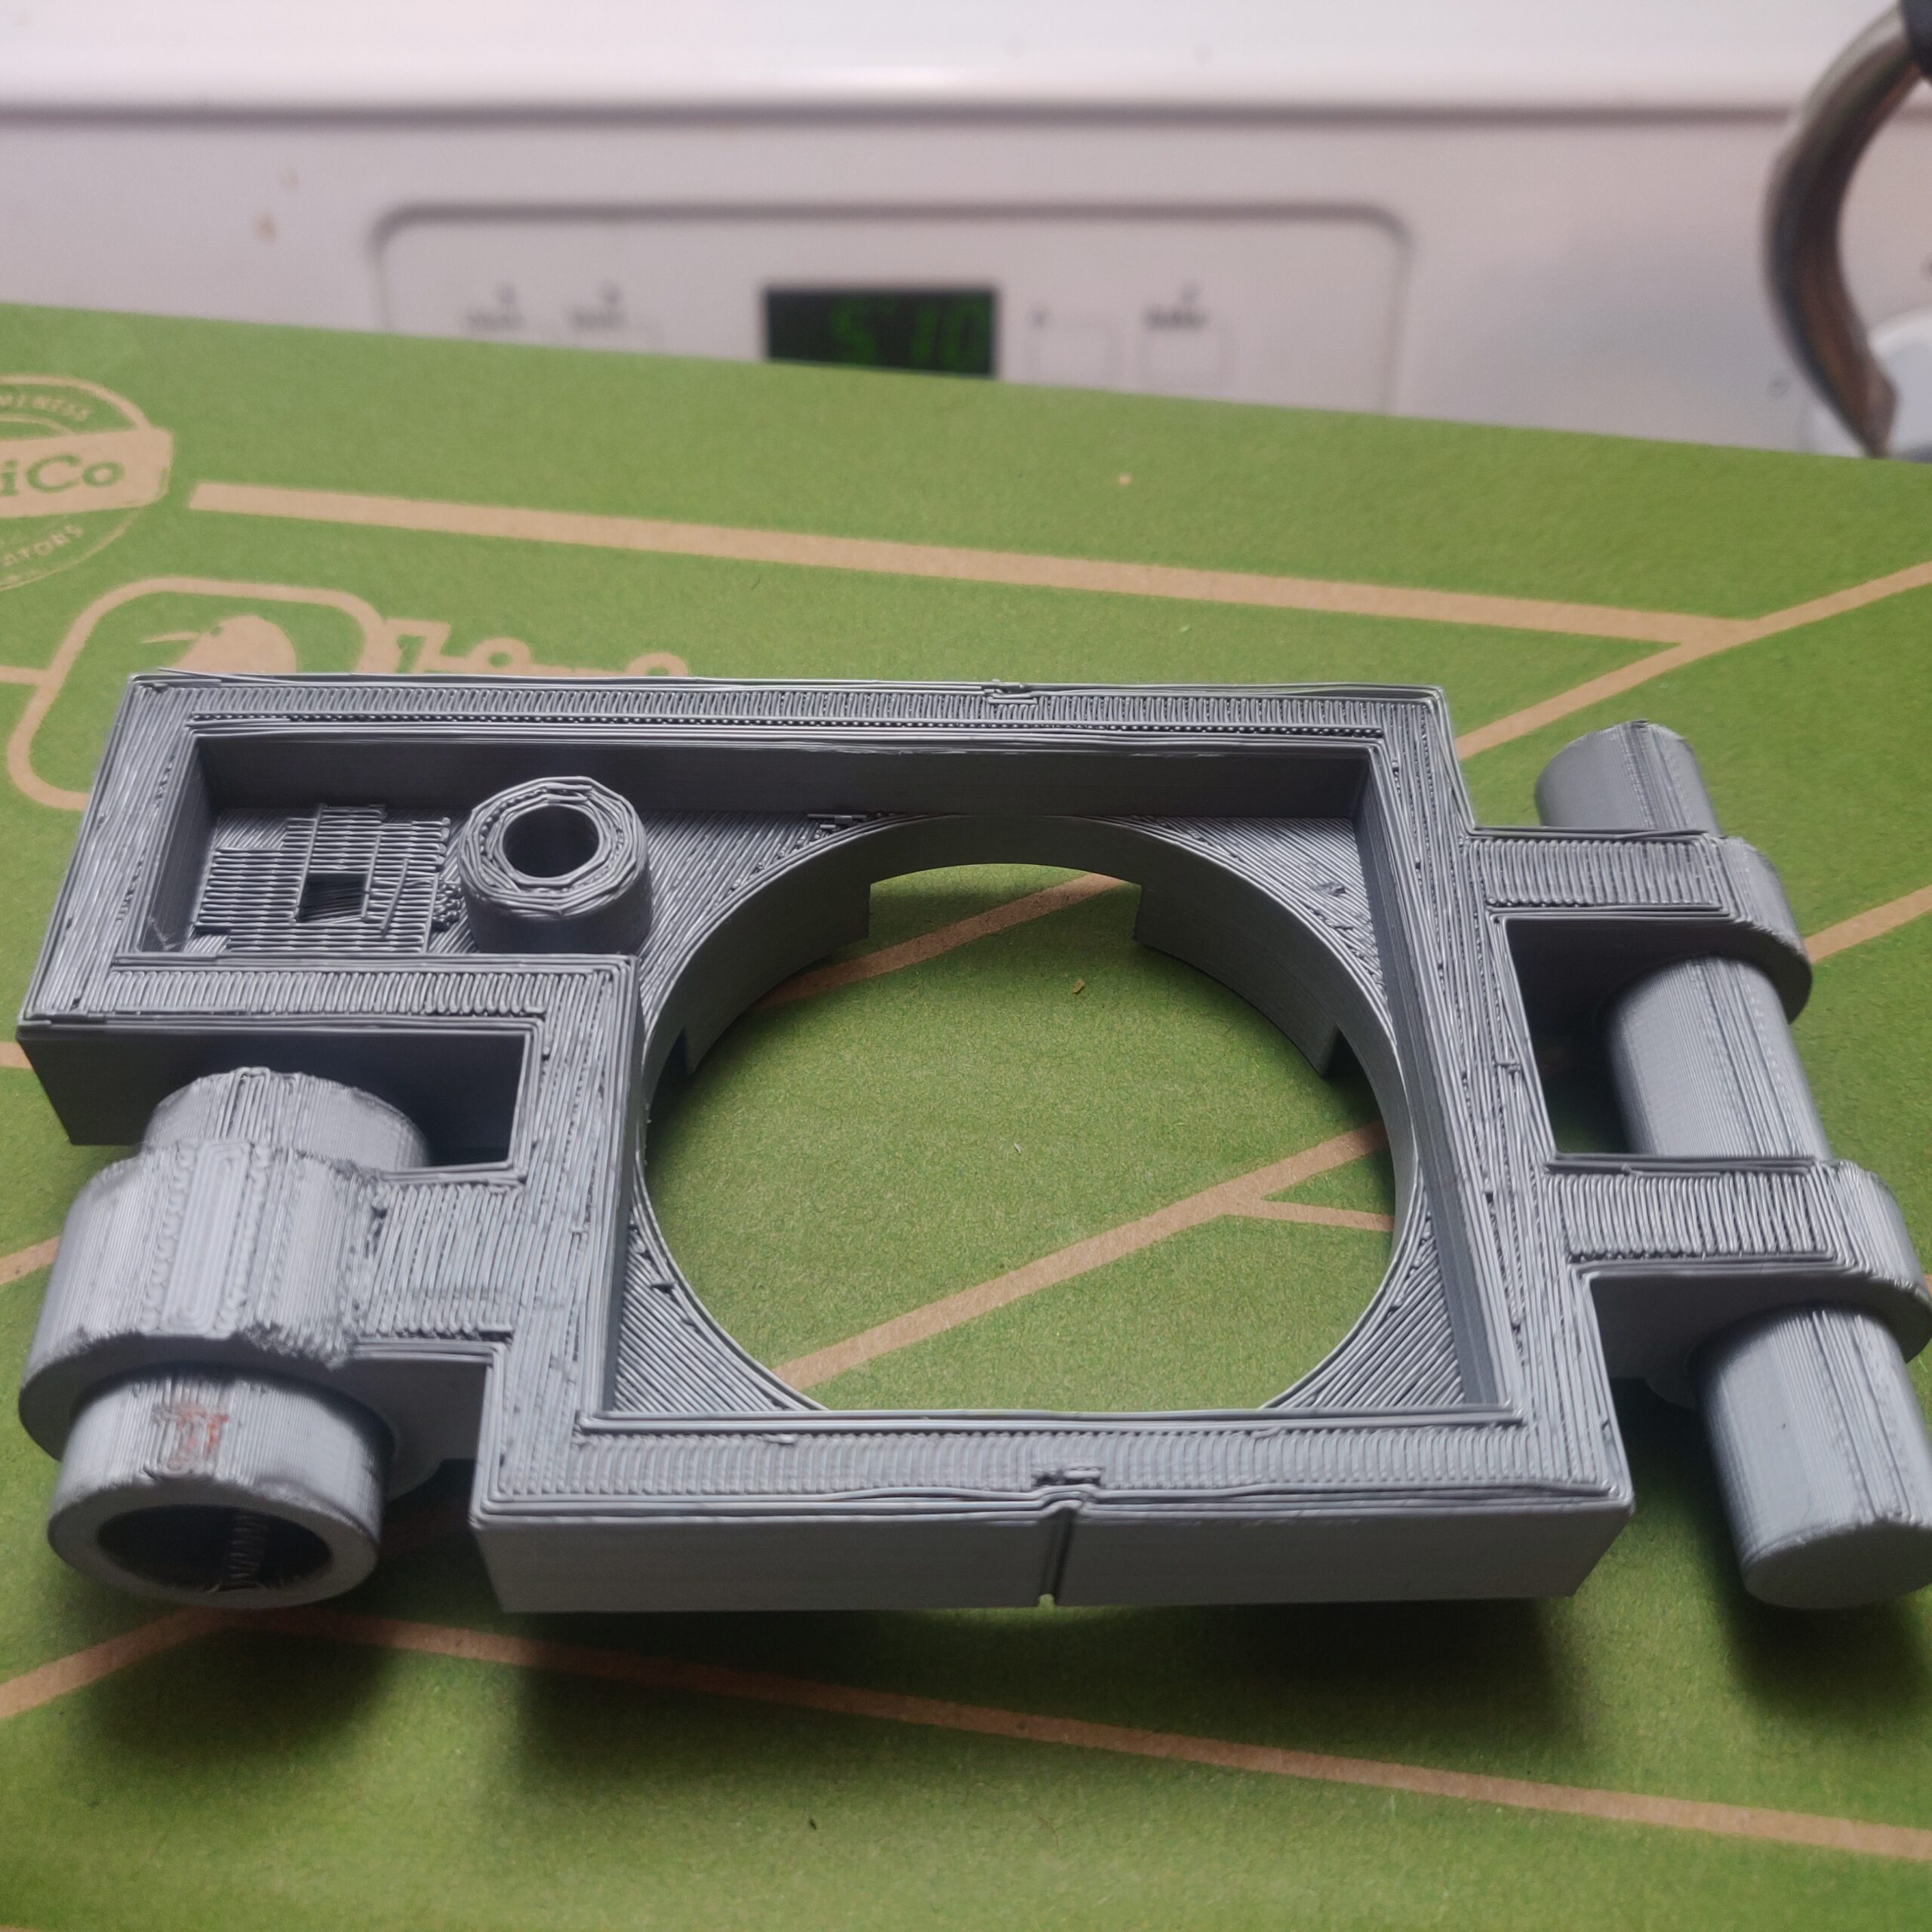
I considered the possibility that the rough lines are simply parts of the support that need to be cleaned off, if that's the case someone let me know, but if you look very closely at the pieces (not sure if it will show up in the pictures) it appears that the bottom rounded section isn't even fully printing, like the sections that curve inward at the bottom are more concave than they should be. Maybe it's my imagination and I just need to sand them.
The top sections look pretty much perfect to me so I haven't added any pictures of them.
lines...
Hi, this is what I think:
first picture: nozzle to high
second picture looks good, perhaps just a little to low, but that rarely hurts...
about supports: there normally is a small gap between the object and the supports on the z axis unless you use soluble supports. It can be found in print settings - support material - Contact Z distance ( see https://help.prusa3d.com/en/article/support-material_1698#contact-z-distance ). This makes the printed material "fall down" a bit during printing, this causes the extrusion line to be more visible because it's less squish (makes the supports easier to remove). If you set this to zero, this effect goes away but you won't be able to separate the support unless you use a different material (you can use PETG to support PLA and vice versa).
If at first you don't succeed, skydiving is not for you.
Find out why this is pinned in the general section!
Z distance
The support material article was very helpful and informative, thank you. It explains a lot of things I had questions about. So now I'm wondering if I have a non-zero contact distance does the slicer do the math to know exactly when it should extrude a layer so that it won't fall too far causing sagging in the final model? Or do I somehow have to eyeball it? And with soluble supports or using a different media as a support material - I assume that requires the use of an mmu so I can lay down multiple medias at once? I'd like to upgrade to that but wanted to make sure I could handle this whole printing thing first. I've made some awesome stuff and I'm really loving it but just want to get a better handle on everything. I tried printing with petg once and I know I had the temp settings right (at least they were at the pet g defaults not the pla defaults) but my print totally crashed so that requires a little more learning if you have any advice there. Also I only have the smooth sheet. Of course if it requires an mmu I couldn't use it to solve this problem anyway yet.
But using my current method - with a contact distance of zero and same media for support - I guess I'll just try sanding it a little and see if I can get a uniform shape
I also need to read up on soluble supports - I assume this refers to using a support material that is "soluble" in a solution such as alcohol or acetone when your main media is not?
RE: Bridging
Just read up on bridging flow, speed and temp as well so I'll have to run some of those tests to see how it's working.
Knowledge base - this is the way
Prusa Knowledge base is quite good and detailed. Hint: you can click the parameter name in Slicer to get to the respective article.
yes, for different support material you need the MMU (one of the reasons I wanted to have one). To get to know 3d printing in general and your MK3 in particular before buying an MMU kit is good idea. There are water soluble materials (e.g. PVA+ and BVHO see https://shop.prusa3d.com/en/29-special ) they are really tricky to print - at least in my experience…
As far as I am concerned, every problem with the MK3 and the MMU turned out to be manageable with the help of the knowledge base, the forum and the Prusa support…
If at first you don't succeed, skydiving is not for you.
Find out why this is pinned in the general section!