RE: Slicer problem?
Thanks for posting a picture. Could you zip and upload your .3mf file as sliced? Without that, impossible to add any thoughts. If is a slicer problem though, you can see the lines in the sliced preview (meaning it is in the model, usually).
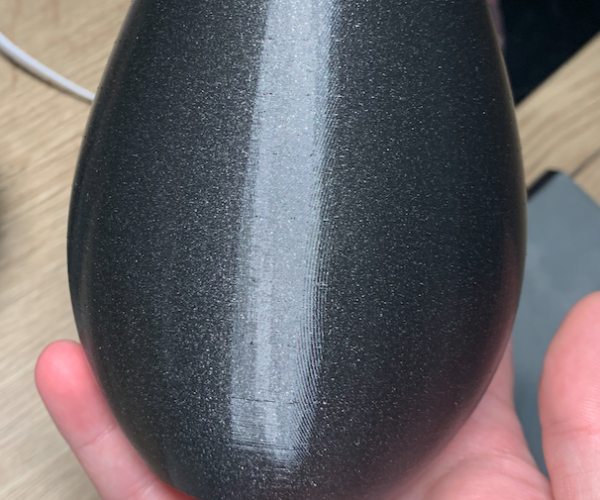
Also, please call out which lines you are worried about - there's a lot of different effects on that print, so hard to tell what was the original model intent.
RE: Slicer problem?
I have some thoughts but its hard to tell, if what I'm thinking is correct from an image, as Dan mentioned, you can create a .3mf project file in slicer, then zip it up and post it here through the Add Media button in the reply window. its all drag and drop.
The Filament Whisperer
RE: Slicer problem?
@timvdhoorn
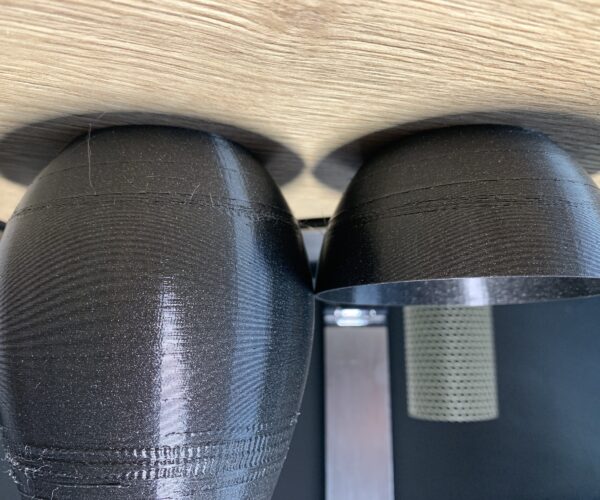
these blemishes are due to the this section of the walls,
the gap fill has broken into lots of tiny sections which means a massive number of retractions and detractions which causes lots of Blemishes
I try to make safe suggestions,You should understand the context and ensure you are happy that they are safe before attempting to apply my suggestions, what you do, is YOUR responsibility.Location Halifax UK
RE: Slicer problem?
@joantabb
Thanks!
what can be a solution? Print without infill?
RE: Slicer problem?
Not to pre-empt Joan, but this is a likely variation of the "bulge" defect that can be created when there are infill transitions (e.g., sparse to solid infill, perimeters to gap infill). Some quick things you can try:
- Add a perimeter or two. You might be able to eliminate the gap fill shown in white. This only works if the wall is thick enough, unlikely in this print.
- Adjust extrusion widths. Depending entirely on the thickness of the wall, some widths work better than others.
- If the part is your design, make the wall a bit thicker.
- Toggling Print Settings->Layers and perimeters->Quality->Detect thin walls can sometimes help.
I just did a slice using a 0.42mm extrusion width and am getting consistent perimeter (orange and yellow) walls with no gap fill and no irregularities.
Calibrating your extrusion multiplier can also help as any over or under extrusion will contribute to uneven walls. That will help reduce the z-seam defect as well.
You might also try changing Print Settings->Layers and perimeters->Adavanced->Seam position to "Rear" to align the z-seam and rotate the part so it's less visible. This will align the seam and reduce "zits" across the surface. It is still visible, but you might be able to hide or post-process it easily.
I'm sure other folks will have some suggestions. Each print can require unique settings.
and miscellaneous other tech projects
He is intelligent, but not experienced. His pattern indicates two dimensional thinking. -- Spock in Star Trek: The Wrath of Khan Unfortunately,…
RE: Slicer problem?
@timvdhoorn
Try something like this, Rev_Lower_vase
Good Luck
Swiss_Cheese
The Filament Whisperer
RE: Slicer problem?
your model has to may perimeters and the thickness varies in a way that causes the use of gap fill and "ensured vertical shell thickness" the walls of the model don't offer enough room for all the material you have set to go into them so slicer is trying its best to do what you told it you wanted. I've increased the layer thickness (don't worry your 0.4 nozzle can handle it), set the perimeters to 1, changed infill to none and turned off "ensured vertical shell thickness" this removed any infill that slicer might have wanted to add.
you still have two areas of this model that could be a problem, that is the lower (first 1/3) area " it's wider then the rest of the model (it should print ok), and the upper middle its the thinnest part of the model and the single perimeter at 0.65 may still overlap a bit. anyway give this a try, it should print in about 4 hours or so and if needed other adjustments can be made, this should give you a place to start correcting for the models short comings.
Let us know how it goes.
Swiss_Cheese
The Filament Whisperer
RE: Slicer problem?
The underlying problem is the walls are too thin. At different parts of the curve, with a 0.4mm nozzle, you have space for just one outer perimeter, one inner perimeter and about half an extrusion width of filament between them. The blemishes are the slicer trying to stick the inner and outer layers together when there is no room to do the job properly.
As @bobstro suggests:
If the part is your design, make the wall a bit thicker.
With the default nozzle your thinnest, reliably accurate wall will be around 2.25mm. Yours is less than half that.
Cheerio,
RE: Slicer problem?
Thanks everyone for the anwsers! I didn't expected this many help! 🙂
I also tried some adjustments myself and settled with infill 0% And look!
Edited_Lower_vase.3mf Here is my edited slicer profile for reference.
RE: Slicer problem?
@timvdhoorn
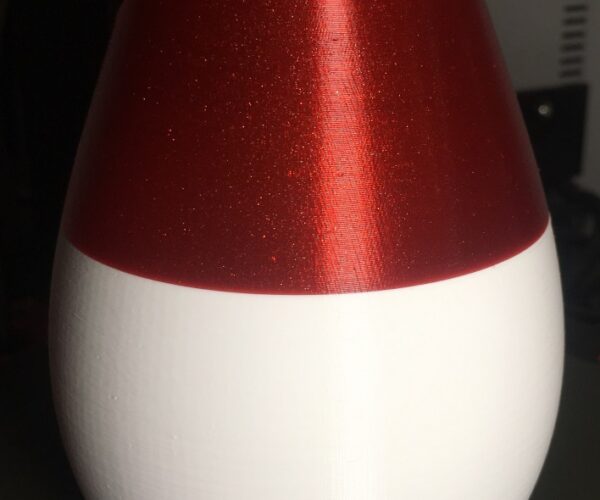
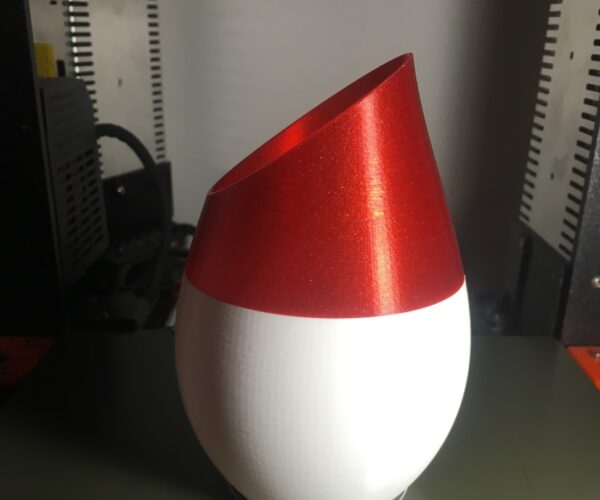
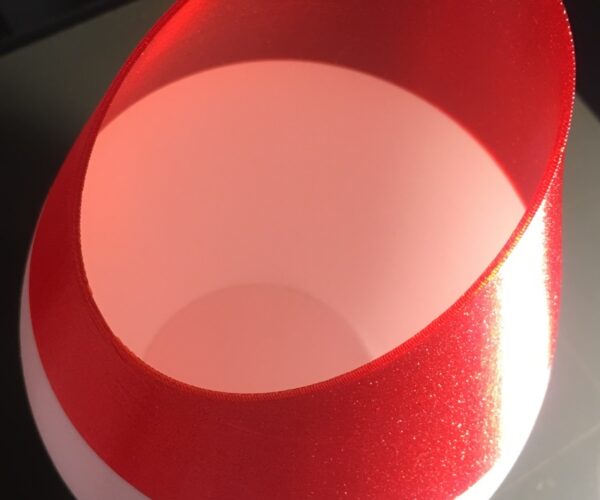
I printed one last night with the last of a roll of Overture White PETG, when that ran out I finished up with Prusament Carmine Red PETG.
Using the profile I posted earlier the vase printed fine, no alteration of the model was necessary, after printing this one I made a couple adjustments to the .3mf, I ticked "avoid crossing perimeters" and added a "height range modifier" to allow for 2 perimeters for the first 1.2mm only, this was to improve the strength of the bottom the vase prints solid and is quite strong.
Here's the adjusted profile in case your interested.
Hope this helps someone,
Enjoy
Swiss_Cheese
The Filament Whisperer
