Shorter paths different height in first layer
I found out a strange behaviour while printing my LACK pieces. Looks like the printer is either changing extrusion rate or shifting Z when nozzle's path length changes. Some of the piceces have a hole in the center, and as can be seen from the pictures, the layer is way lower for paths between them and the edge:
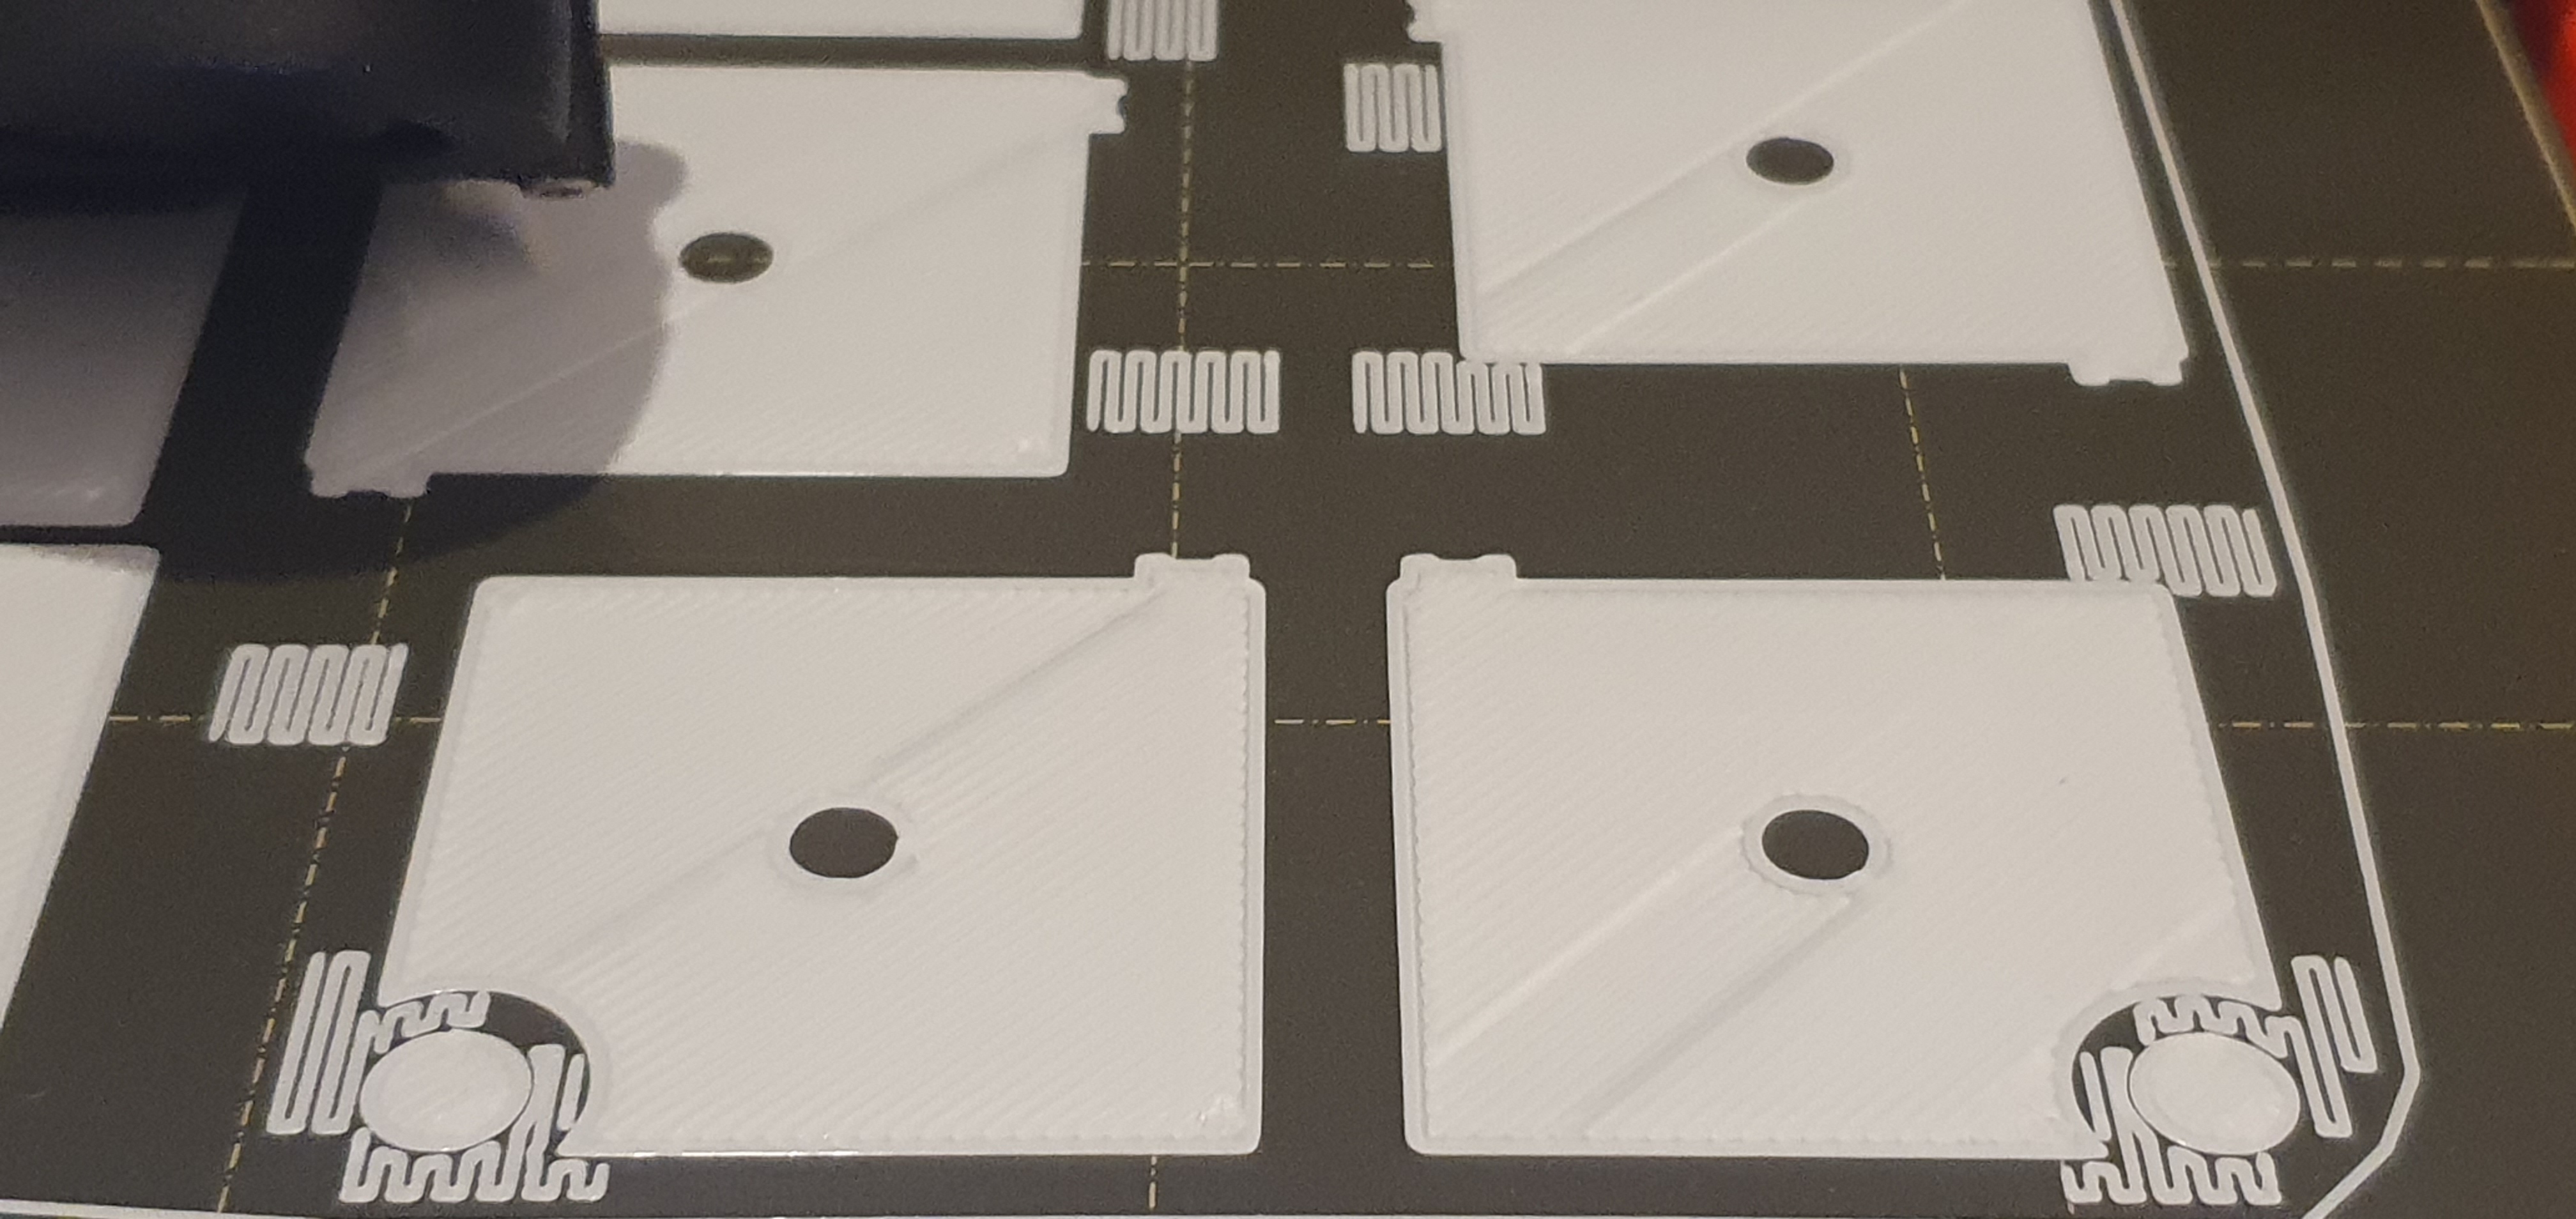
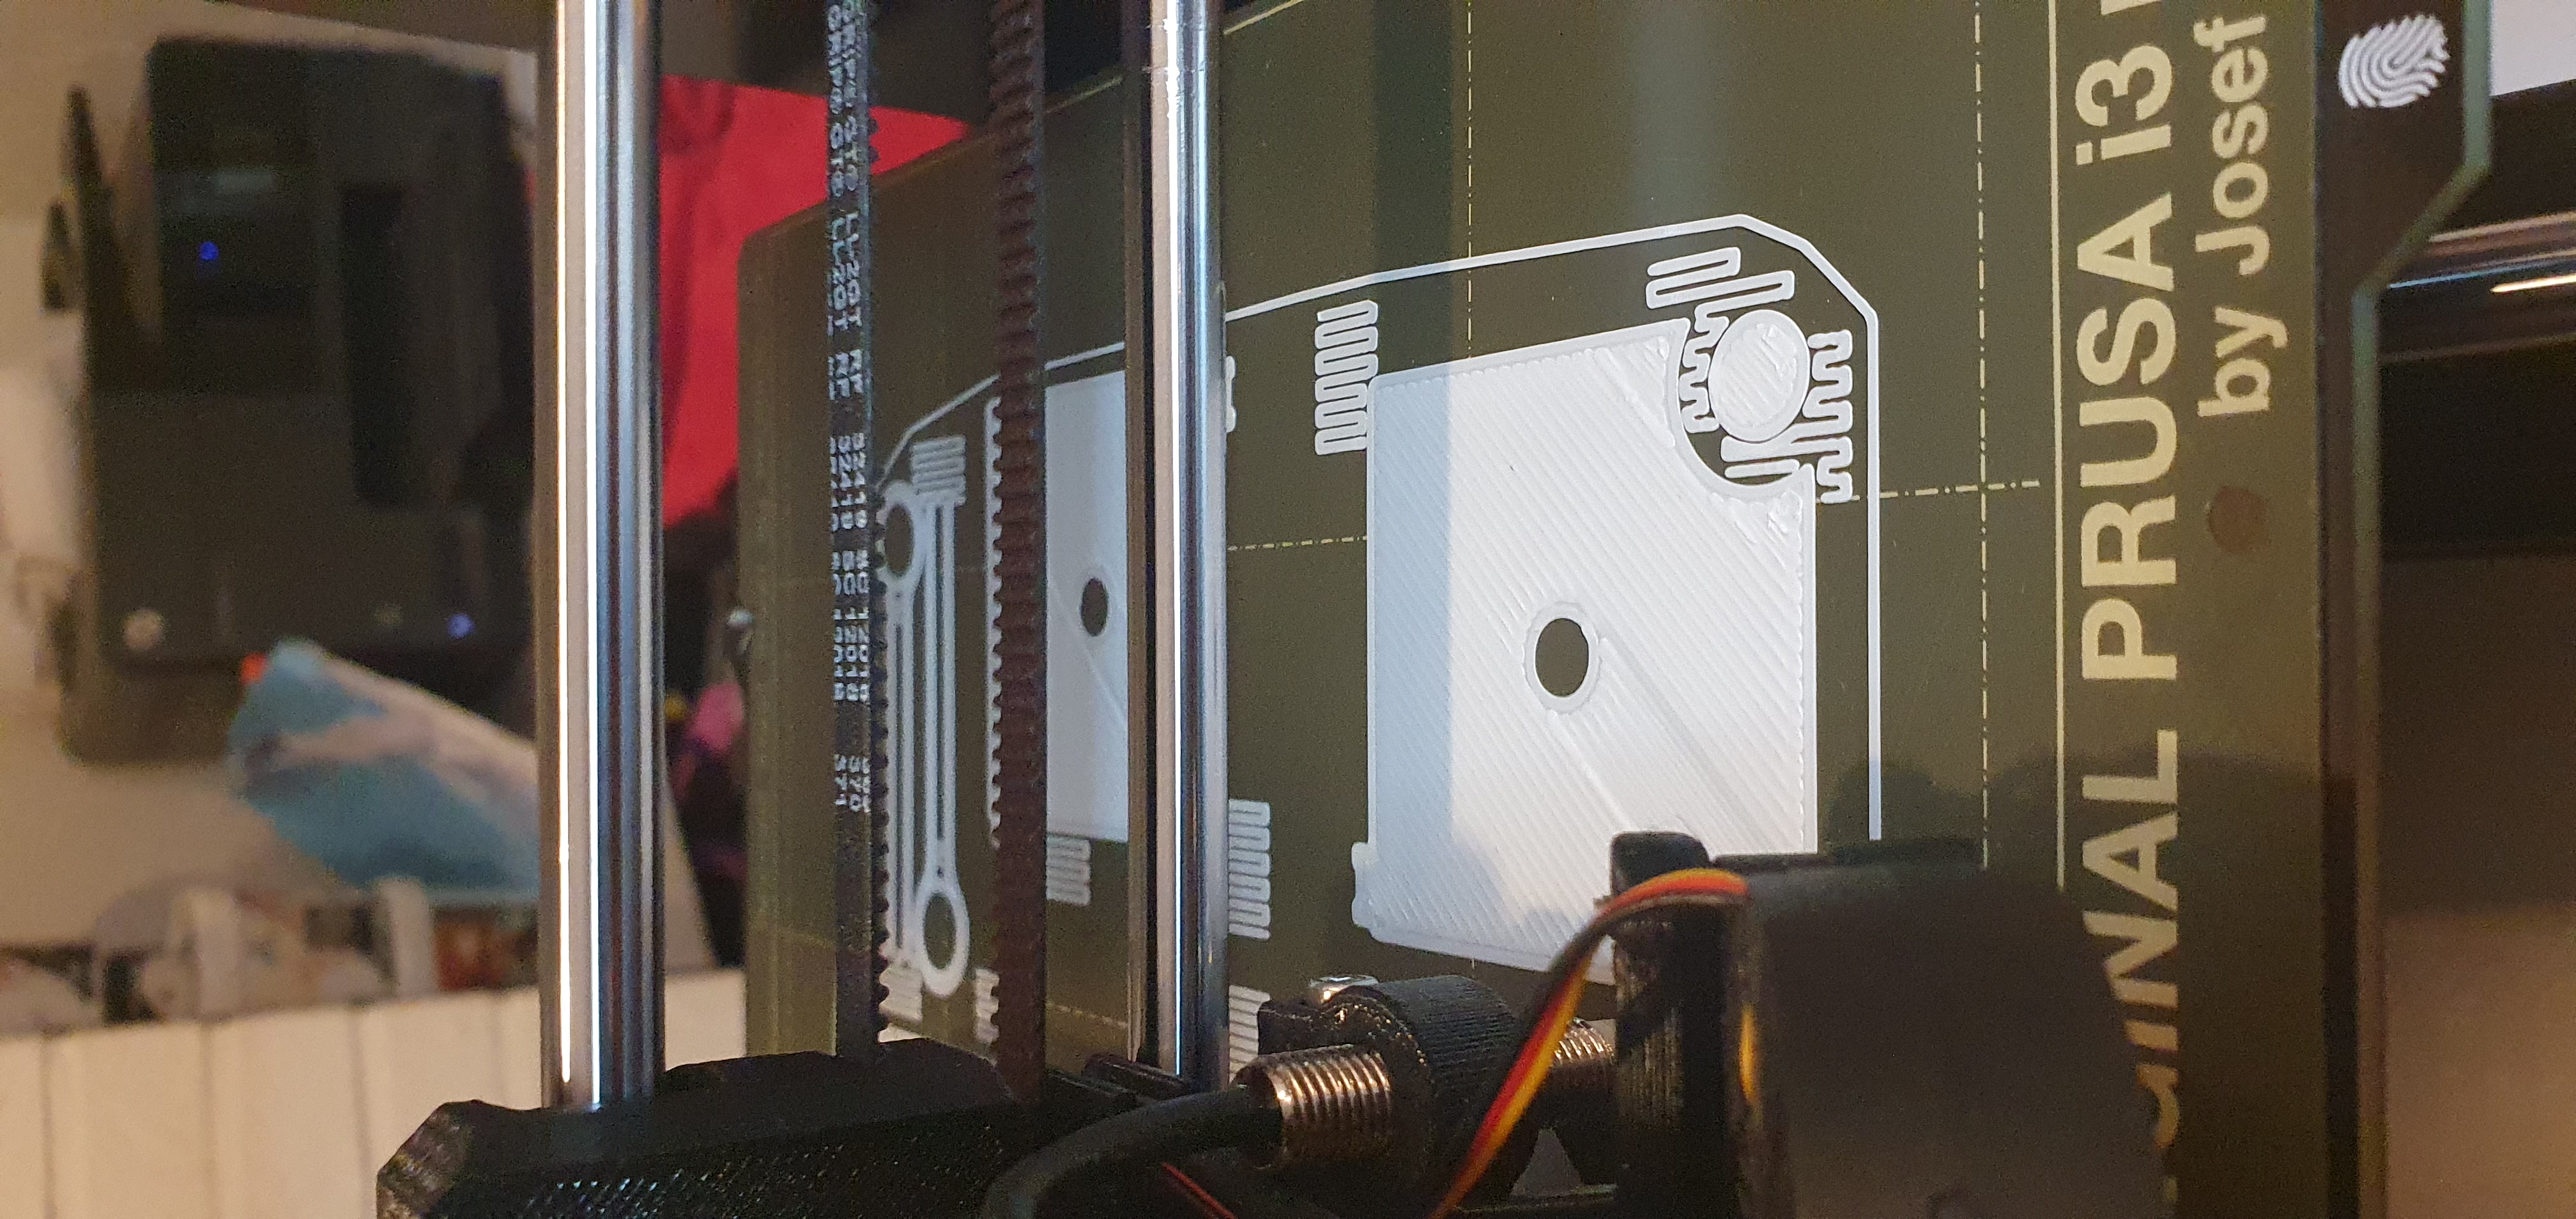
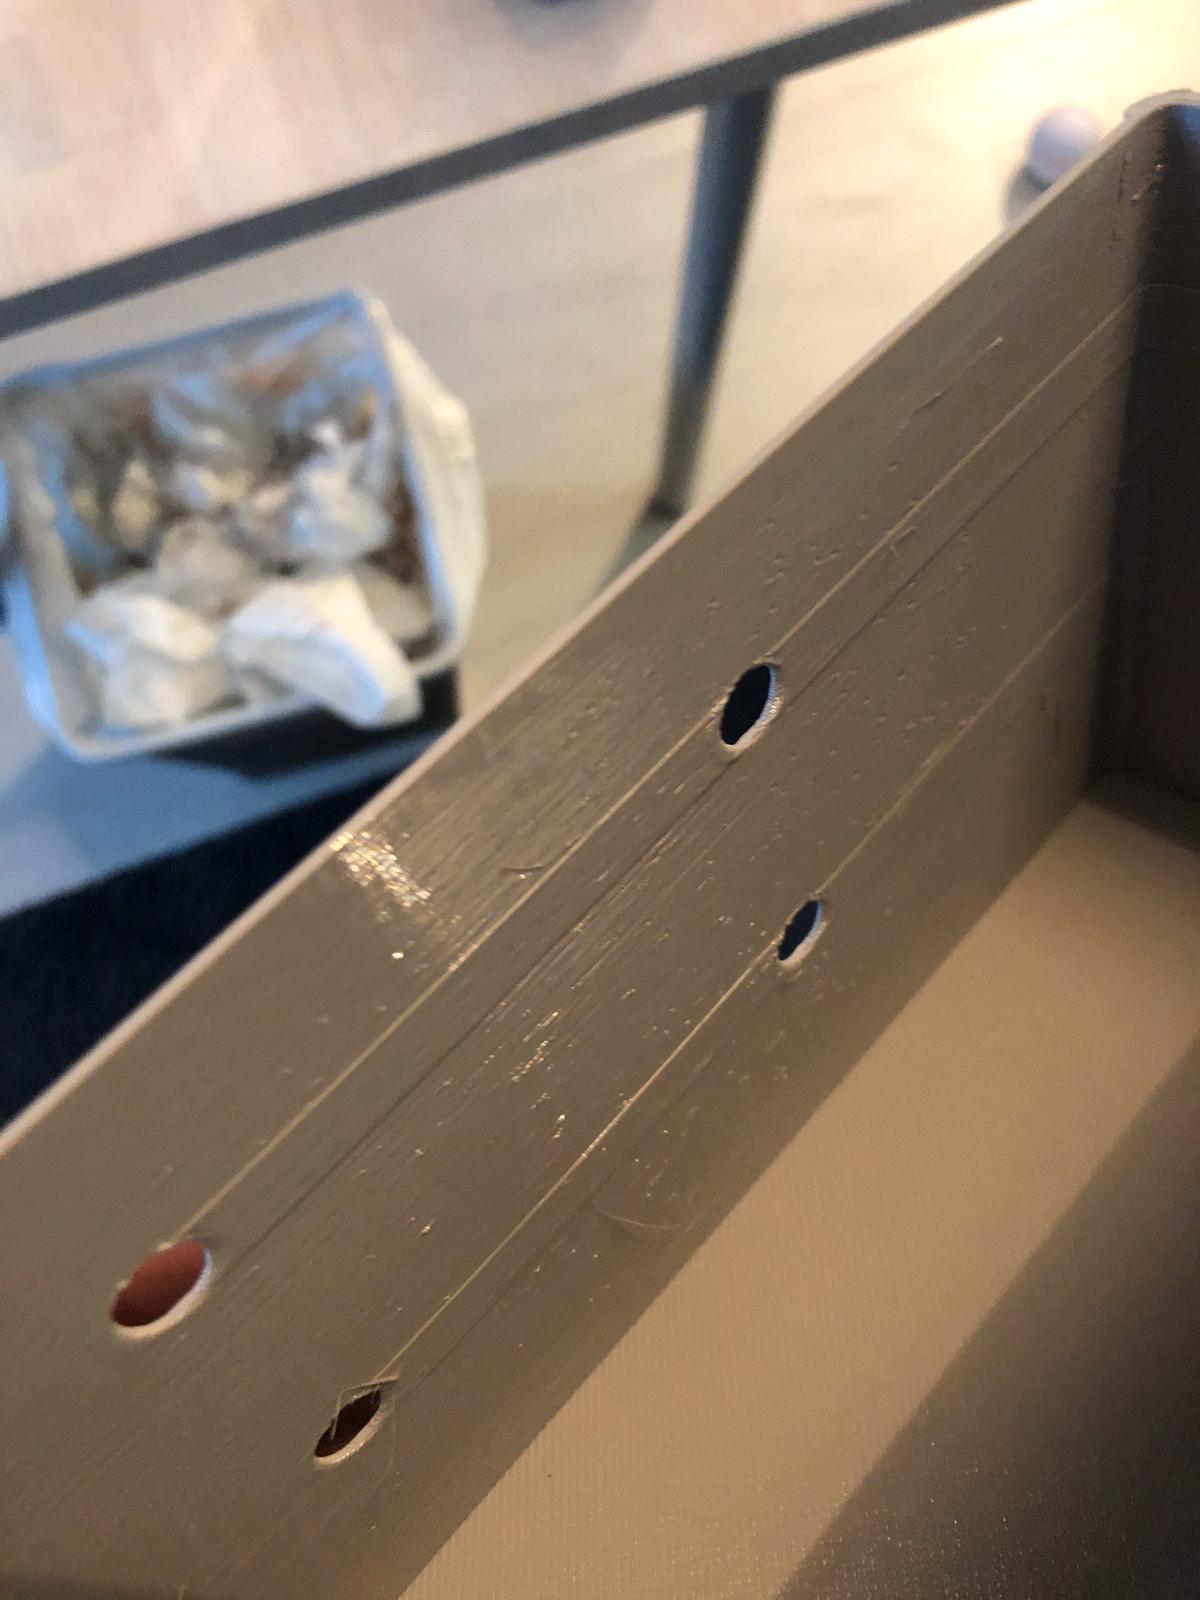
This obviously does not matter with these pieces as the height gets compensated during later layers, but with thinner objects, the difference is big.
My 1st layer Z is pretty good as the relatively smooth surface suggests, bed has been levelled to 0.04 variance and I also calibrated extruder.
MK3S, filament is Prusa PETG, slicer prusaslicer, nozzle 0.6, layer height 0.3 + rest pretty much defaults in slicer.
As a bonus, my friend noticed this while we were debugging my layers, might be related, seems that his MK3S is shifting Y with shorter paths?
Thanks!
RE: Shorter paths different height in first layer
For your friend, there is a painfully long and detailed discussion of this topic they can read through. The tl;dr version is:
- Slow down external perimeter speeds. 25mm/s seems to work.
- Add a perimeter wall if you can. Thicker perimeter walls tend to even out the filament flow.
- Calibrate your extrusion multiplier when trying new filaments. If your extrusion multiplier is off, the slicer settings don't match the real-world printer and filament. When settings don't match, you can get small amounts of over-extrusion. When you get small amounts of over-extrusion, it has to go somewhere. I can't go down. It goes out, creating surface irregularities, or up to drag the nozzle.
Your issue with the top layer is somewhat similar. What is happening is that the nozzle changes speeds when it goes back to fill in that section around the hole. It is also likely not matching the direction of the other lines, creating the "lawnmower" effect. If this is a surface that is going to be buried under the next layer, don't worry about it. If it's a top layer and you're worried about visual quality:
- Try another top solid infill pattern.
- Try thinner top solid infill extrusion widths. Finer lines can sometimes even the lines out.
- Slow down to help even the flow. Here again, 25mm/s helps even top surfaces a bit.
- Use the variable layer height feature to use thinner top-most layers.
Here are some tests I've done:

- Top-left is Cura default results with 0.2mm layer height.
- Bottom-left is Cura with ironing enabled.
- Top-right is PrusaSlicer default results with 0.2mm layer height.
- Bottom-right is PrusaSlicer with same settings but using variable layer height for a thin (0.05-ish) top-most layer.
and miscellaneous other tech projects
He is intelligent, but not experienced. His pattern indicates two dimensional thinking. -- Spock in Star Trek: The Wrath of Khan Unfortunately,…