PrusaSlicer - print problems on a hose adapter
Hello,
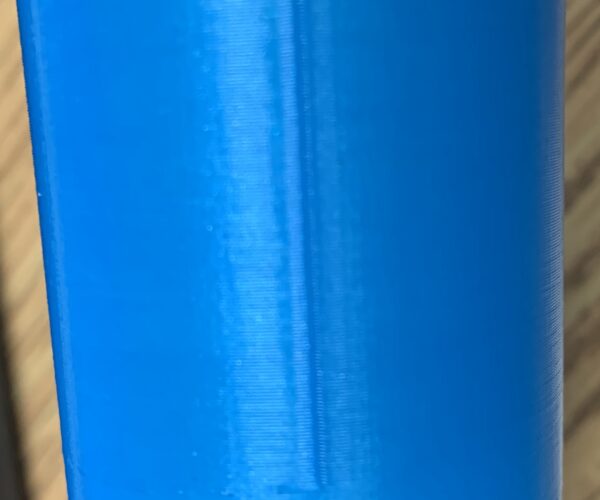
I am trying to print a vacuum nozzle and seeing a depression in the final print. Tracing it back, I see an anomoly in the sliced stl but not in the view of the STL nor in sketchup. The gap doesn't go all the way down on the tube. I don't see anything on the STL that would indicate any variation.
Here is close up on the print
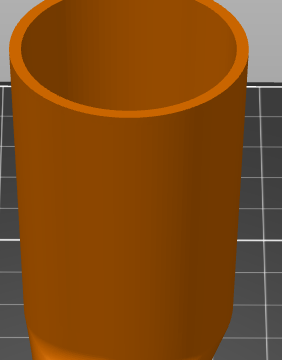
Here is a closeup on the STL
Closeup of the preview STL in PrusaSlicer
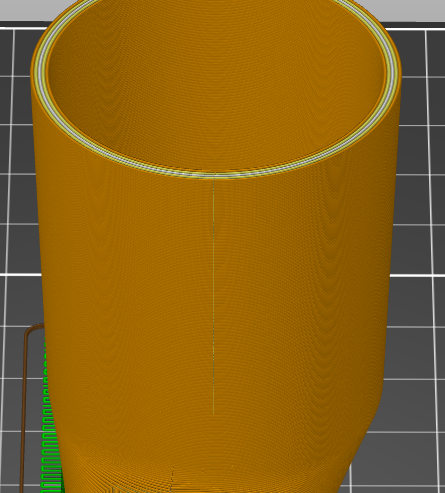
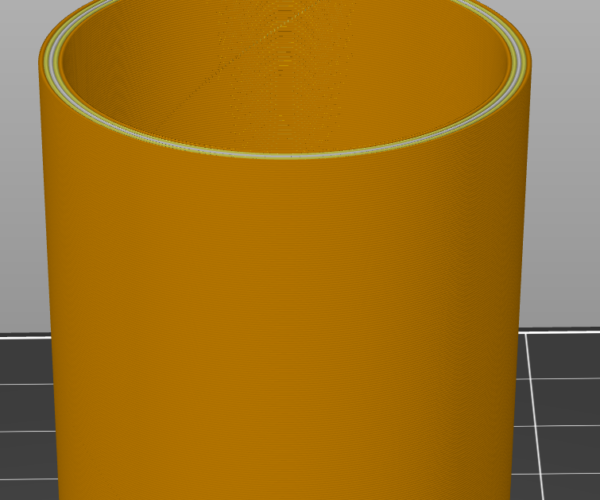
Sliced view in PrusaSlicer.
My settings are .20mm layer height, Prusament PLA.
Does anyone have suggestions on where to start troubleshooting?
Thanks,
John
RE: PrusaSlicer - print problems on a hose adapter
Its a "seam".. you can see it in your last screen shot of the layer view..
This is simply where the print moves to the next layer and there is little you can do about. There are options to "randomize" the layer change, which then scatters the seam all over the print.. and you can also rotate the print such that the seam is in a more favourable location.
But in general its just a visual blemish and something you have to learn to live with.
RE: PrusaSlicer - print problems on a hose adapter
Hi John,
I think the only way you will totally get rid of that is to use a resin printer...
FDM printers work by depositing molten streams of plastic filament in shapes on layers to create the final model, where these streams start and stop, you will have anomalies.
this is usually called a seam.
On a model with corners, the slicer tries to hide the seam in corners, to make it less obvious.
Round models don't have many corners. so you are left with deciding where you want the seam to appear. the options are
1, Nearest,
2, Aligned,
3, Random,
4, Rear.
If there is a side you are not going to see, put that facing the back of the build plate and choose Rear...
you can play with temperatures, Speeds, Retractions, Wipe, and Minimum travel after retraction.
Other slicers handle this in different ways,
Kiss, for instance tries to start on an interior perimeter, cross to the external perimeter track, complete the external perimeter track and then return to the internal perimeter in an effort to minimise the disturbance at the start / stop of the layer.
regards Joan
I try to make safe suggestions,You should understand the context and ensure you are happy that they are safe before attempting to apply my suggestions, what you do, is YOUR responsibility.Location Halifax UK
RE: PrusaSlicer - print problems on a hose adapter
I had retract set to 0.8 and I set it to 0 (disabled) and I got a different result. I can see starting on the opposite side, a break where the layer shift must happen and it spirals down and around the tube.
If this is expected, how should I proceed? I generally use retract of 0.8 and I make some really good prints.
RE: PrusaSlicer - print problems on a hose adapter
is the Vacuum device particularly worried about the seam?
this is a functional part, why not set the seam position to random and that will prevent the seam being so obvious, and it will distribute the mark around the model so that there is no single line which may affect the strength of the item.
otherwise, you could spray the model with Filler and sand it smooth, then spray. it to give a decorative finish.
regards Joan
I try to make safe suggestions,You should understand the context and ensure you are happy that they are safe before attempting to apply my suggestions, what you do, is YOUR responsibility.Location Halifax UK
RE: PrusaSlicer - print problems on a hose adapter
Thanks for the feedback and input. Yes, it is a functional print but I am looking into tuning my printer. It looks like I have also to tune the slicer a bit more. I appreciate the hints and guidance on knobs to turn. There are more than I anticipated. 🙂
RE: PrusaSlicer - print problems on a hose adapter
3D printing is not yet, Load and Print...
there are many interacting influences... and round items are probably the worst.
if you could get away with a thin wall object, you could model the tube as a solid instead, and use Vase Mode, with zero top and zero bottom layers, you would probably need a Brim to increase the first layer contact patch, and you would be advised to increase the external perimeter, extrusion width, to say 1mm. for greater strength. that should get rid of your seam issues.
regards Joan
I try to make safe suggestions,You should understand the context and ensure you are happy that they are safe before attempting to apply my suggestions, what you do, is YOUR responsibility.Location Halifax UK


