Re: poor print quality
As promised....
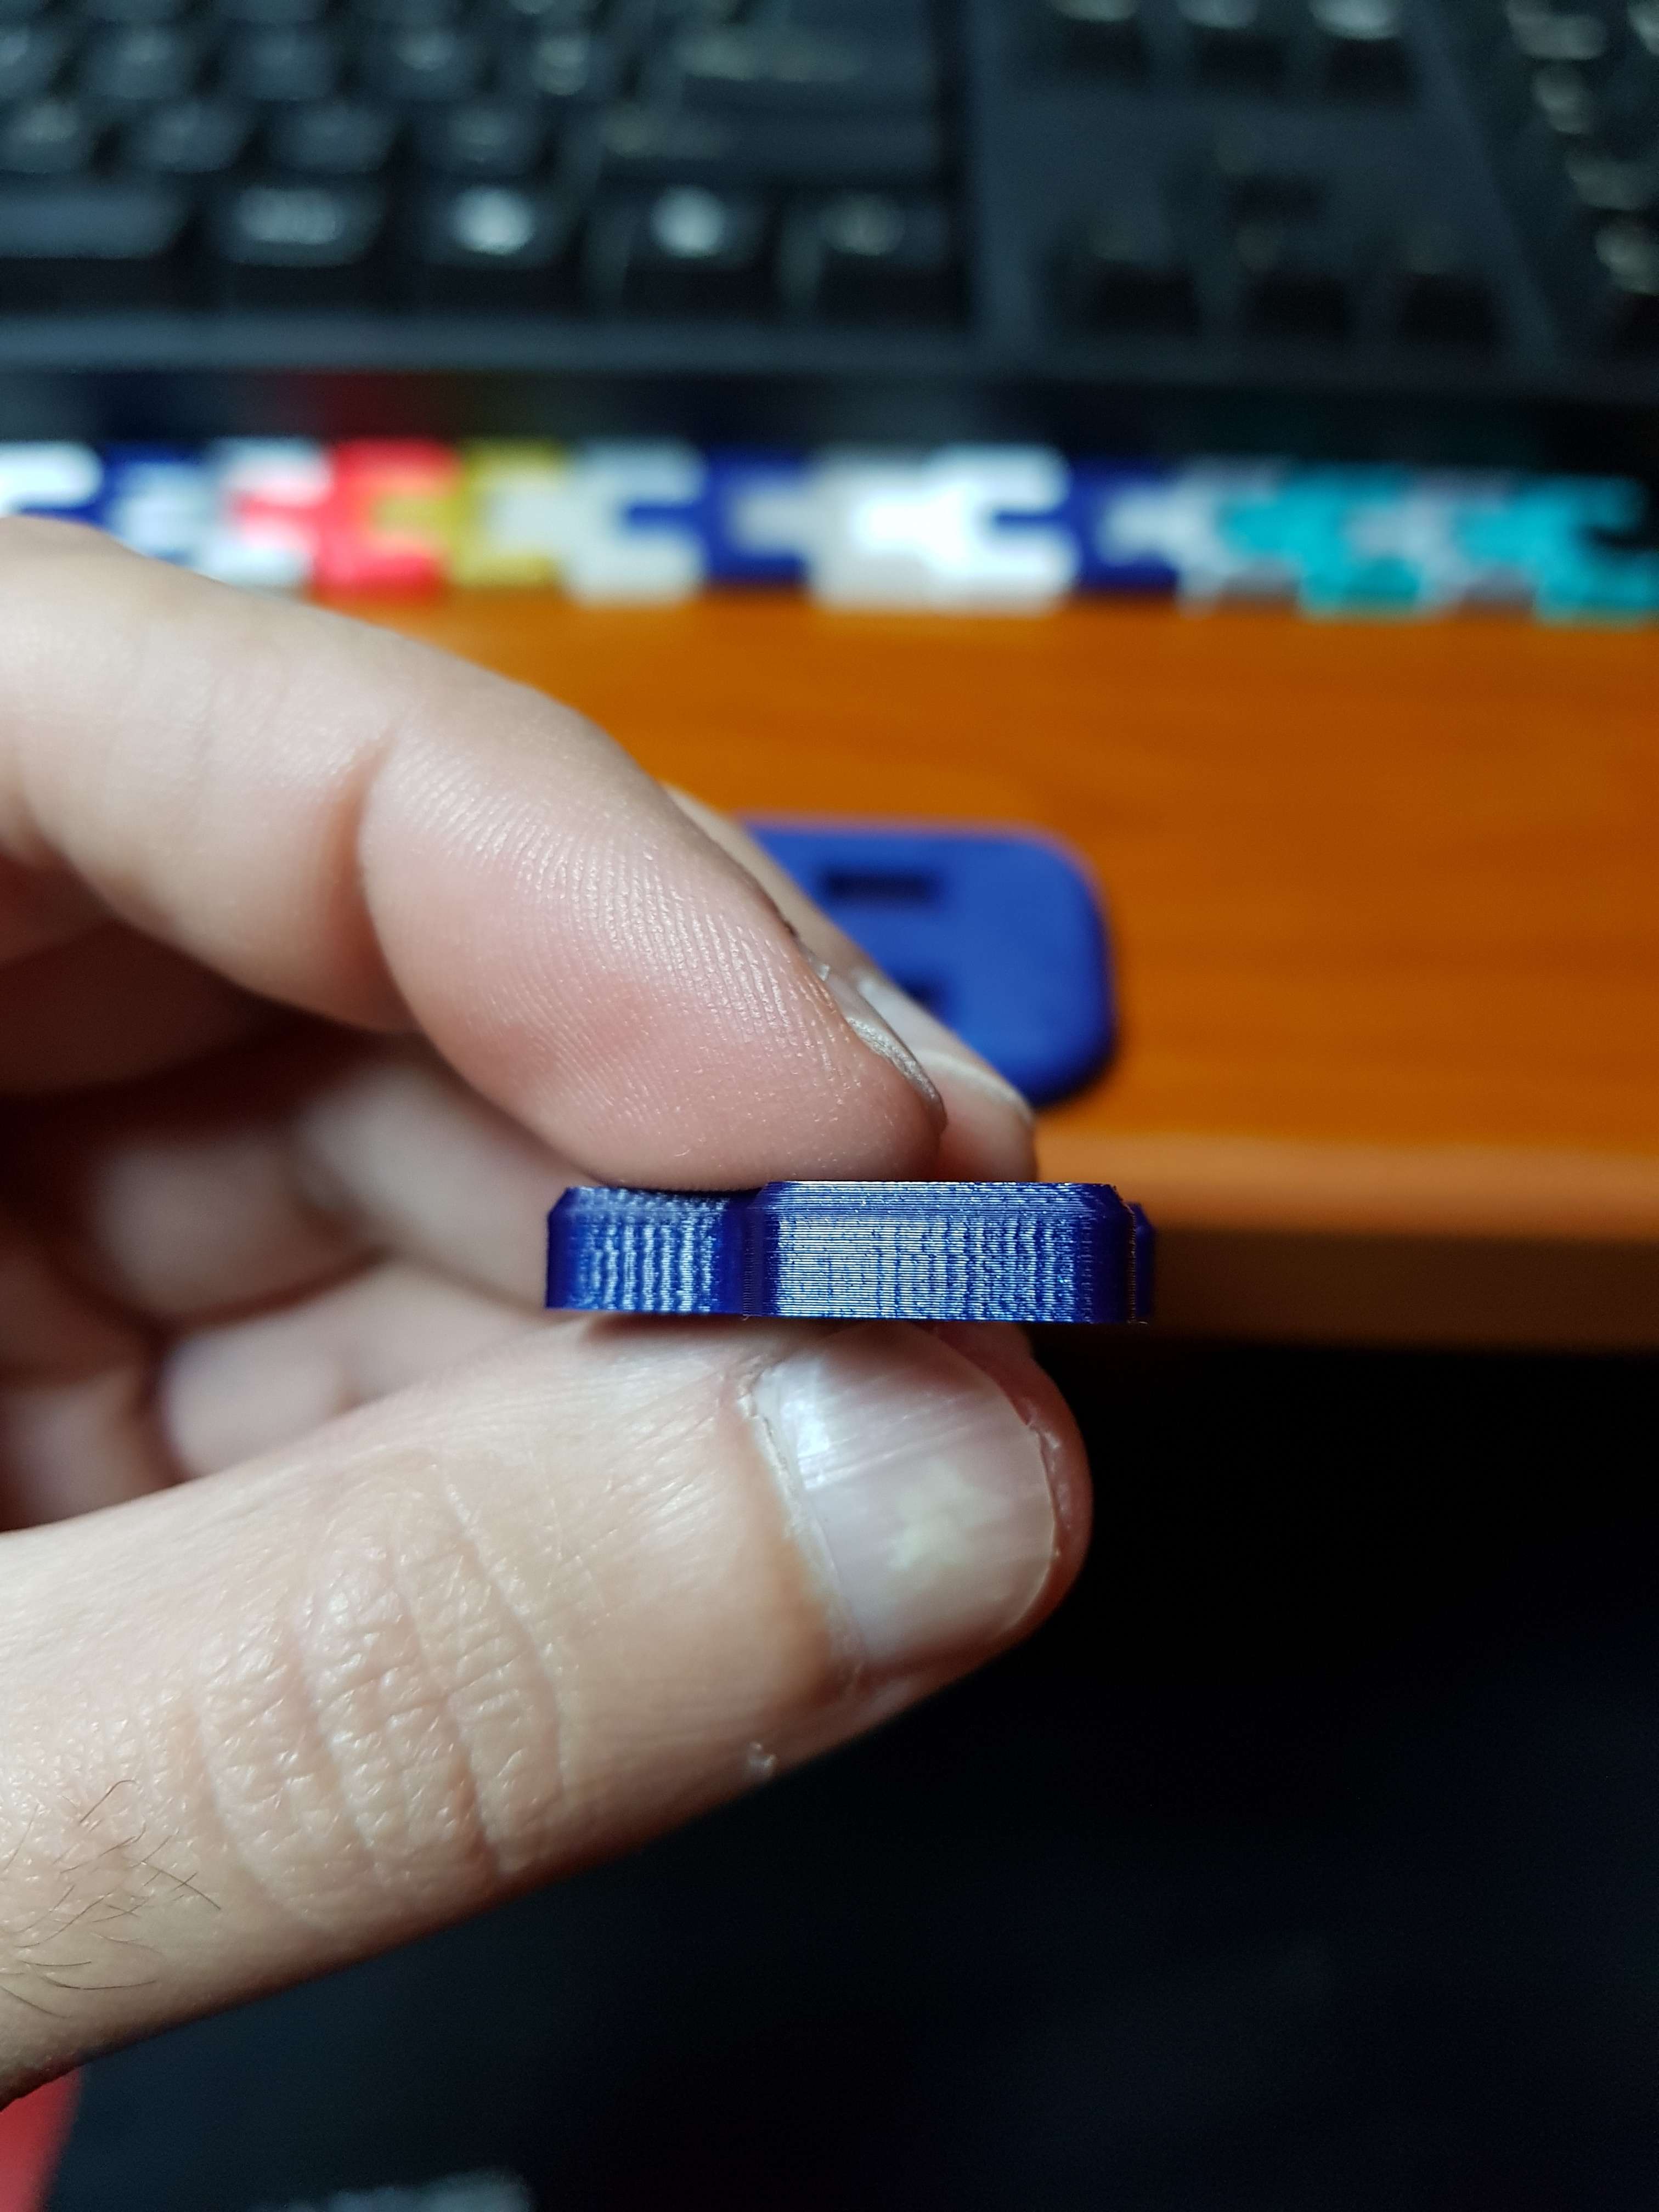
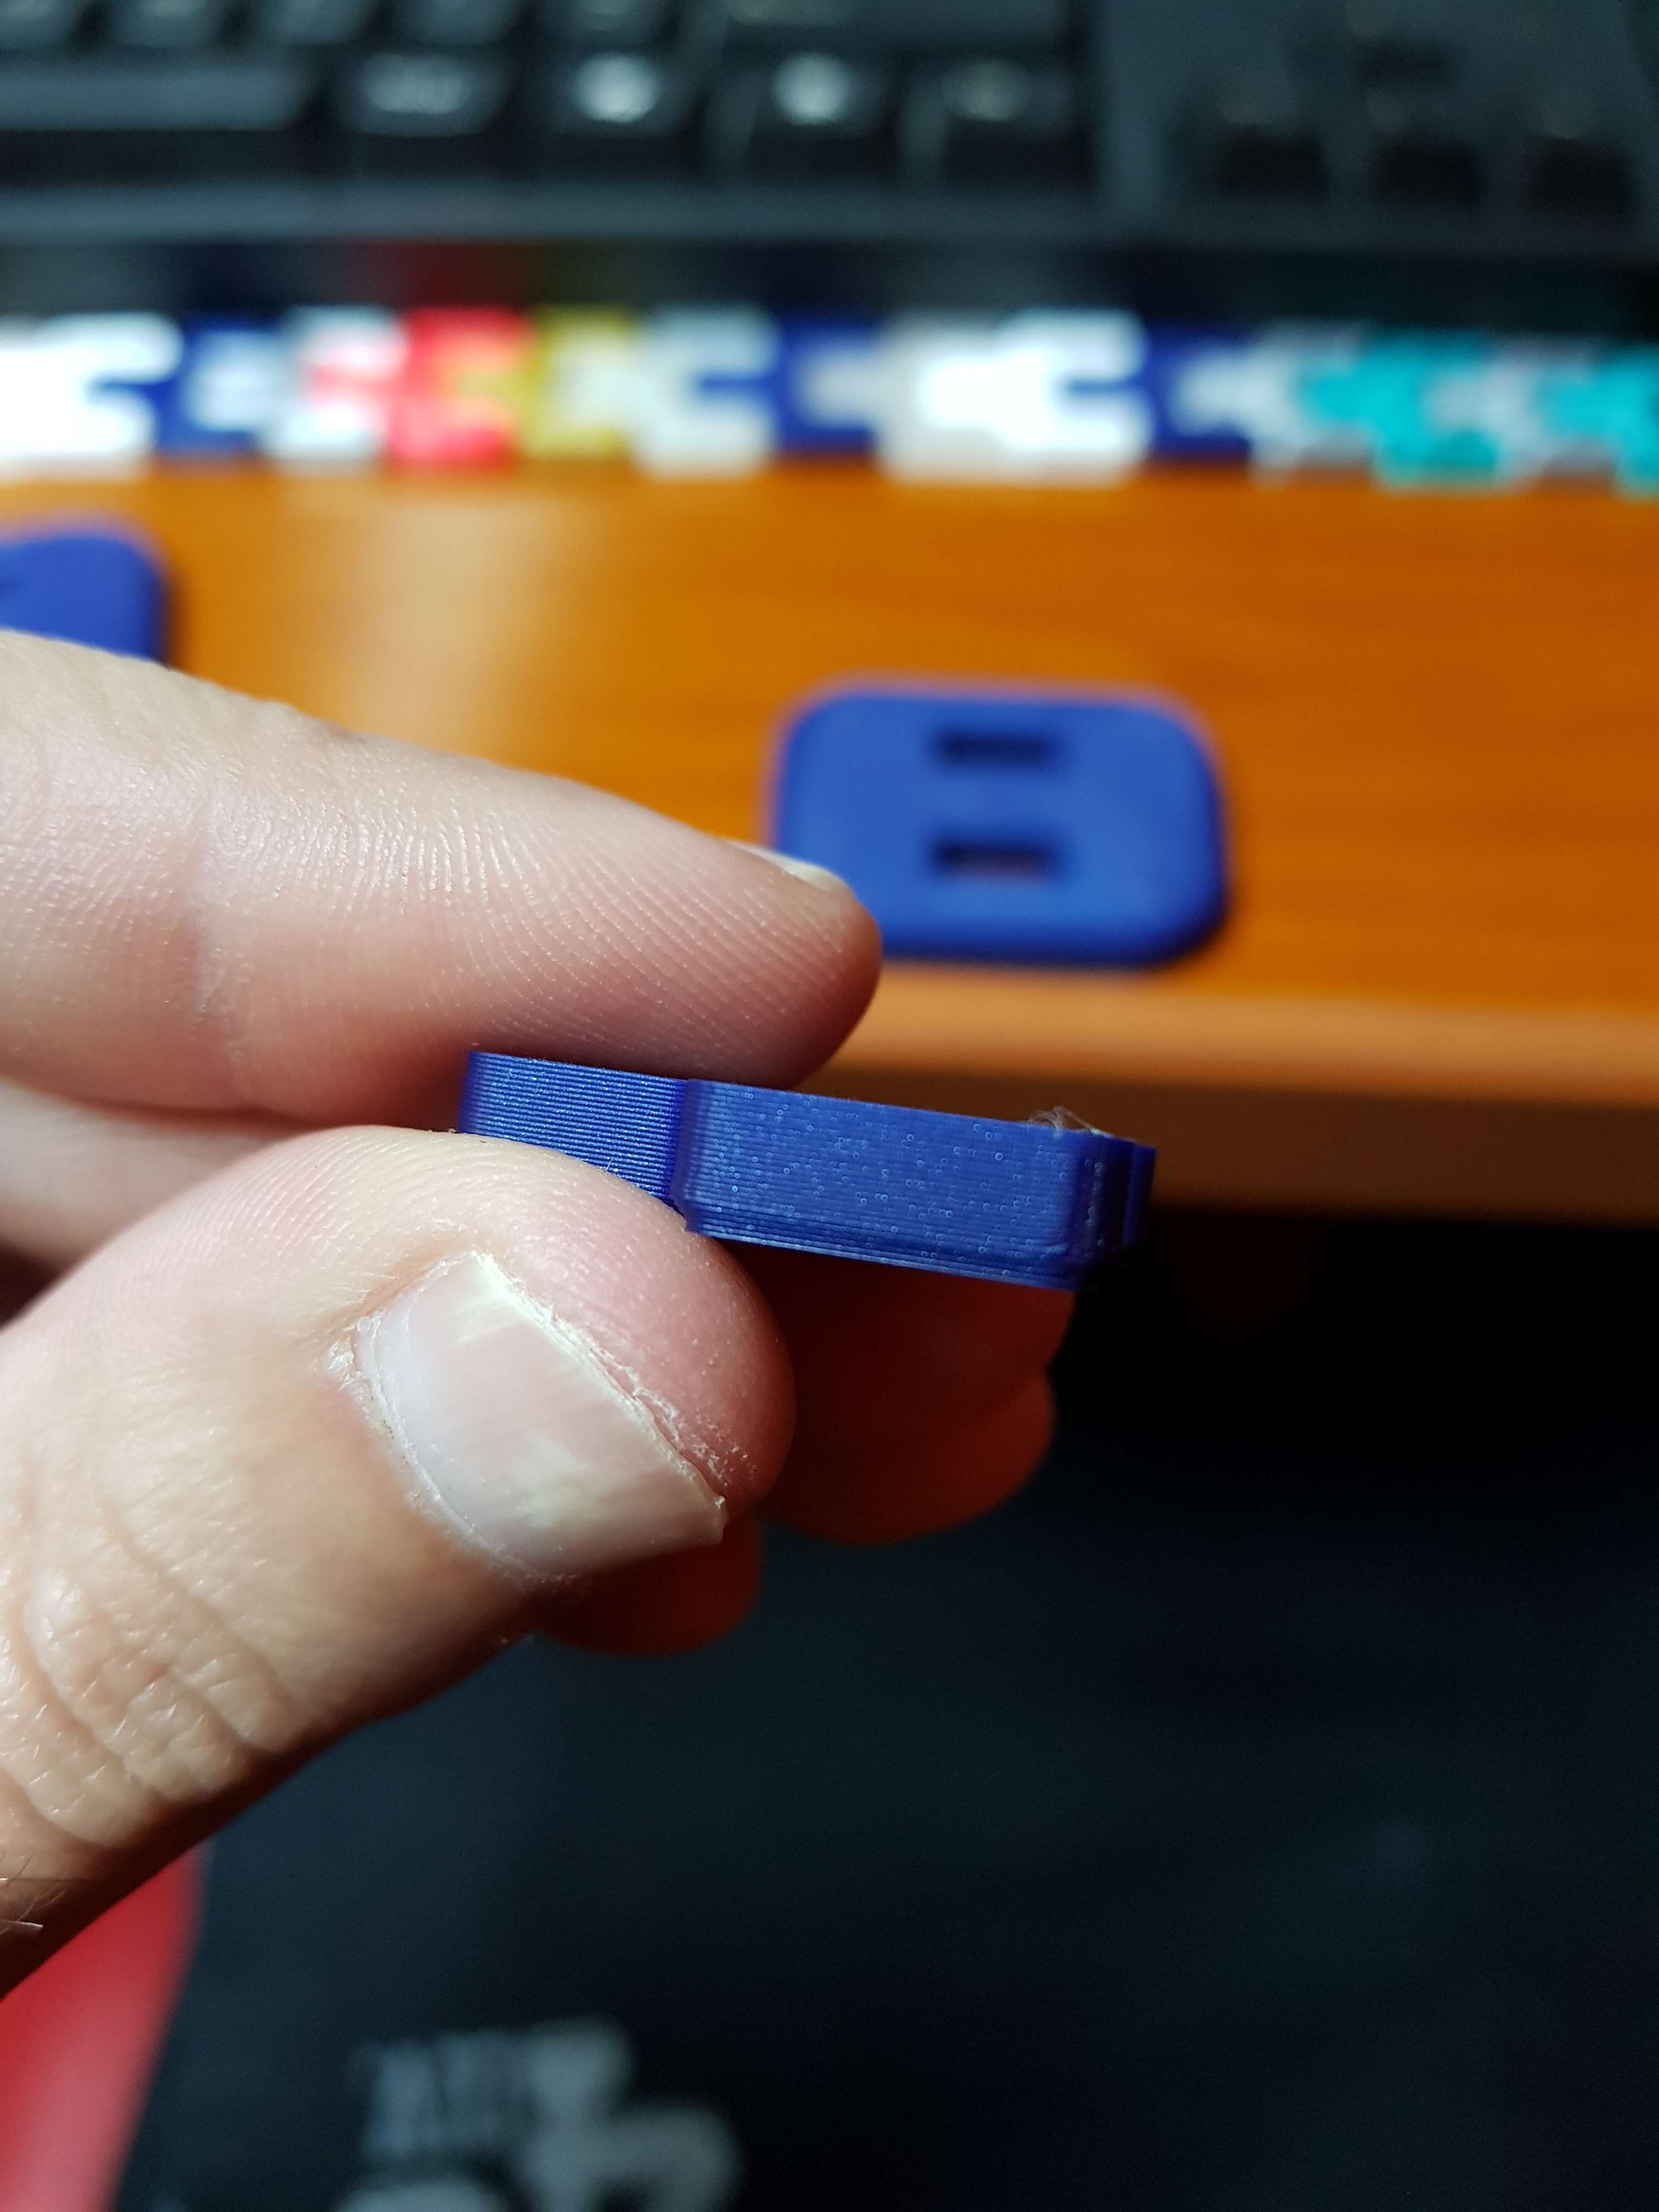
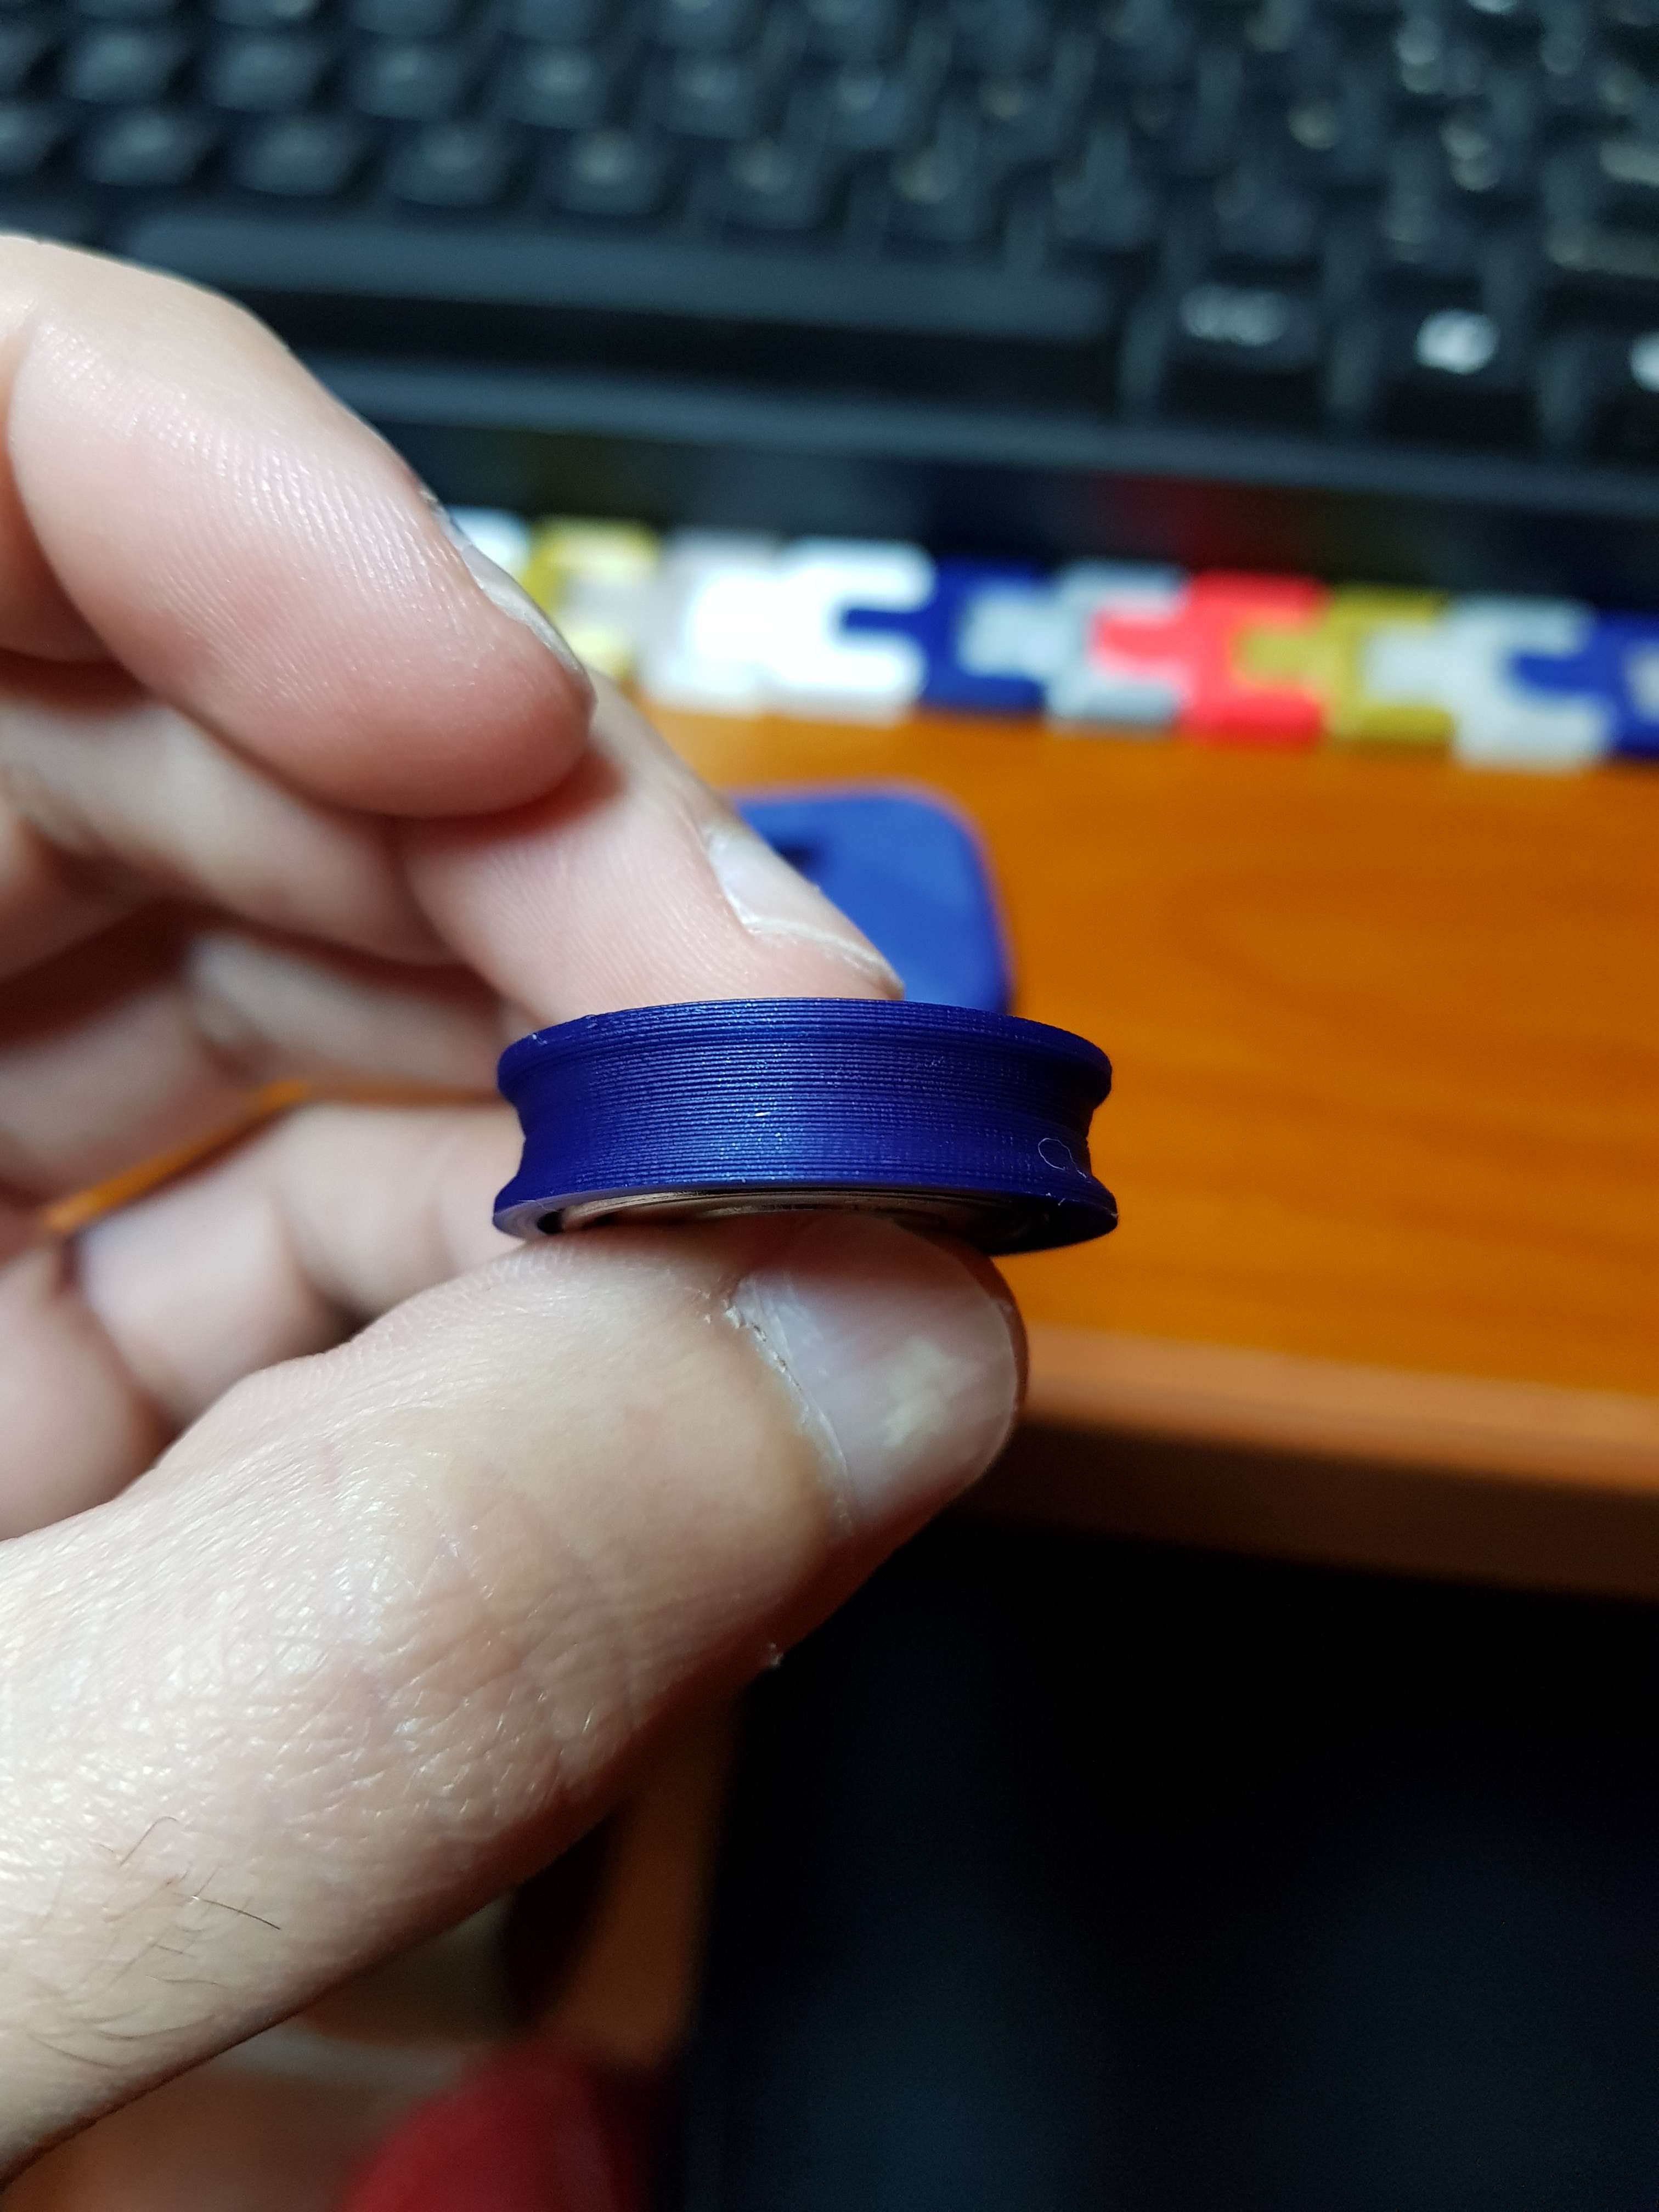
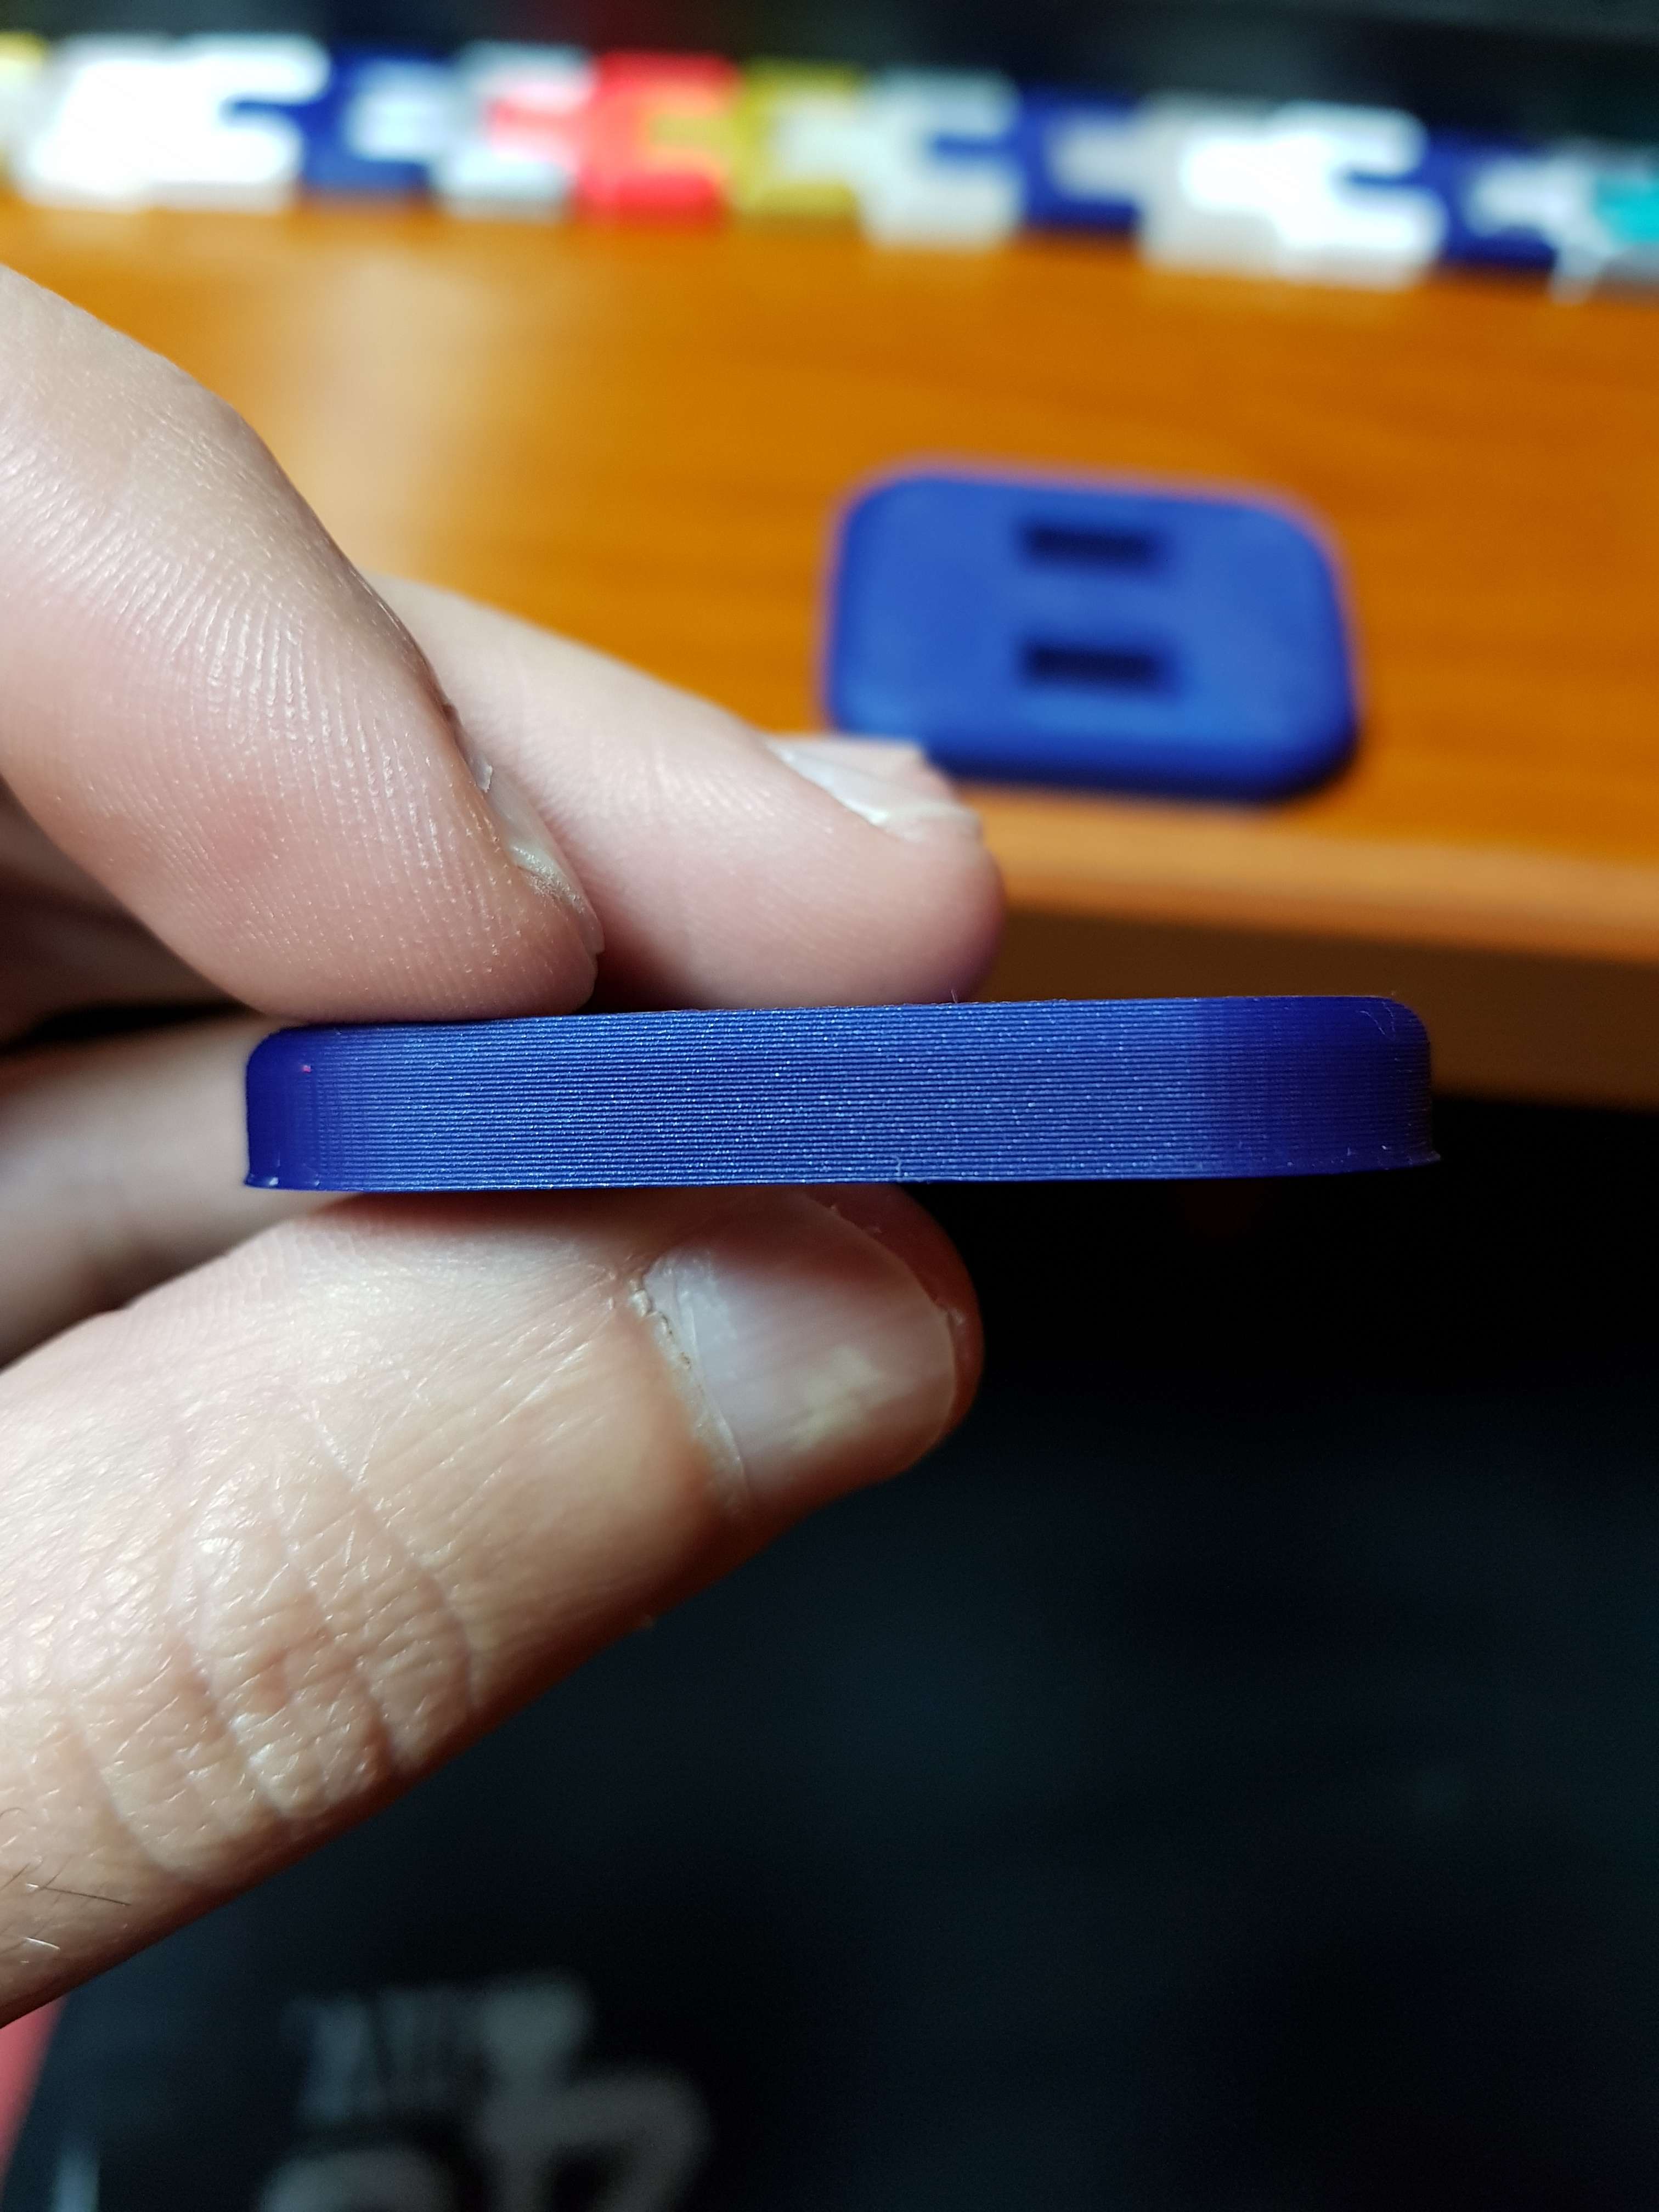
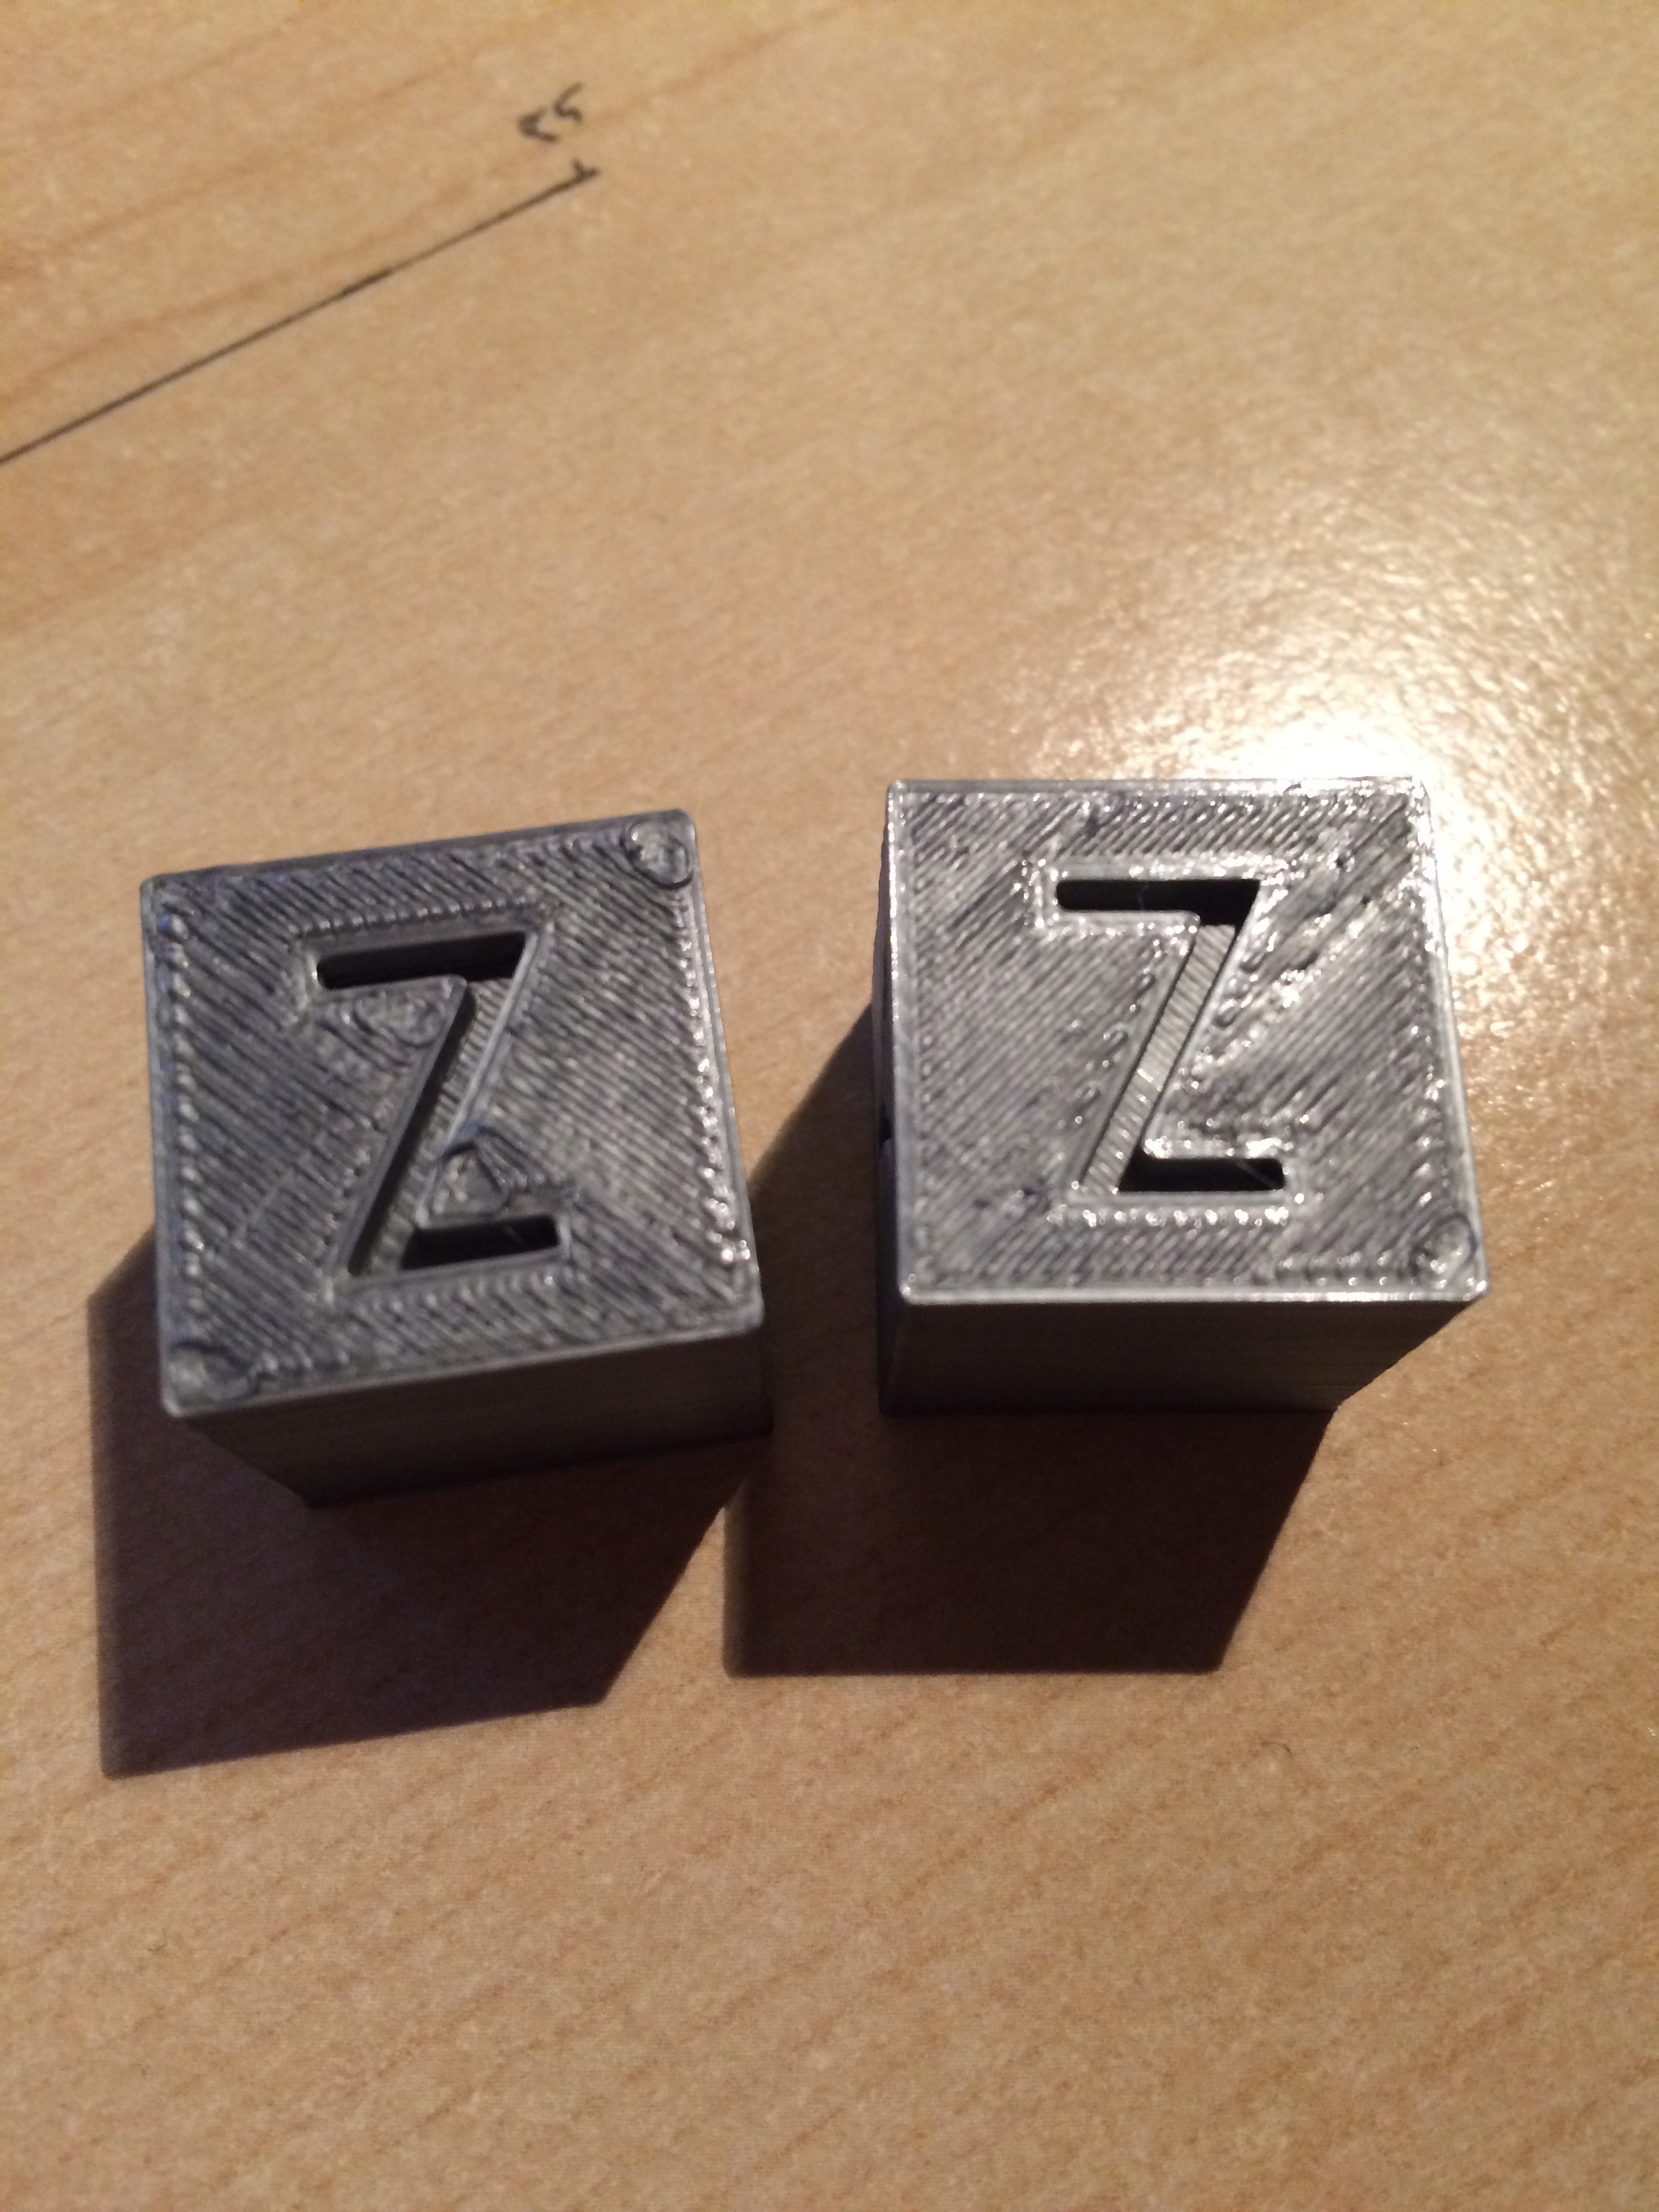
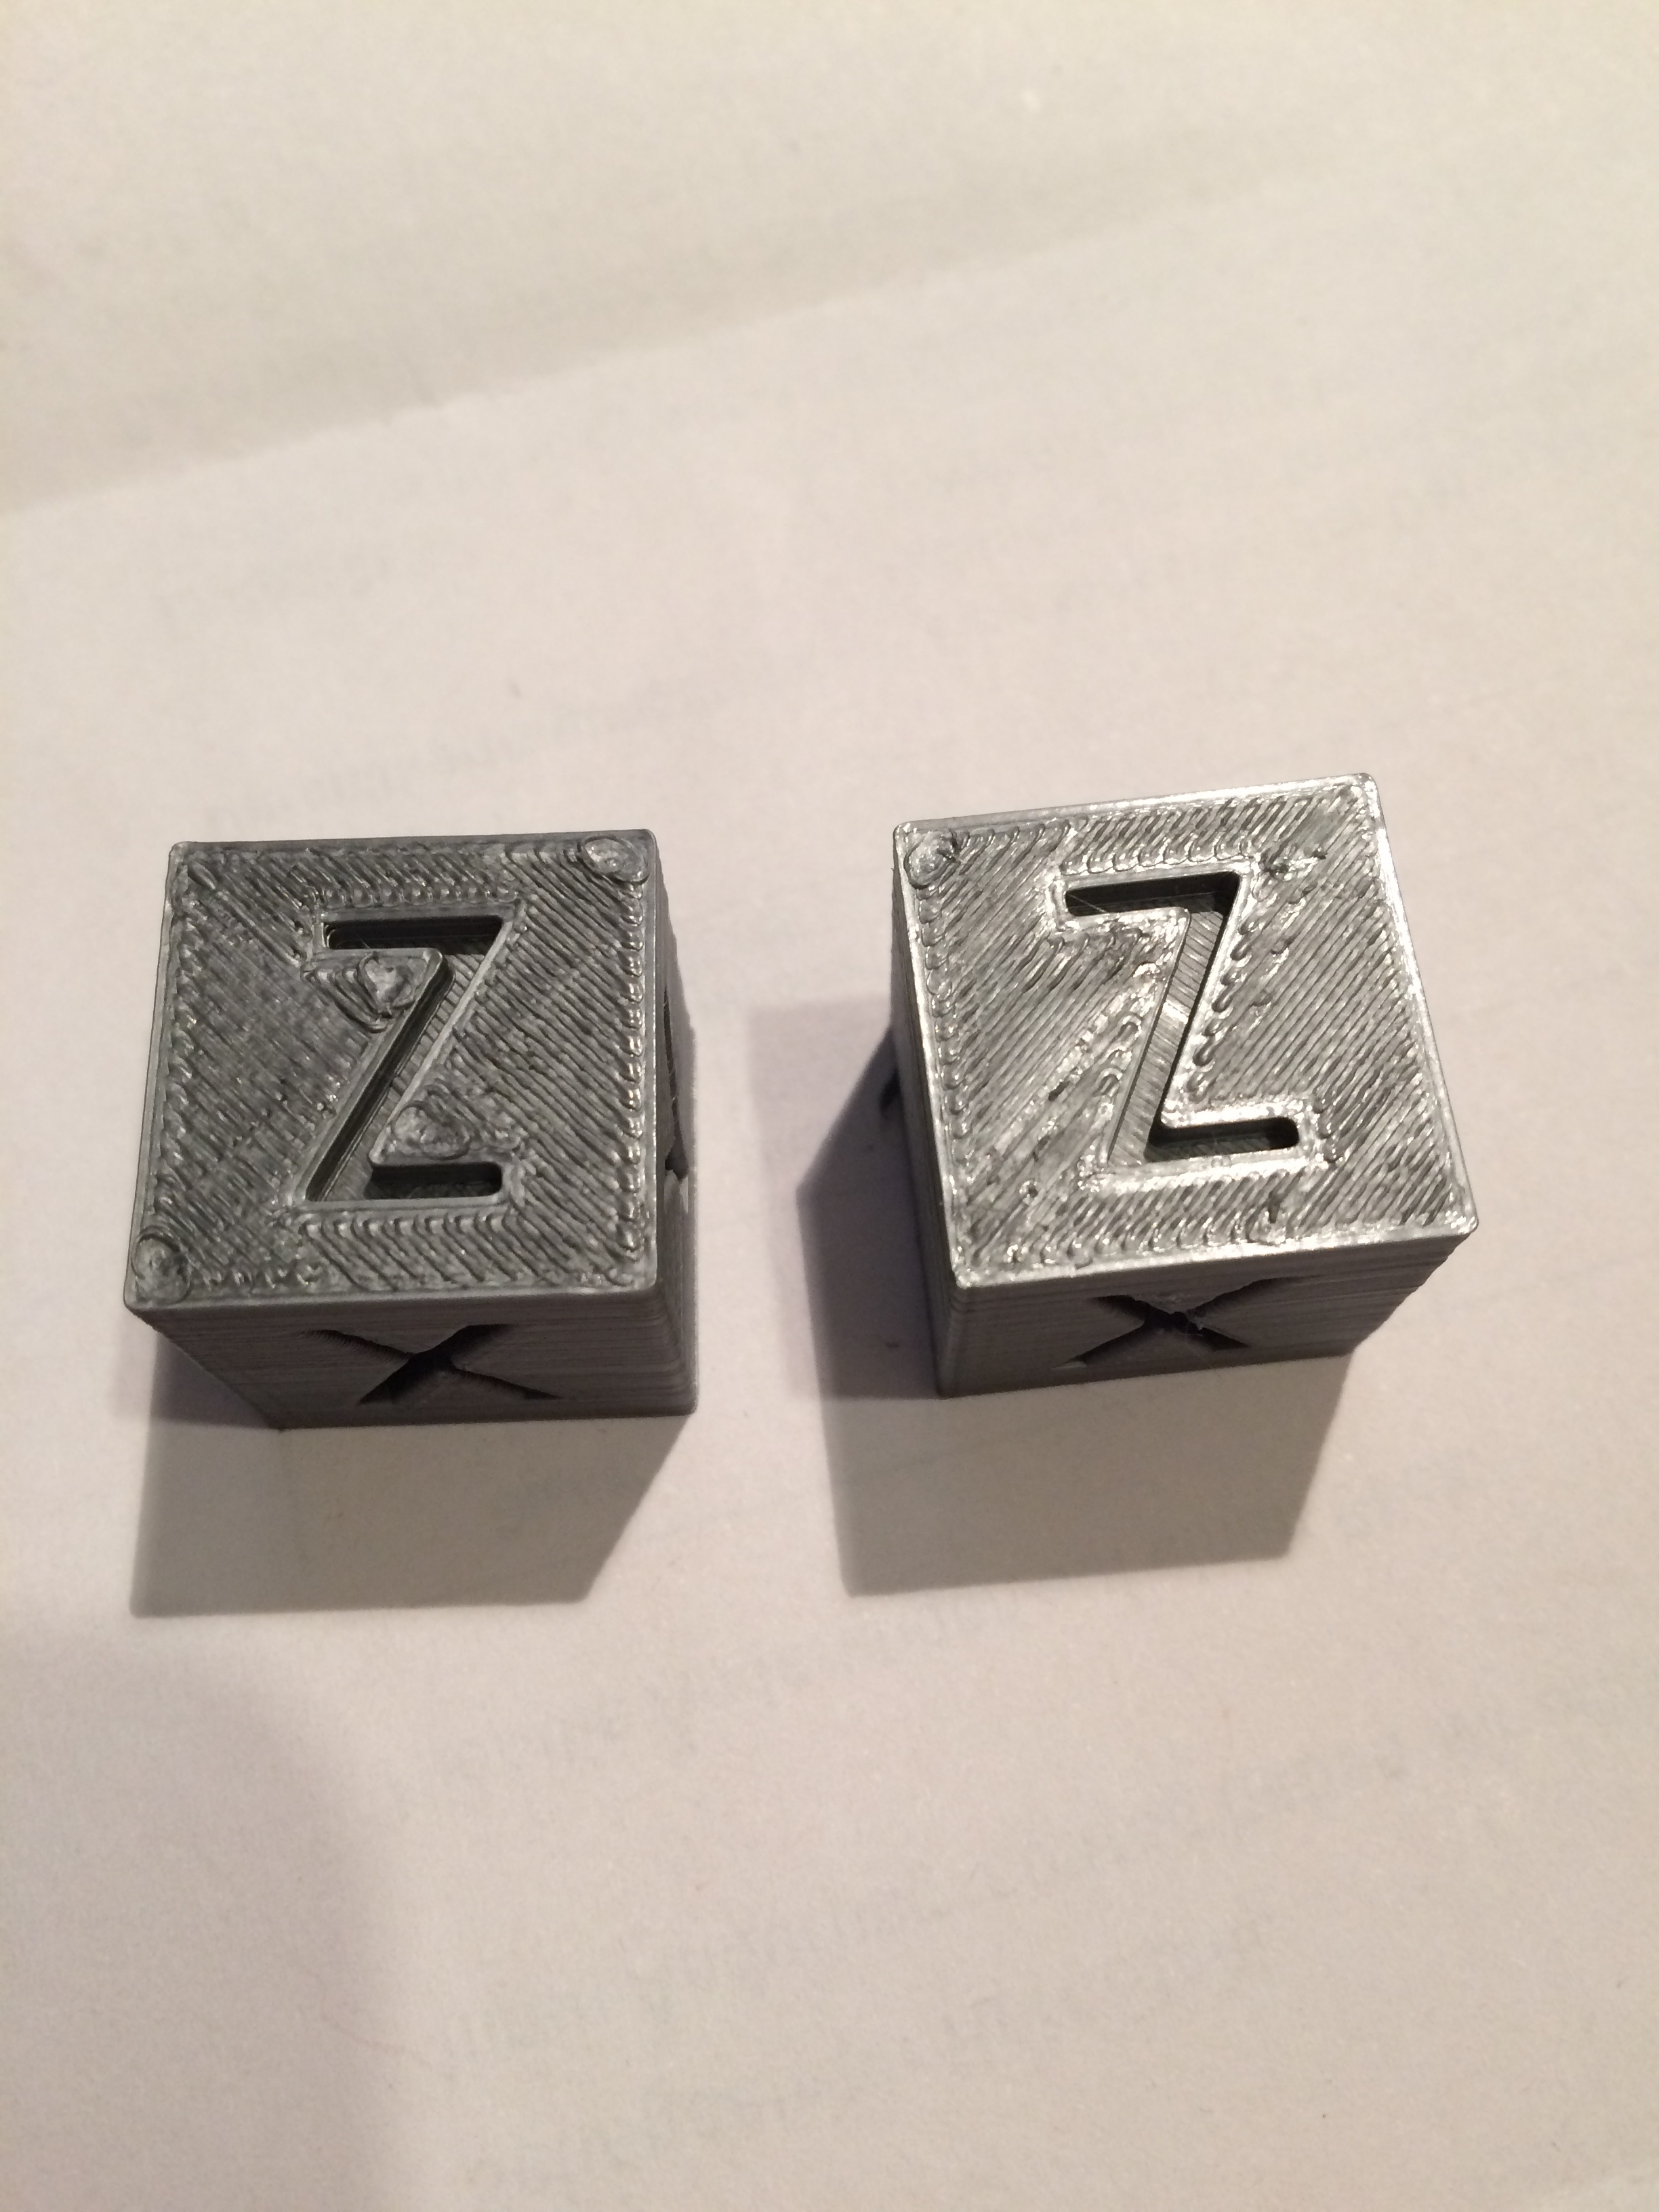
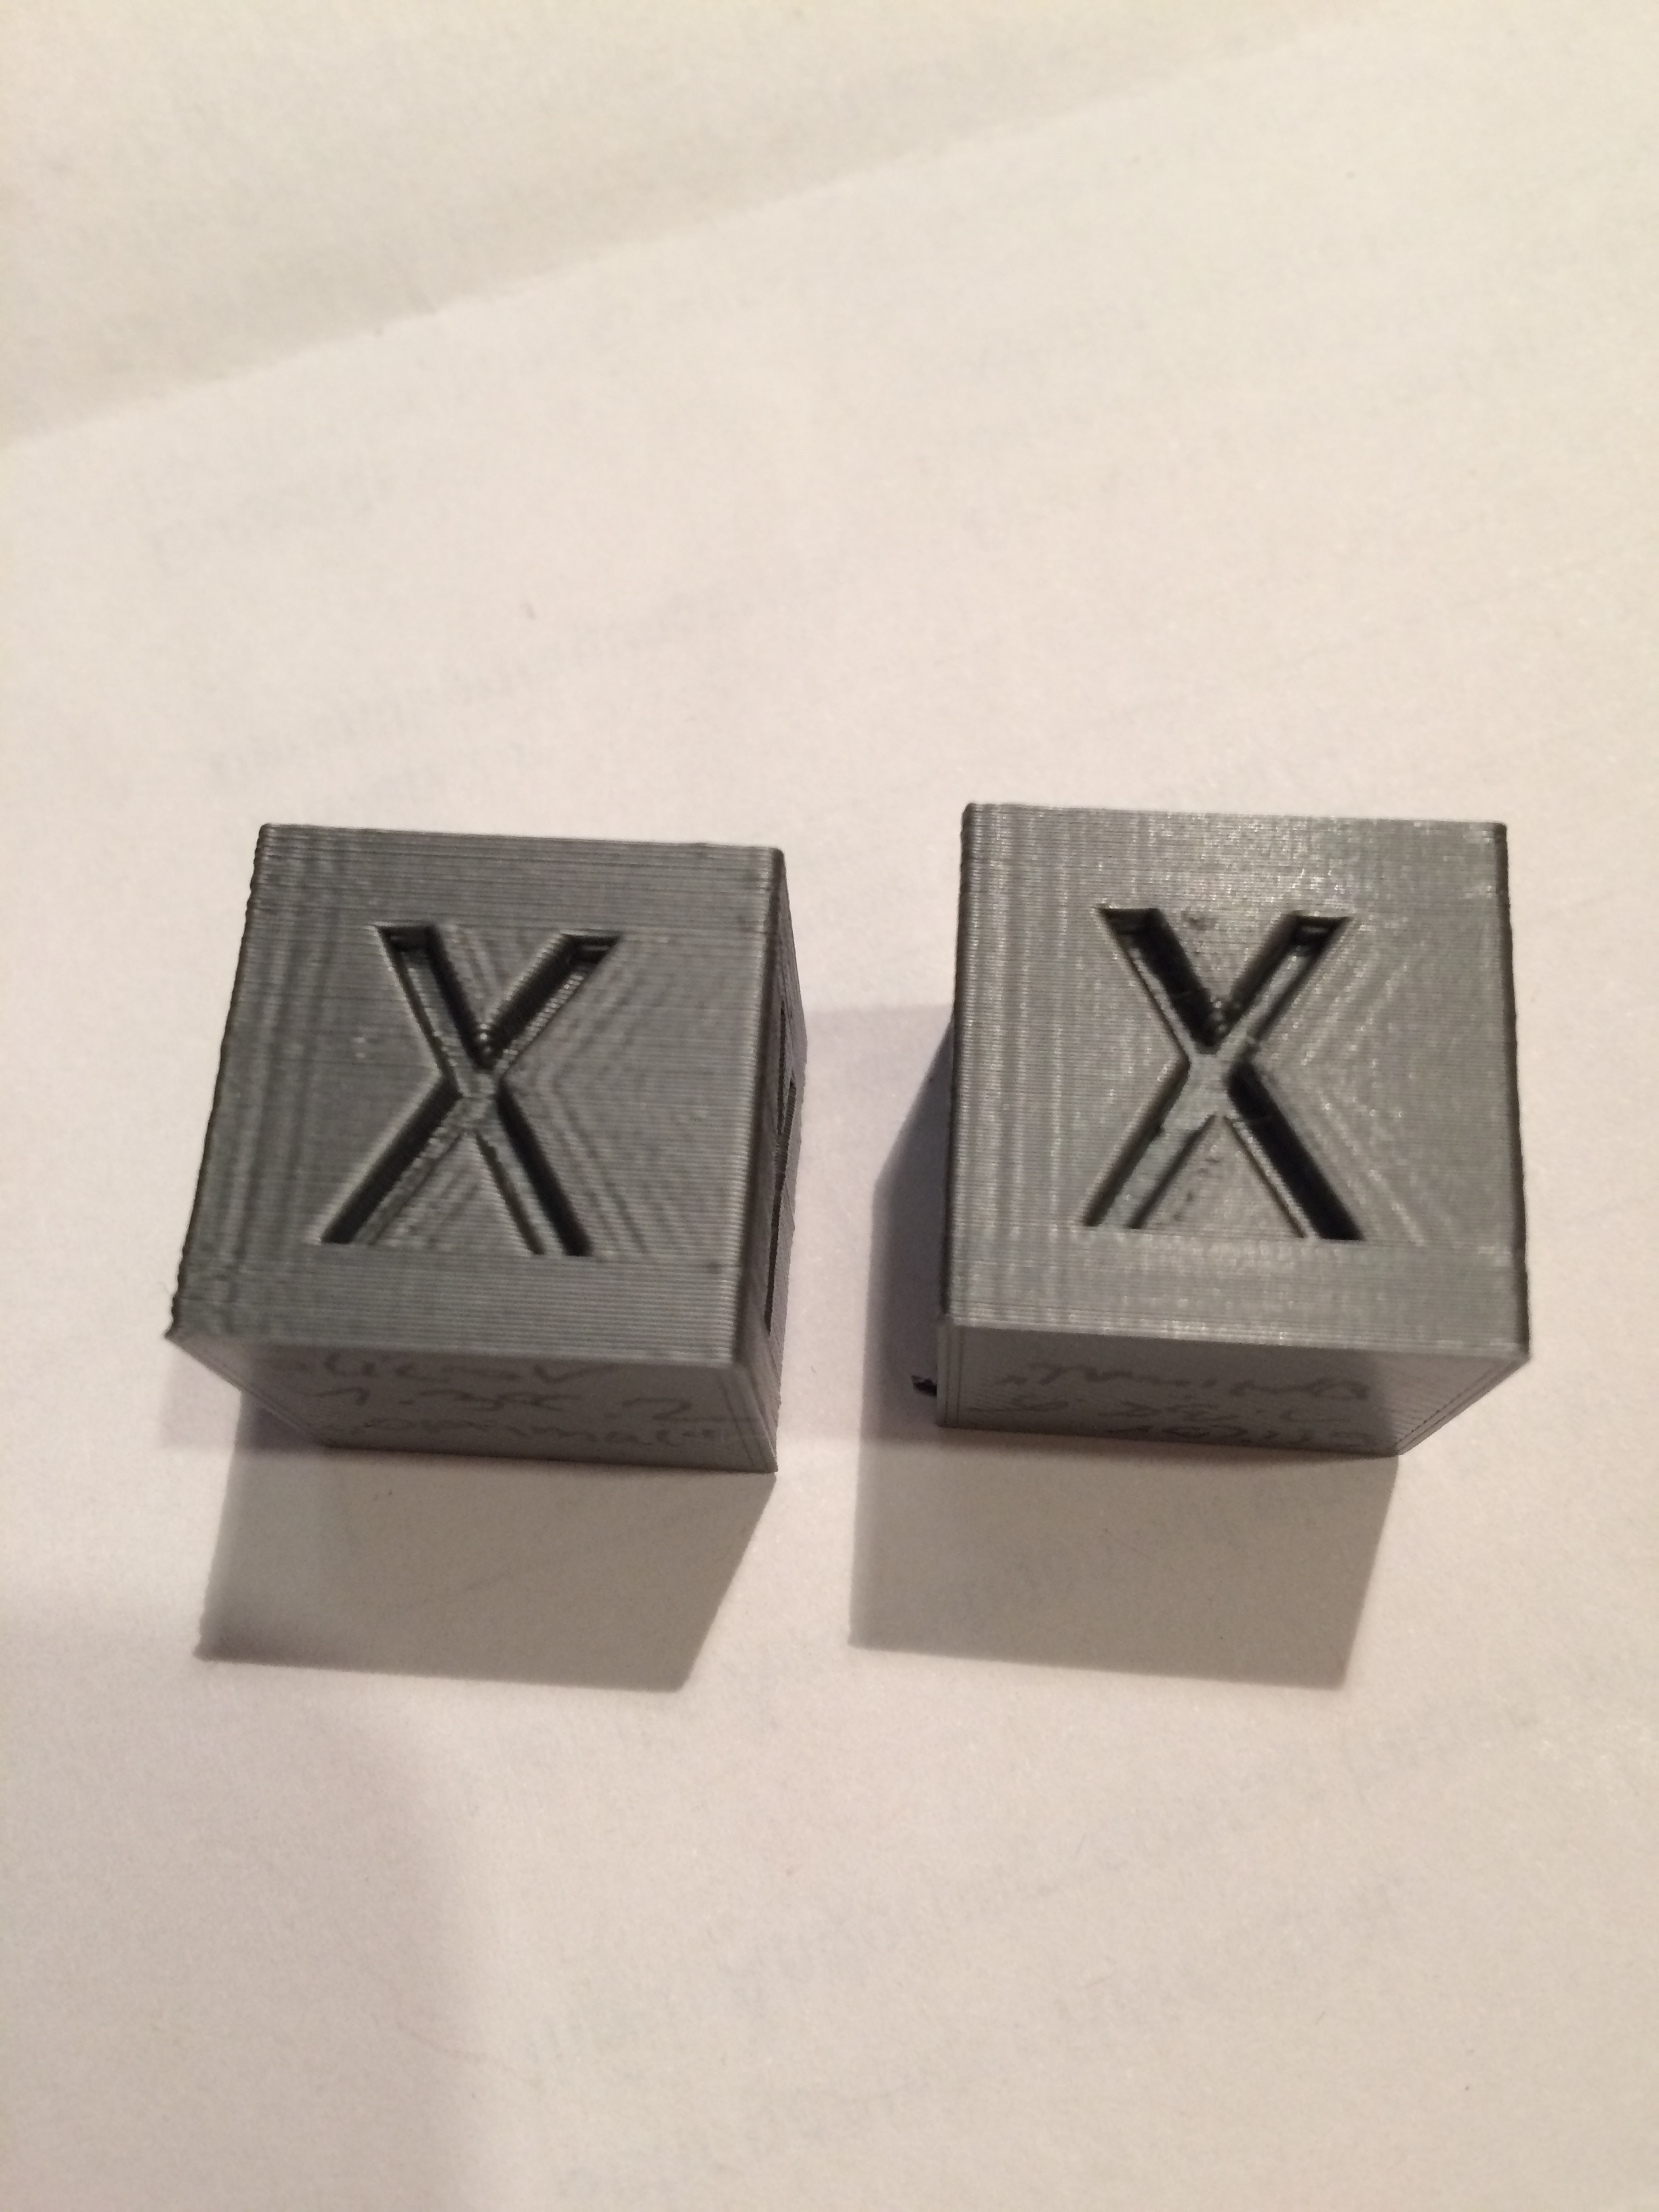
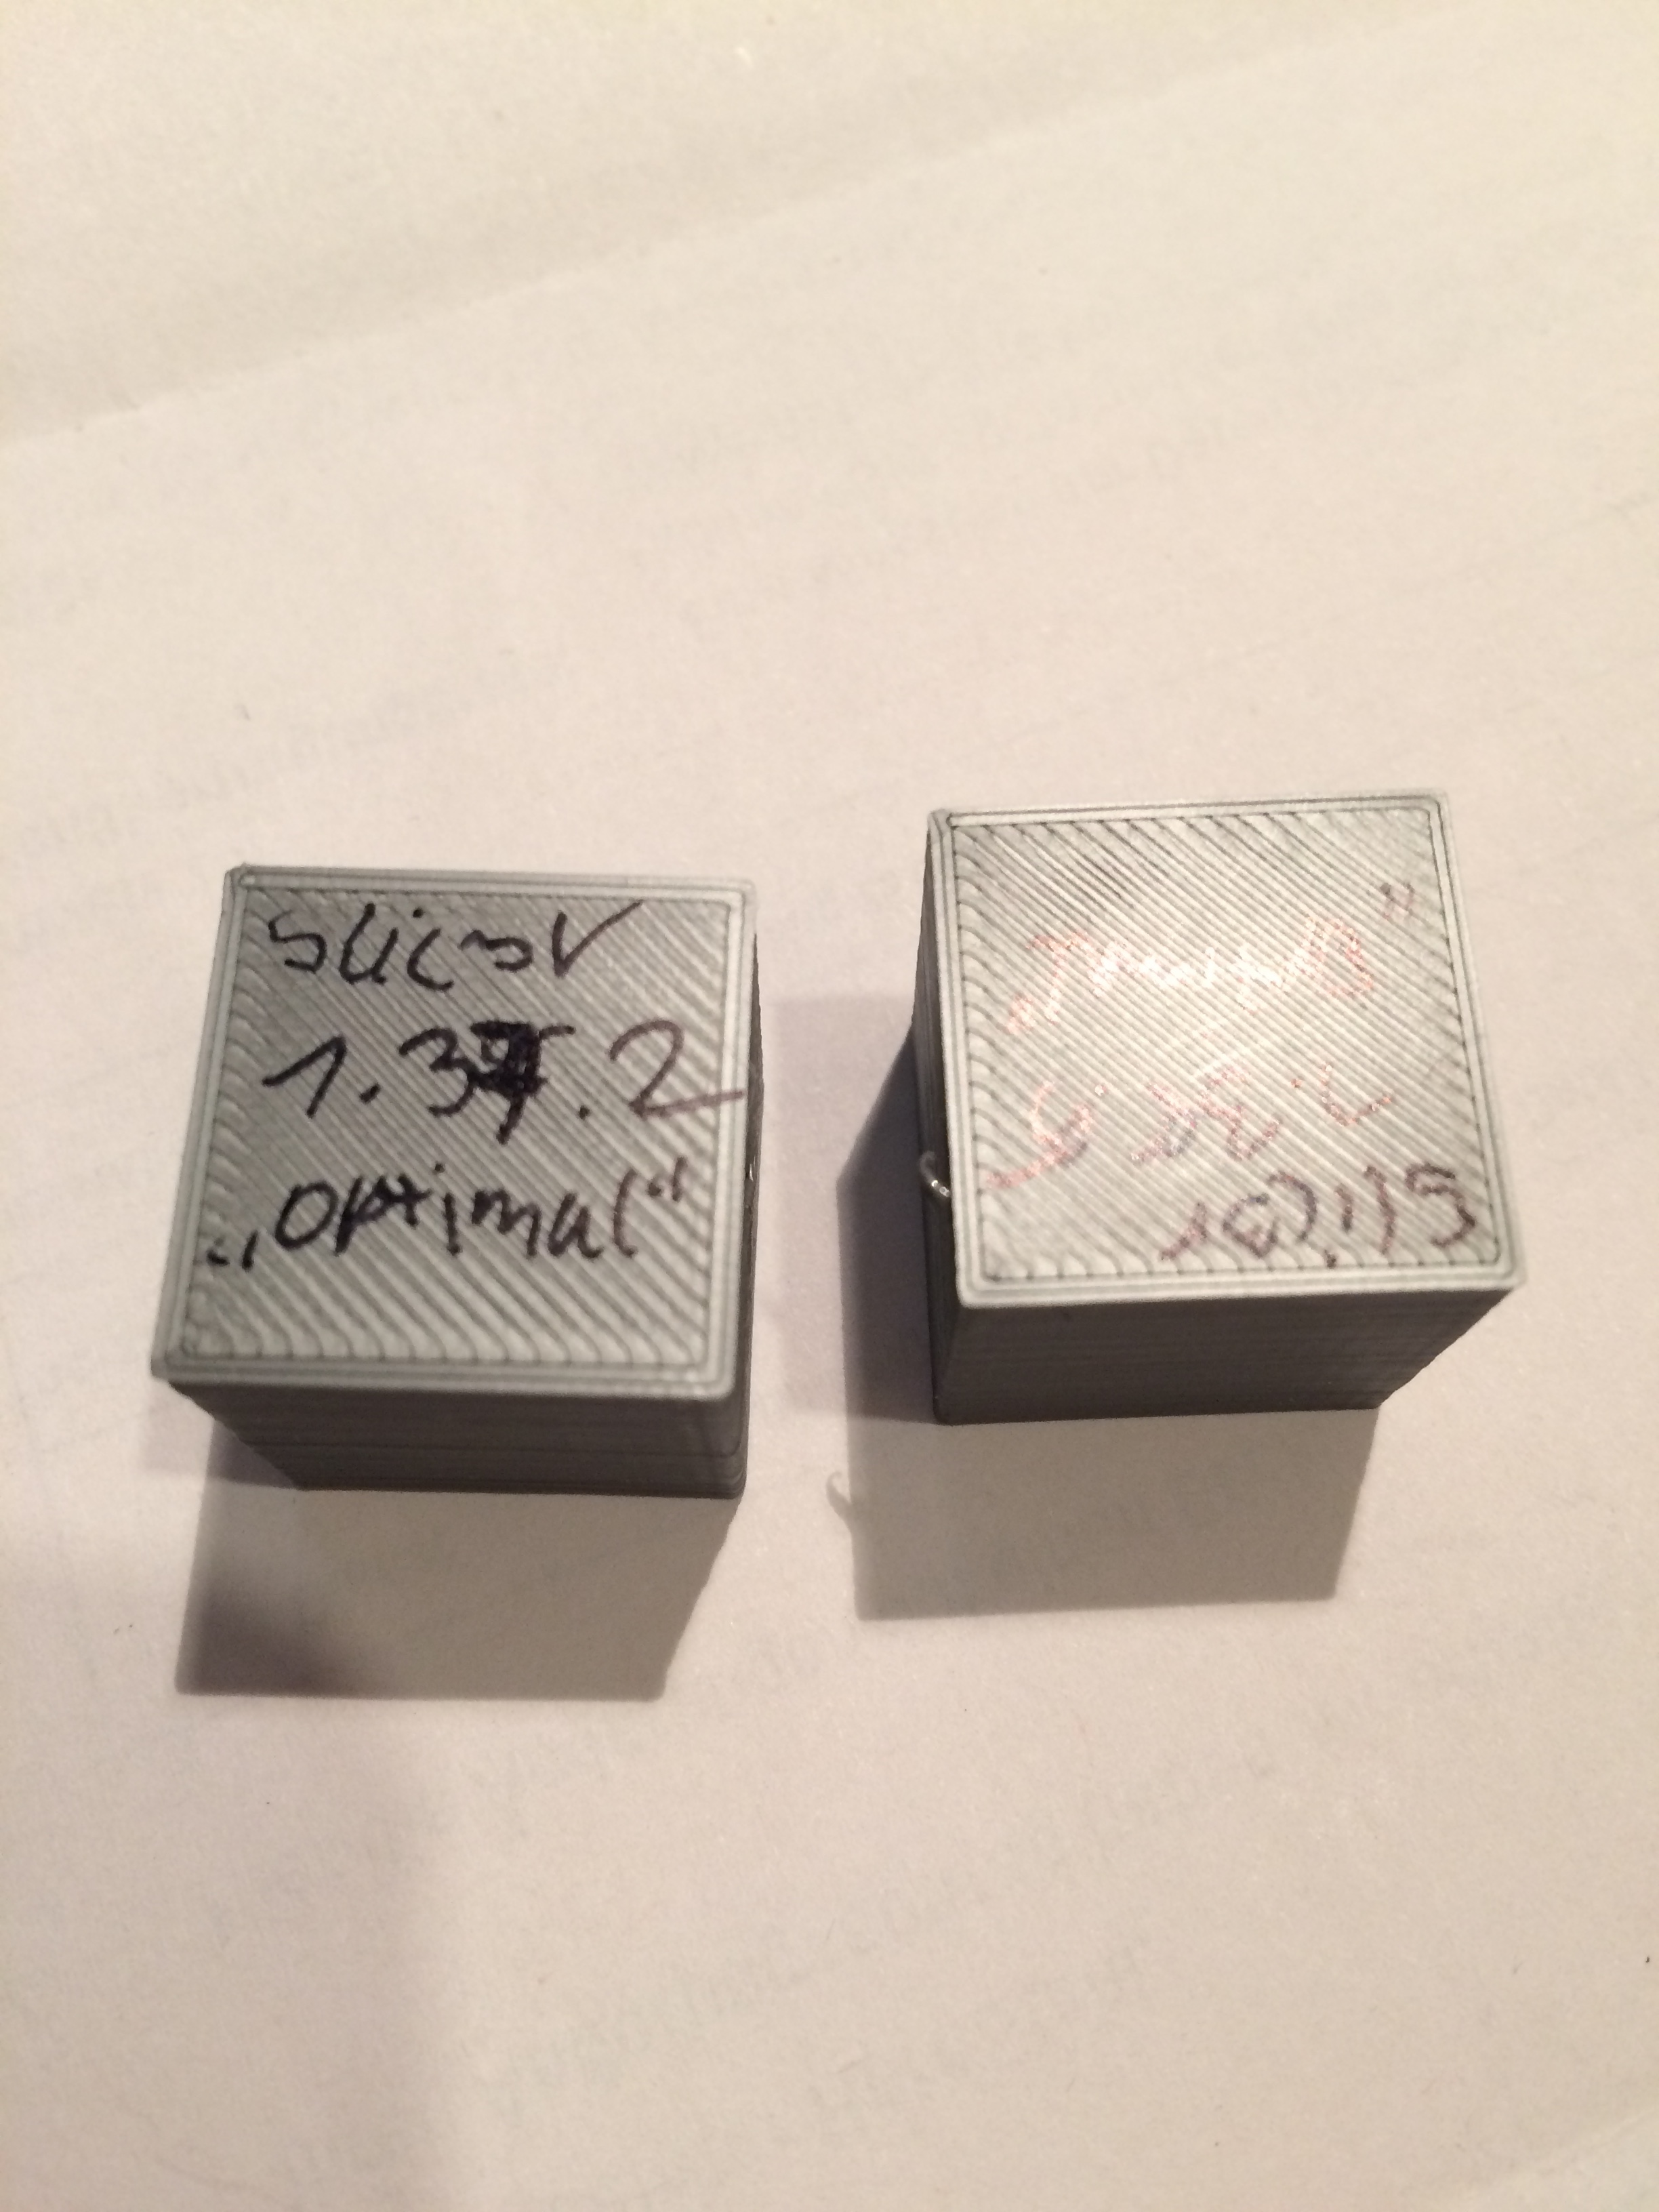
In this picture i'm using the default profile from Slic3r (1.37..2)...
Next up was sliced with Slic3r aswell but i decreased the temperature, slowed down the speed for the outer-most perimeter and increased perimeters to 3 instead of 2 since thats what i normally use with the other printer, and i also used the newer version 1.38.5...
In this next pictures i used Slic3r again (1.38.5) with the changed settings...
Re: poor print quality
Those look beautiful. What was the outer perimeter speed you slowed down to?
Re: poor print quality
I have quality issues with the top layer.
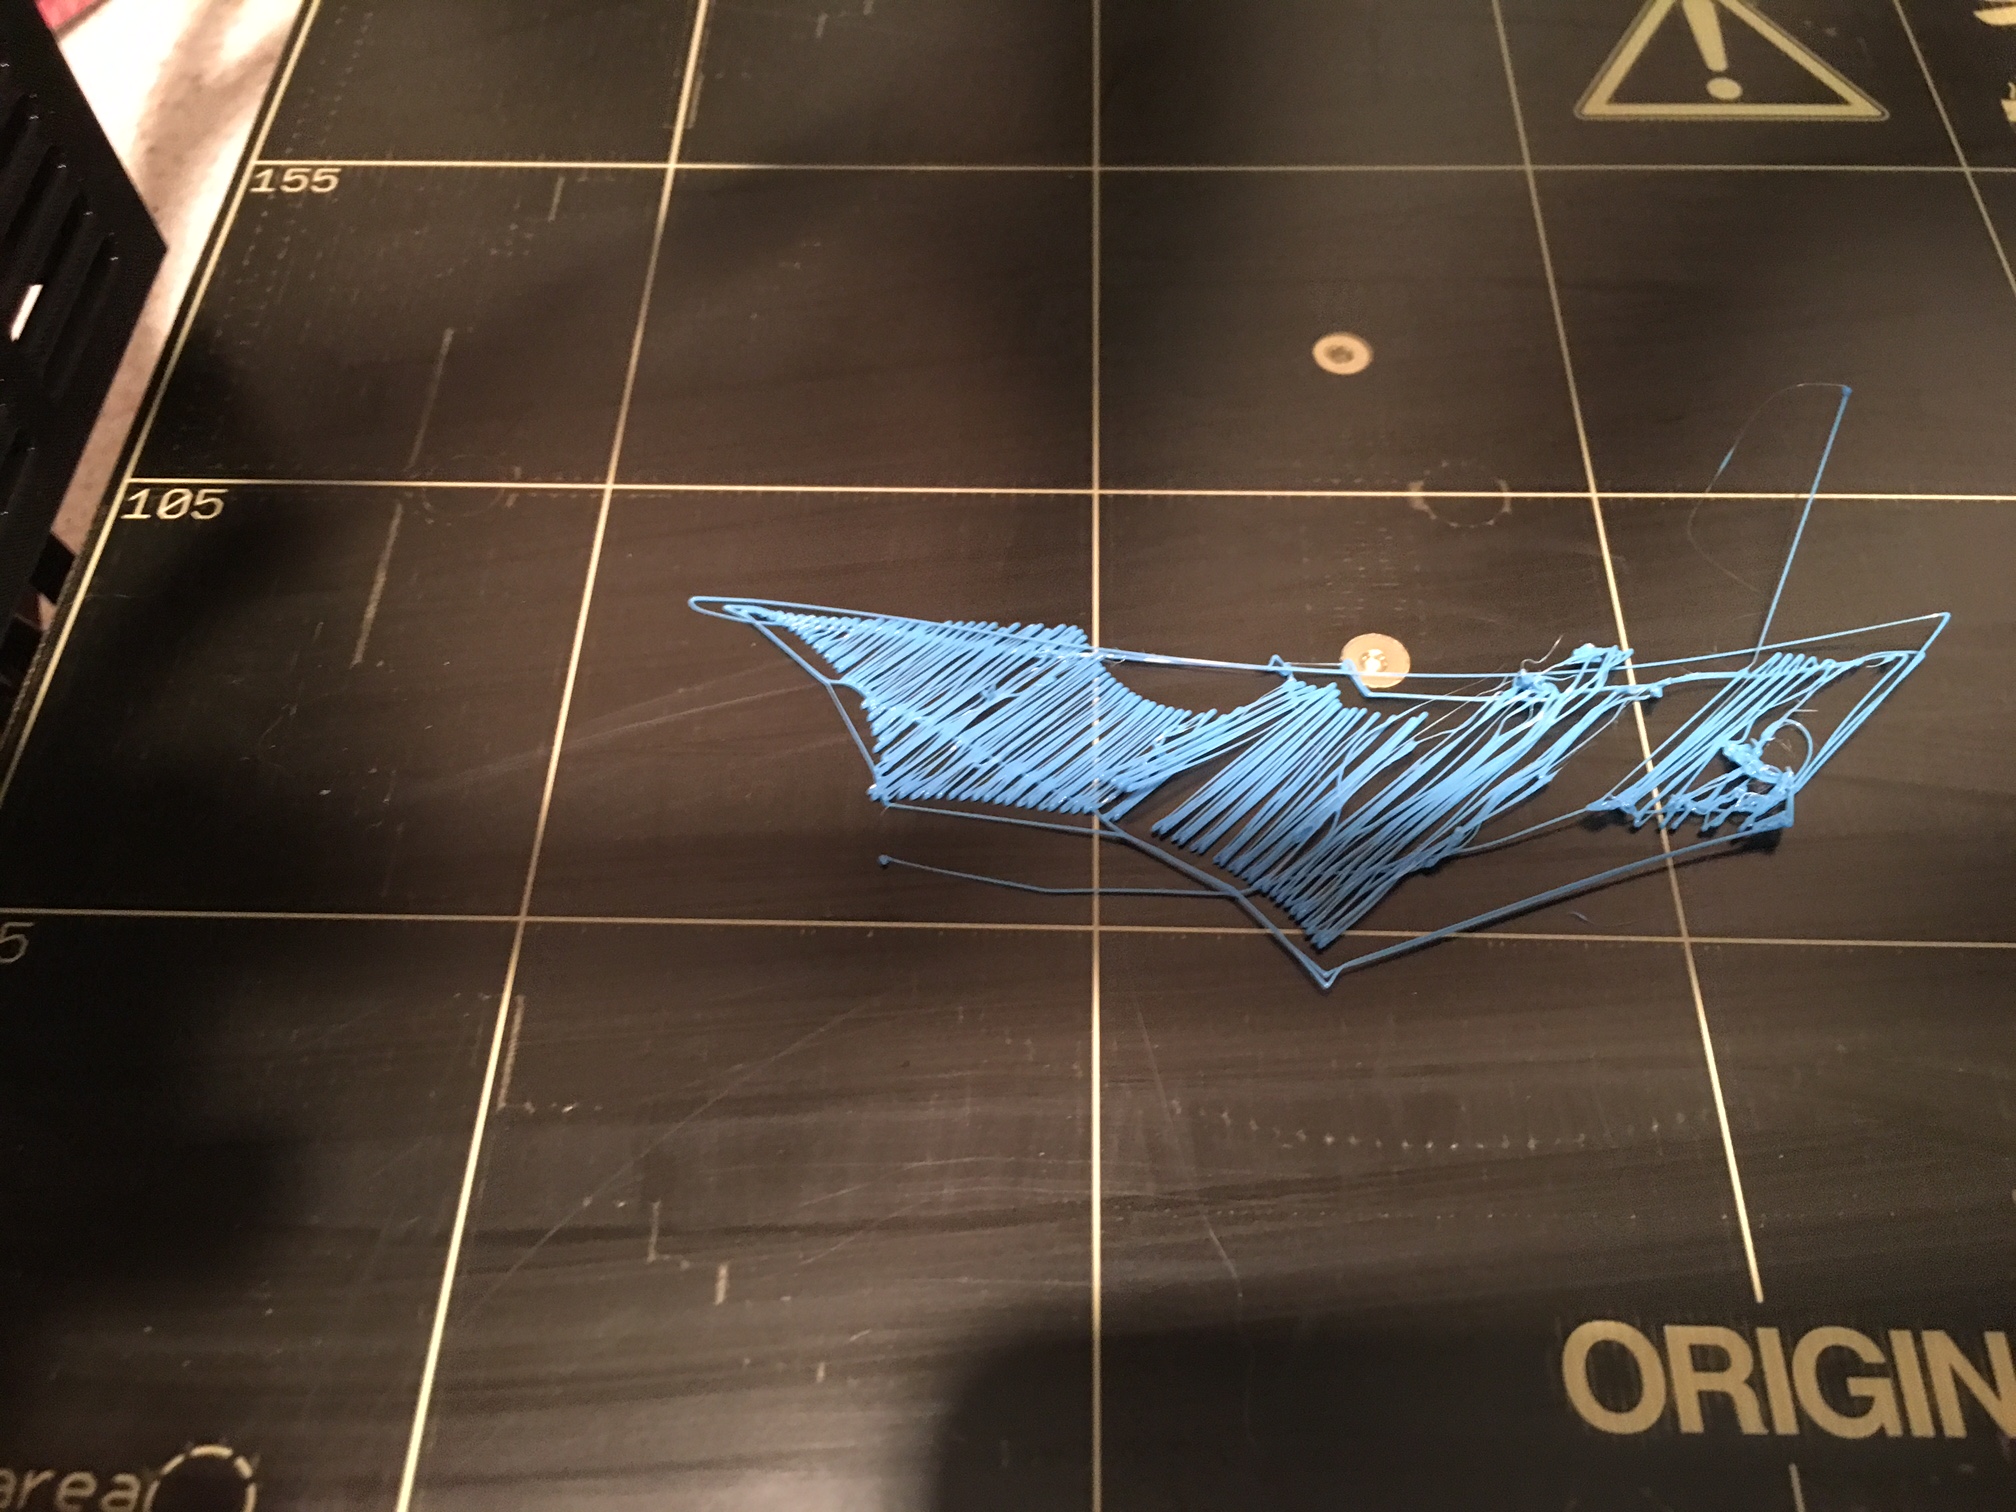
I started with the Batman Logo from SD. The Top layer is very ruff and has several "nozzle melting circles".
Then I tuned in my first layer as good as I can. Then I checked the extrusion calibration (was perfect). Then I printed the calibration cube.
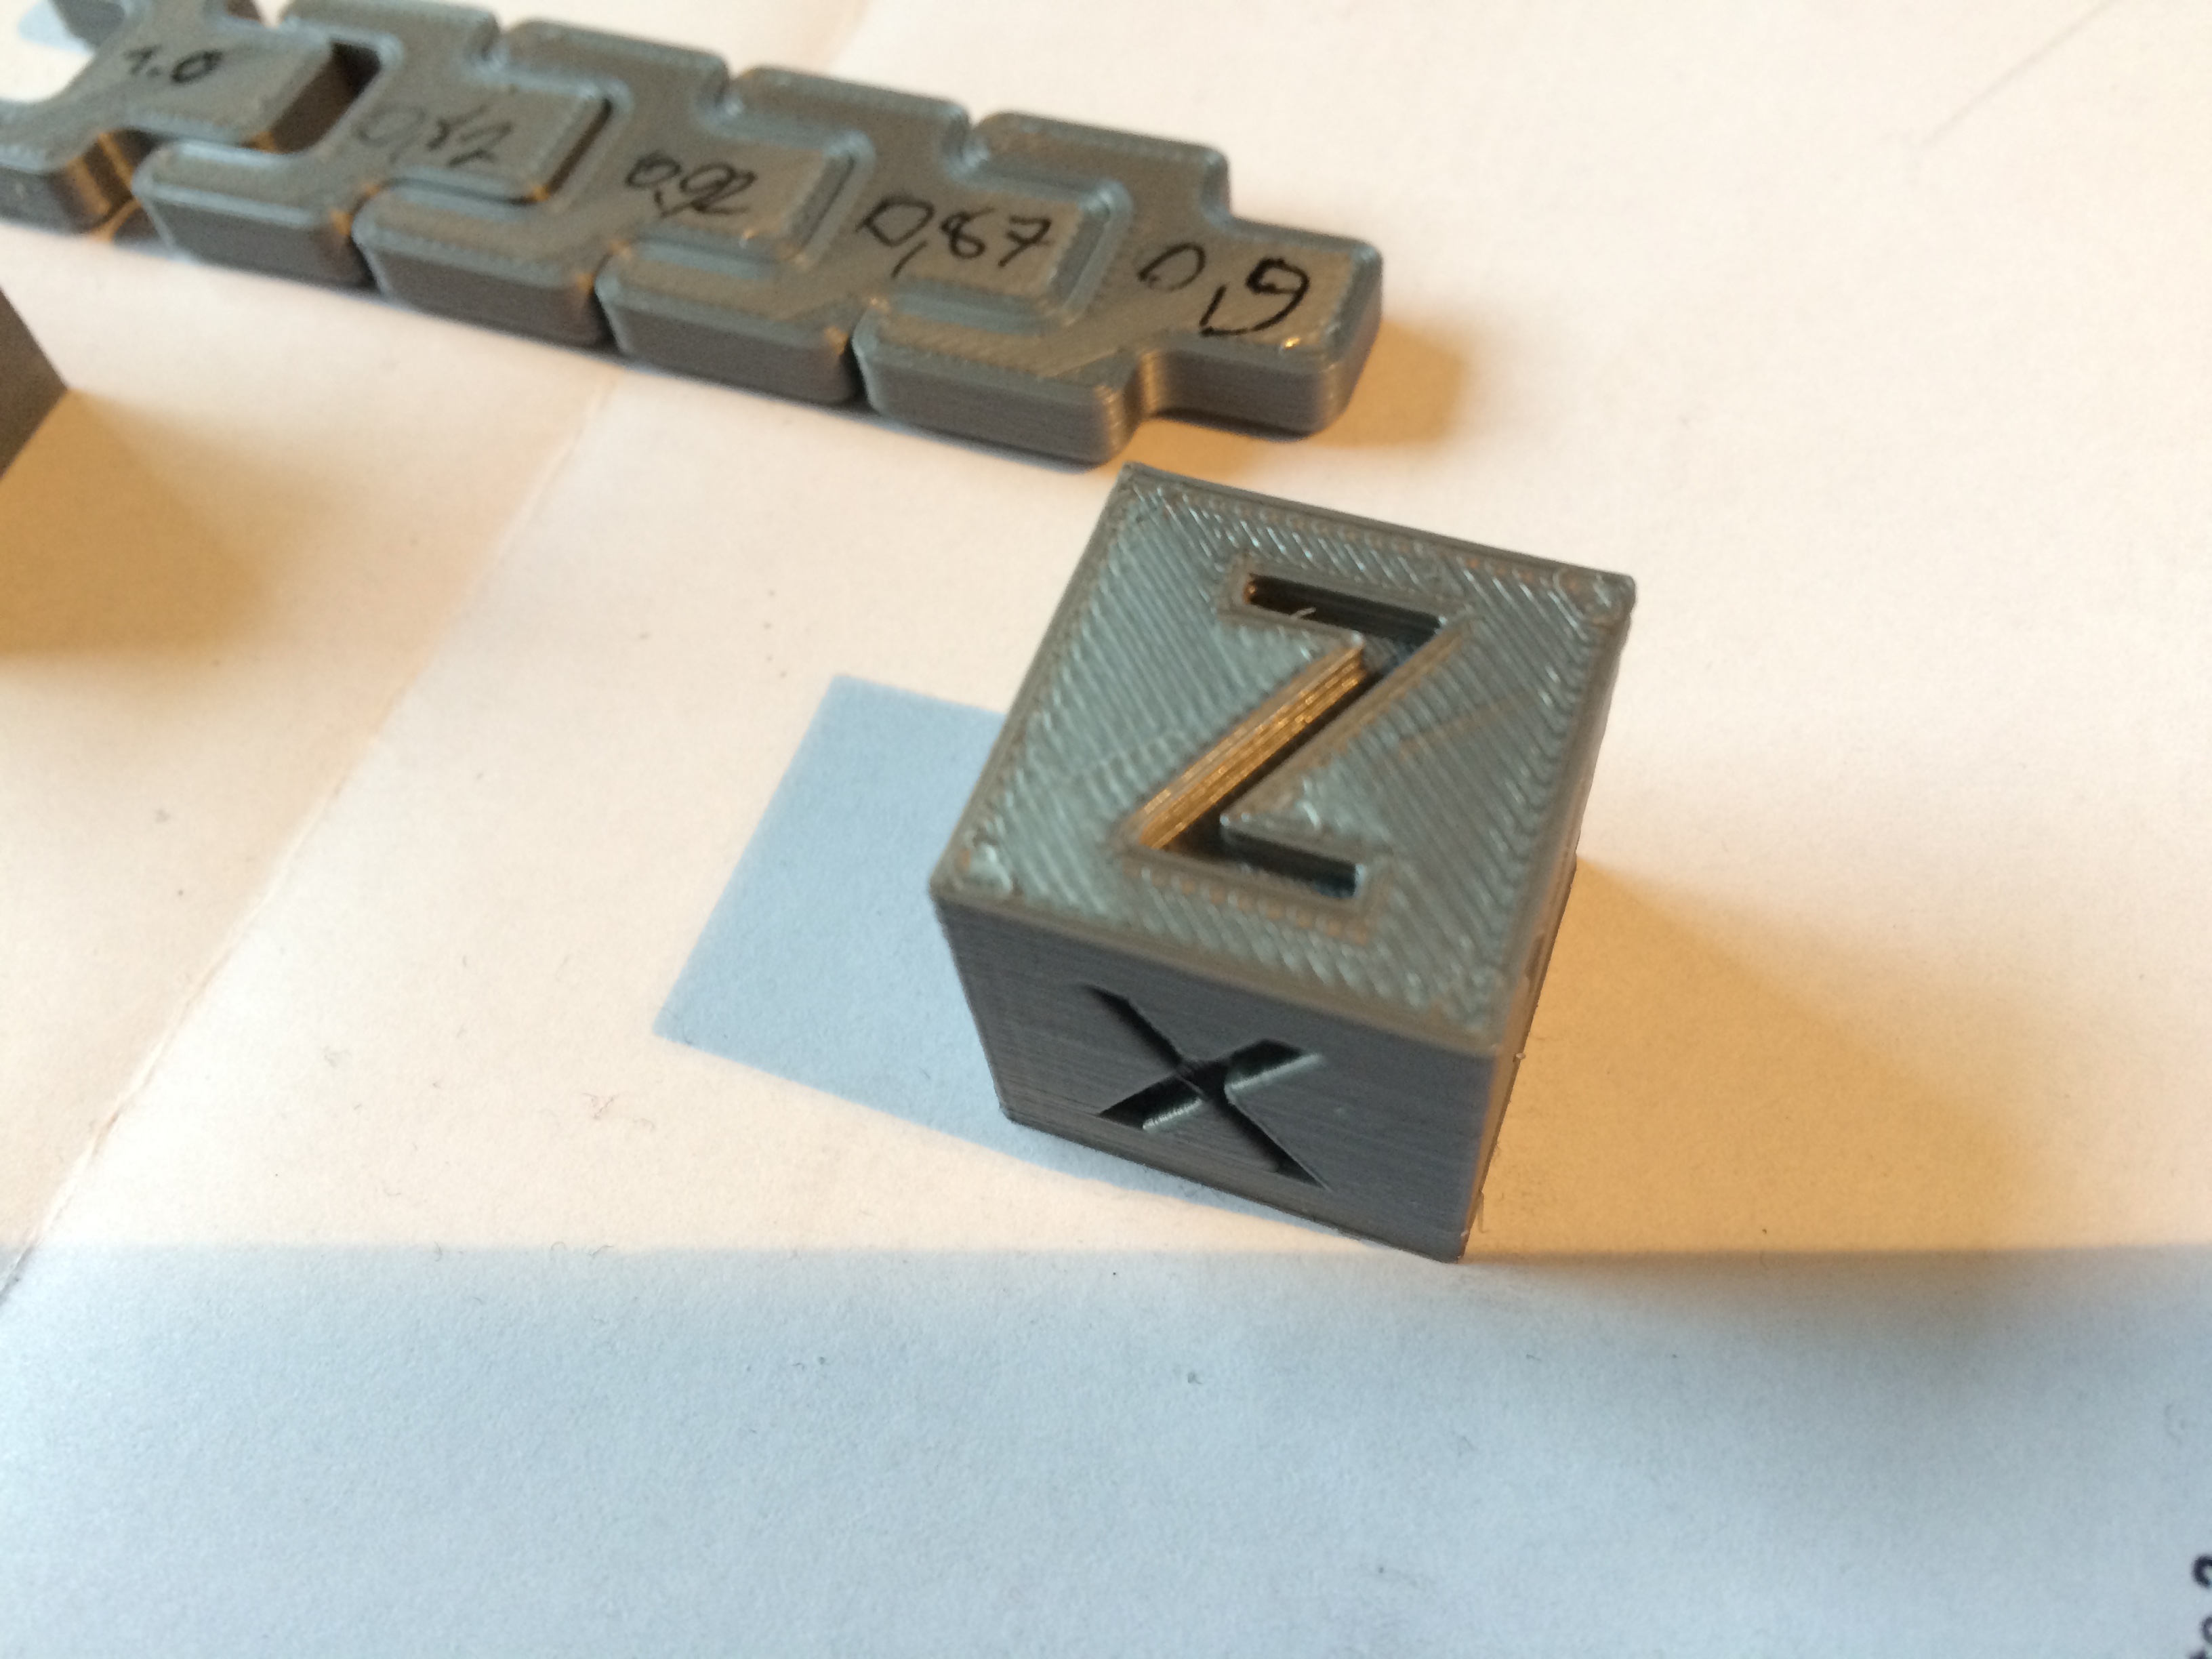
The first I printed with sli3r 1.37.2. The result was similar to the batman logo from SD (lets not talk about ringing(ghosting) for now) EXCEPT the top surface again. Really ugly. Then I found this thread and realized there is a more current slic3r on GitHub. So I reprinted the cube again with slic3r 1.38.5.
There are less artifacts on the walls, (ghosting is the same) and the top layer looks A LITTLE better. But is still quite ruff and has several nozzle round melting marks.
What can I do to improve the top surface quality? Any help greatly appreciated!
Re: poor print quality
Those look beautiful. What was the outer perimeter speed you slowed down to?
I used 30mm/s 🙂
A bit slow but its worth it and doesnt affect too much the total print time 🙂
Re: poor print quality
I have quality issues with the top layer.
I started with the Batman Logo from SD. The Top layer is very ruff and has several "nozzle melting circles".
Then I tuned in my first layer as good as I can. Then I checked the extrusion calibration (was perfect). Then I printed the calibration cube.
The first I printed with sli3r 1.37.2. The result was similar to the batman logo from SD (lets not talk about ringing(ghosting) for now) EXCEPT the top surface again. Really ugly. Then I found this thread and realized there is a more current slic3r on GitHub. So I reprinted the cube again with slic3r 1.38.5.
There are less artifacts on the walls, (ghosting is the same) and the top layer looks A LITTLE better. But is still quite ruff and has several nozzle round melting marks.
What can I do to improve the top surface quality? Any help greatly appreciated!IMG_1139.JPG
What extrusion multiplier are you using? I know you said the extrusion calibration was perfect but i would dial down the multiplier anyway until some holes (from underextrusion) started appearing... then dial back up slowly until the top layers are fully closed and beautiful 😀
Re: poor print quality
What extrusion multiplier are you using? I know you said the extrusion calibration was perfect but i would dial down the multiplier anyway until some holes (from underextrusion) started appearing... then dial back up slowly until the top layers are fully closed and beautiful 😀
I did not touch the default setting.
here are more pictures from the top surface, the side and first layer. The side improved a little with the slic3r update.
Would you say from my side and first layer that there is over extrusion? I am a beginner - so please excuse my questions. I am happy to learn! And to get this baby dialed in...
EDIT: The first calibration cube I DID NOT slice with slic3r 1.37.2 but with Prusa control, arg sorry to have that mixed up (I am tired, need sleep now!) Merry Christmas, happy holidays everyone!
EDIT2: I had "normal" settings in Prusa control and "optimal" on the second cube in slic3r
Re: poor print quality
What extrusion multiplier are you using? I know you said the extrusion calibration was perfect but i would dial down the multiplier anyway until some holes (from underextrusion) started appearing... then dial back up slowly until the top layers are fully closed and beautiful 😀
I did not touch the default setting.
here are more pictures from the top surface, the side and first layer. The side improved a little with the slic3r update.
Would you say from my side and first layer that there is over extrusion? I am a beginner - so please excuse my questions. I am happy to learn! And to get this baby dialed in...
IMG_1140.JPG
IMG_1141.JPG
IMG_1142.JPG
EDIT: The first calibration cube I DID NOT slice with slic3r 1.37.2 but with Prusa control, arg sorry to have that mixed up (I am tired, need sleep now!) Merry Christmas, happy holidays everyone!
EDIT2: I had "normal" settings in Prusa control and "optimal" on the second cube in slic3r
Sometimes when over-extrusion is not that much you wont notice it on the sides... One good way to find out is to see if the cube is close to the real size it should be.
Anyway, just start dialing down the multiplier and see the results... it wont hurt =)
Re: poor print quality
Sometimes when over-extrusion is not that much you wont notice it on the sides... One good way to find out is to see if the cube is close to the real size it should be.
Anyway, just start dialing down the multiplier and see the results... it wont hurt =)
Actually the cube is .2 to .3 mm bigger. So I will try to reduce extrusion next! Sounds like this really could be my problem. Thanks! I will report back when Christmas let’s me:-)
over-extrusion will make the stop surface very rough. dialing it back smoothed it out for me.
Re: poor print quality
i allready have played with the z live adjust.
maybe i have to try again. thanks for the hint
Your top layers look like over-extrusion. When I backed off flow rate (or reduced extrusion multiplier) it cleaned those up.
MK2 tended to under-extrude. So the perimeter settings in slic3r may be tuned to that machine still. Since the MK3 seems to be dead on with e-steps, the "compensation" in slic3r from MK2 days would make the surface poor. So my suggestion above is just a hack for now.
This looks promising. Based on assumption above, I adjusted perimeter and external perimeter in advanced print settings down 6% to 0.42, and I left the extrusion multiplier at 1.0. I printed the extrusion test print and it was perfect at 10.0 mm inside and out.
When you use the extrusion multiplier, it adjusts everything, perimeters, infill, etc. I noticed some of the infill was under-extruding. So I think tuning the individual parameters for the improved extruder on the MK3 is the right direction.
Have you looked into the perimeter tuning a little more? Would you rather reduce extrusion multiplier or the Perimeters? Well, you told me to go for extrusion multiplier. But I wonder if that only solves the one problem but maybe leads to others like weaker prints.
Re: poor print quality
All this talk about over extrusion led me to do the 100mm test and set the multiplier in the firmware. But I see there is a setting in slicer and others talking about changing the slicer settings.
What is the difference in setting the multiplier in firmware vs. software? If there is none, why not do dial it in via firmware and leave it at that?
Re: poor print quality
Your top layers look like over-extrusion. When I backed off flow rate (or reduced extrusion multiplier) it cleaned those up.
MK2 tended to under-extrude. So the perimeter settings in slic3r may be tuned to that machine still. Since the MK3 seems to be dead on with e-steps, the "compensation" in slic3r from MK2 days would make the surface poor. So my suggestion above is just a hack for now.
This looks promising. Based on assumption above, I adjusted perimeter and external perimeter in advanced print settings down 6% to 0.42, and I left the extrusion multiplier at 1.0. I printed the extrusion test print and it was perfect at 10.0 mm inside and out.
When you use the extrusion multiplier, it adjusts everything, perimeters, infill, etc. I noticed some of the infill was under-extruding. So I think tuning the individual parameters for the improved extruder on the MK3 is the right direction.
Have you looked into the perimeter tuning a little more? Would you rather reduce extrusion multiplier or the Perimeters? Well, you told me to go for extrusion multiplier. But I wonder if that only solves the one problem but maybe leads to others like weaker prints.
I don't know yet. I'm running a bunch of tests now to try to figure it out. I am seeing strange anomalies that I need to debug first.
Re: poor print quality
I don't know yet. I'm running a bunch of tests now to try to figure it out. I am seeing strange anomalies that I need to debug first.
Hi,
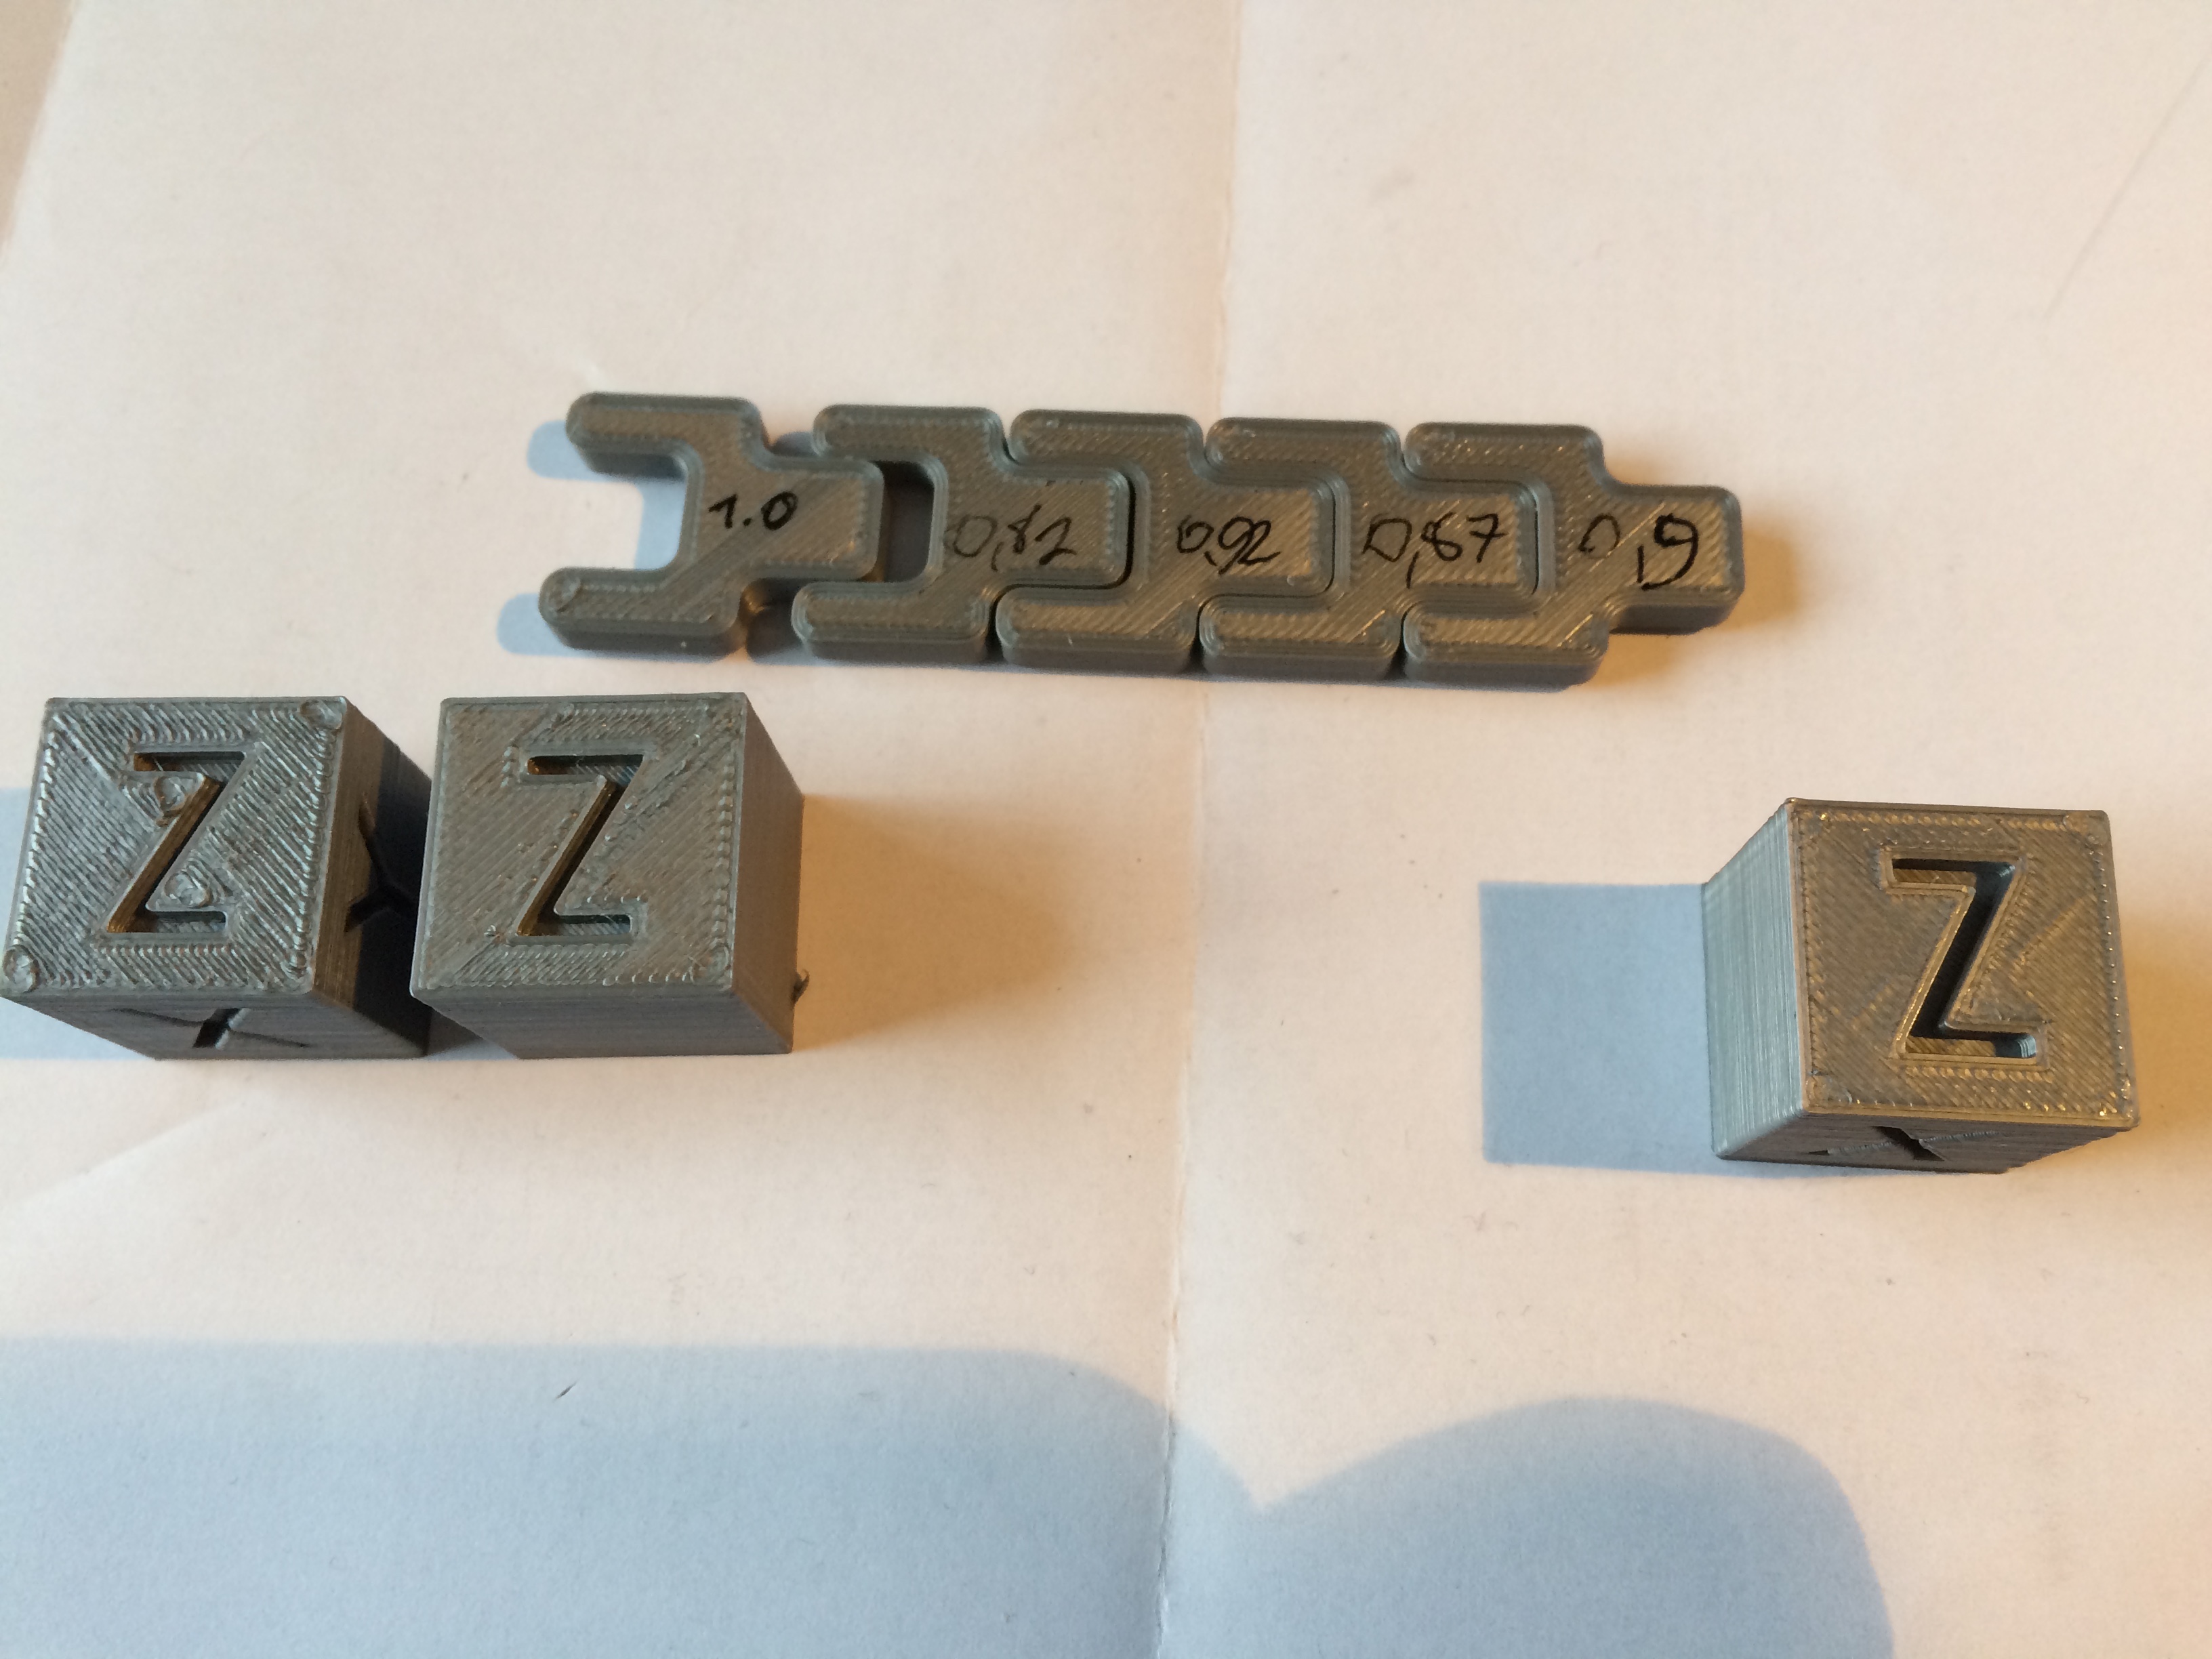
so I had some time in the early morning to do some iterations to get the extrusion multiplier calibrated. I had to do five iterations to get the right value - and guess what: it is 0.9 like with yours and another guy I have heard of.
I printed another calibration cube - the dimensions are now clearly more accurate and the top layer looks better - but in my opinion it is still not what I expected it to be: all four corners of the top layer still show round dots. Also the surface is not flat, I think the infill shows. So am I under extruding now?
I do not get the concept fully: When I extrude 10cm the extruder extrudes 10cm exactly. Why then does the top surface look like crap and the dimensions are to wide?
It is with Prusa PLA and the Prusa default settings. Why is the quality so bad? I am sure that my build is quite decent - it has to be firmware or software issue I think.
Here is photo of my 5 calibration attempts. And the latest calibration cube to the right
How can I improve the top surface quality further? Or is that the best that can be achieved? I do not think so. I am clueless.
Best regards
Re: poor print quality
As promised....
In this picture i'm using the default profile from Slic3r (1.37..2)...
Next up was sliced with Slic3r aswell but i decreased the temperature, slowed down the speed for the outer-most perimeter and increased perimeters to 3 instead of 2 since thats what i normally use with the other printer, and i also used the newer version 1.38.5...
In this next pictures i used Slic3r again (1.38.5) with the changed settings...
Leo,
I tried the settings you posted but I still can't seem to get rid of the ghosting I see in every corner.
I have tried 3 perimeters, put in all MK2 speed settings but I still have these lines. It gets better from 2 to 3 perimeters but still there. I tried increasing/decreasing acceleration I have my belt status down to X=250 and Y=275.
My top and bottom layers look good. Only side issues now.
I just can't seem to get the results you have. Anything else you may have changed and forgot about by any chance? My MK2 will print flawless, it's really amazing.
I’ve had the MK3 since Friday and been battling the same issues. Ive managed to get both my belts at 241 and that helped a little with he ghosting but I still have terrible ringing. I’ve calibrated the extruder to 0.91 and the tops and bottoms are smooth but the walls are just really wavy no matter what print speed I try. Really disheartening as the machine was so easy to build, silent when running and the end is amazing and luckily had no warp issues but I have had to revert back to using my MK2 as the print quality is no where near the same. What else could be causing the ringing ? My circular prints just look really wavy and rippled
Re: poor print quality
How do you get the belt status down? by tightening the belts, right?
My belts are both near the top limit (280+-4) and I wonder how I could bring these values down. They allready feel quite tight - they already play a "note" when I stroke them slightly like a bass guitar string.
I played around with Y belt: turning the idler screws completely loose the belt status was 287. When I then tightened the belt all the way (which I think felt very tight already) the belt status went down to 283 - nowhere near 240.
Have you guys started at lets say 280 and where able to get down to 240? How does the belt feel to your touch and what sound do they make (like a bass or more like a guitar?)
Best regards!
Mine started at 270 and it felt quite tight like on my MK2 and I was worried about over tightening but I kept getting bad ghosting. I have a spare belt so thought screw it im going to keep going and see what happens.
I started increasing it bitt by bit until it eventually was flush on the front plate and it was 251, I flipped it on it’s side and added an extra three notches and began again and kept going until it got to 240. It feels way tighter than I thought it should be which makes me question if the numbers or maybe I have been having my belts way too loose on my MK2 all this time? Either way both numbers are now 240 +/- 3 and it did help with ghosting but my print quality still sucks compared to my MK2 with considerably looser feeling belts
Wouldn't over tightening be really bad for the motor bearings?
Re: poor print quality
I wouldn’t say it feels ridiculously over tight just tighter than I would of thought but I could just be under tightening my belts. I originally did it to what my MK2 feels like and prints fine but since he quality was worse I figured maybe it does need to be tighter to reduce issues with ringing printing at higher speeds on the MK3 but alas nothing has helped.
I’m not sure if the picture picks it up well but here are two prints at the same speed 50mms and 40mms for outer perimeter wall the only difference is the extrusion multiplier as the MK2 is around 0.94 and the MK3 0.9. On the MK3 the walls just look really wavy and ripples which I assume is ringing? The MK2 is the left print which has some over extrusion but the walls look better
Re: poor print quality
As promised....
In this picture i'm using the default profile from Slic3r (1.37..2)...
Next up was sliced with Slic3r aswell but i decreased the temperature, slowed down the speed for the outer-most perimeter and increased perimeters to 3 instead of 2 since thats what i normally use with the other printer, and i also used the newer version 1.38.5...
In this next pictures i used Slic3r again (1.38.5) with the changed settings...
Leo,
I tried the settings you posted but I still can't seem to get rid of the ghosting I see in every corner.
I have tried 3 perimeters, put in all MK2 speed settings but I still have these lines. It gets better from 2 to 3 perimeters but still there. I tried increasing/decreasing acceleration I have my belt status down to X=250 and Y=275.
My top and bottom layers look good. Only side issues now.
I just can't seem to get the results you have. Anything else you may have changed and forgot about by any chance? My MK2 will print flawless, it's really amazing.
Hi Timothy,
Someone said earlier in the post to remove the Spool from the top frame... i didnt notice much improve but maybe that little difference is all you need for "perfect" prints?
It doesnt hurt to try :p
Did i mentioned im printing at lower temperature?? Im in the 195-200 range.
Other than that didnt change anything.
Here is another print =)
