How to print for a stepper motor shaft
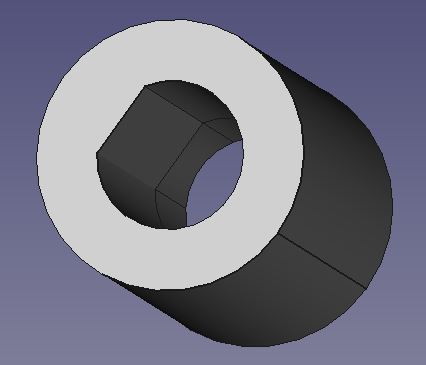
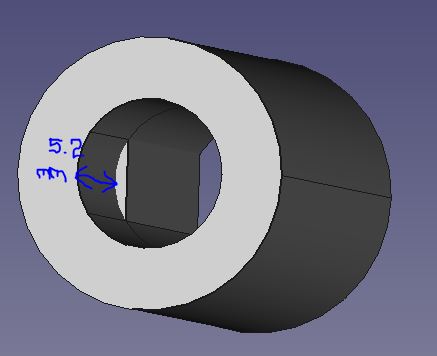
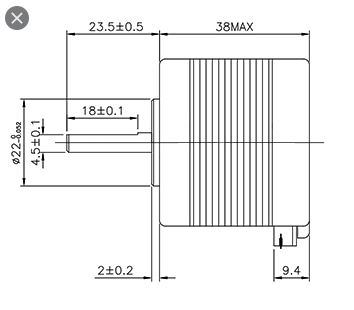
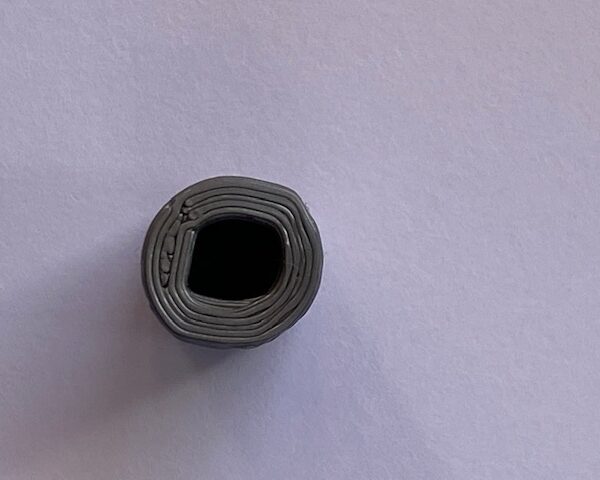
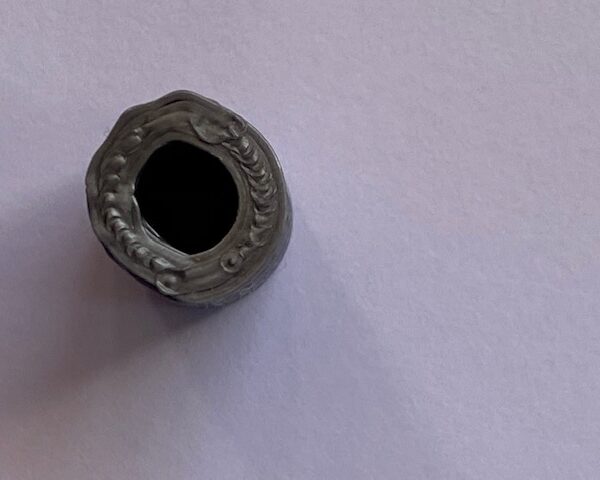
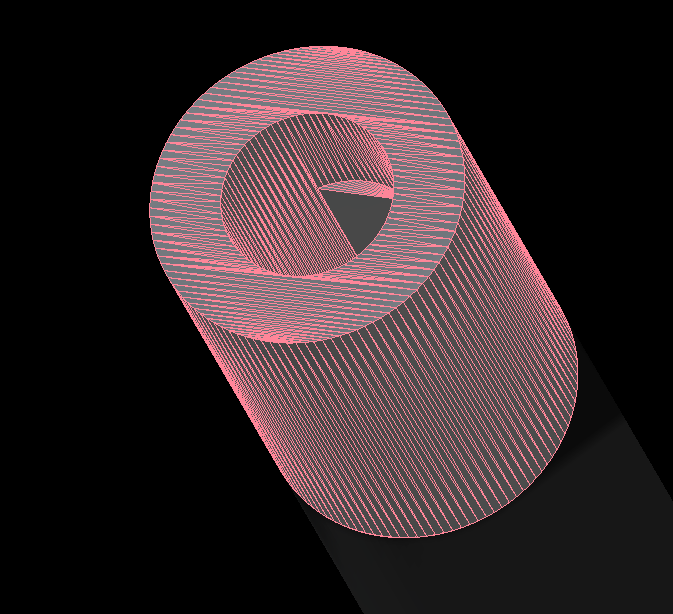
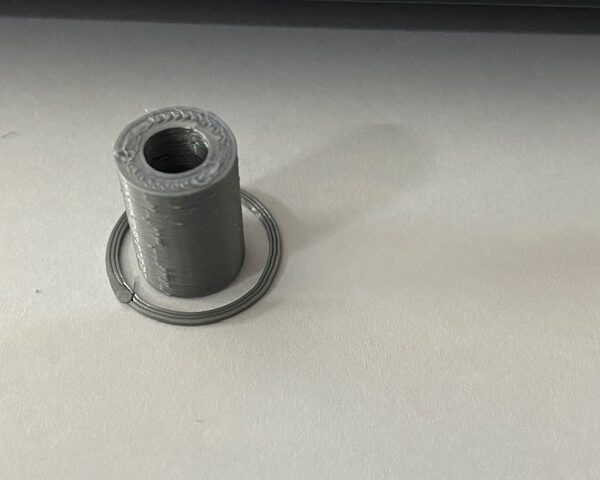
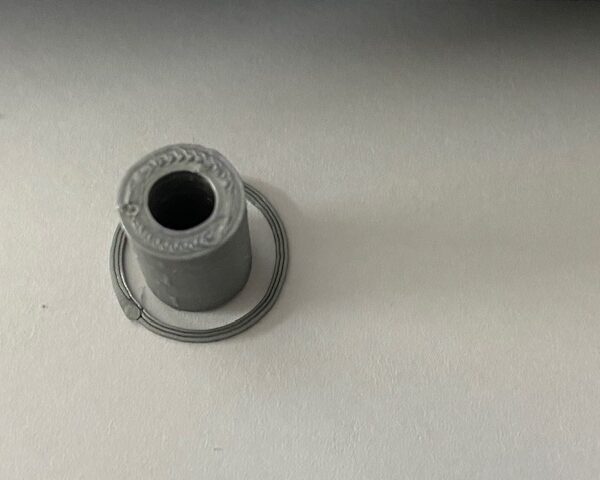
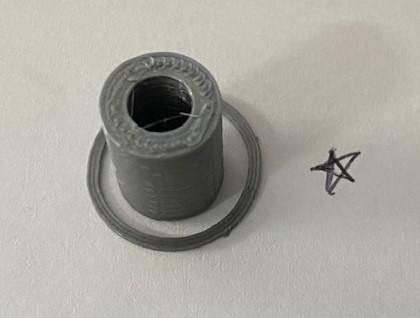
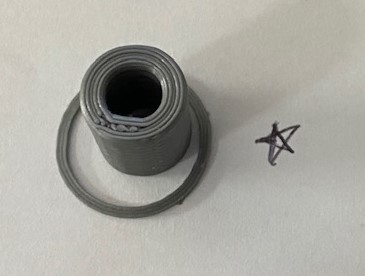
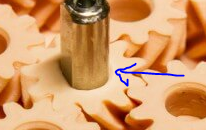 Greetings, I am trying to print a gear using MK3S, for Nema 17 D-shaped shaft. Its 5 mm in diameter, Each time I print, the results ends up with oval shaped hole. Can someone advice how to get the result as shown in the picture so the printed part fits into the shaft nicely. I am using Prusa PLA filament.
Best Answer by Neophyl:
I've printed it as-is from the project now. One immediate thing I noticed from the project is due to its size its hitting the speed slow down due to layer time, so its all printing at 15mm/s. Personally on my settings I change those values Filament>Cooling> Cooling Thresholds>Slowdown if print time is below = 5 seconds. I suspect its that which is causing the melted look.
Also the gyroid infill is doing almost nothing on this part. If you stick with 2 perimeters I'd go with cubic and increase the %. For structural Id use 3 minimum and more if needed. On a stepper Id go with 4 or more 🙂
The other weird thing is when I open that project its setting a Printer of 'Default FF' but all the settings in that profile look like they are for the MK3S, not sure why its doing that though.
I used Spectrum PLA which I normally run hotter than the settings you have but its actually come out looking pretty good. Some over extrusion on the top layer but that's to be expected without the filament being tweaked. The little flat is there and it all matches the model.
So at this point I'd say that even with the sub-optimal slice settings that the problem is most likely hardware related. Or Firmware,but that's not as likely.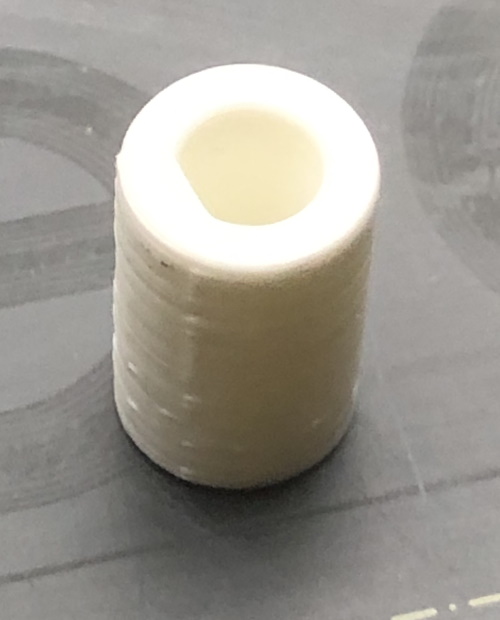 As your parts arent round I'd check the grub screws on the motor pulley(s) for X/Y as a first thing, then the check for smooth movement on the axis.
RE: How to print for a stepper motor shaft
I am using PrusaSlicer, default settings, 0.20 MM, 20 % fill. I hope community members can help me out. The printed part does not fit the stepper shaft.
RE: How to print for a stepper motor shaft
Your part looks pretty bad. It seems that you have some sort of a layer adhesion issue. Check your print temperature and make sure your hotend is reaching the correct temperature and that your nozzle is not partially clogged.
RE: How to print for a stepper motor shaft
You obviously have some printing issues but also bear in mind in .STL files curves are made up of a series of straight lines. Most CAD packages allow you to specify how may line segments make a curve. Sorry, I'm sure I'm not using the correct terminology but hopefully you get the gist.
RE: How to print for a stepper motor shaft
@ganesan_doraisamy
Please save your project as a 3mf file,(file>save as...) and then zip it up and attach it here. That will save your part along with all the settings you currently are using for print, filament and printer. We can then take a look at it and try and debug the problem. That should tell us if the model has any issues, it doesn't look like a big part so we can try printing it too.
I will say from your pictures that something is seriously out of whack, that looks like a melted candle rather than a functional part. Post it up and we can help.
RE: How to print for a stepper motor shaft
Greetings neophyl, Thank you for helping me. The forum is not allowing me to attach .zip or .3mf or .stl file. I removed .zip extension, please rename it with .zip extension and try unzip.
RE: How to print for a stepper motor shaft
Trying to upload the file again, forum is not allowing me to upload the file.
RE: How to print for a stepper motor shaft
project file zipped attached
RE: How to print for a stepper motor shaft
That part looks terrible. I doubt it's the stl file because no two prints look the same. Have you tried printing the benchie?
RE: How to print for a stepper motor shaft
@smoking_rubber
Yes I have printed benchie, when I first assembled the printer few months ago. I printed nicely. I have not tried to print it again since then.
RE: How to print for a stepper motor shaft
@ganesan_doraisamy
I would check following things on your printer:
- belt tension on Y/X axes
- smooth running of the axes
- loose pulleys
- cleaned and lubricated axes
The Slicer parameters seems to be ok for PLA.
Statt zu klagen, dass wir nicht alles haben, was wir wollen, sollten wir lieber dankbar sein, dass wir nicht alles bekommen, was wir verdienen.
RE: How to print for a stepper motor shaft
@ganesan_doraisamy
Printing it again will tell you if there's a problem with your machine (loose bits like @karl-herbert said), or if the problem is in the part file. If the benchie doesn't repeat at the same original quality, something mechanical has changed or loosened up.
RE: How to print for a stepper motor shaft
I've printed it as-is from the project now. One immediate thing I noticed from the project is due to its size its hitting the speed slow down due to layer time, so its all printing at 15mm/s. Personally on my settings I change those values Filament>Cooling> Cooling Thresholds>Slowdown if print time is below = 5 seconds. I suspect its that which is causing the melted look.
Also the gyroid infill is doing almost nothing on this part. If you stick with 2 perimeters I'd go with cubic and increase the %. For structural Id use 3 minimum and more if needed. On a stepper Id go with 4 or more 🙂
The other weird thing is when I open that project its setting a Printer of 'Default FF' but all the settings in that profile look like they are for the MK3S, not sure why its doing that though.
I used Spectrum PLA which I normally run hotter than the settings you have but its actually come out looking pretty good. Some over extrusion on the top layer but that's to be expected without the filament being tweaked. The little flat is there and it all matches the model.
So at this point I'd say that even with the sub-optimal slice settings that the problem is most likely hardware related. Or Firmware,but that's not as likely. As your parts arent round I'd check the grub screws on the motor pulley(s) for X/Y as a first thing, then the check for smooth movement on the axis.
RE: How to print for a stepper motor shaft
Dear all, thank you for the valuable inputs, I will check those things and post the results back here.
RE: How to print for a stepper motor shaft
Dear all, primary issue (as it appears) was caused by a loose screw for mount/belt tensioner for Y-axis. Shown in picture below.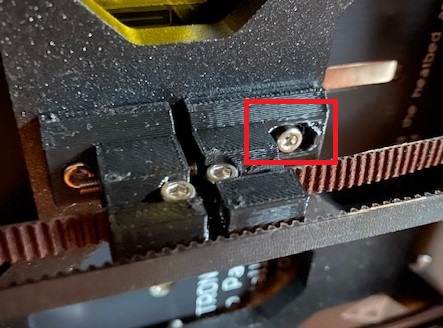
Before tightening the screw, the printer showed belt status as X=291, Y= 298. After tightening the screw and after the test print, (pictures below), the belt status showed the same.
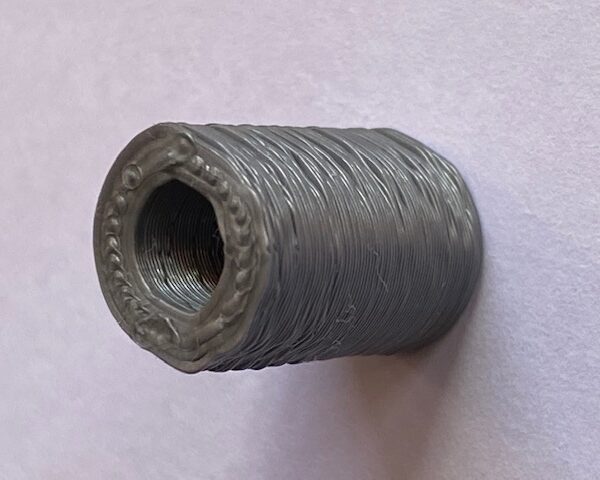
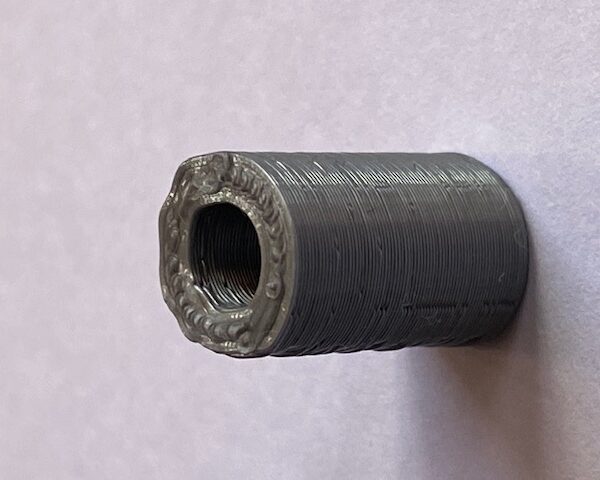
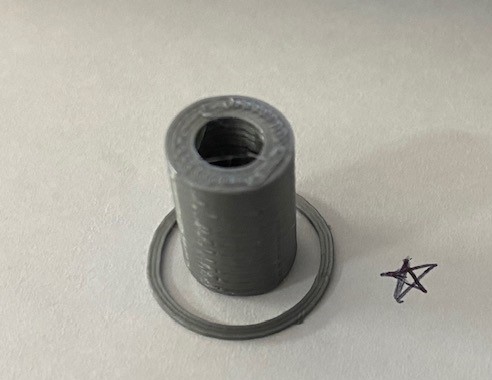
Following pictures for the print test using the model from smoking_rubber. Same slicer settings as my initial test (& above test)
The axes appears to be smooth, as you can see some part of the wall is not smooth.
RE: How to print for a stepper motor shaft
The wall bumps look like the seam where a layer starts/ends. You can reduce them by properly tweaking your printer and filament settings but you can’t ever get rid of them with fdm printing. Especially on a cylinder as the slicer can’t hide them in a corner. Depending on the model either random to spread them out or aligned to group them to make it easier to post process can help.
But glad to see you figured out what was causing it. I shall have to remember that one and add it to the list of screws to check on the Y axis in future.
RE: How to print for a stepper motor shaft
@ganesan_doraisamy
This type of belt tensioner does not seem to me to be a safe construction. The right part in the photo only seems to be secured by the pressure of a screw. This can slip easily and thereby change the belt tension. For the holder i would prefer to use this type: 
and for the tensioner maybe this type: 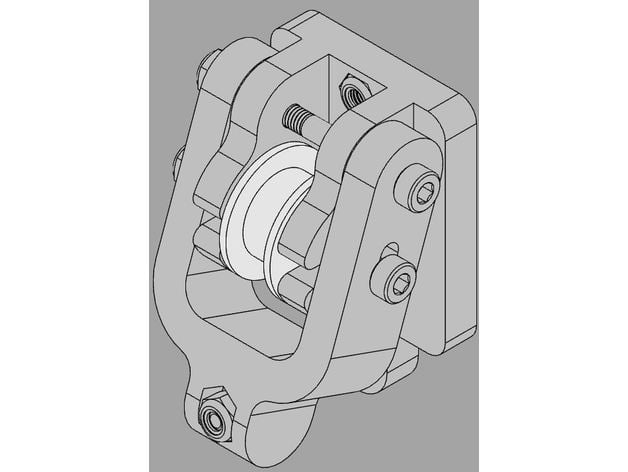
Statt zu klagen, dass wir nicht alles haben, was wir wollen, sollten wir lieber dankbar sein, dass wir nicht alles bekommen, was wir verdienen.
RE: How to print for a stepper motor shaft
@karl-herbert
That’s the Mk3s y axis, there’s a screw that pulls the 2 parts together that you cant see from that angle to adjust the tension and then you can tighten the one pictured to lock it in position.
Personally on mine which started off as a mk3 I do use the tensioner you pictured. It’s great and works perfectly.
