Failed to print micro AIO (all-in-one) test
I just finished building my MK3S kit. Everything went really smoothly, and my first couple of prints of the included samples were a succes. Before I felt ready to tackle bigger prints I wanted to test the calibration and z-adjust, so I tried printing the micro AIO print test ( https://www.thingiverse.com/thing:2975429 ). When I got to the two big overhangs, the extruder got caught on the piece, lifted it from the plate, and all hell broke loose. In addition, I found some wisps of PLA in the bridging test, and a portion of the tolerance test didn't print (though that could be because I printed at 0.2mm). (some pics here: https://imgur.com/a/ZkTnBq7 )
Today I tried a different model, and again, it looks like the extruder got stuck on a plate of the model that's floating on some supports and failed.
Should I try to reduce print speed? What other things should I be looking at? I'd like to try to get the printer as well calibrated as I can.
thanks much!
RE: Failed to print micro AIO (all-in-one) test
Print a calibration circle or square, about 2" in size. Post a picture of the result.
I suspect adhesion or incorrect Z. Shees - I sound like a broken record...
But then most problems do come down to that.
RE: Failed to print micro AIO (all-in-one) test
Overhangs and curl are common. You have to watch these types of conditions and plan on being there to manage the outcome. Part of FDM printing.
The other part is getting use to the idea your finger prints are dangerous to printing. One single finger print will destroy a print because finger oils and PLA are not compatible. Think release agent. A single print spreads out on PEI like oil on water, and after a few hours the entire print surface is contaminated and PLA will not stick.
Soap and a very hot water rinse at a sink is required to adequately remove finger prints. Leave the alcohol in the bottle; it just spreads the oils more thinly. Soap and water is what works. Ignore this advice at your own peril.
RE: Failed to print micro AIO (all-in-one) test
A few finger prints that were washed away with alcohol:
A bed cleaned a half dozen times with alcohol:
Anyone who claims alcohol works wears gloves and never touched the print surface with bare fingers.
RE: Failed to print micro AIO (all-in-one) test
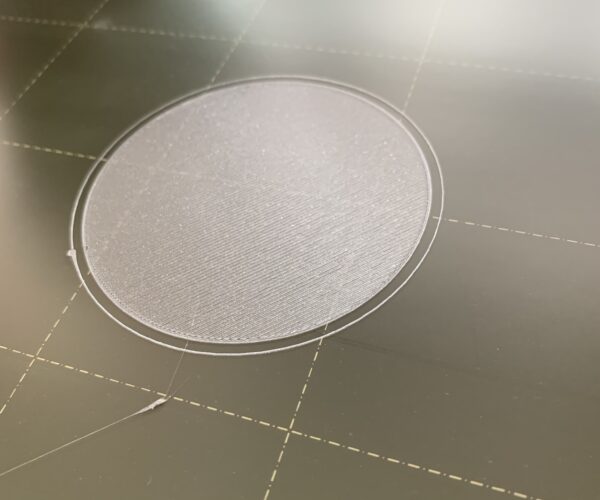
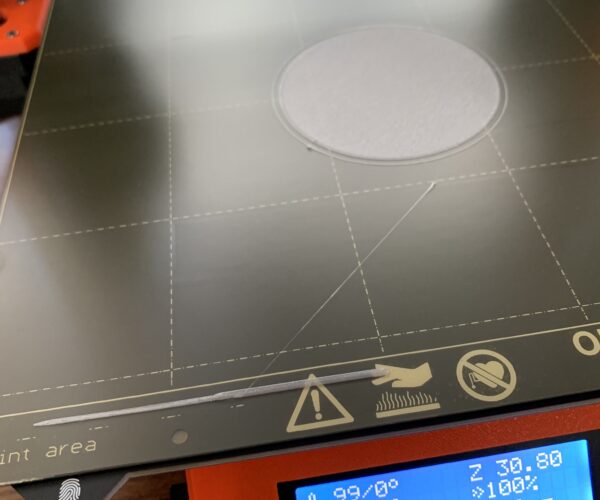
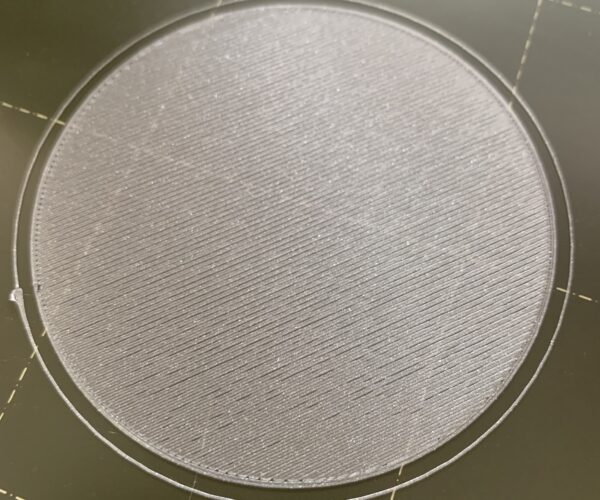
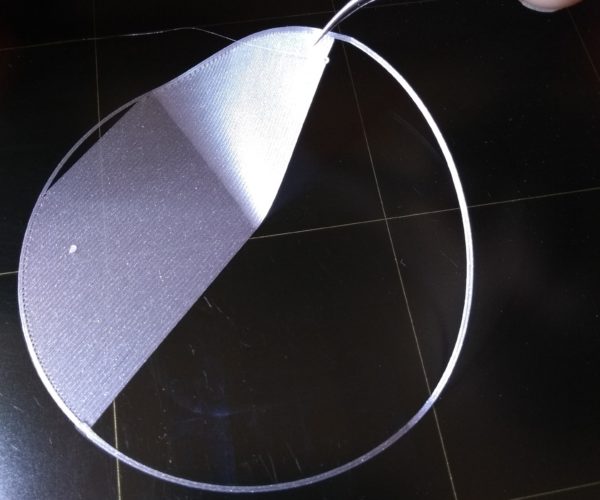
Thanks for the suggestions. I did a pretty careful job of removing oils from the steel sheet with soap and water. I printed a calibration circle and on one hand it's pretty clean, but it does have some slight gaps. I'm not confident that I've properly calibrated my z-adjust.. it seems the extruder head should be squishing the material some as it comes out so I tried to find that sweet spot.
You can see there's a small sliver of material from the initial line of material to the starting point of the circle. In an ideal world should I expect that? Or should the extruder head retract the material a bit to prevent that?
RE: Failed to print micro AIO (all-in-one) test
Looks like the hot end needs to come down a little more. The "tail" is pretty common, but you can make it better with some code change, wouldn't worry about it right now. Focus on getting your first layer dialed in and after that you can worry about the tail of material. This might help...
First Layer Calibration
First tell the firmware which sheet you have mounted (smooth or textured) the last Z setting you set will be stored by the firmware for that sheet.
You need to repeat this process for each different sheet type you use. The physical thickness of the textured sheet is thinner than the smooth sheet.
Never ever mislead the firmware about which sheet is current. That can dig trenches across the sheet - or print in the air.
Hope this helps.
https://www.prusaprinters.org/prints/20306-first-layer-calibration
RE: Failed to print micro AIO (all-in-one) test
OK that's a very helpful vid, thanks! I'll give that a try. I'm also reprinting at 80% speed now and that's helping. I'll report back if I learn anything useful for others.


