ESUN PETG Print Settings
Hello,
I am having print issues with the PETG fire engine red from Esun.
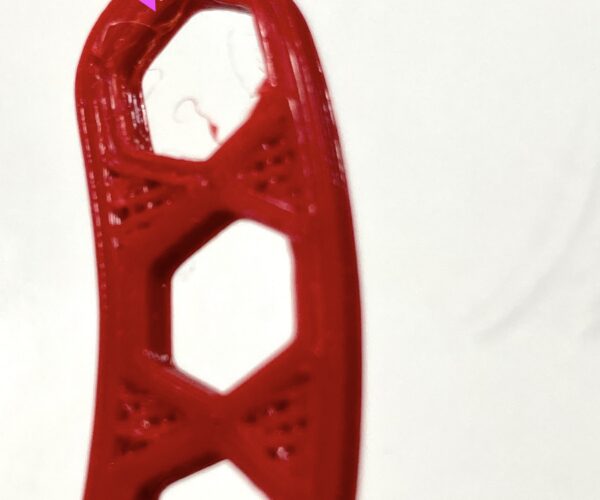
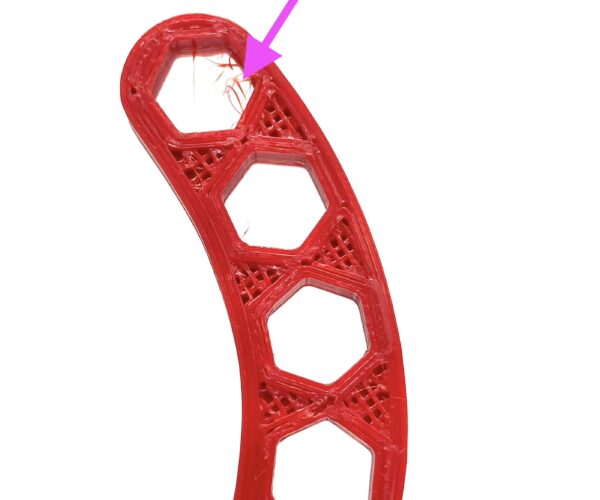
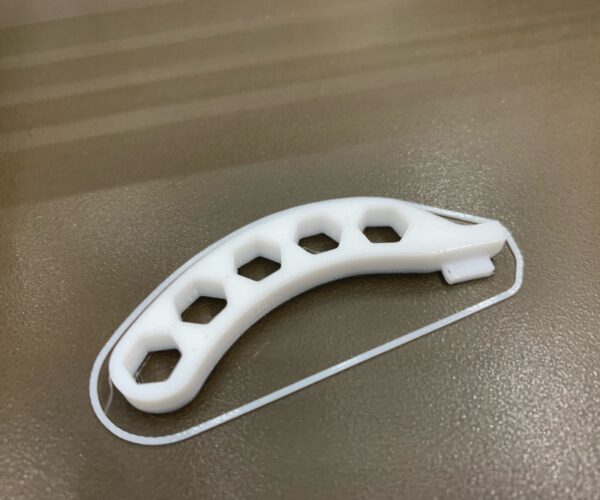
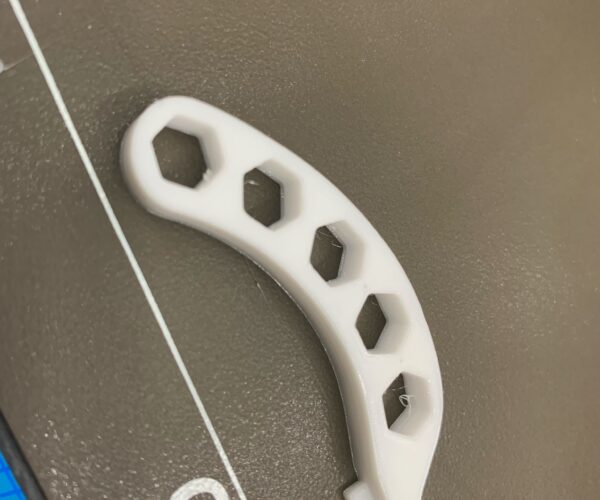
I keep getting tiny blobs and stringing on the first hex you see in the photo. The rest are clean. The outer perimeter looks clean too.
the blobs is consistent in that same location.
I have attached my Mk3 configuration settings.
Any idea what might be causing this?
I already printed the stringing test model and got a good results after fine tuning the settings.
Best Answer by ssill2:
I've attached the most recent version. It's the version used to print that in duramic silver.
It's not perfect. This is only different from attempt 3 in temp. I had transposed the first layer temp as 254 when I meant to 245. Again, this printer has a steel nozzle so that temp is a little higher than it would be for brass.
Thank you for doing this. What extrusion multiplier are you using for this print?
Also, your ironing setting looks very nice, are you using the default settings?
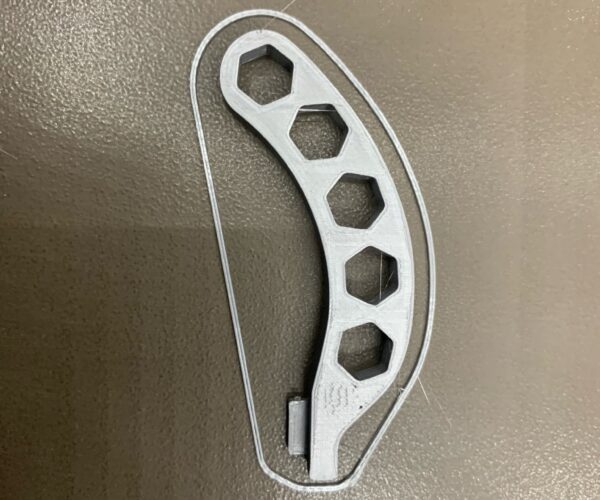
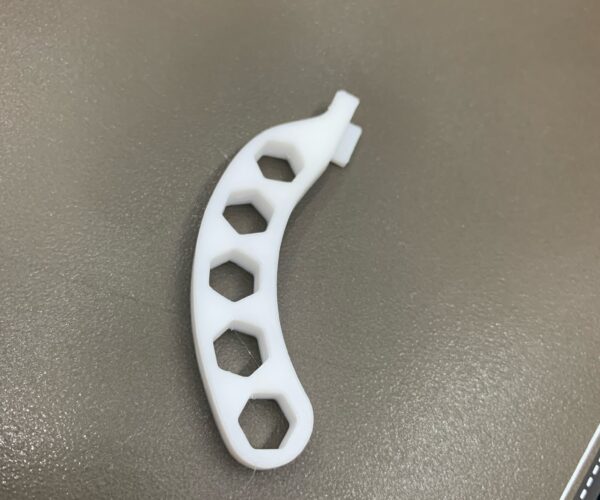
here's the thing in duramic3d silver PETG. I hadn't noticed the small imperfection when I printed in white.
I mean honestly this should be ok. I'm sure swiss_cheese could get this across the finish line lol
Adding model and config attachment
Adding model and config attachment
extrusion multiplier
I've found with most PETG you have to tune the extrusion multiplier a bit to get rid of the blobs. usually something like a .93 does it for me.
It’s 0.92 multiplier
Thanks for the reply.
This is with 0.92 multiplier. I tried 0.9 and I could see holes in the print.
What else could it be? This is a brand new spool.
.3mf
I would recommend you zip up your.3mf file and attach here. This will make it easier for folks on here to help. Both my printers are are busy for the next two days or so, but I can try to print your model if you attach the zipped .3mf. I don't have any esun petg on hand at the moment, but I can at least do a test print for you for comparison.
Attached files
Thank you very much for the offer.
Please see attached.
@rocky79
Your modelconfig.zip does not contain a .3mf project file.
Save your project as .3mf, zip it up and post it here and we will be better able to assist.
Good Luck
Swiss_Cheese
The Filament Whisperer
.3mf included
Sure, sorry I only included the stl file.
Please see attached
Meh. Flick them off at the end. Life is too short.
That looks minor at best. Flick it off at the end of the print and be done with it.
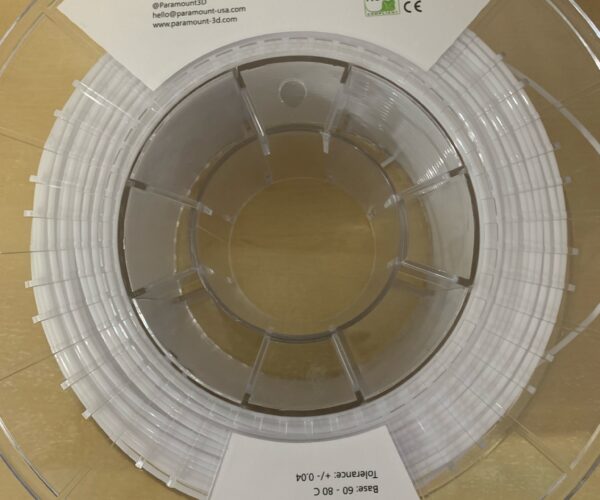
test with paramount 3d petg
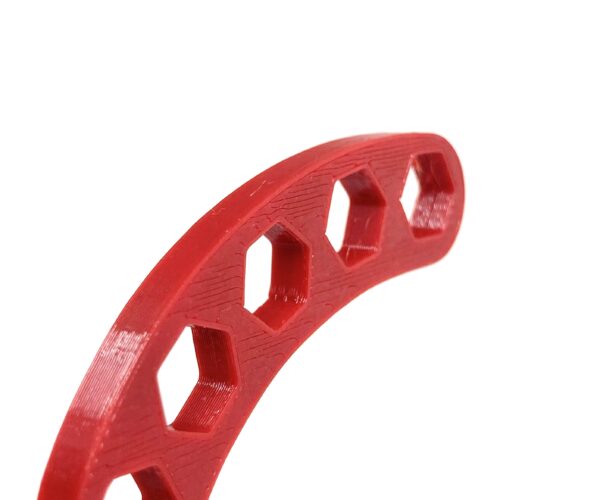
I did a quick test with the petg filament I had loaded.
Your settings were kind of all over the place,
I made some adjustments and printed. the small string on the left is just where it finished the print.
let me try again
I looked more closely at the final product, I think I had the extrusion multiplier too low. I'm doing another with some more tweaks.
attempt 2
This one is more challenging than it appears.
I still get these little gaps. I think for this model some tweaking of extrusion widths is necessary. Take a look at how the thing looks when it's sliced. I don't see the gaps in the sliced version which I did previously. This might need some swiss cheese magic.
attempt3
Ok, I dorked with this some more. I noticed in the previous attemps that the sliced model had gaps in it. I messed around with things a bit until I saw no gaps in the sliced model.
I just kicked off the print again. I'll post when it's done. I am printing at 75% speed as adjusted on the printer.
RE: PETG
I really appreciate your doing this. This looks very nice. Which PETG brand are you using?
More questions
Thank you. Few more questions:
1- When you say the settings were all over the place, what did you mean by that?
2-The 75% speed on the printer slows down all the speed moves. Was that really needed?
3- Do you think disabling Z lift will reduce stringing? I am now using Duramic PETG and it’s pretty stringy.
Ok, I dorked with this some more. I noticed in the previous attemps that the sliced model had gaps in it. I messed around with things a bit until I saw no gaps in the sliced model.
I just kicked off the print again. I'll post when it's done. I am printing at 75% speed as adjusted on the printer.
answers
Some of your settings didn't make sense. 75deg bed temp for instance. and your first layer height, .24mm. The prusa defaults are generally pretty good and you shouldn't change them unless you have good reason to.
Paramount 3d PETG is what I used for this. The printer I was printing on has a hardened steel nozzle so you might be able to get away with lower temp.
The 75% speed was just to make sure the part got started well. It's probably not necessary. Depending on the part though, it's sometimes necessary.
Duramic3d PETG is fine, I print with that often and have several spools. The the settings for the paramount should work for it. In general you want the lowest temp you can get away with. I found recently though that if you're printing support material you need a higher temp or the nozzle just drags the supports and they just blob up on your nozzle. I can try your print with duramic, but I suspect it will be fine.
Thank you. Few more questions:
1- When you say the settings were all over the place, what did you mean by that?
2-The 75% speed on the printer slows down all the speed moves. Was that really needed?
3- Do you think disabling Z lift will reduce stringing? I am now using Duramic PETG and it’s pretty stringy.
Ok, I dorked with this some more. I noticed in the previous attemps that the sliced model had gaps in it. I messed around with things a bit until I saw no gaps in the sliced model.
I just kicked off the print again. I'll post when it's done. I am printing at 75% speed as adjusted on the printer.
duramic3d
I'm printing one now in duramic3d silver PETG. I'll let you know how it goes. Duramic has the only silver PETG I've come across. And it works well. I printed a light saber hilt with it on the MMU.
