clumps on direction changes
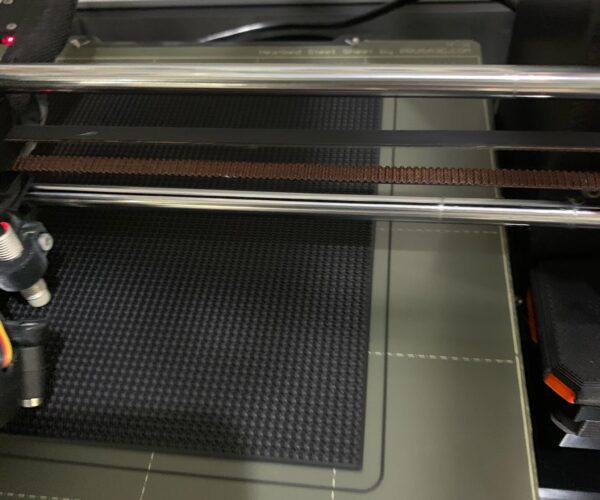
The print stream seems fine for starters when printing the straight lines, the initial strip is perfect. Then as the printer begins to make fast direction changes in the print job, it leaves clumps of PLA at each termination point. I've attached a picture of the end result. I replaced the nozzle (easy/lazy), but no change. Do I need to rebuild the print head? I'll attach a pic of the issue. Any advice?
Best Answer by bobstro:
Your Live-Z is too high (not negative enough). If you have not already done so, try using Jeff Jordan's "Life Adjust" procedure for calibrating your Live-Z setting. It is much easier to use and understand than the onboard routine and much easier to make mid-print adjustments accurately with. In general, start high (less negative) and work lower (more negative) in large increments (e.g. 0.1mm) until the filament starts to stick on its own. When you've got your Live-Z setting adjusted properly, you should be able to gently rub the extruded lines on the PEI surface without dislodging them. Then start lowering (more negative) the level until there are no gaps between layers. You should not be able to peel the lines apart after printing, but the top should be regular.
I've got some notes here that might be helpful. A good clean is a good idea before doing Live-Z calibration.
RE: clumps on direction changes
sorry, not awake. This is on an MK3S.
RE: clumps on direction changes
Your Live-Z is too high (not negative enough). If you have not already done so, try using Jeff Jordan's "Life Adjust" procedure for calibrating your Live-Z setting. It is much easier to use and understand than the onboard routine and much easier to make mid-print adjustments accurately with. In general, start high (less negative) and work lower (more negative) in large increments (e.g. 0.1mm) until the filament starts to stick on its own. When you've got your Live-Z setting adjusted properly, you should be able to gently rub the extruded lines on the PEI surface without dislodging them. Then start lowering (more negative) the level until there are no gaps between layers. You should not be able to peel the lines apart after printing, but the top should be regular.
I've got some notes here that might be helpful. A good clean is a good idea before doing Live-Z calibration.
and miscellaneous other tech projects
He is intelligent, but not experienced. His pattern indicates two dimensional thinking. -- Spock in Star Trek: The Wrath of Khan Unfortunately,…
RE: clumps on direction changes
Thank you, lowering the nozzle made a marked improvement in the results. Finding the right value is a bit of a fishing expedition, but it's fun learning how the thing ticks.
RE: clumps on direction changes
@bobstro
Hi Bob,
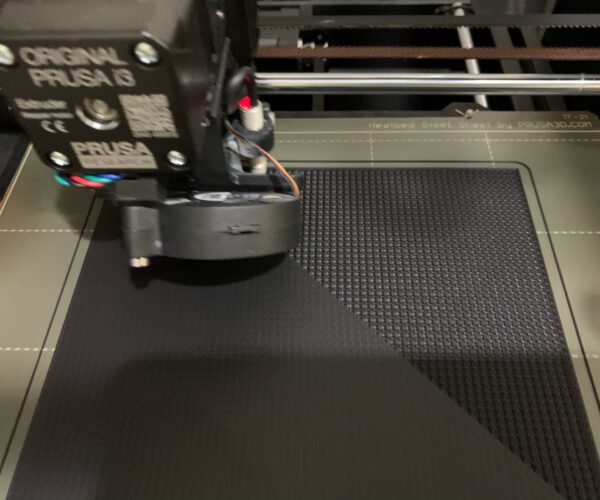
I was looking at your website, and you have some really good info there. The thing I've run into after dialing in my zOffset is that on prints in PLA with a lot of contact with the bed, say 167mm square, print beautifully for the first layer but then on second layer and above I get ripples of varying sizes. The picture here was me trying to change settings during that second layer to improve things. In my research on this I've seen two possible causes: The zOffset being too low and the fan speed being too high. This is really the first time I've tried to print anything of significance since dialing in the zOffset. do you have any thoughts? 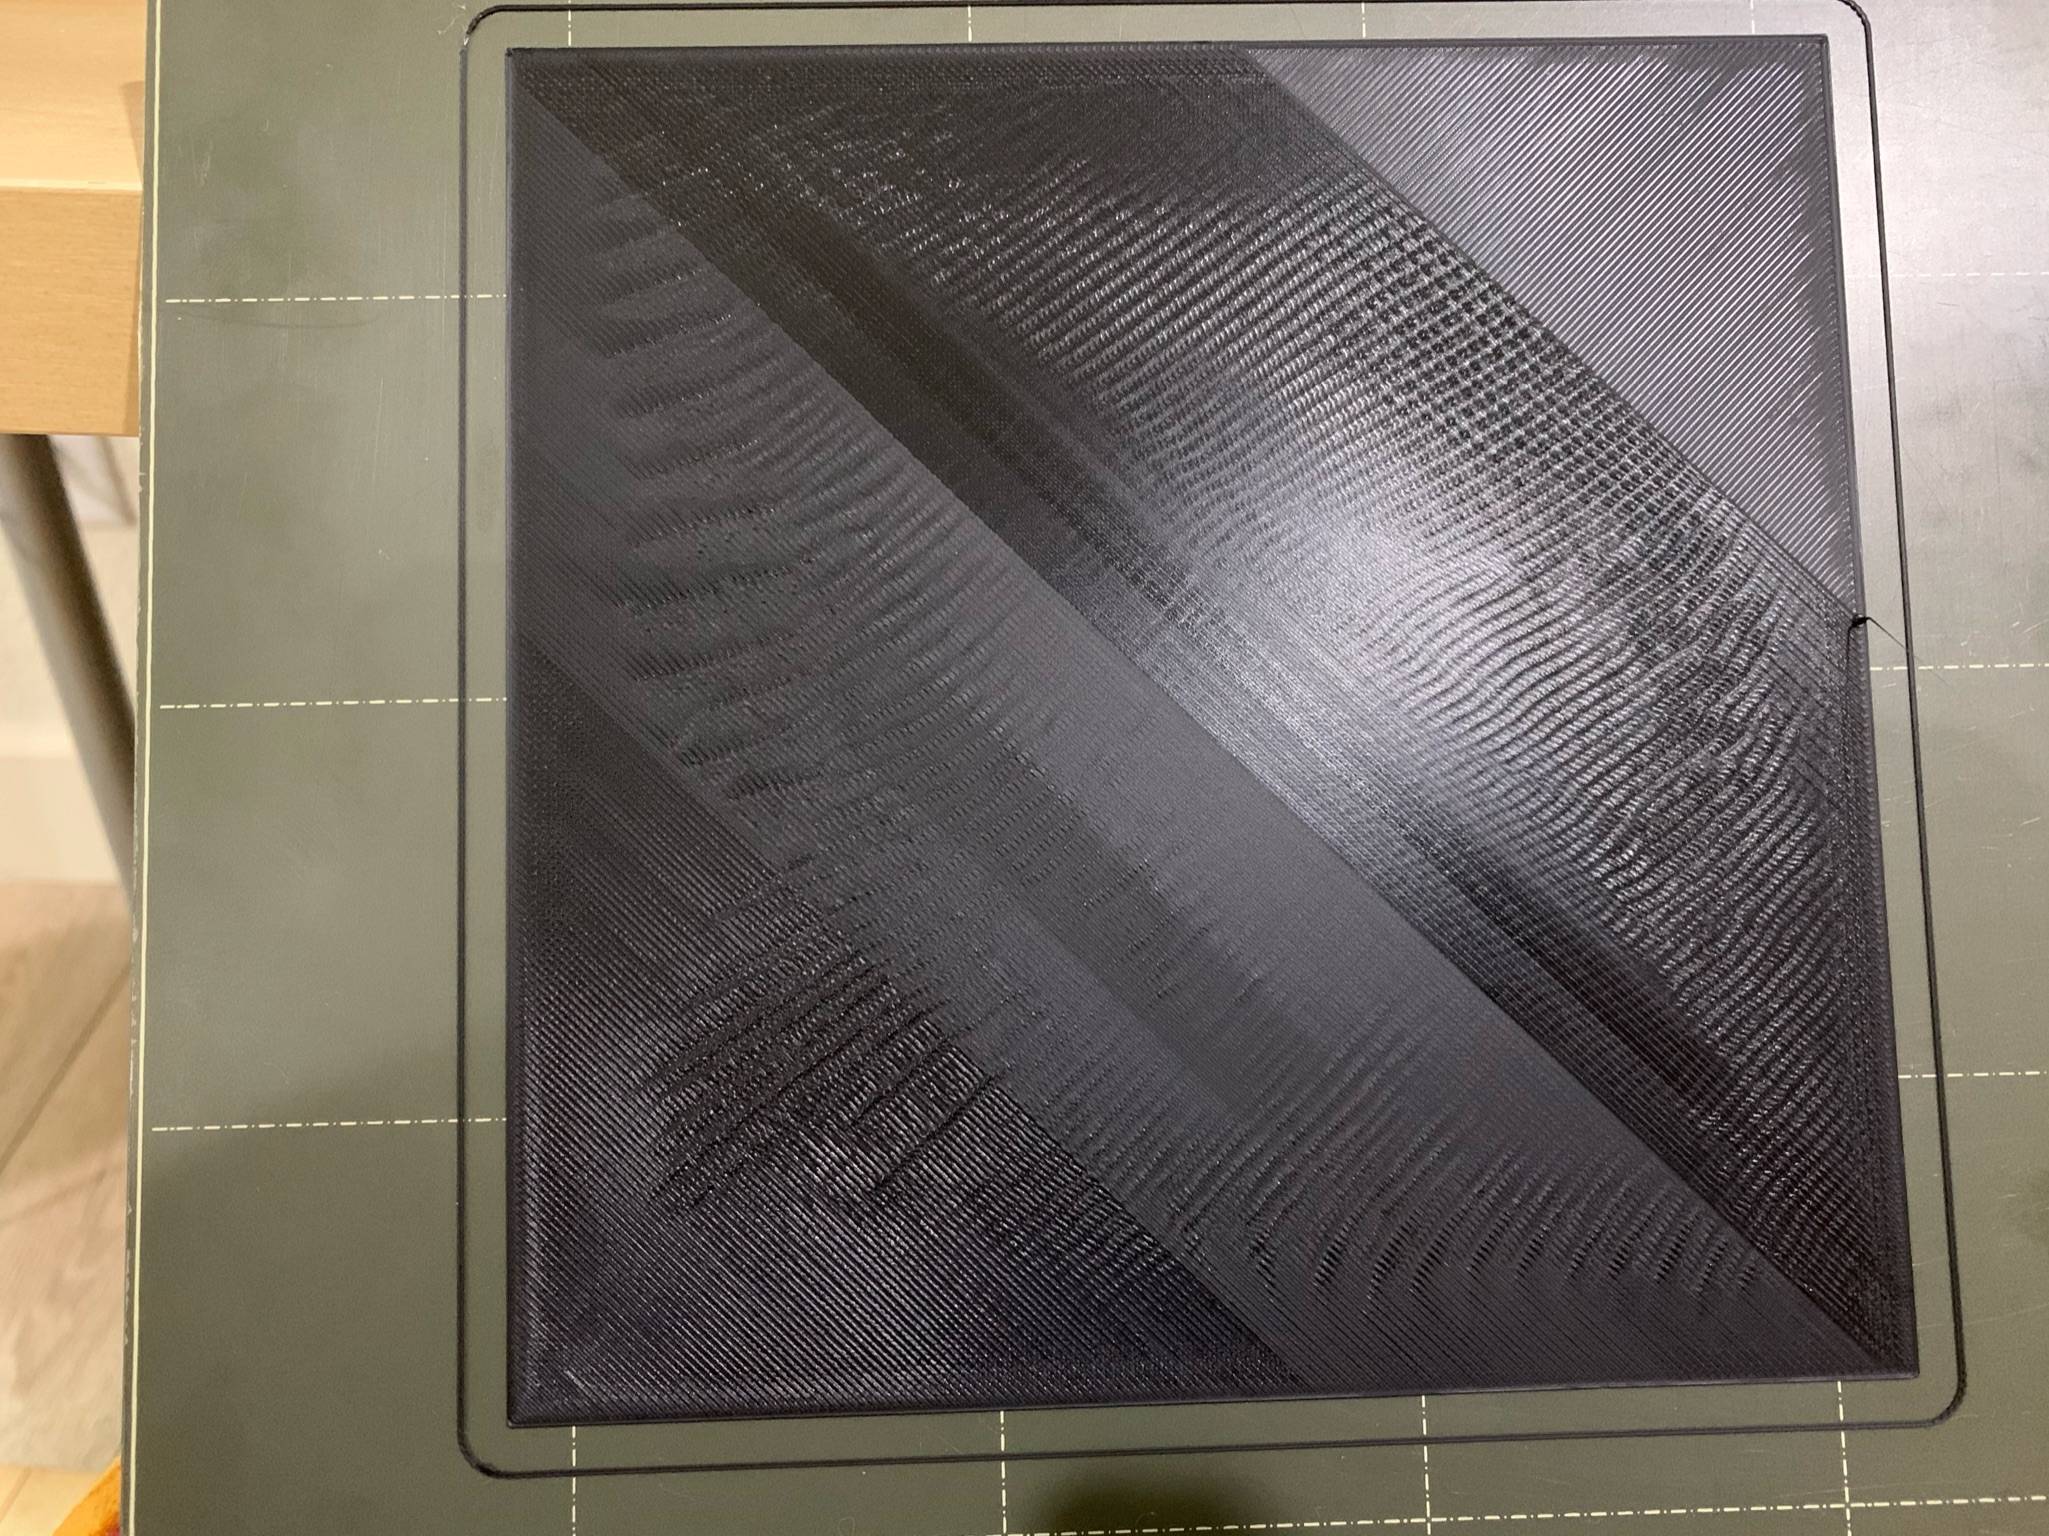
RE: clumps on direction changes
"me trying to change settings during that second layer"
I thought that the Z could only be adjusted during layer 1. Not true?
RE: clumps on direction changes
@stellr
Actually the Live Z adjust is available for at least a few layers.
I did actually figure out the problem.
Here's the .zip of the .3mf file I was printing. it has my settings.
The filament I'm using is Tecbears PLA. The manufacturer says the temp range is up to 220C and the bed, 70-80C. In my case to counteract the rippling effect I made the nozzle 205 for first layer and 200 for the rest. The bed 80C and disabled the fan for the first 3 layers and only 20% for the first 15. and 50% after that. These settings may not be right for ever model, but they seem to address the issue I was seeing. In case anyone else runs into this. I think the temperature difference between the bed being at 50-60C(vs. my 80C) was causing that.
RE: clumps on direction changes
this is is also working directly on the plate, no glue stick.
RE: clumps on direction changes
[...] after dialing in my zOffset is that on prints in PLA with a lot of contact with the bed, say 167mm square, print beautifully for the first layer but then on second layer and above I get ripples of varying sizes.
I never have much luck interpreting pics, but if those ripples are on the 2nd layer, it might be that you're over-extruding a bit. This will show up as layers distorting adjacent layers much like the 1st. If you're not using Prusament or a Prusa profile for your specific filament, it can't hurt to calibrate your extrusion multiplier. Slow down solid infill speeds (dial the knob back) and see if they even out.
Infill is printed at a faster rate and unless it's visible, isn't all that important. I wouldn't worry about anything that happens with infill or internals that get buried in plastic later. It took me forever to realize that stringing inside sparse infill doesn't matter, for example.
Keep an eye on your top layers and exterior walls though.
and miscellaneous other tech projects
He is intelligent, but not experienced. His pattern indicates two dimensional thinking. -- Spock in Star Trek: The Wrath of Khan Unfortunately,…
RE: clumps on direction changes
[...] The manufacturer says the temp range is up to 220C and the bed, 70-80C. In my case to counteract the rippling effect I made the nozzle 205 for first layer and 200 for the rest. The bed 80C and disabled the fan for the first 3 layers and only 20% for the first 15. and 50% after that.
Whoa! Those are almost PETG temps. Most PLA starts softening at 70C or so, so I'd definitely drop that bed temp. Remember most filament manufacturer recommendations are meant to work with crappy $200 printers. You can probably print cooler with a Prusa and still get good bed and inter-layer adhesion. Definitely experiment with it.
and miscellaneous other tech projects
He is intelligent, but not experienced. His pattern indicates two dimensional thinking. -- Spock in Star Trek: The Wrath of Khan Unfortunately,…
RE: clumps on direction changes
@bobstro
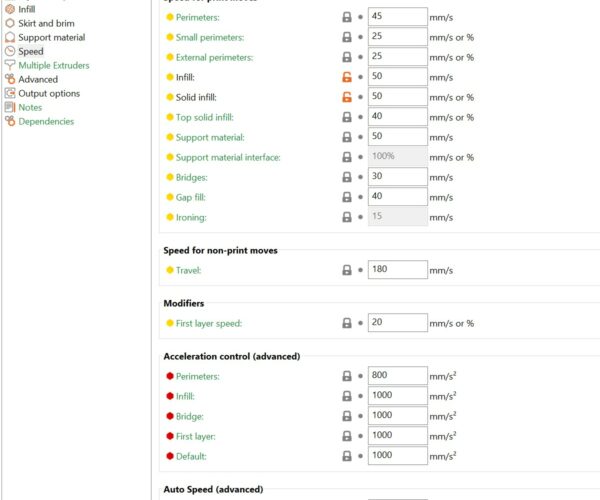
actually I got this working without messing with my extrusion multiplier. The ripples were simply being caused by the temperature difference between the bed and large swaths infill. The first 4 or 5 layers are solid and that's where it was happening. I think the long strings filament being laid down were cooling enough to cause those ripples. I slowed the print down and increased the bed temp. Tecbears says their PLA should have a 70-80C bed. honestly after I made the changes I've never seen a more smooth infill. YMMV, but this did fix the problem for me.
RE: clumps on direction changes
@bobstro
I ended up doing 205 for first layer and 200 for all the other layers. I think it was a combination of the tuning down of the fan which was cooling those long runs of filament enough to make them contract and raising the bed temp. I might be able to get away with less, I agree, but these layers are going down more smoothly than I've ever seen and as long as the print looks nice at the end of the 32 hour run, I'm ok with it lol
Next I have to get back to a PETG pring that's been giving me grief. I'm anxious to get back my fun stuff. All these problem children have been stuff I'm printing for my wife.
RE: clumps on direction changes
"I slowed the print down" What % speed did you find to be helpful? I wondered about that as my problem seemed to play out with direction changes, louder motor noises associated with the slop.
RE: clumps on direction changes
bob you are correct on the bed temp. the print looks ok, and I did lower last night before bed to 64C. The 80C allowed the pla to to be soft enough that as layers were stacked I noticed a minor amount of deformation. I think the real fix was actually slowing down the speed from 80 to 50 for the infill. of those bottom layers. It's still going with another 12 hours to go. it looks ok enough for my purposes, but in the future I will try to cap the bed temp for PLA to 64, just under the glassification temp for PLA. I appreciate the feedback.
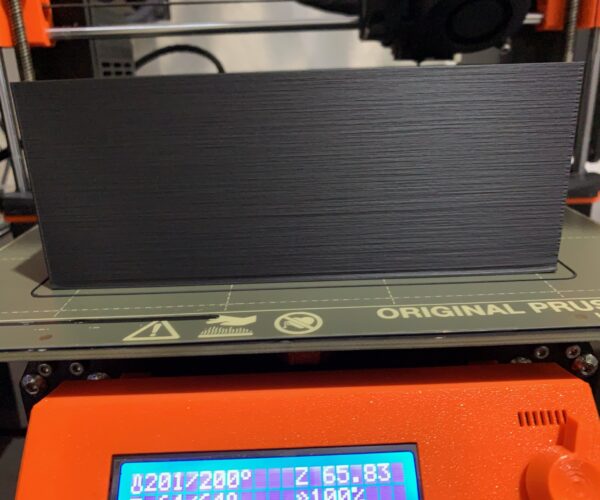
Here's a current pic. of this thing. I suspect the quality of the walls is related to that melting at the base. But as I said, it's just for me so it's sufficient. I have to print a second one of these and I'm going to do it with the 64C bed temp to start and see if the ripples return. my thinking is they won't but I'll let you know.
