Re: Best printing position for this model
Ouch - that is a problem looking for a solution. I'd suggest the wet method, with one of the new MSLA printers, where the only force is vertical.
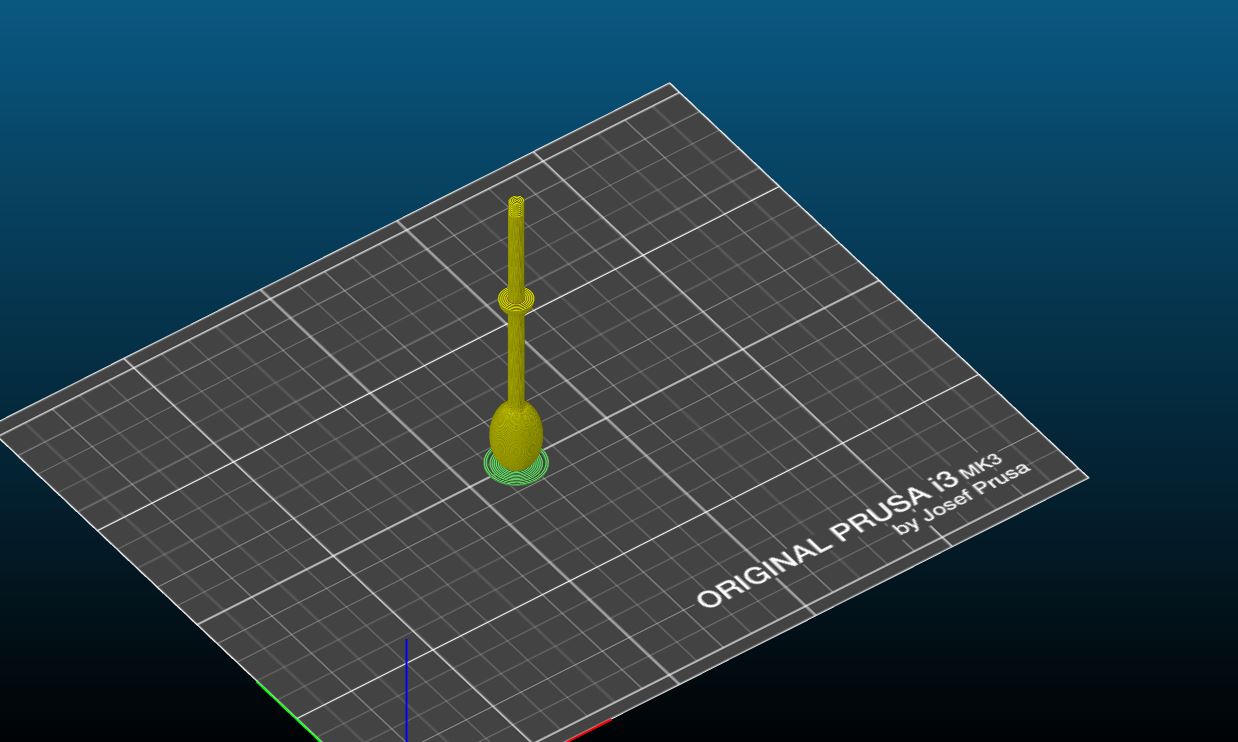
Huge brim, and you will likely need to add tree supports. Think Eiffel Tower legs that attach at 1/3 and 2/3 height points in general; but you could get away with connecting at the bulge near 70mm. I use 4mm rods that come up at 30 degree angles that taper down to 0.5mm for the "connection" to the part. Then check when slicing to ensure the small diameter is actually sliced (sometimes Slic3r will not slice them). I've also placed a 12mm post next to skinny items and made attachments at key levels.
Re: Best printing position for this model
you will likely need to add tree supports
that part will print 100% fine as shown without supports.
Re: Best printing position for this model
A 5mm diameter x 100mm shaft will wobble and become something other than 5mm. Perhaps by printing hotter, with adequate delay between layers could work, it'd be an interesting learning curve on plasticity. The issue I've had with tall small posts is the drag as the nozzle moves causes the part to move with the nozzle (the part flexes). For me, if I want an accurate build with good tolerances, I add support.
Re: Best printing position for this model
split the part in half lengthwise and print the 2 pieces flat on their inside faces then glue together would be the simple way for a shape like this... you have the outline just sweep 180 degrees rather than 360
Re: Best printing position for this model
split the part in half lengthwise and print the 2 pieces flat on their inside faces then glue together would be the simple way for a shape like this... you have the outline just sweep 180 degrees rather than 360
This would be my preferred method too.
Re: Best printing position for this model
Reducing speeds to minimal helps a lot in this model. I changed dimensioning little bit and get quite nice results now.

