PINDA configuration and pre-flight check
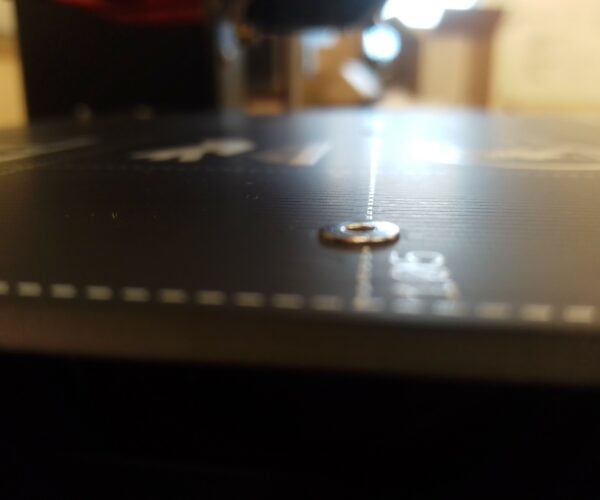
I'd like to get some clarification on the pre-flight check ( https://help.prusa3d.com/en/guide/9-preflight-check_36224 ). PINDA configuration requires that the metal sheet NOT be installed; however several of the screws in the heated bed extend beyond the surface of the bed, and would hit/damage the hot end if the first calibration steps move the hot end around. (I did note in the comments that the fact that some of these bolts are not countersunk is not a terrible problem: https://help.prusa3d.com/en/guide/7-heatbed-psu-assembly-black-psu_31936 ).
Can someone confirm that the bolts extending above the heated bed is OK at this stage, and that I should start calibration w/o the metal sheet on top?
If there is a video showing the initial start up, I would like to know where it is. I recall damaging the heated bed of my MK2 because I misinterpreted the start-up language.
RE: PINDA configuration and pre-flight check
Can you post a photo of your build and the screws you are referring to?
--------------------
Chuck H
3D Printer Review Blog
RE: PINDA configuration and pre-flight check
The screw heads that secure the heated bed to the aluminium frame should not protrude higher at all. The steel sheet will not sit flat correctly if they do.
When I built mine I reamed out the threads in the aluminium frame to clear any stray powder coating and made sure the screws could go in easily before it was ever assembled.
RE: PINDA configuration and pre-flight check
Below is an example of the problem. It turns out that the diameter of the screw head is larger than the cutout in the heated bed. Fortunately, the spare parts bag had enough additional screws for me to find 9 that had the correct size heads. Perhaps it's COVID, but I've had a lot more QA/QC problems with this kit than my previous Prusa printer.
RE: PINDA configuration and pre-flight check
@bobthechemist
Contact Prusa by chat and they will fix it.
--------------------
Chuck H
3D Printer Review Blog
