Re: life adjust Z - my way
Thank you so much for the g code and info. I made enough sheets to paper my office.. I can now recognize when the layer is just about right which is a great thing for a beginner. I got my test sheets looking good but I was -50 top and +50 at the bottom and it wasn't quite enough range. Smaller objects are quite good but I have made some larger objects lately and I have to get on the live z to raise the nozzle on the south and south east end. Is the hyperfine firmware available for download somewhere so that I could adjust further out on my bed? Thanks again.
Re: life adjust Z - my way
...Is the hyperfine firmware available for download somewhere so that I could adjust further out on my bed? Thanks again.
look at the last posts of the hyperfine bed levelling thread.
dem inscheniör is' nix zu schwör...
Re: life adjust Z - my way
What would be the best approach to use this for other materials? Do you happen to have the stl file?
Re: life adjust Z - my way
What would be the best approach to use this for other materials? Do you happen to have the stl file?
I just changed the temps in the code file for my PETg filament.
---
Gert
Re: life adjust Z - my way
Hi, love this thread and have been pouring over it for days.
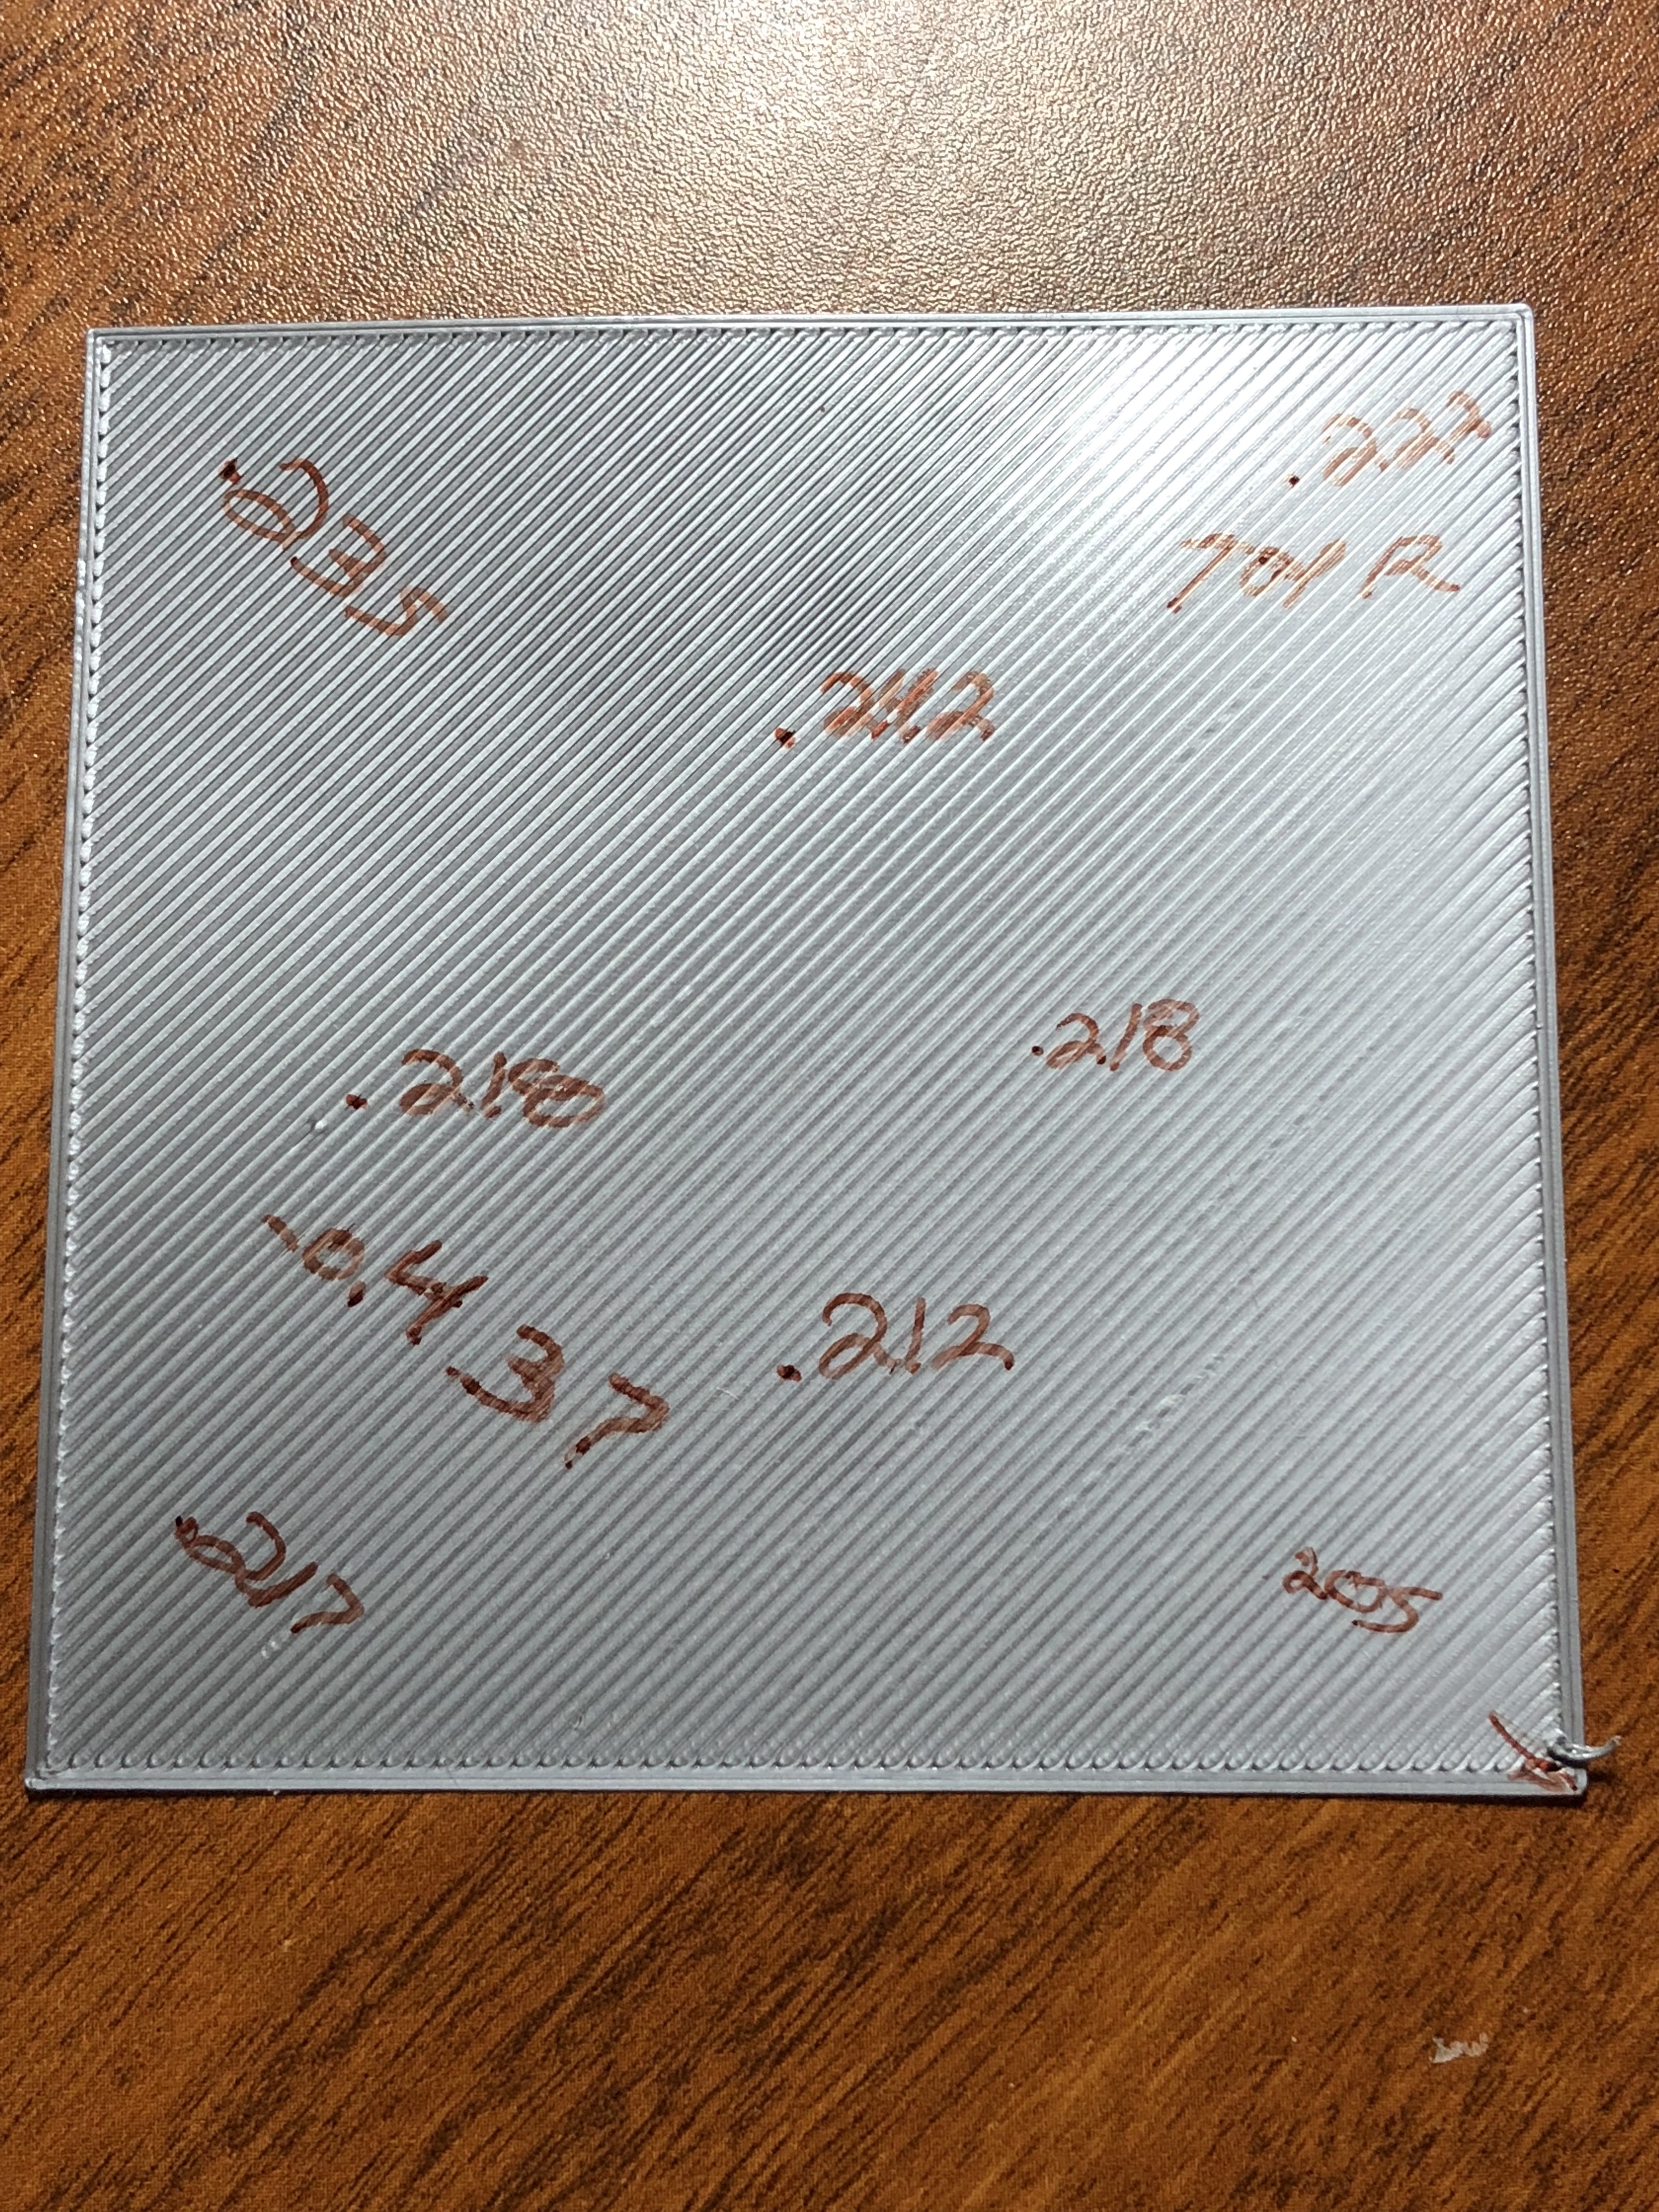
I THINK I have my Z where it needs to be at -0.437 however i've taken some measurements around the perimeter with my micrometer and it's off at each corner and center as you can see in the picture.
Top Right = .222mm
Bottom Right = .205mm
Top Left = .235
Bottom Left = .217
You can also see the midpoints in between those points at
Right = .218mm
Top = .242mm
Left = .218mm
Bottom = .212mm
Is this where the HyperFine Bed Leveling comes in or should I be looking somewhere else? I'm making the guess that my Z won't have an effect on this and that it is indeed the bed leveling. I could be wrong though.
BTW, I've adjusted my PID as well as my esteps.
I apologize if the numbers are hard to read.
Re: life adjust Z - my way
Did you go into calibration and find bed correction for left, right, front and back? The hyperfine comes in when these are not enough. By the looks of the square, I think you should be able to do any corrections you need.
Re: life adjust Z - my way
I did not but I will definitely try. Go figure i'm trying to make things more complicated than they are..
Thanks
Re: life adjust Z - my way
Question. Is there something else that needs finetuning if your live z is really low?
I just installed the MMU and I ran this square again to test, and now I needed a live Z of -0.120mm to get some decent coverage (just finished, still need to measure the thickness). Before I had a live Z of -0.060.
Re: life adjust Z - my way
On second thought ...
never mind
Seems there is another issue. Even with -0.130 I get this:
Re: life adjust Z - my way
Seems that adjusting the pinda probe offset changes a lot. I did Z calibration, put a paper on my bed and after calibrating it was simply stuck under the nozzle 😕 And you can't live Z positive values.
Never had to mess around with the PINDA like that with my previous build. Now I have it ok-ish but with a live z of -0.15.
Printing the square again now.
Re: life adjust Z - my way
With that square, your live Z is way too high.
And by "too high" I mean too far away from the bed (not negative enough).
Re: life adjust Z - my way
How good is good enough? I've been doing some prints with different live Z offsets, (with a 0.01 difference each time) but I always end up with my prints measuring around 0.23mm thickness. Is it possible to get closer to 0.2 or am I just playing with my caliper precision here (0.01)?
Also, if I have a few live Z distances that give me the same thickness, which one should I opt for? The one closest to the bed?
Re: life adjust Z - my way
Followed these instructions, and thought I had a good Live Z. problem is, I have to adjust it for every single print. One print looks perfect, the next print (same gcode file, no power down in between) I'll need to bring it up or down (often significantly) to either achieve adhesion or prevent the deposited filament from being 1mm or wider - yes, it's sometimes that extreme! I'd love to be able to set it and forget it!
Re: life adjust Z - my way
do you use the P.I.N.D.A. temperature calibration ? if so, turn it off. without an additional temperature sensor at the P.I.N.D.A. it provides more problems than it solves.
and make sure that the P.I.N.D.A. isn't heated up (due to a nearby heatbed) when starting a print.
before you start a print: move the extruder high above the heatbed and let it cool down completely.
the damn P.I.N.D.A. is very temperature sensitive.... as well as voltage sensitive (so if you've got instable +5V Vcc inside your RAMBo (maybe because of a toshiba flashair-sd card, or a raspi powered with stolen power from the RAMBo) -> you risk incorrect readings).
dem inscheniör is' nix zu schwör...
Re: life adjust Z - my way
Hi
I got my MK2S since several month but I haven't got the time to set it up correctly.
This Topic is clearly incredible and extremely useful. Thank you for all your clear contributions.
I've followed strictly all the steps to adjust the Z value (-425µm). I have beautiful printings.
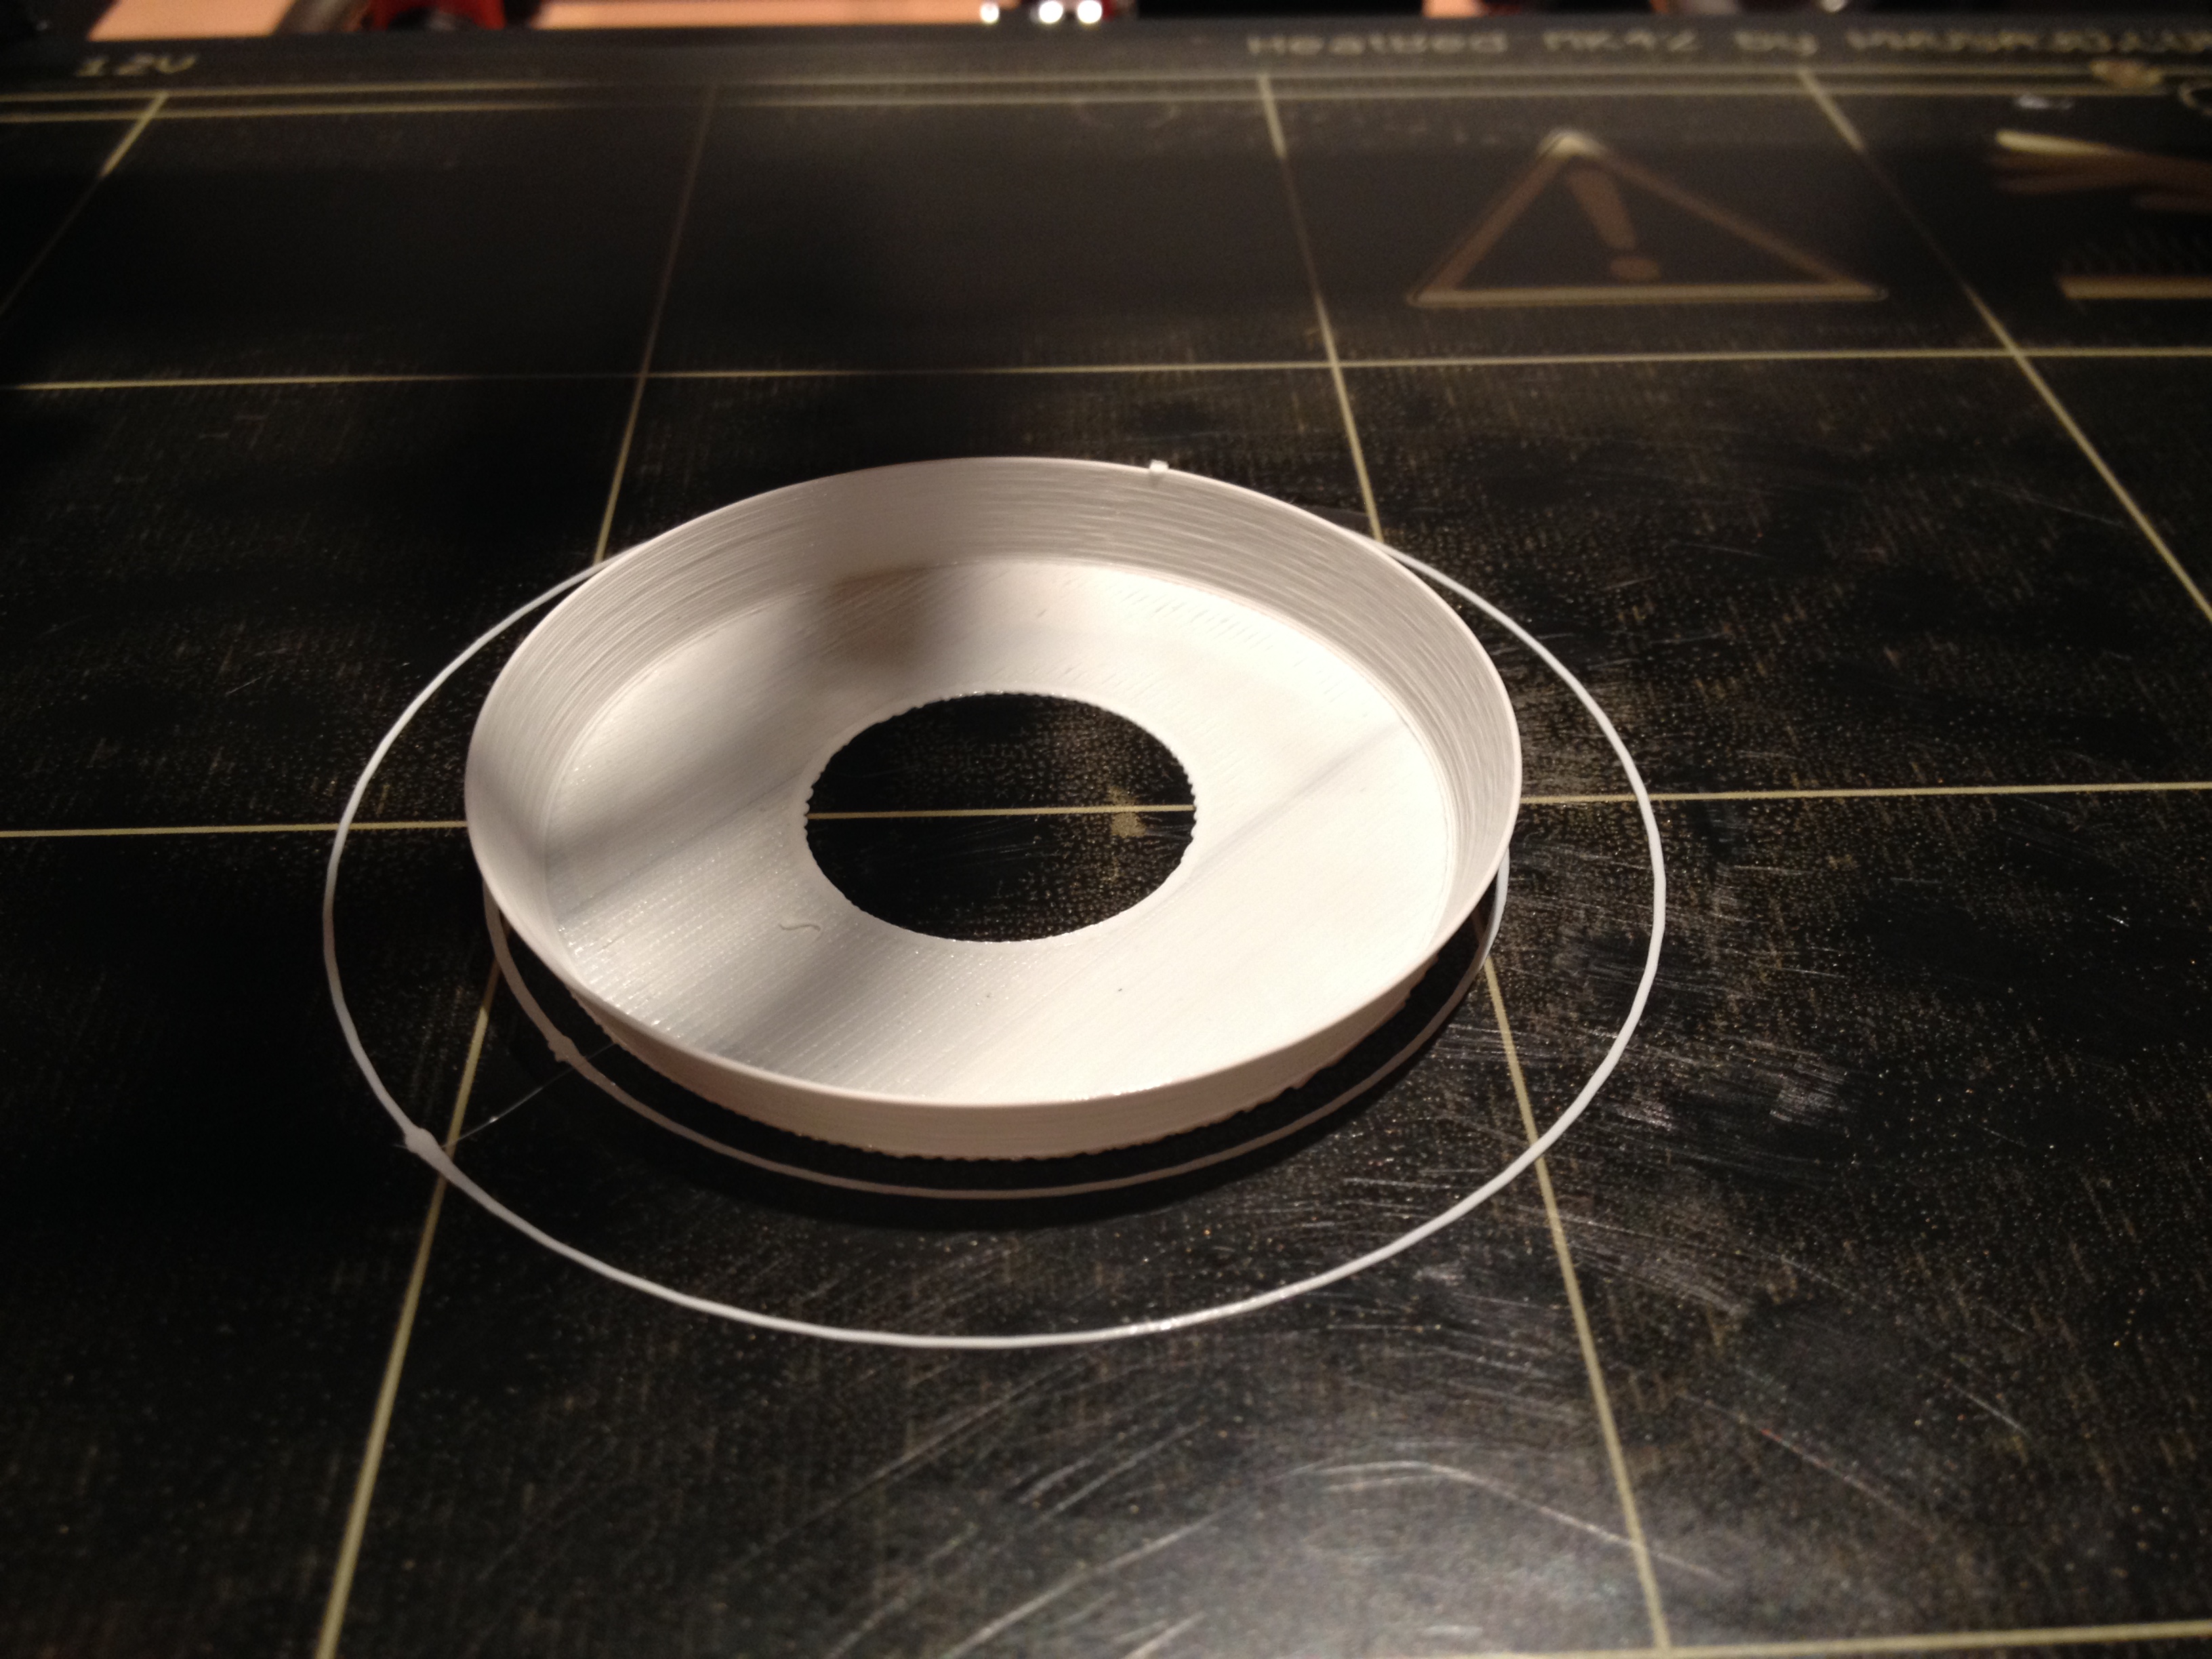
Here a picture of my 200µm high testpads :
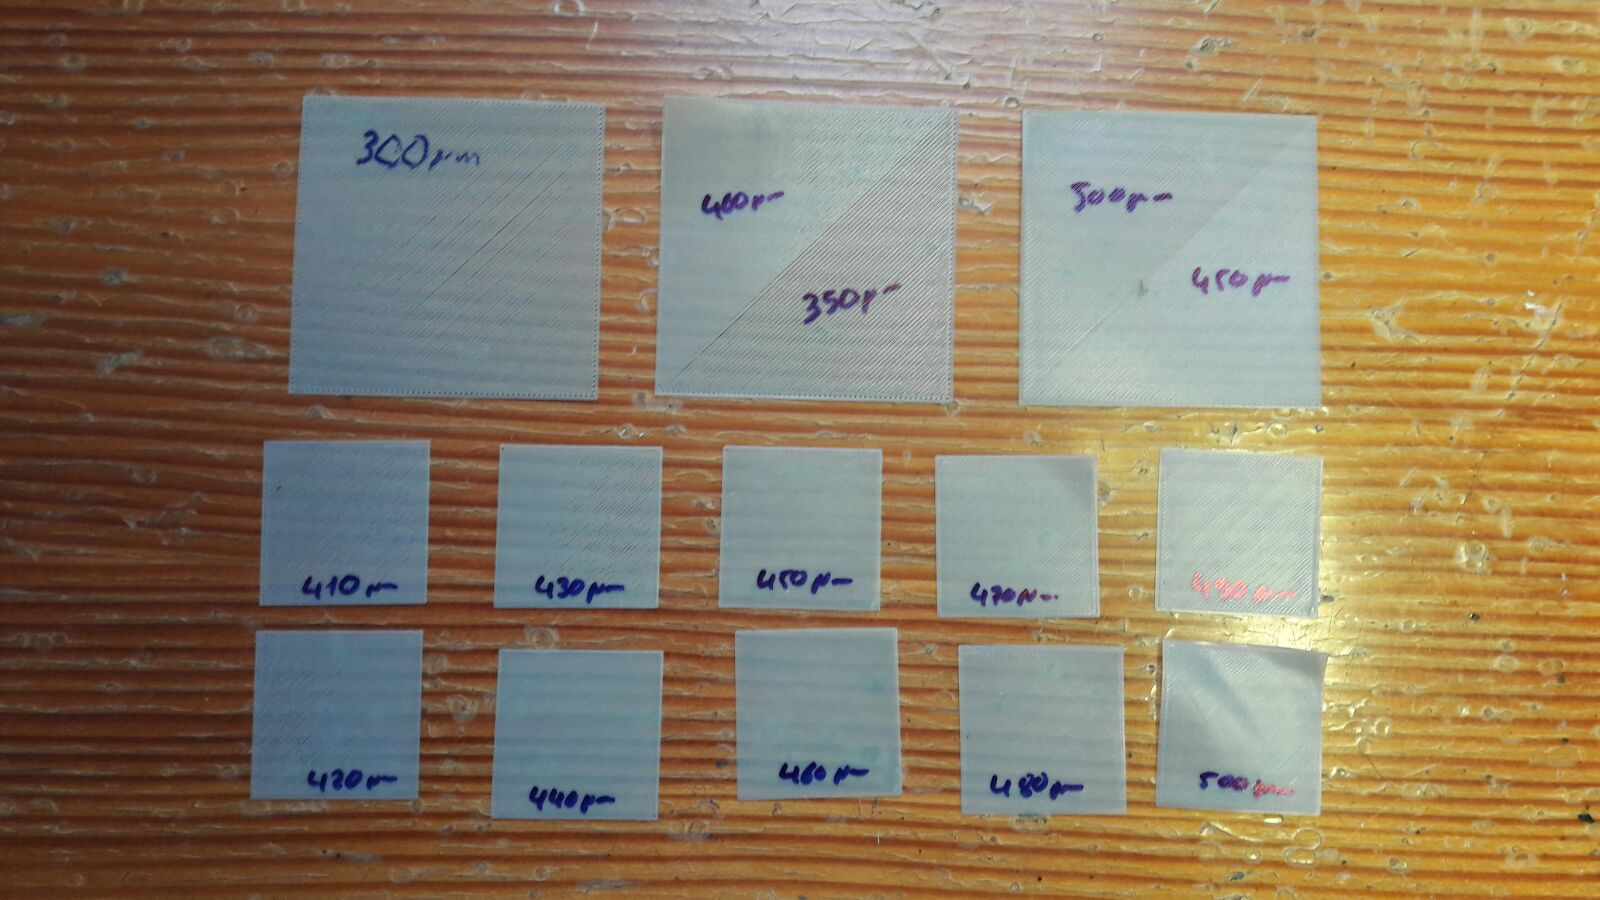
But when I tried to verify the target Z value, by printing 4 testpads each on one of the 4 corners of the bed, I was surprised to find one very bad print (BR for bottom right when faced the printer).
The surface is very rough but well sicked on the bed.

Do you have any ideas ?
Need help please...
Vincent from Elsass 😀
Re: life adjust Z - my way
I'm starting to zero in my first layer with this method, but my numbers seem to be a lot lower than those I see most everyone else posting. I started at -300um and worked my way down to -150um. Everything from -200um to -300um had a rough top appearance like there was too much material, while the -150um looked nice and smooth. Any idea why my required squish would be so much lower?


Re: life adjust Z - my way
Every PINDA. Is slightly different. And the physical distance between pinda height and nozzle height is different for every printer. So there are bound to be differences.
My live Z value is much bigger than yours. Maybe you were more careful in the assembly / adjustment phase than me... 🙂
I tend to be a bit clumsy.
The biggest issue with my mk2. Is pinda height during the bed warmup phase. If the pinda is too near the bed 'say after a failed print' then the next print is likly to fail with a poor first layer
If you try readjusting live z. You will end up chasing your own tail.
Regards Joan
I try to make safe suggestions,You should understand the context and ensure you are happy that they are safe before attempting to apply my suggestions, what you do, is YOUR responsibility.Location Halifax UK
Re: life adjust Z - my way
,,,by printing 4 testpads each on one of the 4 corners of the bed, I was surprised to find one very bad print (BR for bottom right when faced the printer).
The surface is very rough but well sicked on the bed....
💡 that's because either the heatbed isn't 100% even, or if the p.i.n.d.a. probe triggers at slightly different height's above the calibration points (so the printer "thinks" that it is uneven and tries to compensate it).
have a look at this thread how to deal this issue.
@chris.f8:
inside this thread it's mentioned several times that the value you get is just a number, representing your assembly (as joan stated: related to the sensitivity of your p.i.n.d.a. probe and your distance between tip of the nozzle and tip of the probe).
the value you'll get as a result is neither good nor bad, it's just a number. so don't mind about the absolute value.
dem inscheniör is' nix zu schwör...
Re: life adjust Z - my way
Please, what is your M92 control value Steps per mm for leadscrews? Since the last update, the Z axis has risen too high at each layer. The calibration of the first layer is good. I will need the value step by step mm.
I try M92 Z400 but it's too slow ... thank you
(On Prusa MK2S)
it has to be M92 Z400. this value is determined by the type of steppers used and the lead screws.
check the values that your printer uses with M503 (through pronterface or octoprint or any other serial terminal program).
might it be, that you've flashed the wrong version of the firmware ? the MK1 had a value of 4000 (=3200 / 0.8).
dem inscheniör is' nix zu schwör...