Cant for the life of me get consistent first layer. (Calibration passes and z tests look good)
I just built the mk3s kit today and its my first 3d printer I have build but I am fairly handy.
It's driving me quite mad and im out of candies :(, I cant seem to get consistency with the filament. I have done multiple tests trying to nail down the z-axis height and just when I think I got it I start printing out and it normally starts off well but then at some point some edges start to build up excess filament and its only a matter of time until the whole thing turns into a mess.
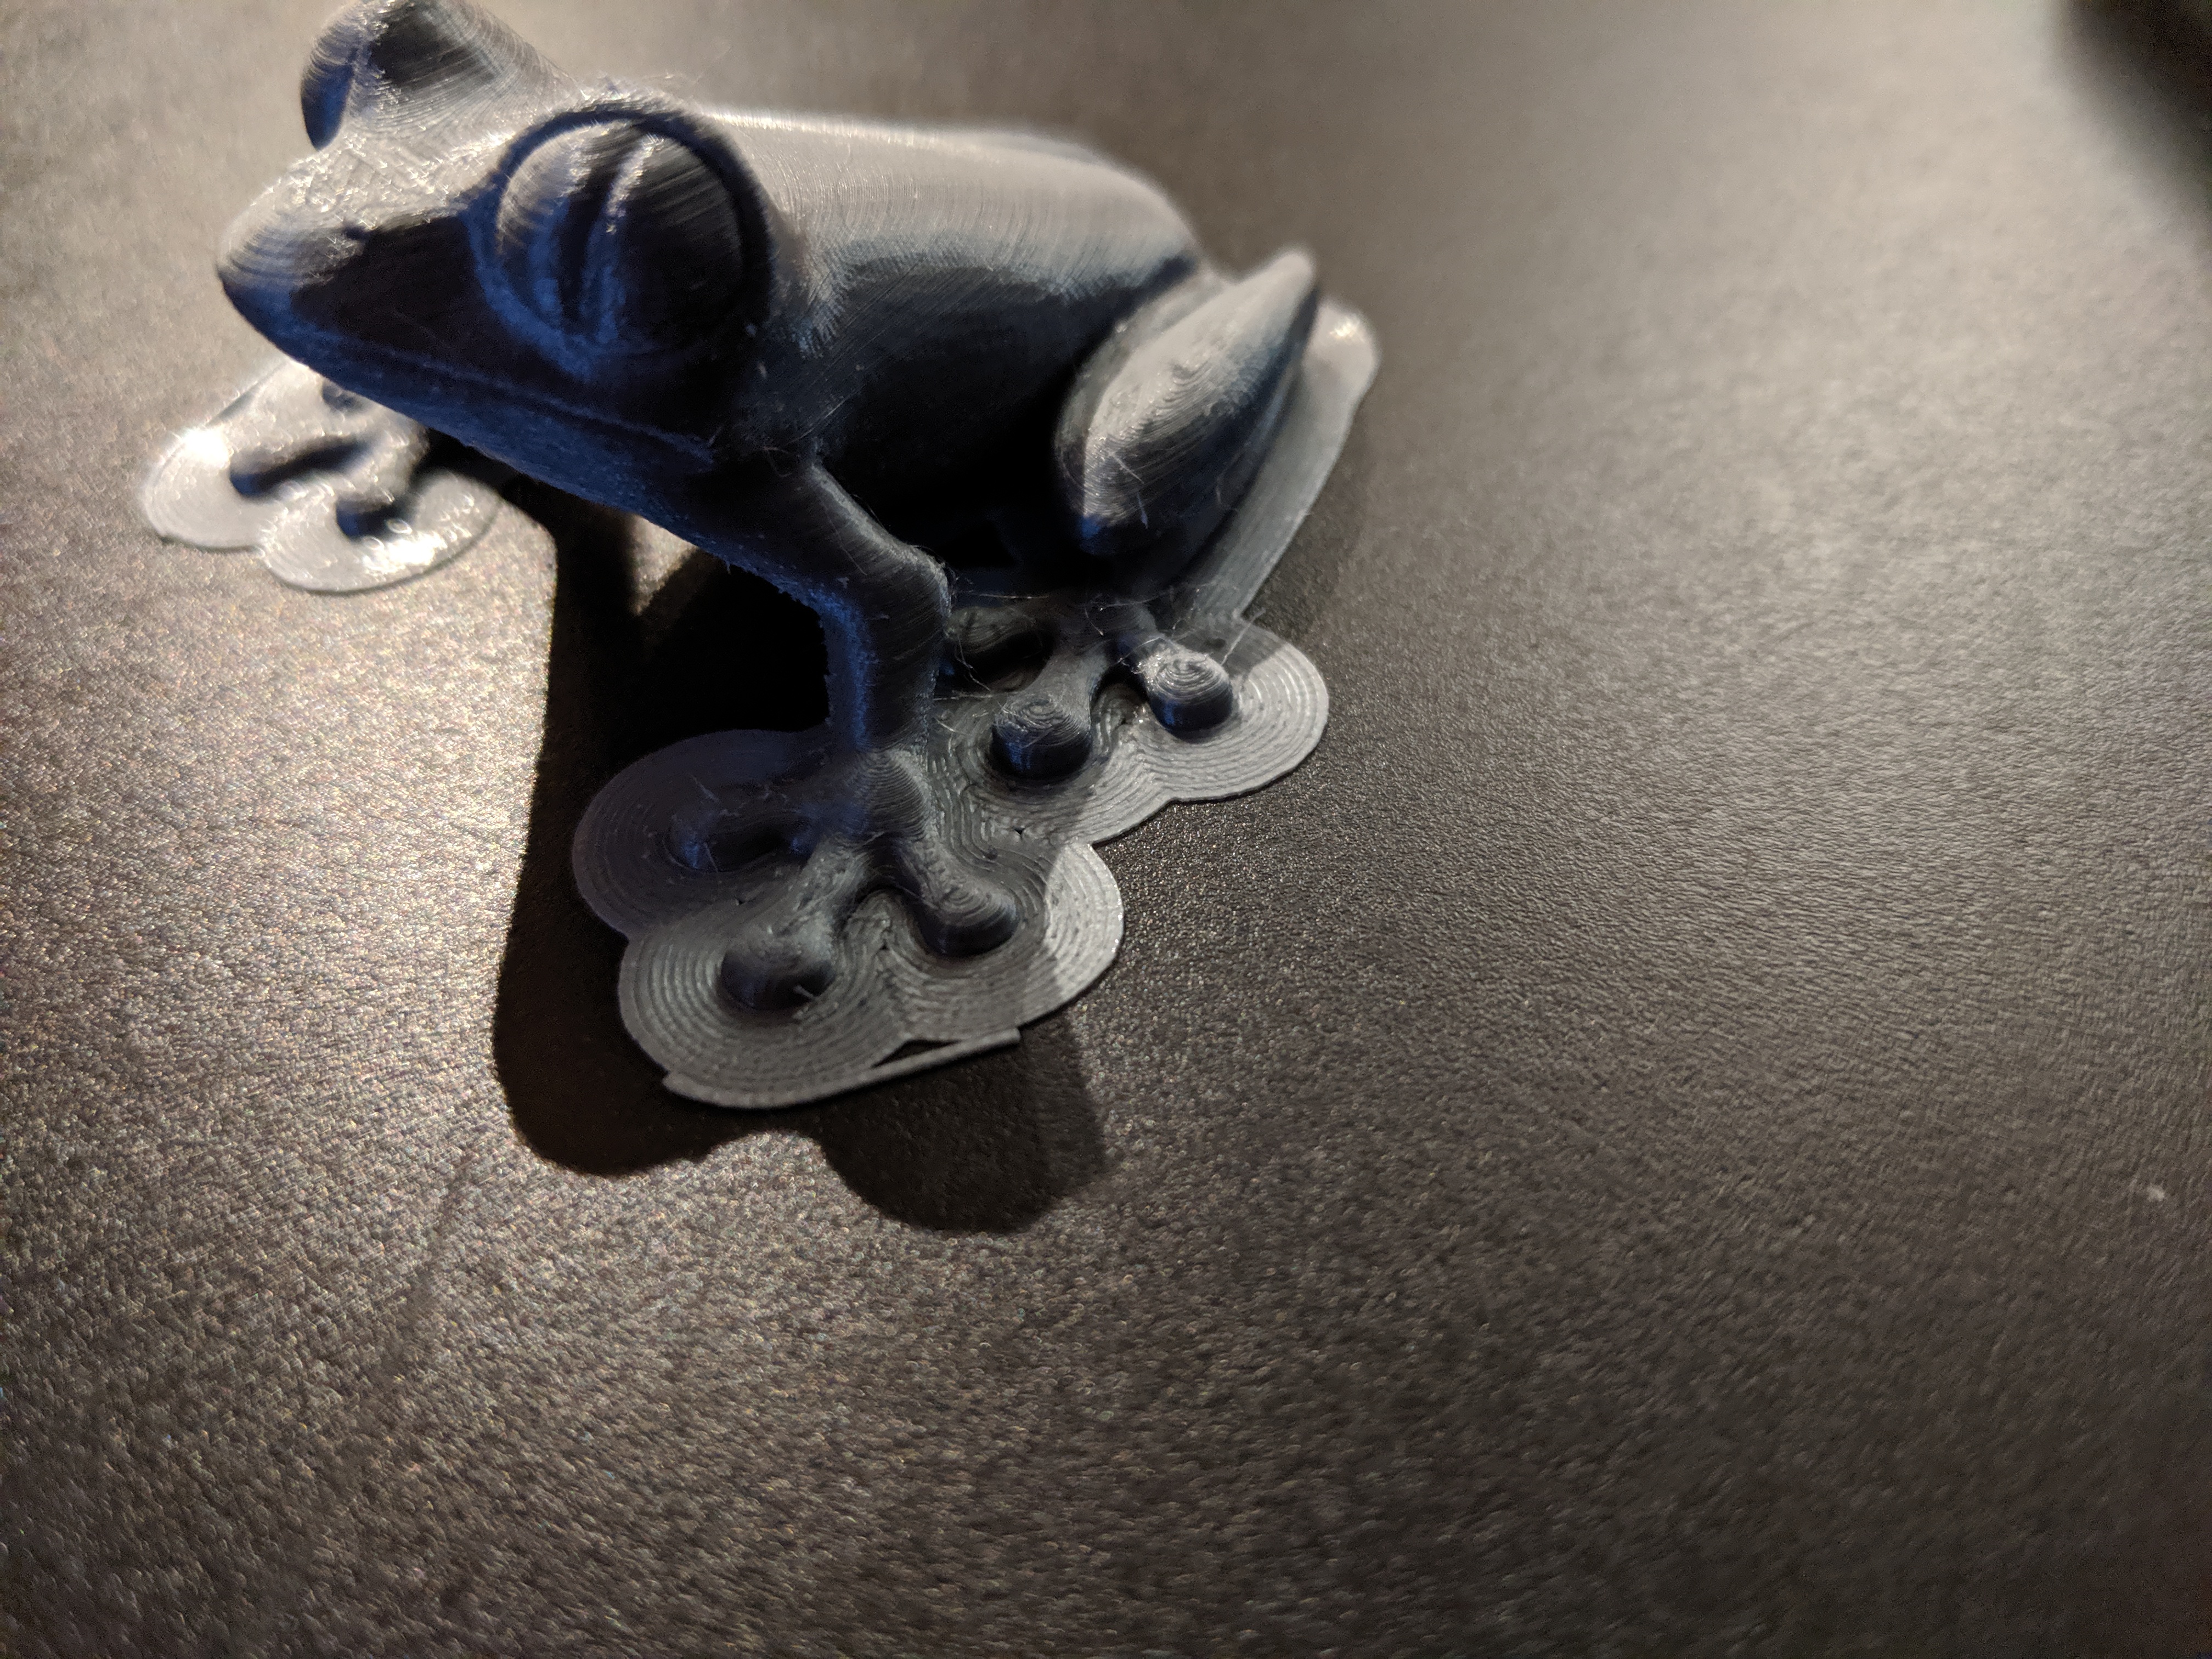
Trying to print the frog is a good example of this happening because of all the quick movements from the extruder. (And this is after i've very much have cleaned the bed and the first layer calibration was bang on)
Help please!
Best Answer by bobstro:
-
A dirty PEI print surface. Even if you don't think this is the cause, it's always a good idea to make sure your PEI surface is clean before trying any other fixes. If it's a smooth PEI sheet, take it to the kitchen sink and give it a good dunk with Dawn (original formula, no vinegar or hand softener variants) dishwashing soap or your local equivalent (e.g. Fairy in UK). Use a clean paper towel to clean it off, and another to dry it. Avoid using any sponge or cloth that has been in contact with grease. Above all else, avoid touching the PEI print surface. Once it's good and clean, you should be able to use 91%+ isopropyl alcohol between prints, 100% acetone when that fails , and another dunk when acetone fails. Worst-case, use a 3M 7445 ScotchBrite pad or equivalent on smooth PEI to give it a very light buff, but only infrequently. If you've got a textured powder-coated PEI print surface, the official instructions are to use 91%+ isopropyl alcohol on it only. Rumors persist that some tribes deep in the jungle have had good luck getting started with these sheets by giving them a wipe with 100% acetone and a dunk with Dawn. Either way, there's no real warranty on these sheets. YMMV.
-
If you have not already done so, try using Jeff Jordan's "Life Adjust" procedure for calibrating your Live-Z setting. It is much easier to use and understand than the on-board routine. It's much easier to make mid-print adjustments accurately with. In general, start high (less negative) and work lower (more negative) in large increments (e.g. 0.1mm) until the filament starts to stick on its own. When you've got your Live-Z setting adjusted properly, you should be able to gently rub the extruded lines on the PEI surface without dislodging them. Then start lowering (more negative) the level until there are no gaps between layers.
RE: Cant for the life of me get consistent first layer. (Calibration passes and z tests look good)
-
A dirty PEI print surface. Even if you don't think this is the cause, it's always a good idea to make sure your PEI surface is clean before trying any other fixes. If it's a smooth PEI sheet, take it to the kitchen sink and give it a good dunk with Dawn (original formula, no vinegar or hand softener variants) dishwashing soap or your local equivalent (e.g. Fairy in UK). Use a clean paper towel to clean it off, and another to dry it. Avoid using any sponge or cloth that has been in contact with grease. Above all else, avoid touching the PEI print surface. Once it's good and clean, you should be able to use 91%+ isopropyl alcohol between prints, 100% acetone when that fails , and another dunk when acetone fails. Worst-case, use a 3M 7445 ScotchBrite pad or equivalent on smooth PEI to give it a very light buff, but only infrequently. If you've got a textured powder-coated PEI print surface, the official instructions are to use 91%+ isopropyl alcohol on it only. Rumors persist that some tribes deep in the jungle have had good luck getting started with these sheets by giving them a wipe with 100% acetone and a dunk with Dawn. Either way, there's no real warranty on these sheets. YMMV.
-
If you have not already done so, try using Jeff Jordan's "Life Adjust" procedure for calibrating your Live-Z setting. It is much easier to use and understand than the on-board routine. It's much easier to make mid-print adjustments accurately with. In general, start high (less negative) and work lower (more negative) in large increments (e.g. 0.1mm) until the filament starts to stick on its own. When you've got your Live-Z setting adjusted properly, you should be able to gently rub the extruded lines on the PEI surface without dislodging them. Then start lowering (more negative) the level until there are no gaps between layers.
and miscellaneous other tech projects
He is intelligent, but not experienced. His pattern indicates two dimensional thinking. -- Spock in Star Trek: The Wrath of Khan Unfortunately,…
RE: Cant for the life of me get consistent first layer. (Calibration passes and z tests look good)
 well two great lesson
Well two great lessons here... One you need a ln extremely clean surface. I am using 99% isopropyl alcohol but I must have not been cleaning the surface enough.
I got a new cloth and cleaned it a lot more and did more tweaks for the z height and got a perfect print.
Lessons for a first day 3d print haha, but I really hope this was not just a fluke :/
RE: Cant for the life of me get consistent first layer. (Calibration passes and z tests look good)
[...] Lessons for a first day 3d print haha, but I really hope this was not just a fluke :/
The big lesson, I think, is not to over-think this beast. If the first layer is poor, chances are you'll have problems further up. The Prusa PEI print surfaces are great, but they really want to be kept clean. Also remember that you want to repeat your Live-Z calibration if you make any changes to the printer such as movement, swapping print beds or otherwise bumping the hardware around. If things start to go awry, I always try a quick "life adjust" print.
Prusa only recommends the alcohol method for the textured sheet, but keep the other methods in mind in case that ever proves insufficient.
Happy printing!
and miscellaneous other tech projects
He is intelligent, but not experienced. His pattern indicates two dimensional thinking. -- Spock in Star Trek: The Wrath of Khan Unfortunately,…
RE: Cant for the life of me get consistent first layer. (Calibration passes and z tests look good)
Hmmm guess I wasnt so perfect!
https://photos.app.goo.gl/2dS7QEtds41oSBLf6
Though many of the things I have printed have been ok, there seems to be some unbalance in my printer that no z adusting can fix right now.
I have tried adjusting the temps but this just looks like bad configuration... as for 20% of the z calibration is spot on, the other 20% near the beginning seems to be quite off and its causing warping in prints.
Any help would be appreciated!
RE: Cant for the life of me get consistent first layer. (Calibration passes and z tests look good)
I have loosened all the screws on the bed and re-tightend them.
hoping that will help
RE: Cant for the life of me get consistent first layer. (Calibration passes and z tests look good)
Are you using 7x7 mesh bed levelling?
Joan
I try to make safe suggestions,You should understand the context and ensure you are happy that they are safe before attempting to apply my suggestions, what you do, is YOUR responsibility.Location Halifax UK
RE: Cant for the life of me get consistent first layer. (Calibration passes and z tests look good)
Hmmm, Looks like the best solution is to use 49 (7x7) points for z measurement before each print.
RE: Cant for the life of me get consistent first layer. (Calibration passes and z tests look good)
Be sure to run the on-board Live+Z calibration to completion at least once. The PINDA probe is sensitive to temperature. Have you run the temp calibration routine from the front panel menu? Be sure to do PID calibration and ECOR calibration as well.
I've added a routine to wait for a consistent PINDA temp before doing mesh bed leveling that you may want to try.
and miscellaneous other tech projects
He is intelligent, but not experienced. His pattern indicates two dimensional thinking. -- Spock in Star Trek: The Wrath of Khan Unfortunately,…
RE: Cant for the life of me get consistent first layer. (Calibration passes and z tests look good)
@joantabb
Thanks Joan,
I really should have checked the manual first on this one but I really didnt know about the inconsistencies until I printed something longer that could warp.
the 7x7 method seems to work extremely well, and this was also after I reseated the bed screws just in case something was off. ( that only fixed it slightly).
It's really amazing to see suggestions from others see firmware updates for us to use later as in the 9 points vs 49 points. And the extra 30 seconds when you are printing something thats 10+ hours makes a hell of a difference.
Now back to using this amazing printer 🙂