Re: Everything you need to know about MK2! (Update June 6th)
When you try to run the calibration when the nozzle is cold, does it complete without touching the bed?
"Calibrate Z" completes without touching the bed. If you mean the calibration v2 gcode I can try that as well.
Re: Everything you need to know about MK2! (Update June 6th)
2) If the X carriage will not trigger the end stop, don't put anything on it to make it trigger, you will end up with probe outside the circles (BAD EXAMPLE HERE  ). Loosen the X endstop screws, push the endstop inwards and tighten again.
Hi! thanks for using my picture as a bad example 😉 I've updated it now: https://imgur.com/4Kbli5Y .
I understand that one should try to push the end stop out as much as possible but for me it was still about 1.7mm outside of the center making the extruder go through the bed. Since there's no other way of adjusting the end stop what do you recommend?
Adding this little spacer makes all points calibrate perfectly and here's a benchy using simplify3d for good fun https://imgur.com/sqfyxMS 🙂
Re: Everything you need to know about MK2! (Update June 6th)
Hi! thanks for using my picture as a bad example 😉 I've updated it now: https://imgur.com/4Kbli5Y .
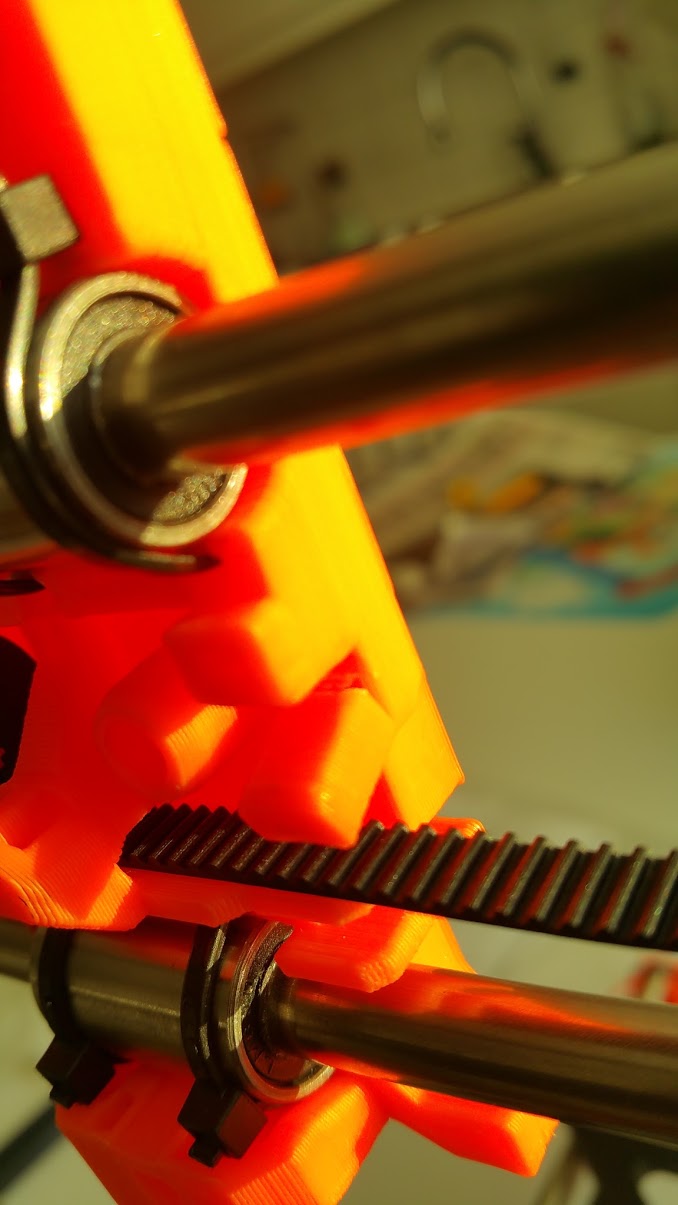
I did something similar by bonding a small piece of ABS that i cleaned out of the lettering on the front https://imgur.com/a0Myl8g , I couldn't adjust the end stop switch out any further.
Re: Everything you need to know about MK2! (Update June 6th)
Adding this little spacer makes all points calibrate perfectly and here's a benchy using simplify3d for good fun https://imgur.com/sqfyxMS 🙂
That is one beautiful Benchy! 😉
Re: Everything you need to know about MK2! (Update June 6th)
Hi!
One quoestion: what is G87 and G88 in the V2Calibration.gcode?
Are those custom Gcode commands? What is the purpose?
Thx!
Re: Everything you need to know about MK2! (Update June 6th)
Calibration... when the printer does my calibration it never gets fully inside a circle it is always to the left and in front of the circle (only 70% of the probe fills the circle),
I understand this not right, but how do I adjust for it o the X and Y? is there some kind of offset I can put, as it is consistently out of the circle in a similar way, probably a 5mm adjustment in the X and Y would fix it.
Thanks
Foo
Re: Everything you need to know about MK2! (Update June 6th)
For the Y axis, you can ajust the frame position by playing with the M10 nuts.
For the X axis, you have to push the endstop in carriage direction.
If it's not enough, you can add a little piece of plastique on the extruder carriage to make it trigger sooner.
Re: Everything you need to know about MK2! (NEW Drivers & FW June 7th)
Update June 7th
New Drivers 1.7.2 and FW 3.0.2 -> http://www.prusa3d.com/drivers/
CheckPoints1and9.gcode
See attachments. Moves the probe over the calibration point 1 and after user click, moves to point 9. Allows easier adjustments without runing calibration routine.
Re: Everything you need to know about MK2! (NEW Drivers & FW June 7th)
I installed 1.7.2 and when I open up "Prusa3D Slic3r MK2" the printer defaults to "Original Prusa i3 MK2 ColorPrint". Is that what I should be using for one filament prints? The other options are ZHOP and -default-.
Re: Everything you need to know about MK2! (NEW Drivers & FW June 7th)
If there is a Z Hop / Z lift in the printer settings, ColorPrint does't work. Couple users didn't know that and had problems. So the default is settings for using ColorPrint afterwards and ZHop for prints with ZHop.
Re: Everything you need to know about MK2! (NEW Drivers & FW June 7th)
Sorry for the maybe "dumb" question, but what do you call ZHop ?
Re: Everything you need to know about MK2! (NEW Drivers & FW June 7th)
Z Hop or Lift is where the printhead is lifted during a move in order to avoid collisions with previously printed areas.
Can be very useful with certain models.
So the Gcode would go something along the lines:
Print a line
Wipe
Retract
Lift head
Move
Lower head
Prime
Print a line
Peter
Please note: I do not have any affiliation with Prusa Research. Any advices given are offered in good faith. It is your responsibility to ensure that by following my advice you do not suffer or cause injury, damage…
Re: Everything you need to know about MK2! (NEW Drivers & FW June 7th)
thx for the information 😉
Re: Everything you need to know about MK2! (NEW Drivers & FW June 7th)
It prevents the scarring on the visible layers, where nozzle fills in the layer but drags across the filled surface leaving a trace.
Re: Everything you need to know about MK2! (NEW Drivers & FW June 7th)
1. The notch holding the belt on the right side on my X-Axis carriage broke, without me forcing it to much at all. Can I download the part as STL file and let my friend print it?
2. When I was about to slide my X-Axis onto the rods, suddenly one ball bearing from the left side and 2-3 bearings from the right side fell out? I didnt push it at all, just sliding it on 2mm at a time on each side. Should I just continue to assemble it and hope for the best or should I just pause and buy new bearings?
Me on MyMiniFactory!
Me on Instagram
3D Printing Live Feeds
Prusa MK2 Usergroup Slack Live Chat
Unofficial live chat by users for users.
Re: Everything you need to know about MK2! (NEW Drivers & FW June 7th)
Hi Patrick,
Regarding point 1: Since the parts are printed with ABS, you can glue the broken part with acetone, which is surprisingly strong.
However, the parts STL are available there: https://github.com/prusa3d/Orignal-Prusa-i3/tree/MK2/Printed-Parts
Regarding point 2: That's a bit surprising. I presume this is a new kit ? Then you probably need to get in touch with PR support, on the chat.
I'm like Jon Snow, I know nothing.
Re: Everything you need to know about MK2! (NEW Drivers & FW June 7th)
I'll try to assemble it.... If I get big problems that I can connect to the bearings I'll take it a part again.
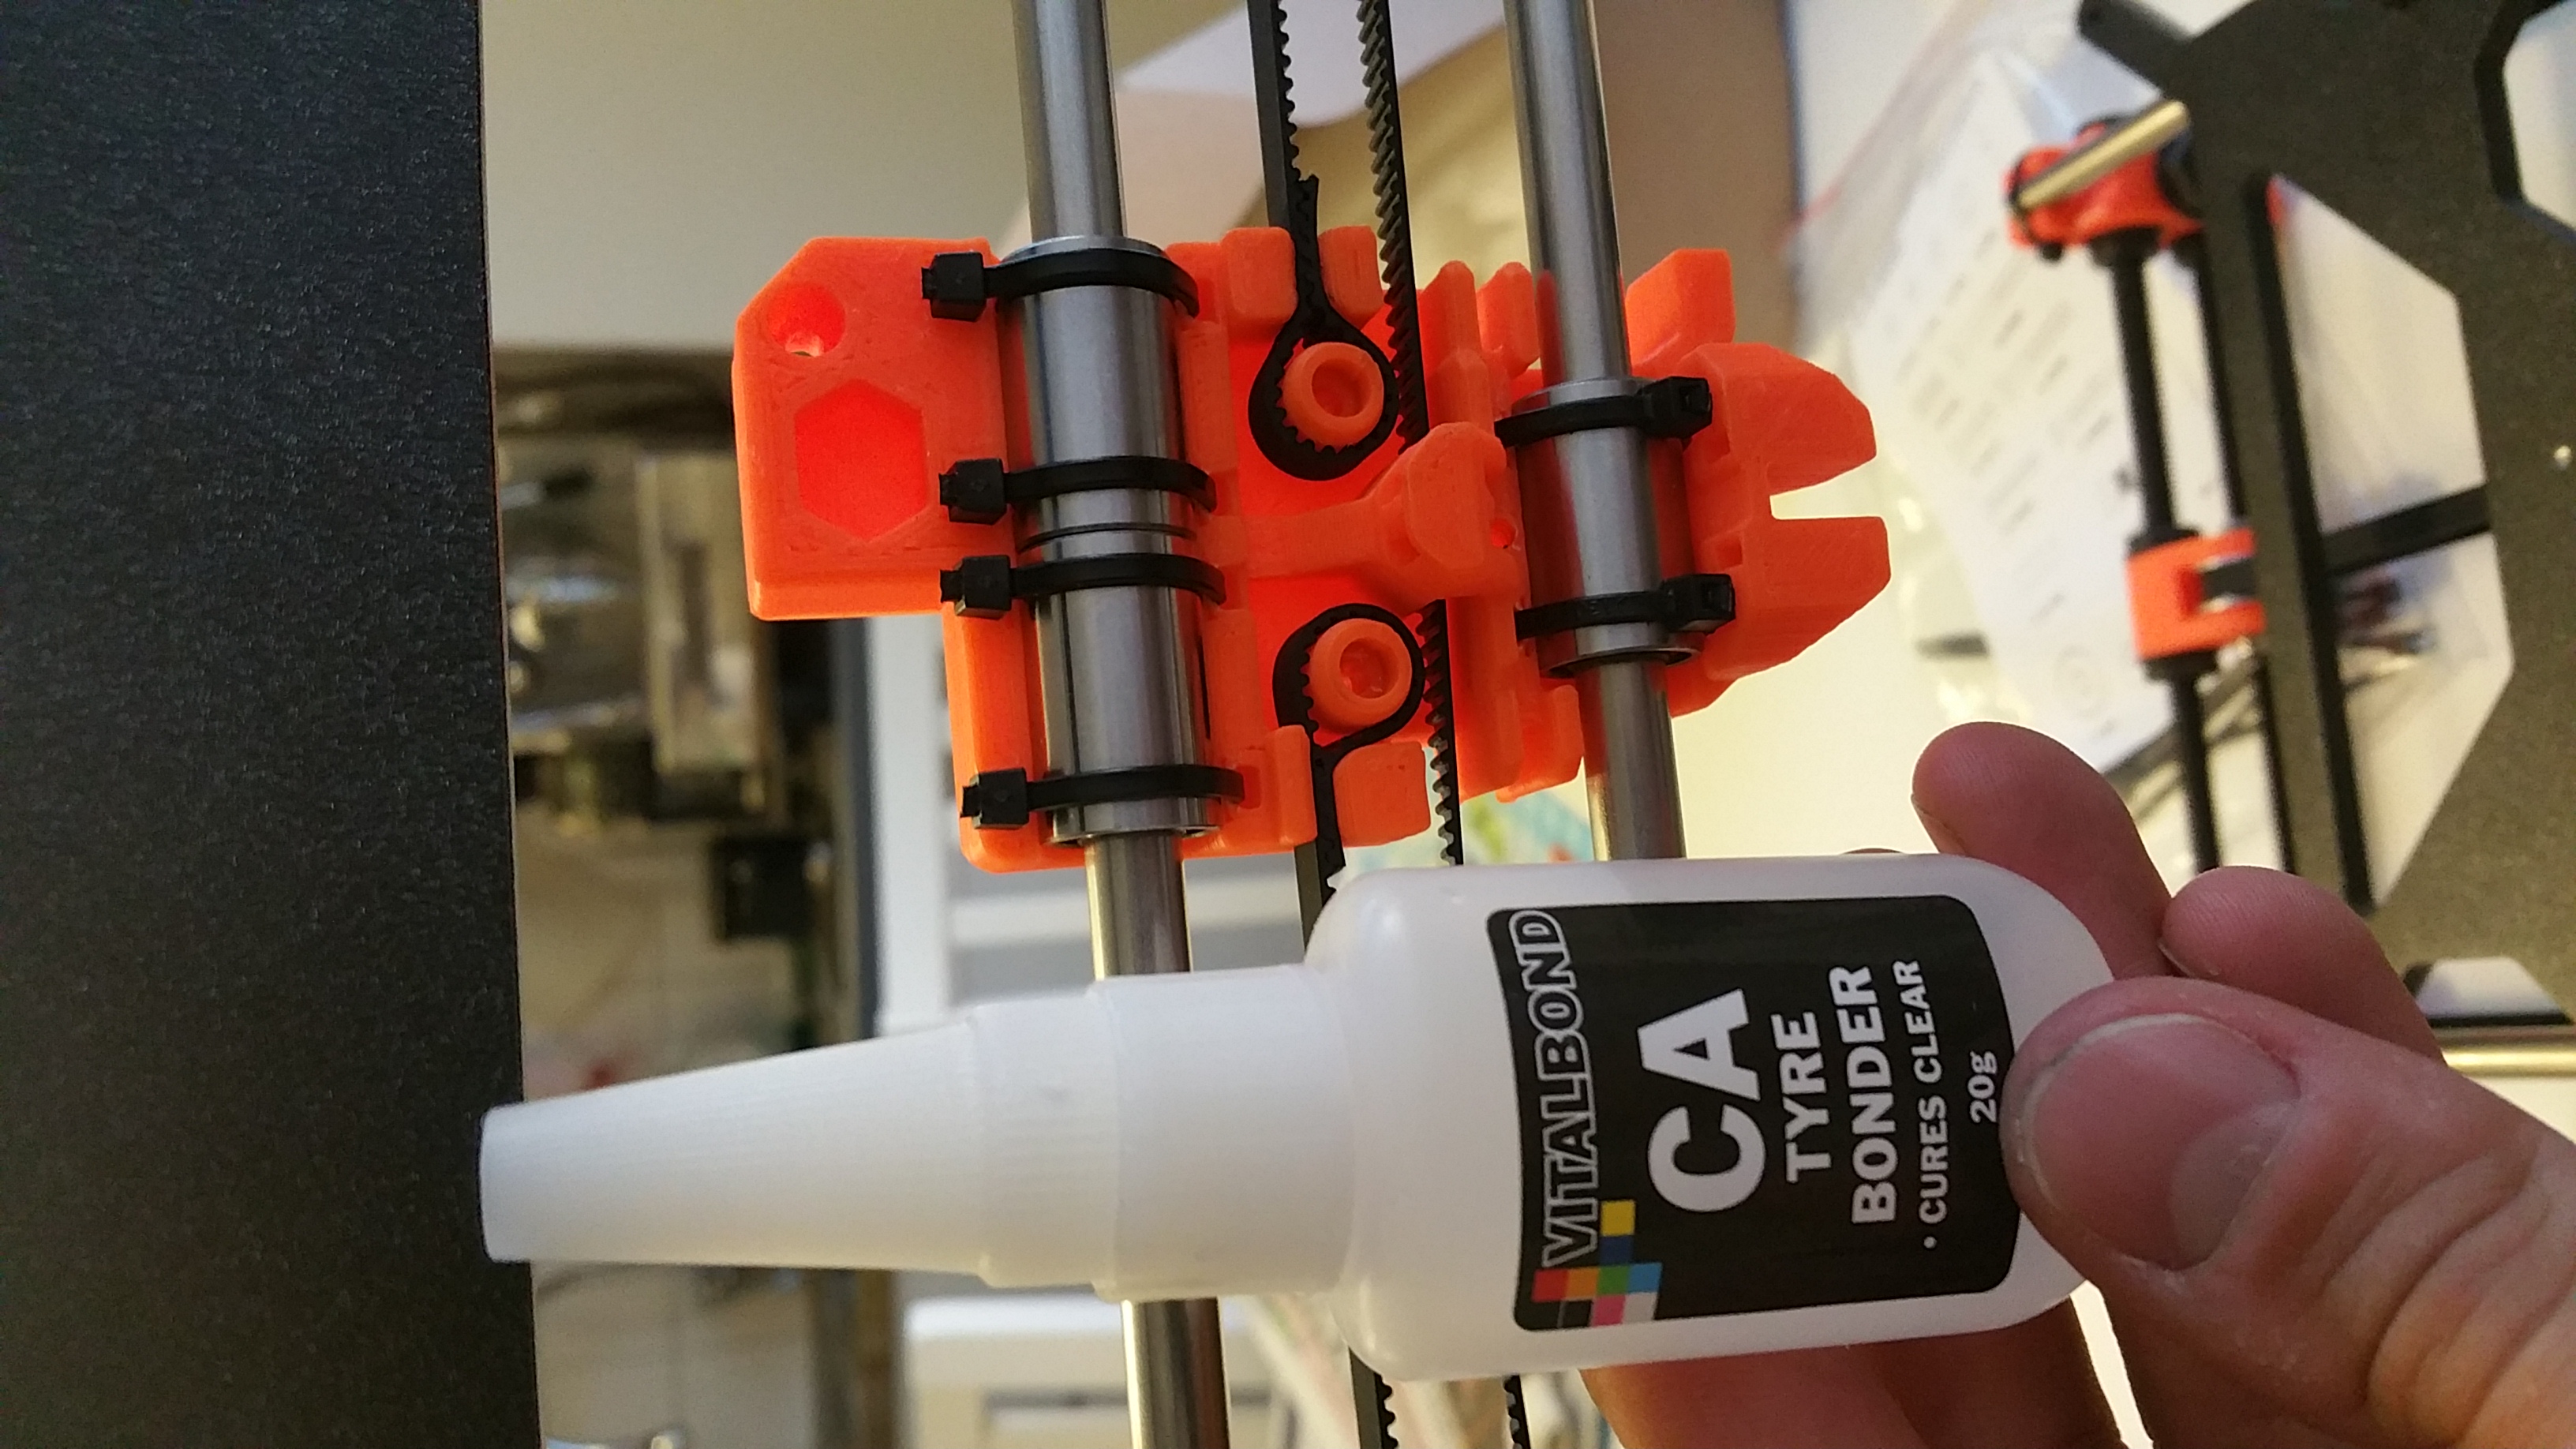
I didn't have any acetone at home but I have some superstrong glue used to glue rc buggy tires on rims and it seems like it did the job with glueing the part back. Based on Ethyl 2-cyanoacrylate.
Me on MyMiniFactory!
Me on Instagram
3D Printing Live Feeds
Prusa MK2 Usergroup Slack Live Chat
Unofficial live chat by users for users.
Re: Everything you need to know about MK2! (NEW Drivers & FW June 7th)
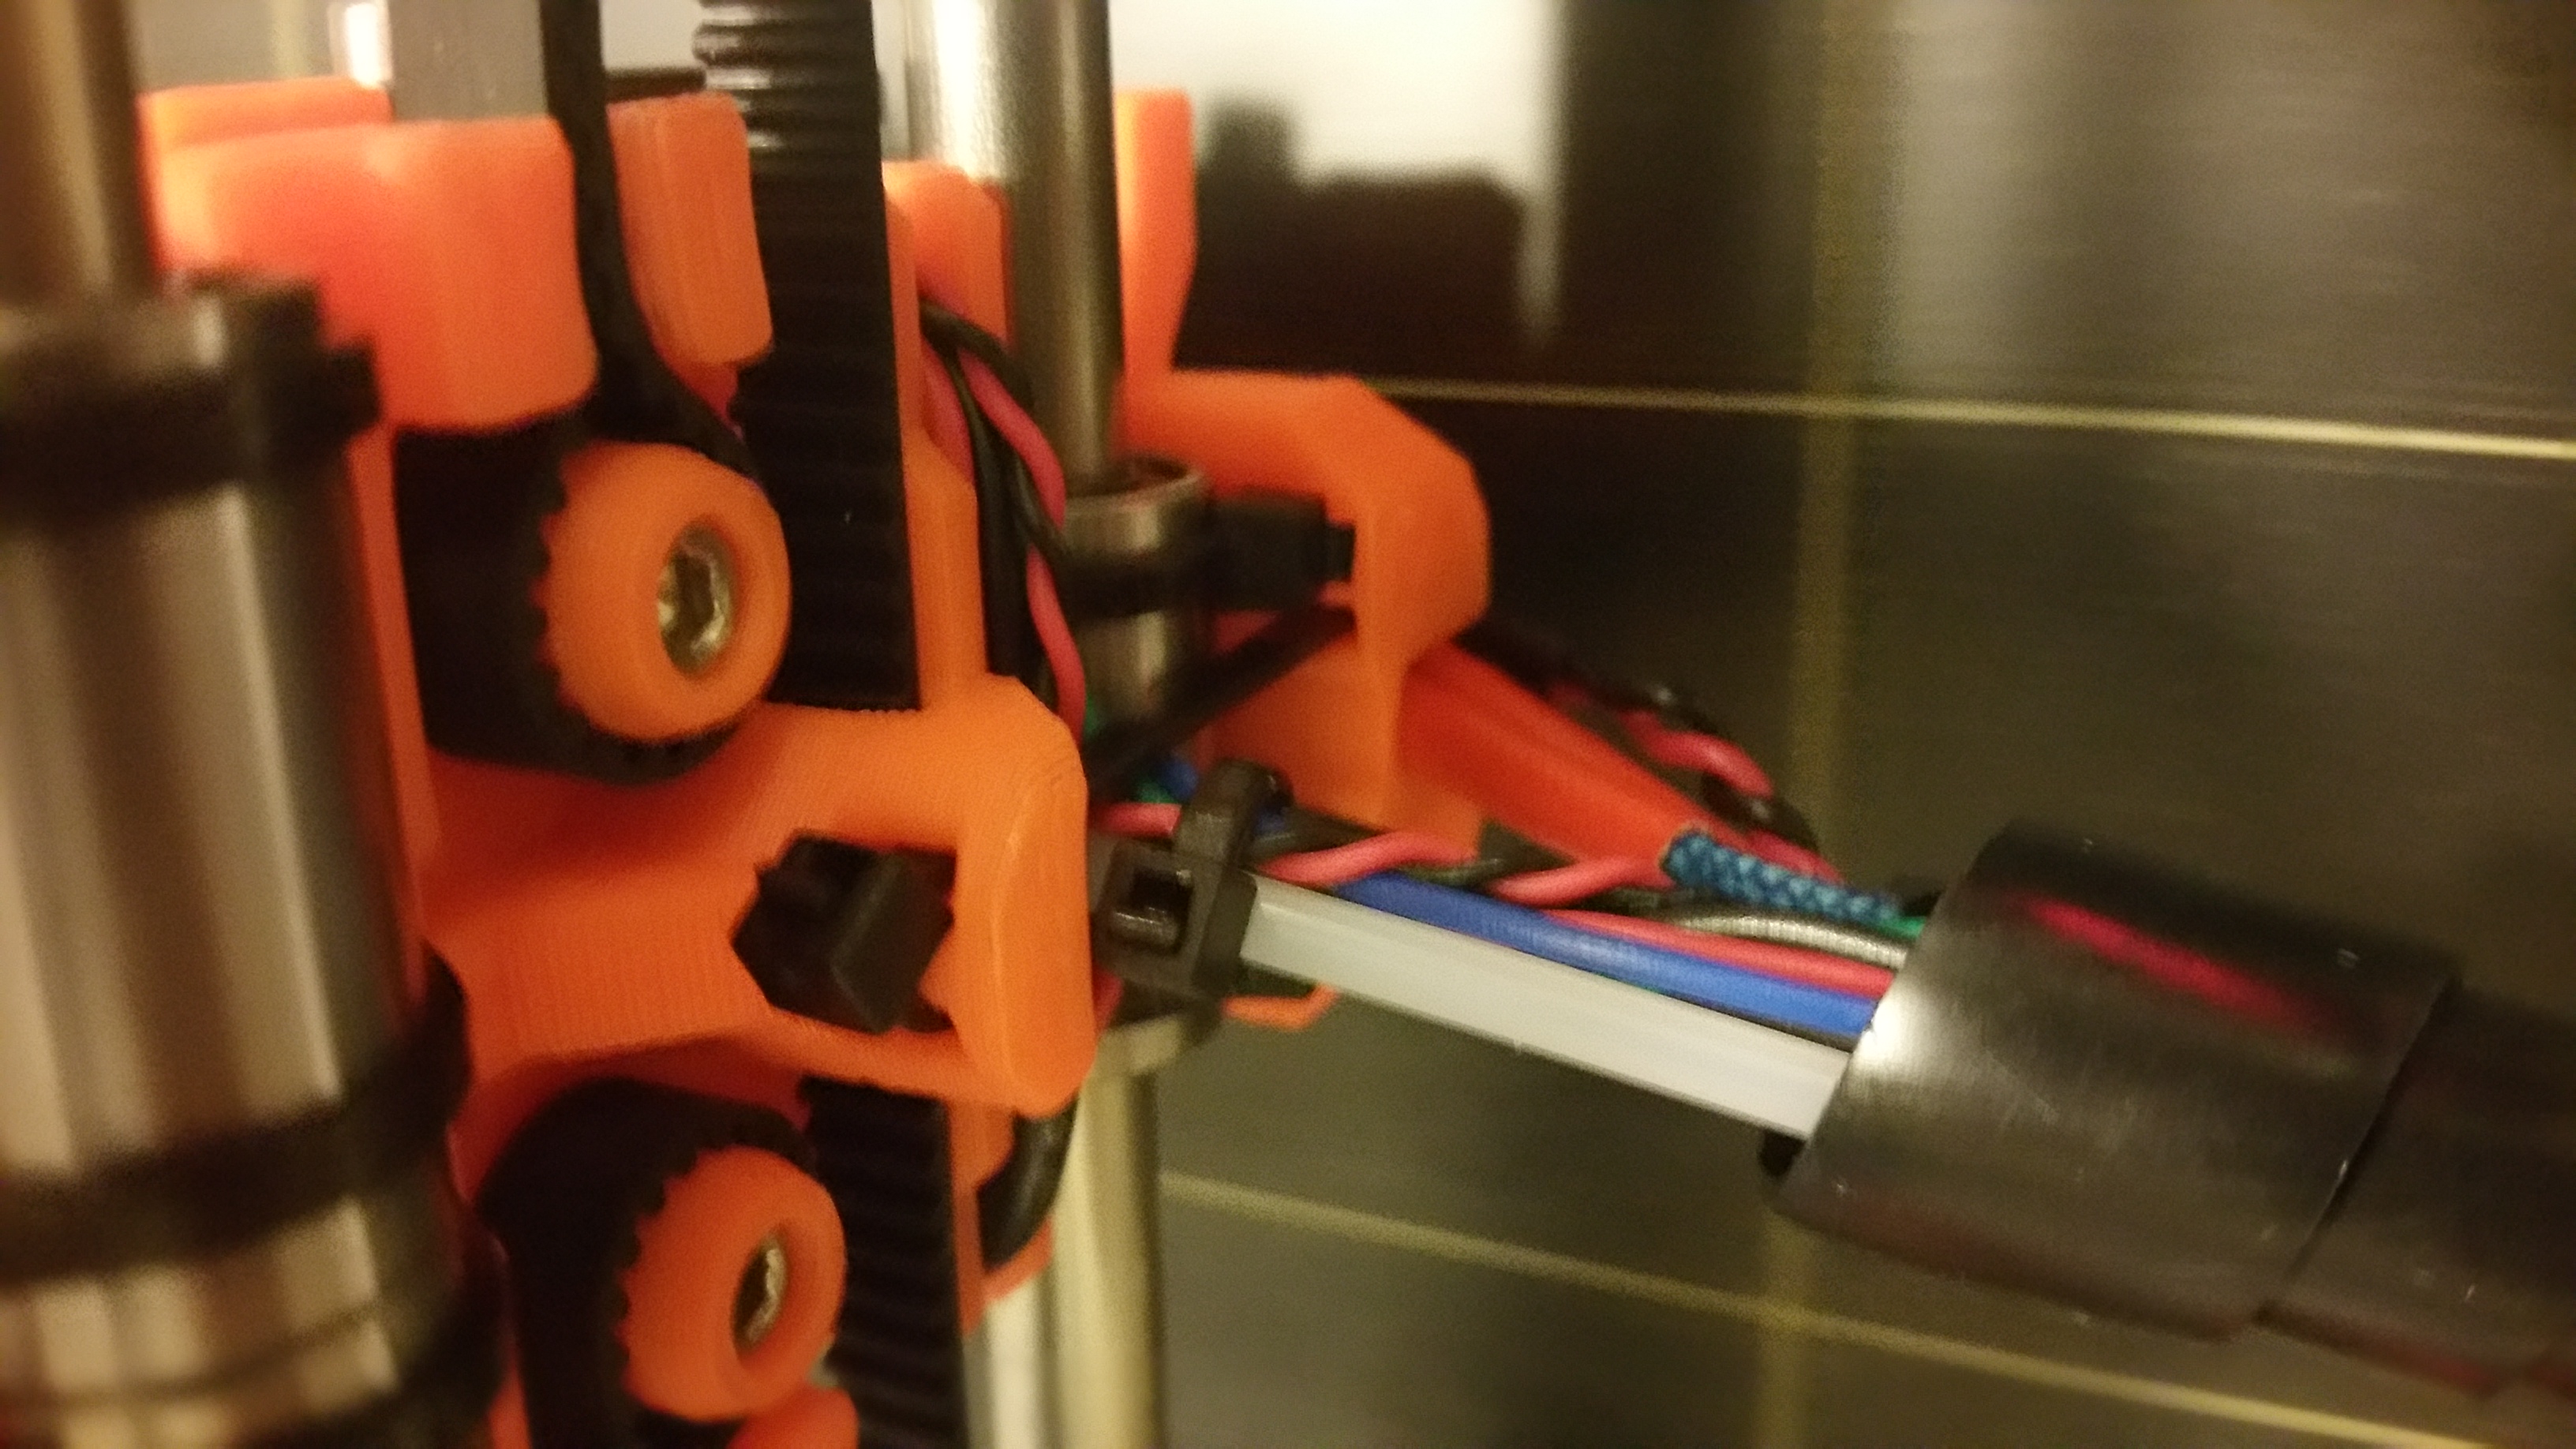
I hope it's OK with assembling questions here? (sorry for the rotated images)
The cables going out from my extruder looks tight and tidy but when sliding the extruder towards the end stop the cables touches the frame before the end stop is engaged. What have I missed? 🙂
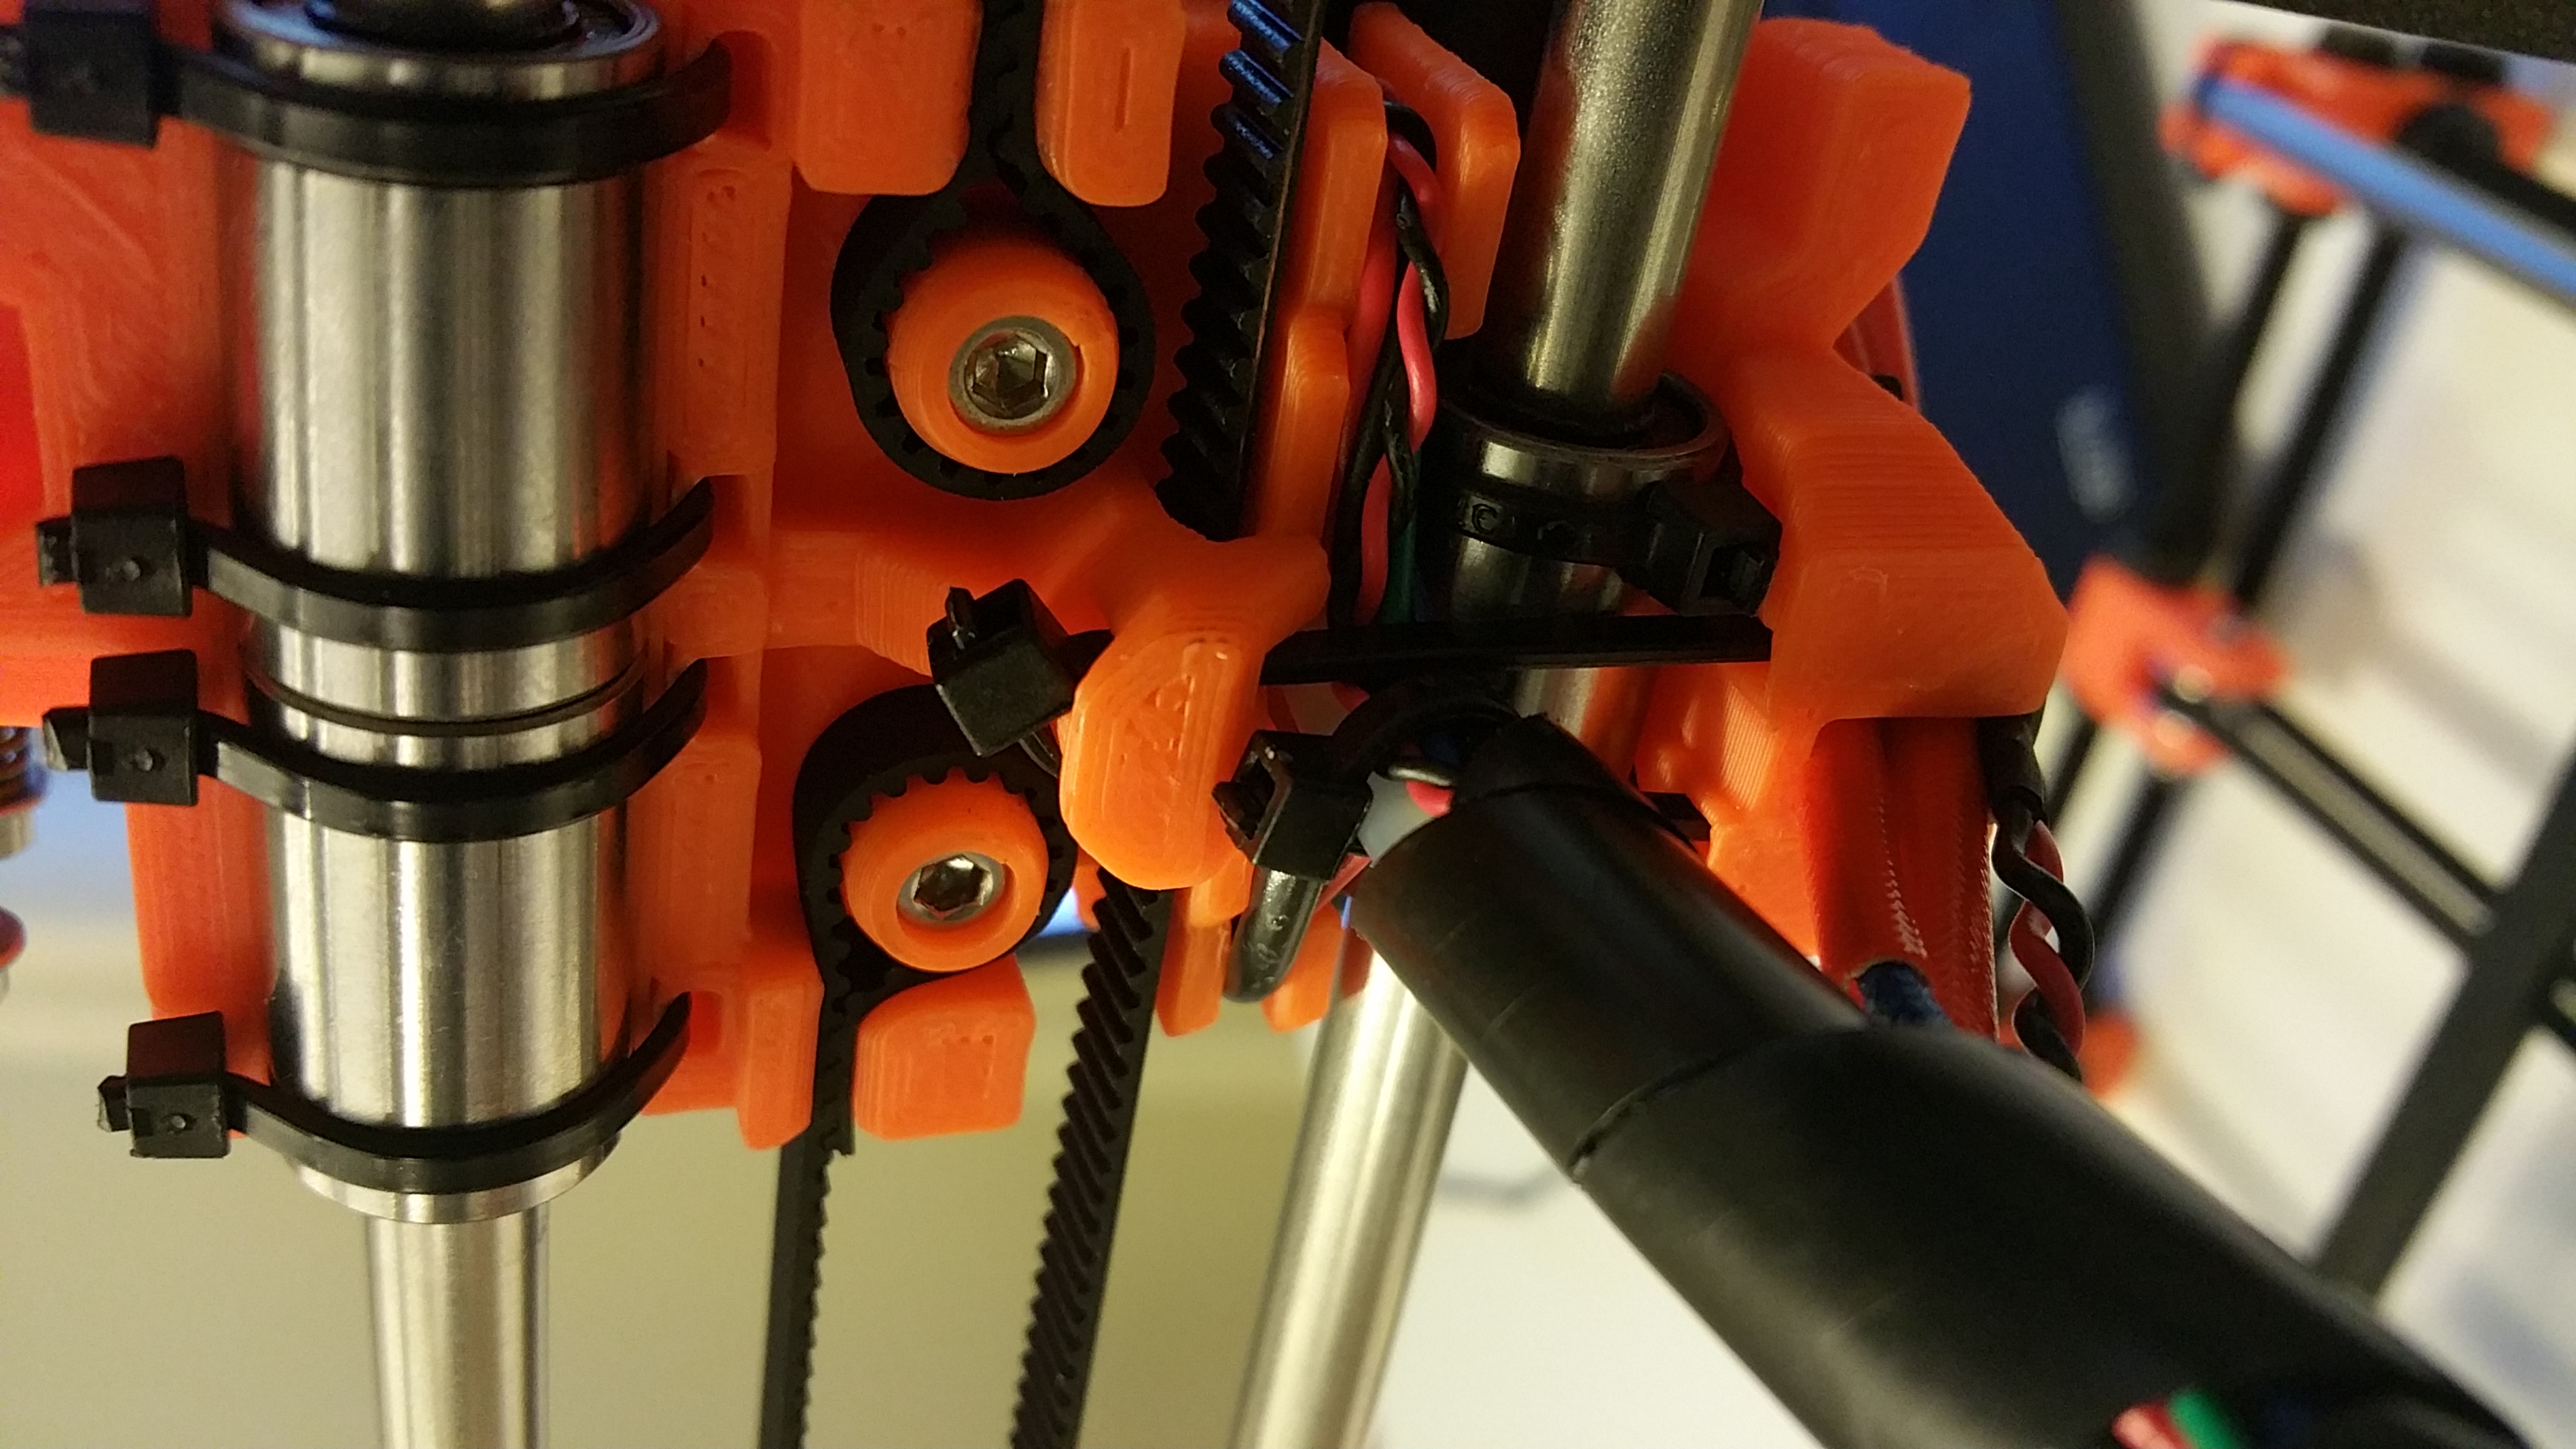
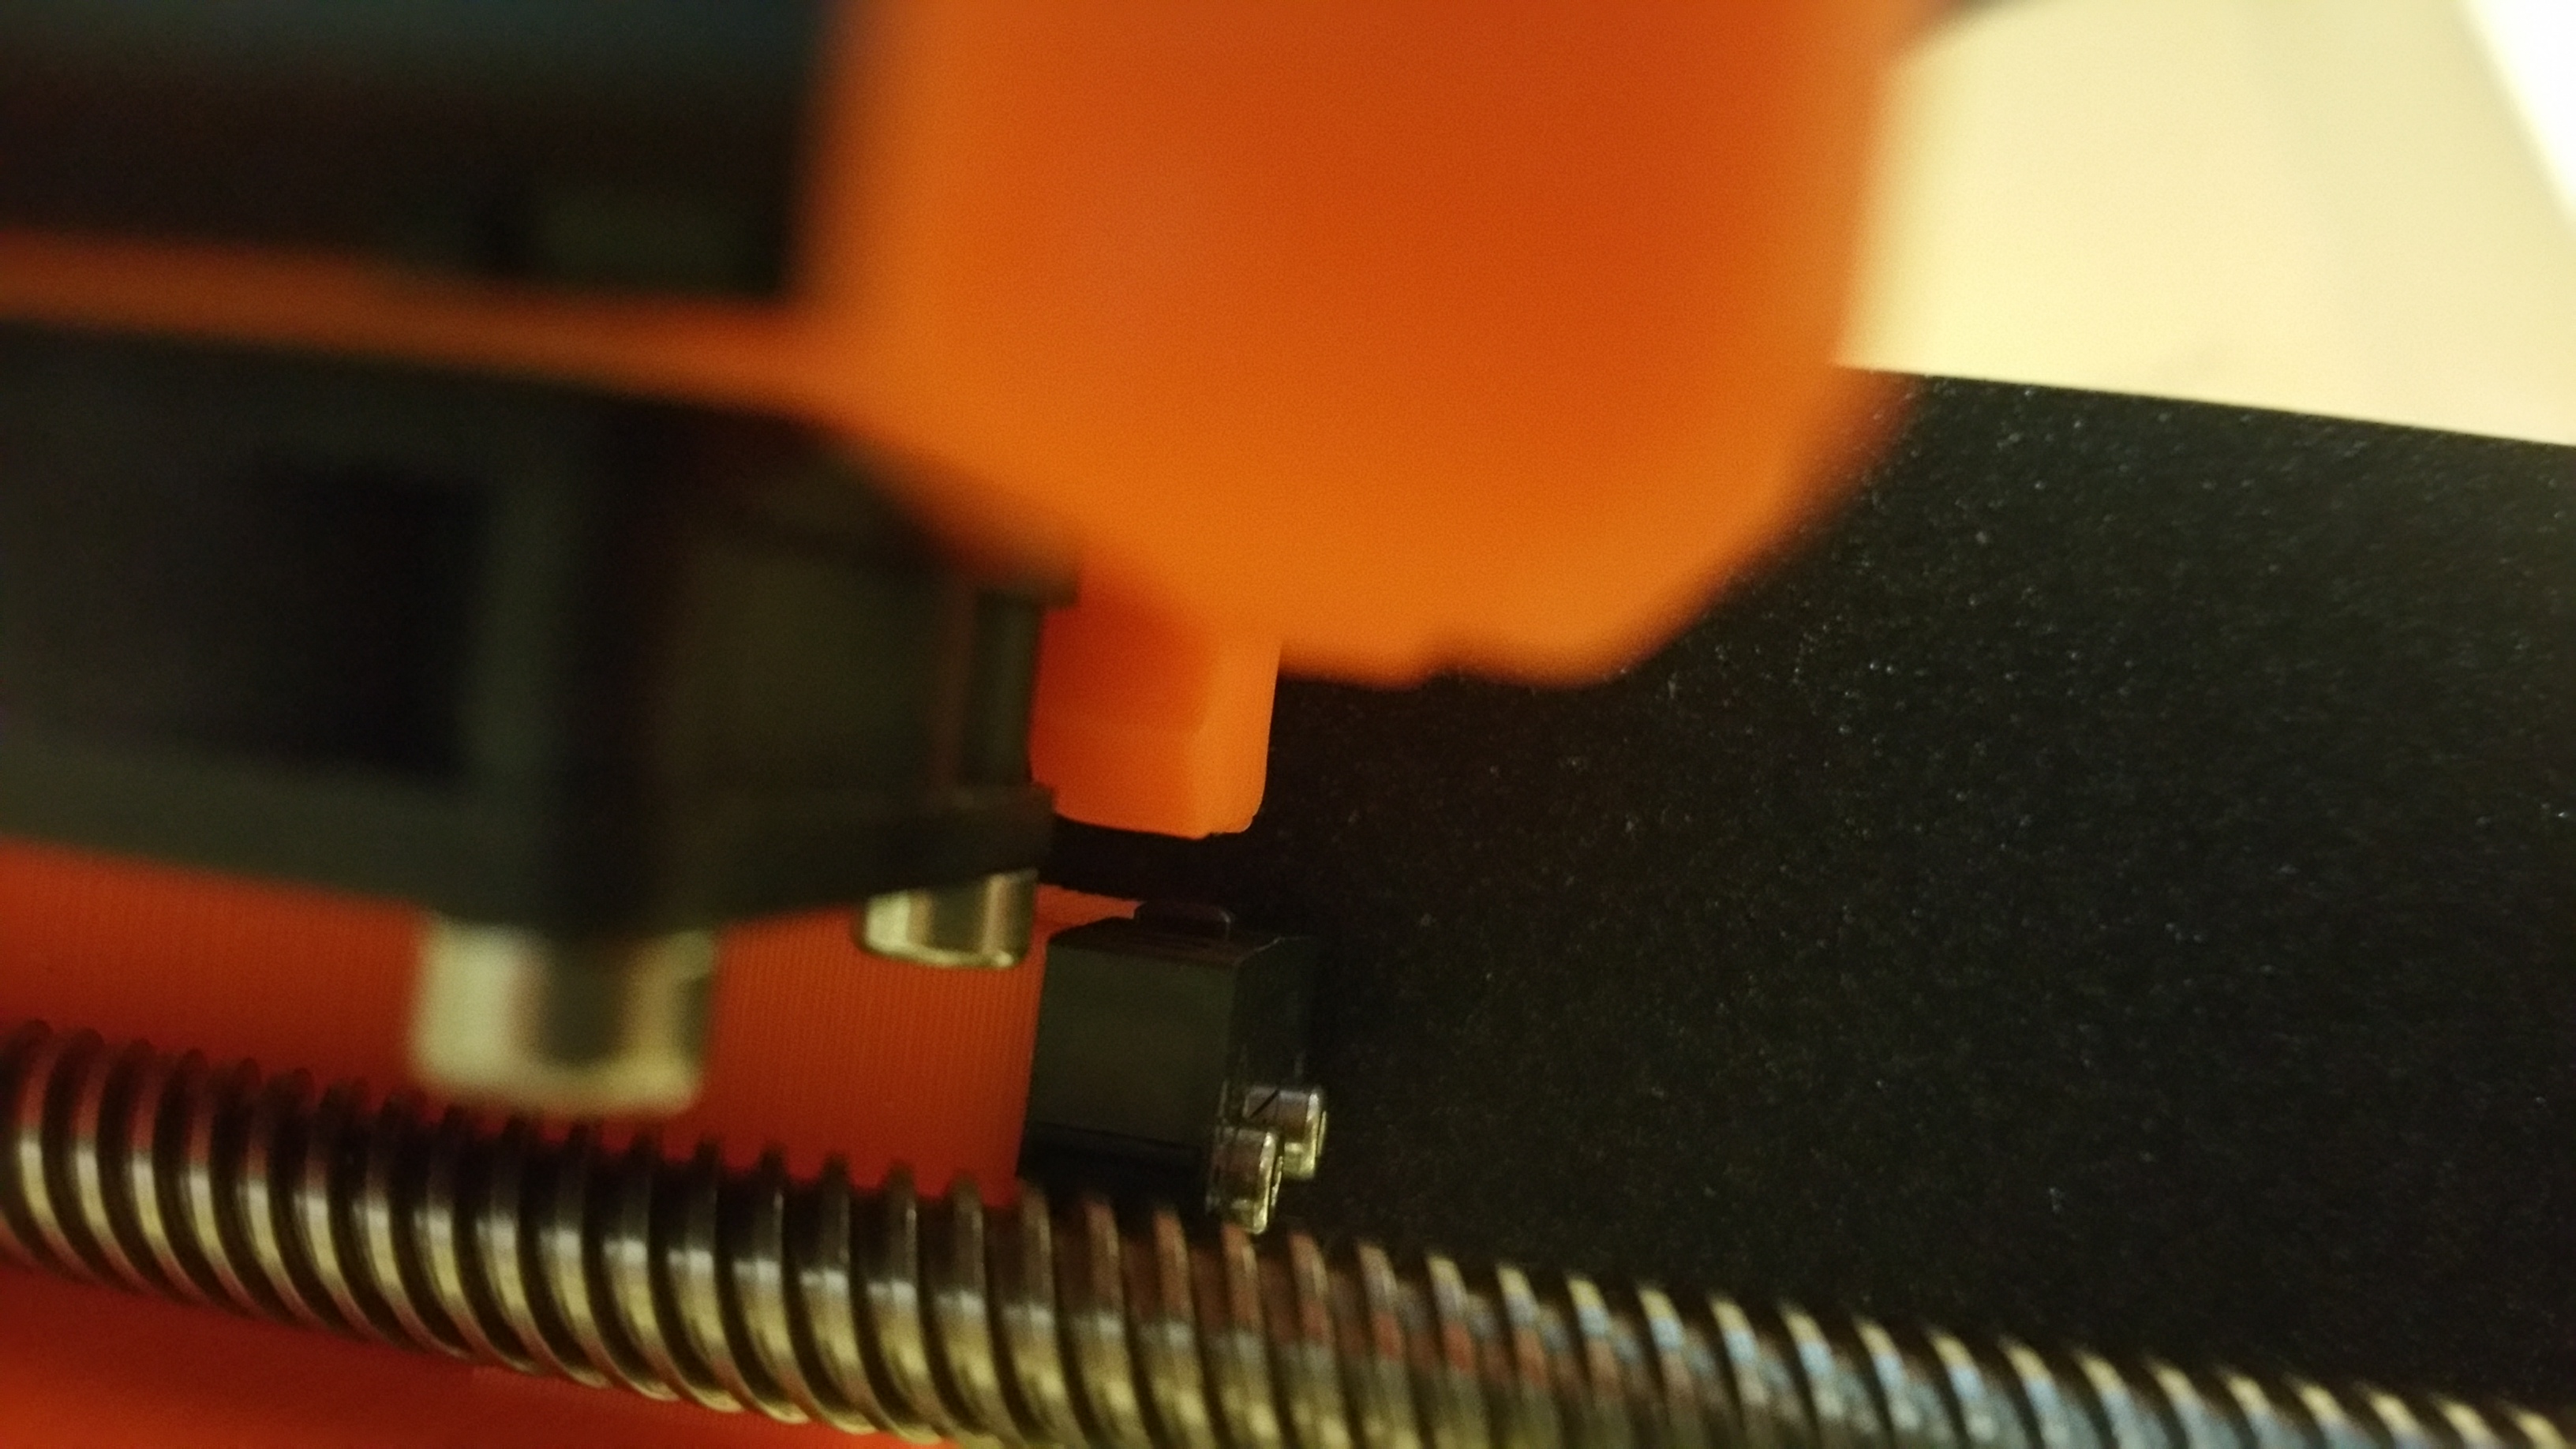
It's roughly 4mm from touching the end stop.
Me on MyMiniFactory!
Me on Instagram
3D Printing Live Feeds
Prusa MK2 Usergroup Slack Live Chat
Unofficial live chat by users for users.
Re: Everything you need to know about MK2! (NEW Drivers & FW June 7th)
There are two thing you could do:
I'm like Jon Snow, I know nothing.
Re: Everything you need to know about MK2! (NEW Drivers & FW June 7th)
There are two thing you could do:
Simple as that! 🙂
I just removed the plastic wrapper close to the carriage. It was enough to reach the end stop.
Printed 3dhubs marvin now. Seems to work put pretty good.
After that print I started to adjust the M10 and M8 nuts to move the bed up and to the right (looking at the bed from above)
1. Regarding step 10 here:
http://manual.prusa3d.com/Guide/2.+Y-axis+assembly/104
How exact is this measurement?
To adjust the offset in Y-axis, I have to shorten this measurement right? To move the whole bed in that direction?
After doing some adjustment I ran the autocalibration again but it jams the extruder into the buildplate? Any idea why?
Shouldnt the probe set the stop of the Z-axis?
Probe is aligned according to the manual which results in that the nozzle seems to be about 1-2mm lower than the tip of the probe.
Self Test is OK
One thing ive seen is that if I move the Z axis up manually I cant get it to reach the stop and foring the motors to "chew" like described in the hadbook. It stops quitely at 210, so it feels like the Z axis is offset downwards a bit?
The autohome pushes the nozzle down into the plate as well
EDIT:
Messed around alot with the live adjust Z values, and ran the AutoCalibration, it does touch the bed with the nozzle, but not at heavy as before.
The Zig-Zag turned out ok, after live adjusting the Z value to 0.3mm. Not sure what changed but I'll try a print now 🙂
My probe is inside the circle X-wise but its outside the circle with about 4mm Y-wise, and I cant get it better than that.
What will that mean for my performance? that I cant use the whole print volume?
Best Regards Patrik
Me on MyMiniFactory!
Me on Instagram
3D Printing Live Feeds
Prusa MK2 Usergroup Slack Live Chat
Unofficial live chat by users for users.