Build experience
I thought I would share my experience in building this kit. Over the last five years I've assembled quite a few DIY printers. I built a few Prusa Mendels (also printed parts and helped assemble several dozens for others), a Huxley and a MendelMax 1.5 hybrid. I'd like to think that previous experience helped my fully assemble this printer in just under 10 hours. I was loving the pre-finished cables - that feature alone saved me at least another 3-4 hours of measuring, stripping, soldering and crimping (thank you!).
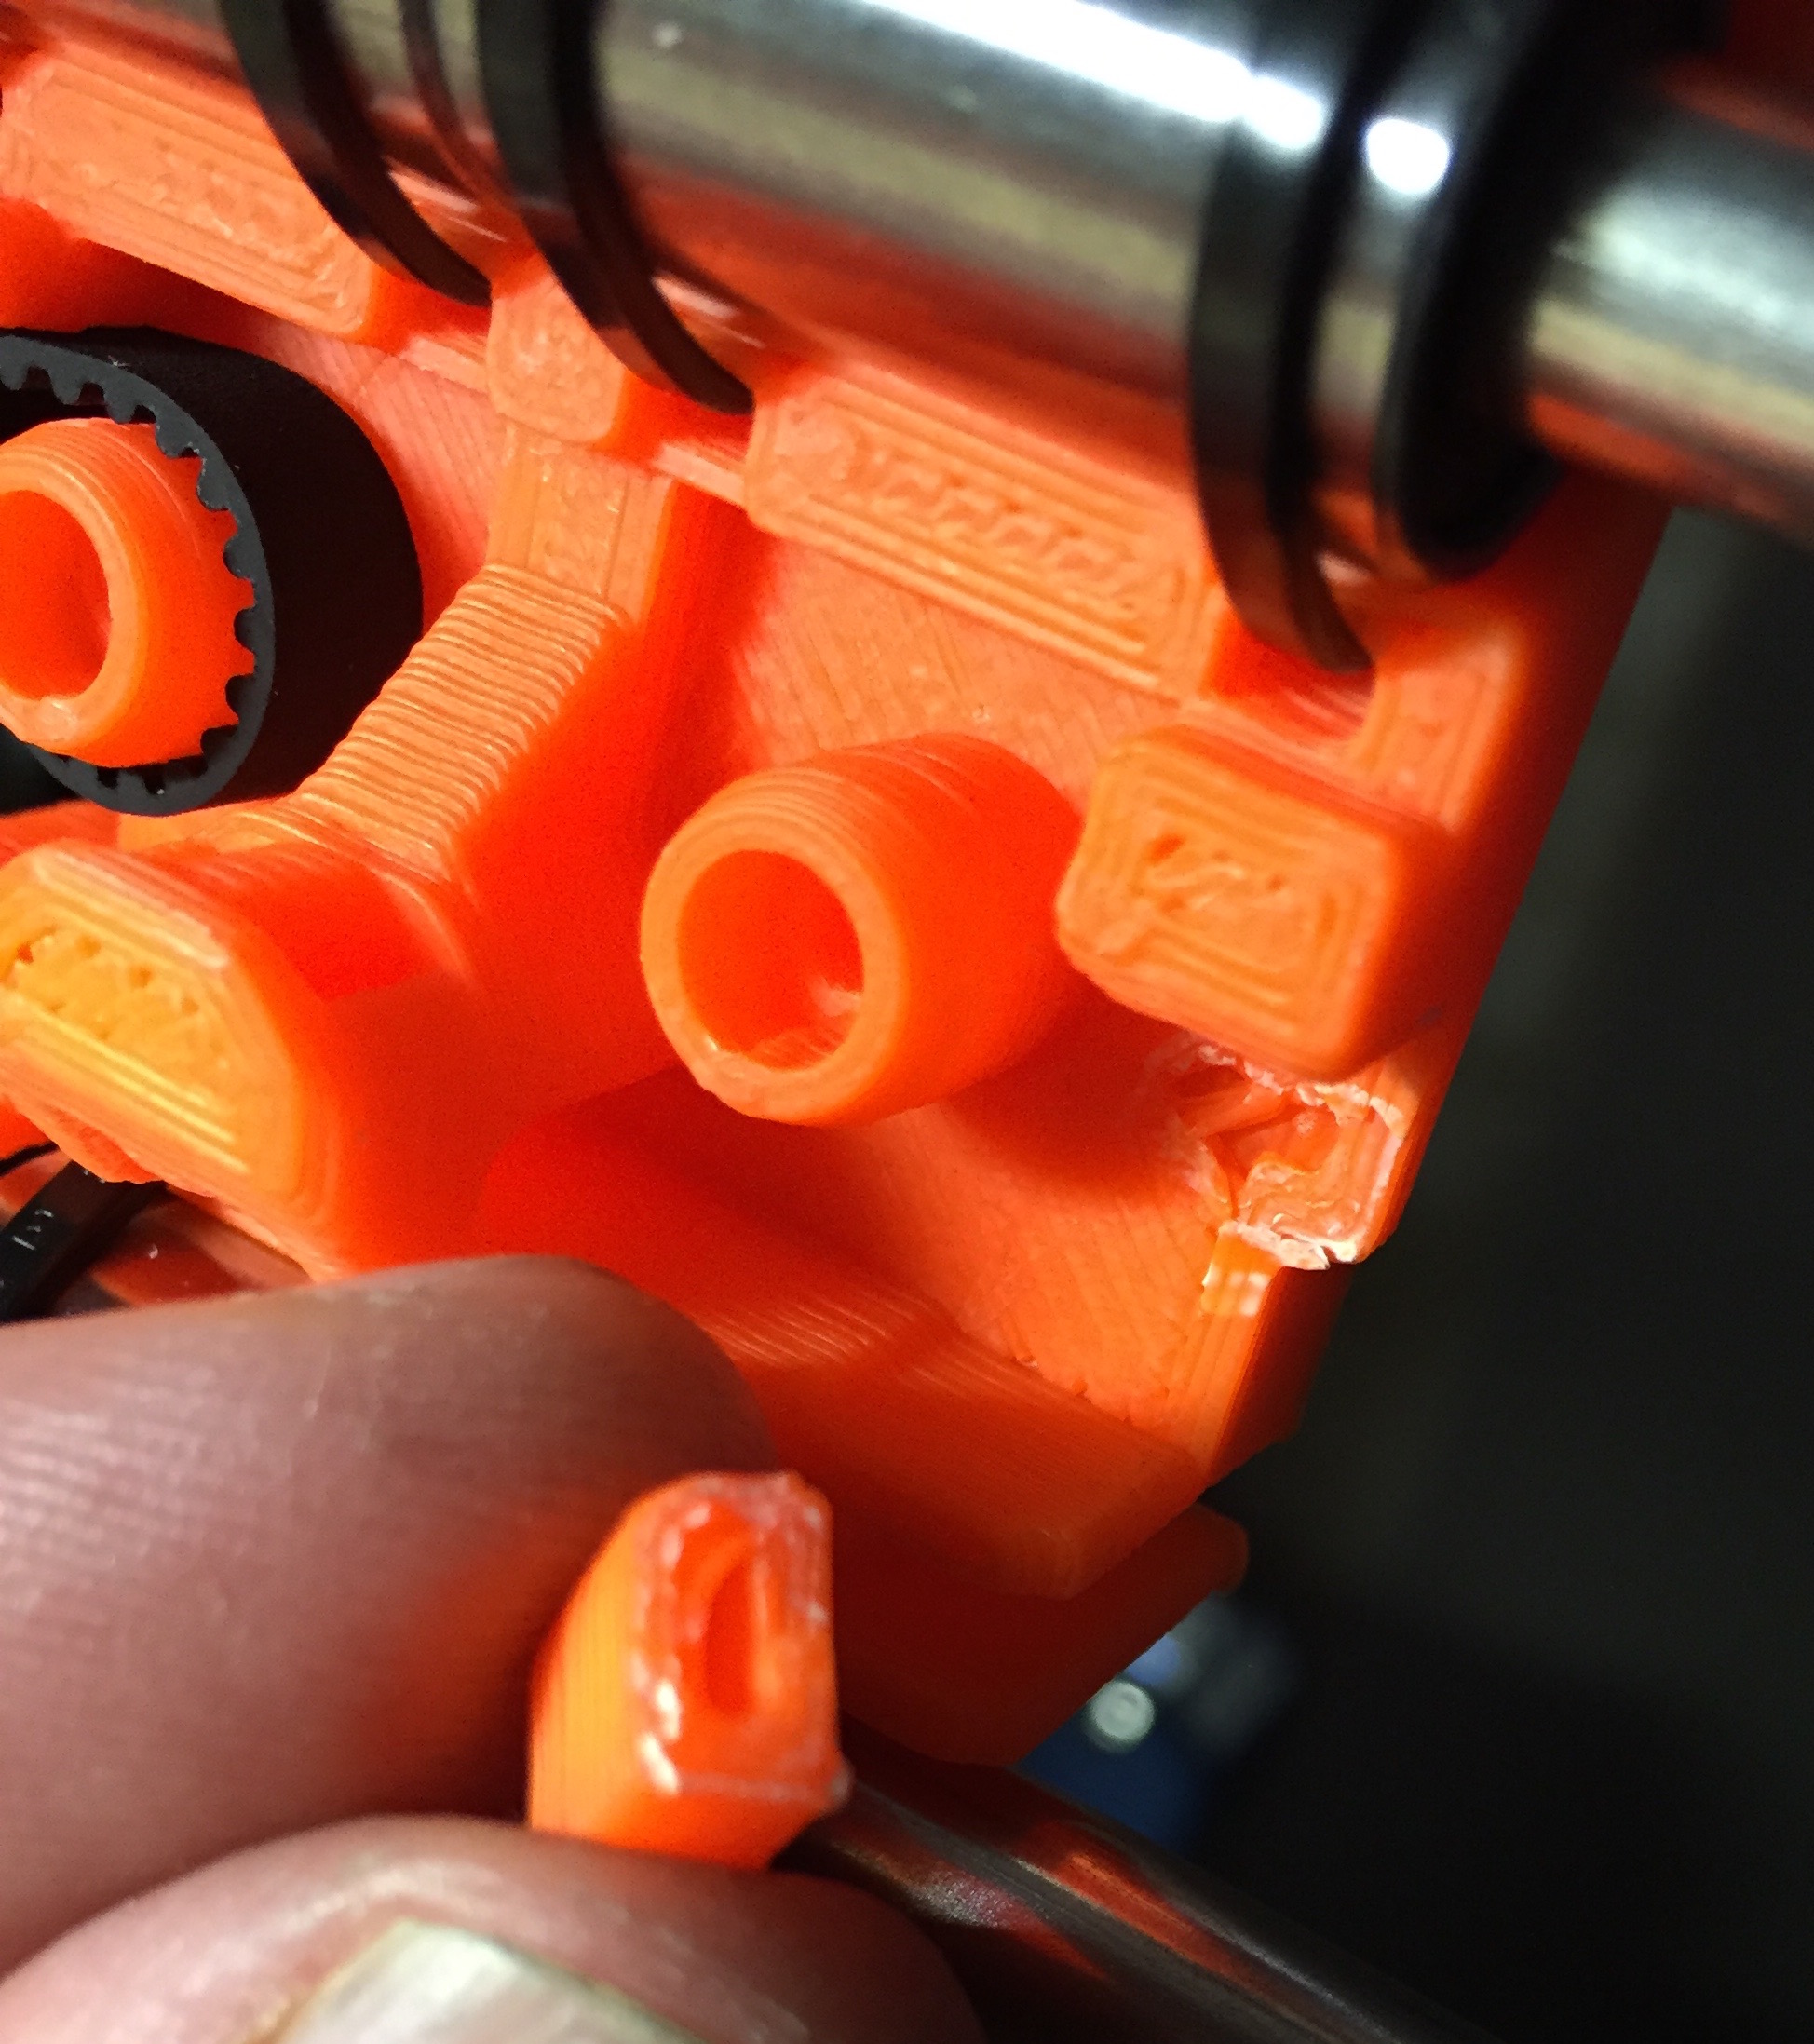
I have to say the quality of the printed parts was impressive. I had a few parts break on me. Understood given the smaller size of some of these parts (pictures at end of post). They were easily repaired with clamping and some super glue: 1) a X-Carriage belt stay snapped off, 2) extruder body delaminated under one of the square nuts and 3) the fan shroud cover snap latch broke off (not pictured).
I took a Dremel sanding wheel to the inside of the extruder mount to open up the diameter where the extruder body is mounted. This allowed me to close both halves of the casing - previously there was a large gap that may have helped lead to the delaminating when I tightened the screws.
It took some time to get the horizontal section to align properly with the vertical frame at the 10MM threaded rod. It seems that as you tighten the nuts, the frame wants to ride up. I have a feeling there could be some design improvement here with some plastic parts to help prevent this from happening. If you're not careful, it is very easy to have your print head and X axis very much out of alignment with the print bed.
My biggest issue was calibration. I'm sure its obviously an issue for many, as there have been some last minute updates to the calibration process. It took me a day to realize that had uploaded the wrong firmware. It can get confusing when there are six to choose. The "how to choose a firmware" PDF documentation mentioned that the latest extruder was the E3Dv6lite - so I erroneously stayed away from the 1.75MK2 firmware (E3Dv6FULL) and incorrectly chose the 1.75 E3Dv6lite firmware to start. Obviously this had me going down a very long and very wrong road during the calibration phase. I badly gouged the PEI when starting the calibration, as the PINDA was too far away from the bed (the docs mentioned we would adjust this later, but was never covered again in the 3D Printing Handbook). After much trial and error, much PEI gouging and much wasted plastic, I decided to go back to square #1 and flash a different firmware. This made all the difference. (Note for others, use the firmware labeled "1_75mm_MK2-RAMBo13-E3Dv6full.hex")
I'm not sure what's up with my G28 code, but it doesn't perform the 9-point Z calibration. I have to add a G80 after G28 in the GCode for this step to take place. After that, I was able to tune the Z down a few microns with the V2Calibration gcode and Live Z Adjustment to get the first layer to that desired "squish".
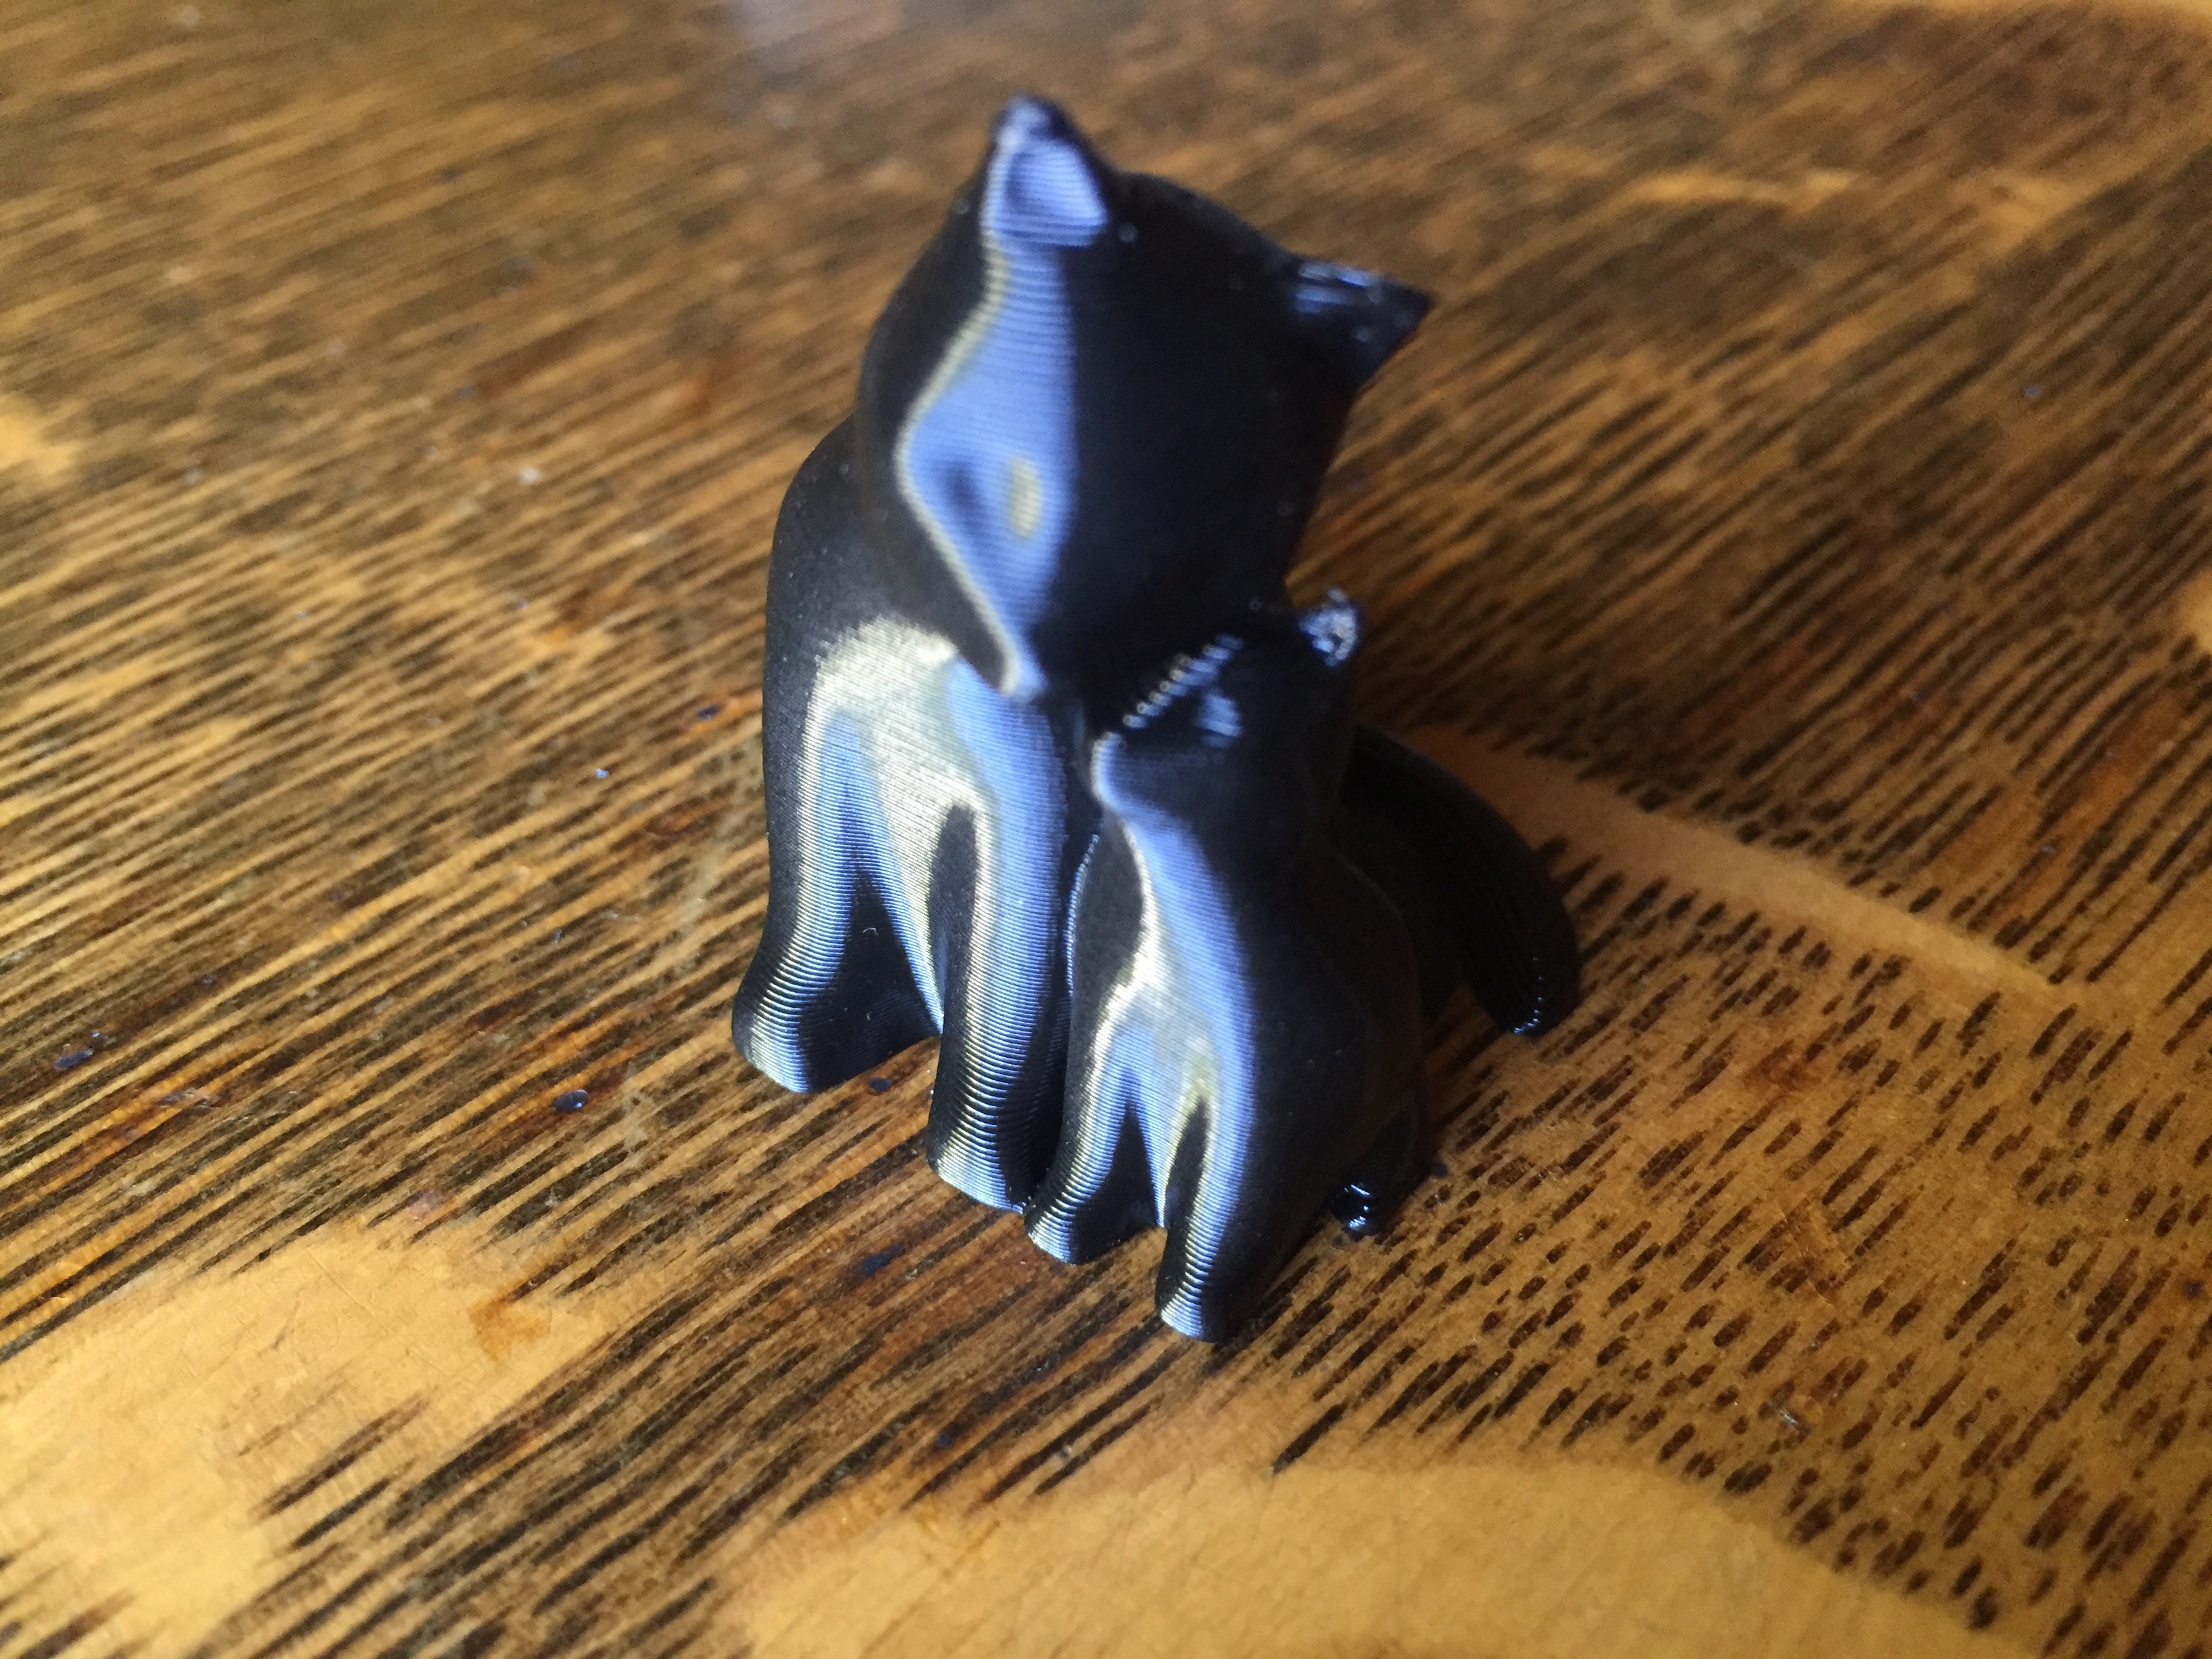
Next I was able to print a beautiful 20x20x4 calibration cube as my actual first print. I followed that up with http://www.thingiverse.com/make:225590 for my son (he LOVES cats!) on NORMAL mode (.20mm layers).
In conclusion, after a bit of a headache with software, I have to say this is the best printer I've used to date. Certainly the best print results I've seen in a long time on these first two prints. Well worth the kit purchase price. So far my only complaints are 1) the fiddly frame connection I mentioned above and 2) I'd like more print head visibility from the front of the machine - you really have to get in there on the right or left side to see what the print head is doing in relation to the platform and/or printed part.
Josef, once again, thank you for a wonderful bit of engineering!
Future plans: 1) add a mount for a Raspberry Pi and 2) some LED strip lighting so I can see a little bit better in the dark corner of my office.
Follows, images of two of the three the "trouble" parts:
Re: Build experience
I'm not sure what's up with my G28 code, but it doesn't perform the 9-point Z calibration. I have to add a G80 after G28 in the GCode for this step to take place. After that, I was able to tune the Z down a few microns with the V2Calibration gcode and Live Z Adjustment to get the first layer to that desired "squish".
I've been messing around with this as well and it seems you can put just about anything after the G28 (doesn't have to be G80). I have a beep and a boop and it's enough for it to continue the G28 instead of just checking the first point.
Re: Build experience
I have to say the quality of the printed parts was impressive.
Hi TheFace,
first and foremost thank you for kind words about the print quality 🙂
The belt holder parts are fixed now, with different settings and material. The extruder part cracked because you used longer screw than in the manual.
Firmware, I think you actually flashed older MK2 firmware than you printer came with. Anyways, 3.0.1 is already available on our github https://github.com/prusa3d/Prusa-Firmware/tree/MK2 it will fix the G28 / G80 behaviour
I am also going to fix the PDF right now.
We just also released a new version of manual with V2 calibration http://prusa3d.com/3dhandbookMK2
Re: Build experience
Josef - Thanks, I appreciate your commitment to fixing the issues expediently. I understand as there are always going to be field issues with new products.
I'll try the new firmware later today. In the meantime, here are the things I have printed so far:
Cuddling Cats @ ".25mm NORMAL" http://www.thingiverse.com/thing:241748
Princess Leia Blaster, grip @ ".10mm DETAIL" http://www.thingiverse.com/thing:226014
11 hours, 45 minutes! 90.35mm x 28.05mmm x 105.12mm
Re: Build experience
My Extruder housing cracked in the same spot, pretty sure I used the correct screw. The housing did not want to pull together flush.
Re: Build experience
My Extruder housing cracked in the same spot, pretty sure I used the correct screw. The housing did not want to pull together flush.
I had the same problem, I just pulled my screw out and it was an M3x18 which is what the assembly guide says to use. Perhaps this is just a result of the part not being the correct size, when I compare the screw with the length of the hole it looks like it's going to be a really tight fit. https://imgur.com/lxlK2eb


