Manual Multi-Material Extra Unnecessary Purge
I have been experimenting with doing multi-material prints by setting up multiple toolheads that change with an M600 command. I'm getting decent results, but I have an issue where immediately after a color change, on any layer that isn't the first layer, the extruder pushes out a small blob of plastic (just as it starts the next layer). The blob is big enough that I have lost multiple prints to belt skips caused by the head crashing into it.
Does anyone know what could be causing the issue? Is there a setting or a fix for this behavior?
RE: Manual Multi-Material Extra Unnecessary Purge
the printer is set to re pressurise the extruder after the colourchange purge.
instead of ripping the purge material off the nozzle, just hold onto it, and when the printer returns to the job, the extra pressurisation waste, will remain attached to the purge filament that you are holding, and pull off the nozzle automatically
I try to make safe suggestions,You should understand the context and ensure you are happy that they are safe before attempting to apply my suggestions, what you do, is YOUR responsibility.Location Halifax UK
RE: Manual Multi-Material Extra Unnecessary Purge
I have used the method that Joan suggests, and it has always worked. However, yesterday, after reading a suggestion that the wipe tower isn't really necessary when doing a manual filament change (because you can just keep purging more until you're happy), I did a print (on a MK4, in case it's relevant) without the wipe tower, and experienced a couple of large blobs, despite hanging on to the purged filament. It seems like the re-pressurisation is too quick, too much and too close to the print to allow it to be pulled off. My solution was to re-enable the wipe tower, so that this extra blob happens on the wipe tower rather than my print.
I still prefer to put a sheet of paper over my print after a filament change, because the firmware always returns the print head to the last point before moving to the wipe tower, and this often puts a tiny dob of the new colour on top of the previous layer. If the dob is a darker colour than the one below it, it can often show through. So the sheet of paper is to catch that dob, and then I whip it out quickly when the head moves to the wipe tower.
RE:
It's not that purge, but a second one. I know, and expect, the repressurization after the color change.
After I rip that away, the extruder goes to the model, lowers down to the model at the last XY, moves to the next instruction, then right as it resumes, it rapidly pushes out a blob exactly at the start of the next new instruction.
Even with a wipe tower, the blob is big enough that it causes crashes/belt skips when the printer returns to the wipe tower.
RE:
I have used the method that Joan suggests, and it has always worked. However, yesterday, after reading a suggestion that the wipe tower isn't really necessary when doing a manual filament change (because you can just keep purging more until you're happy), I did a print (on a MK4, in case it's relevant) without the wipe tower, and experienced a couple of large blobs, despite hanging on to the purged filament. It seems like the re-pressurisation is too quick, too much and too close to the print to allow it to be pulled off. My solution was to re-enable the wipe tower, so that this extra blob happens on the wipe tower rather than my print.
I still prefer to put a sheet of paper over my print after a filament change, because the firmware always returns the print head to the last point before moving to the wipe tower, and this often puts a tiny dob of the new colour on top of the previous layer. If the dob is a darker colour than the one below it, it can often show through. So the sheet of paper is to catch that dob, and then I whip it out quickly when the head moves to the wipe tower.
Wait, your print head is moving to the last point on the print after filament change, before moving to the wipe tower?
I was doing a manual MMU print yesterday, with wipe tower enabled, and when it was time to color change the print head went to the wipe tower and printed just a little before the filament change, and after the filament change it went back to the wipe tower immediately and printed more there before finally going back to the print itself.
My primary purpose with using the wipe tower was to prime the nozzle fully with printing, since whenever I do a color change without this the first few cm of travel it's not extruding at all, or not fully, due to plastic that has oozed out of the nozzle before it gets to the print, and sometimes you end up with a bit of filament stuck to the nozzle which sticks to the print.
The wipe tower, as I expected, fixed both these issues, and I will continue using the wipe tower for all manual MMU prints going forward. More details on this thread.
I've attached my .3mf file, if you open it in PrusaSlicer and go to one of the first layers that's printing in two colors and preview the head movement with the horizontal slider, you'll see the print head is at the wipe tower before and after the filament change.
RE: Manual Multi-Material Extra Unnecessary Purge
Wait, your print head is moving to the last point on the print after filament change, before moving to the wipe tower?
Yes, that's what I've seen, on both my MK4 and previously on my MK3S+. I'm evidently not alone in this - see https://forum.prusa3d.com/forum/postid/657382/
But having looked at the post you linked to, I notice that there are several settings mentioned by @minorhavoc that I'm not using - essentially all I've done is increase the number of extruders and then insert the M600 in the tool change G-code (actually I've recently updated the tool change code to eliminate the unnecessary M600 before the print starts - see this Reddit thread. It uses a new Global Variable, and only removes the very first M600, rather than every M600 on the first layer).
So hopefully one of those omitted settings will give me the same behaviour as you are getting - namely moving to the wipe tower BEFORE the filament change, so that when the nozzle returns to the last place, that's where it will go. My money's on the 'Enable "Single Extruder Multi Material"' setting being responsible for the filament swap starting with a small section of wipe tower, although I could believe that 'Set "Filament parking position" to 0' could also be responsible. Time for some experimentation.
RE:
I'm very grateful for your post @jseyfert3. After a bit of experimentation with the settings, I found that 'Enable "Single Extruder Multi Material"' did indeed cause the nozzle to print a small part of the wipe tower BEFORE initiating the filament change. This had the desired effect that the nozzle returned to the wipe tower, rather than the print, after the filament swap, so any mess left over from the swap doesn't spoil the print. No more 'dobbing' of the new colour behind the old colour!
However, this option alone increased the size of one of the priming patches near the initial purge line at front left, and resulted in massive over-extrusion on those priming patches, as well as in the wipe tower when the nozzle returned there after the swap.
Disabling 'Prime all printing extruders' got rid of the priming patches and the massive over-extrusion in the wipe tower, but I was still left with a blob when the nozzle returned to the wipe tower after the swap - this is essentially the issue that I think the OP was reporting, and which I also experienced on my print when I disabled the wipe tower.
So finally I then made these three settings changes: "Cooling tube position" = 10, "Filament parking position" = 0, "Extra loading distance" = 0. Since I made these changes simultaneously, I don't know if it's one of those settings, or their combination, but now I don't get the blob after the filament swap.
So after all that, it seems that following @minorhavoc's settings to the letter (apart from step 4, which I've modified according to that Reddit post *) works very nicely.
*Instructions from the Reddit post, to preserve for posterity :). Credit to u/mr_d0gMa.
In PRINTER SETTINGS > CUSTOM GCODE > START G-CODE enter the following:
{global var_toolchange_happened = 0;}
this will define the variable as global and initialise it as 0, (no toolchange has happened)
In PRINTER SETTINGS > CUSTOM GCODE > TOOL CHANGE G-CODE enter the following:
{
if var_toolchange_happened == 1 then
"M600";
else
var_toolchange_happened = 1;
endif
}
(If this is the first toolchange, dont do M600, then remember a toolchange has happened... if a tolchange has previously occured, then run M600)
RE:
Check out the .3mf file I zipped and attached to my last post. Open in PrusaSlicer and look for settings that are not default. Besides infill, everything else changed (I think) is for the manual MMU with wipe tower. I also adjusted my purge volumes down to like 20 from the default 140 because as you said, no need to purge to change color, that's already done, you just need enough to stabilize the flow and wipe off any little bits hanging to the nozzle. Note that even if you set purge to 0 (which wouldn't stabilize the flow), the first layer of the purge tower is way bigger than the rest, probably just to ensure the base is of sufficient size. On subsequent layers the purge tower is much smaller.
I believe from my own playing around to avoid the blob on the wipe tower, you just need to change the parking position and extra length to 0, and don't need to change the cooling tube position from default. You can check this. Just use the layer tool preview in PrusaSlicer after slicing. Go to the color change, find the M600 in the gcode preview, and look for a section where it extrudes without moving.
When I hadn't changed those two or three settings you mention, a few lines after the M600 I would get a massive blob on the wipe tower because there was an extrude command for something like 18 mm of filament!!! After changing the settings, this extrude without moving command vanished. This isn't supposed to extrude out the filament here, this is supposed to be for re-loading the filament in MMU running, but it's already re-loaded from the M600 command.
Finally, while I'll take your word that that toolchange gcode works, it's also way more complicated than need me. Simply use:
{if layer_num >= 0}M600 ; change to filament for extruder {next_extruder + 1}{endif}
This makes the printer skip the M600 that otherwise gets inserted after the initial priming line on the front of the build sheet (which I don't understand why PrusaSlicer puts that in regardless, but the above fixes it. Source here, which also had info on those three settings and was what got me to avoid the giant blob on the wipe tower.
RE: Manual Multi-Material Extra Unnecessary Purge
Finally, while I'll take your word that that toolchange gcode works, it's also way more complicated than need me. Simply use:
{if layer_num >= 0}M600 ; change to filament for extruder {next_extruder + 1}{endif}This makes the printer skip the M600 that otherwise gets inserted after the initial priming line on the front of the build sheet (which I don't understand why PrusaSlicer puts that in regardless, but the above fixes it. Source here, which also had info on those three settings and was what got me to avoid the giant blob on the wipe tower.
Ah - I didn't read that properly. I thought that line was skipping all M600s on the first layer, but it's '>=', not '>', and I didn't realise that the layer number was -1 when the initial, superfluous filament swap is requested. Indeed - that code is simpler and doesn't require a global variable available in PS 2.6.0 and above.
RE:
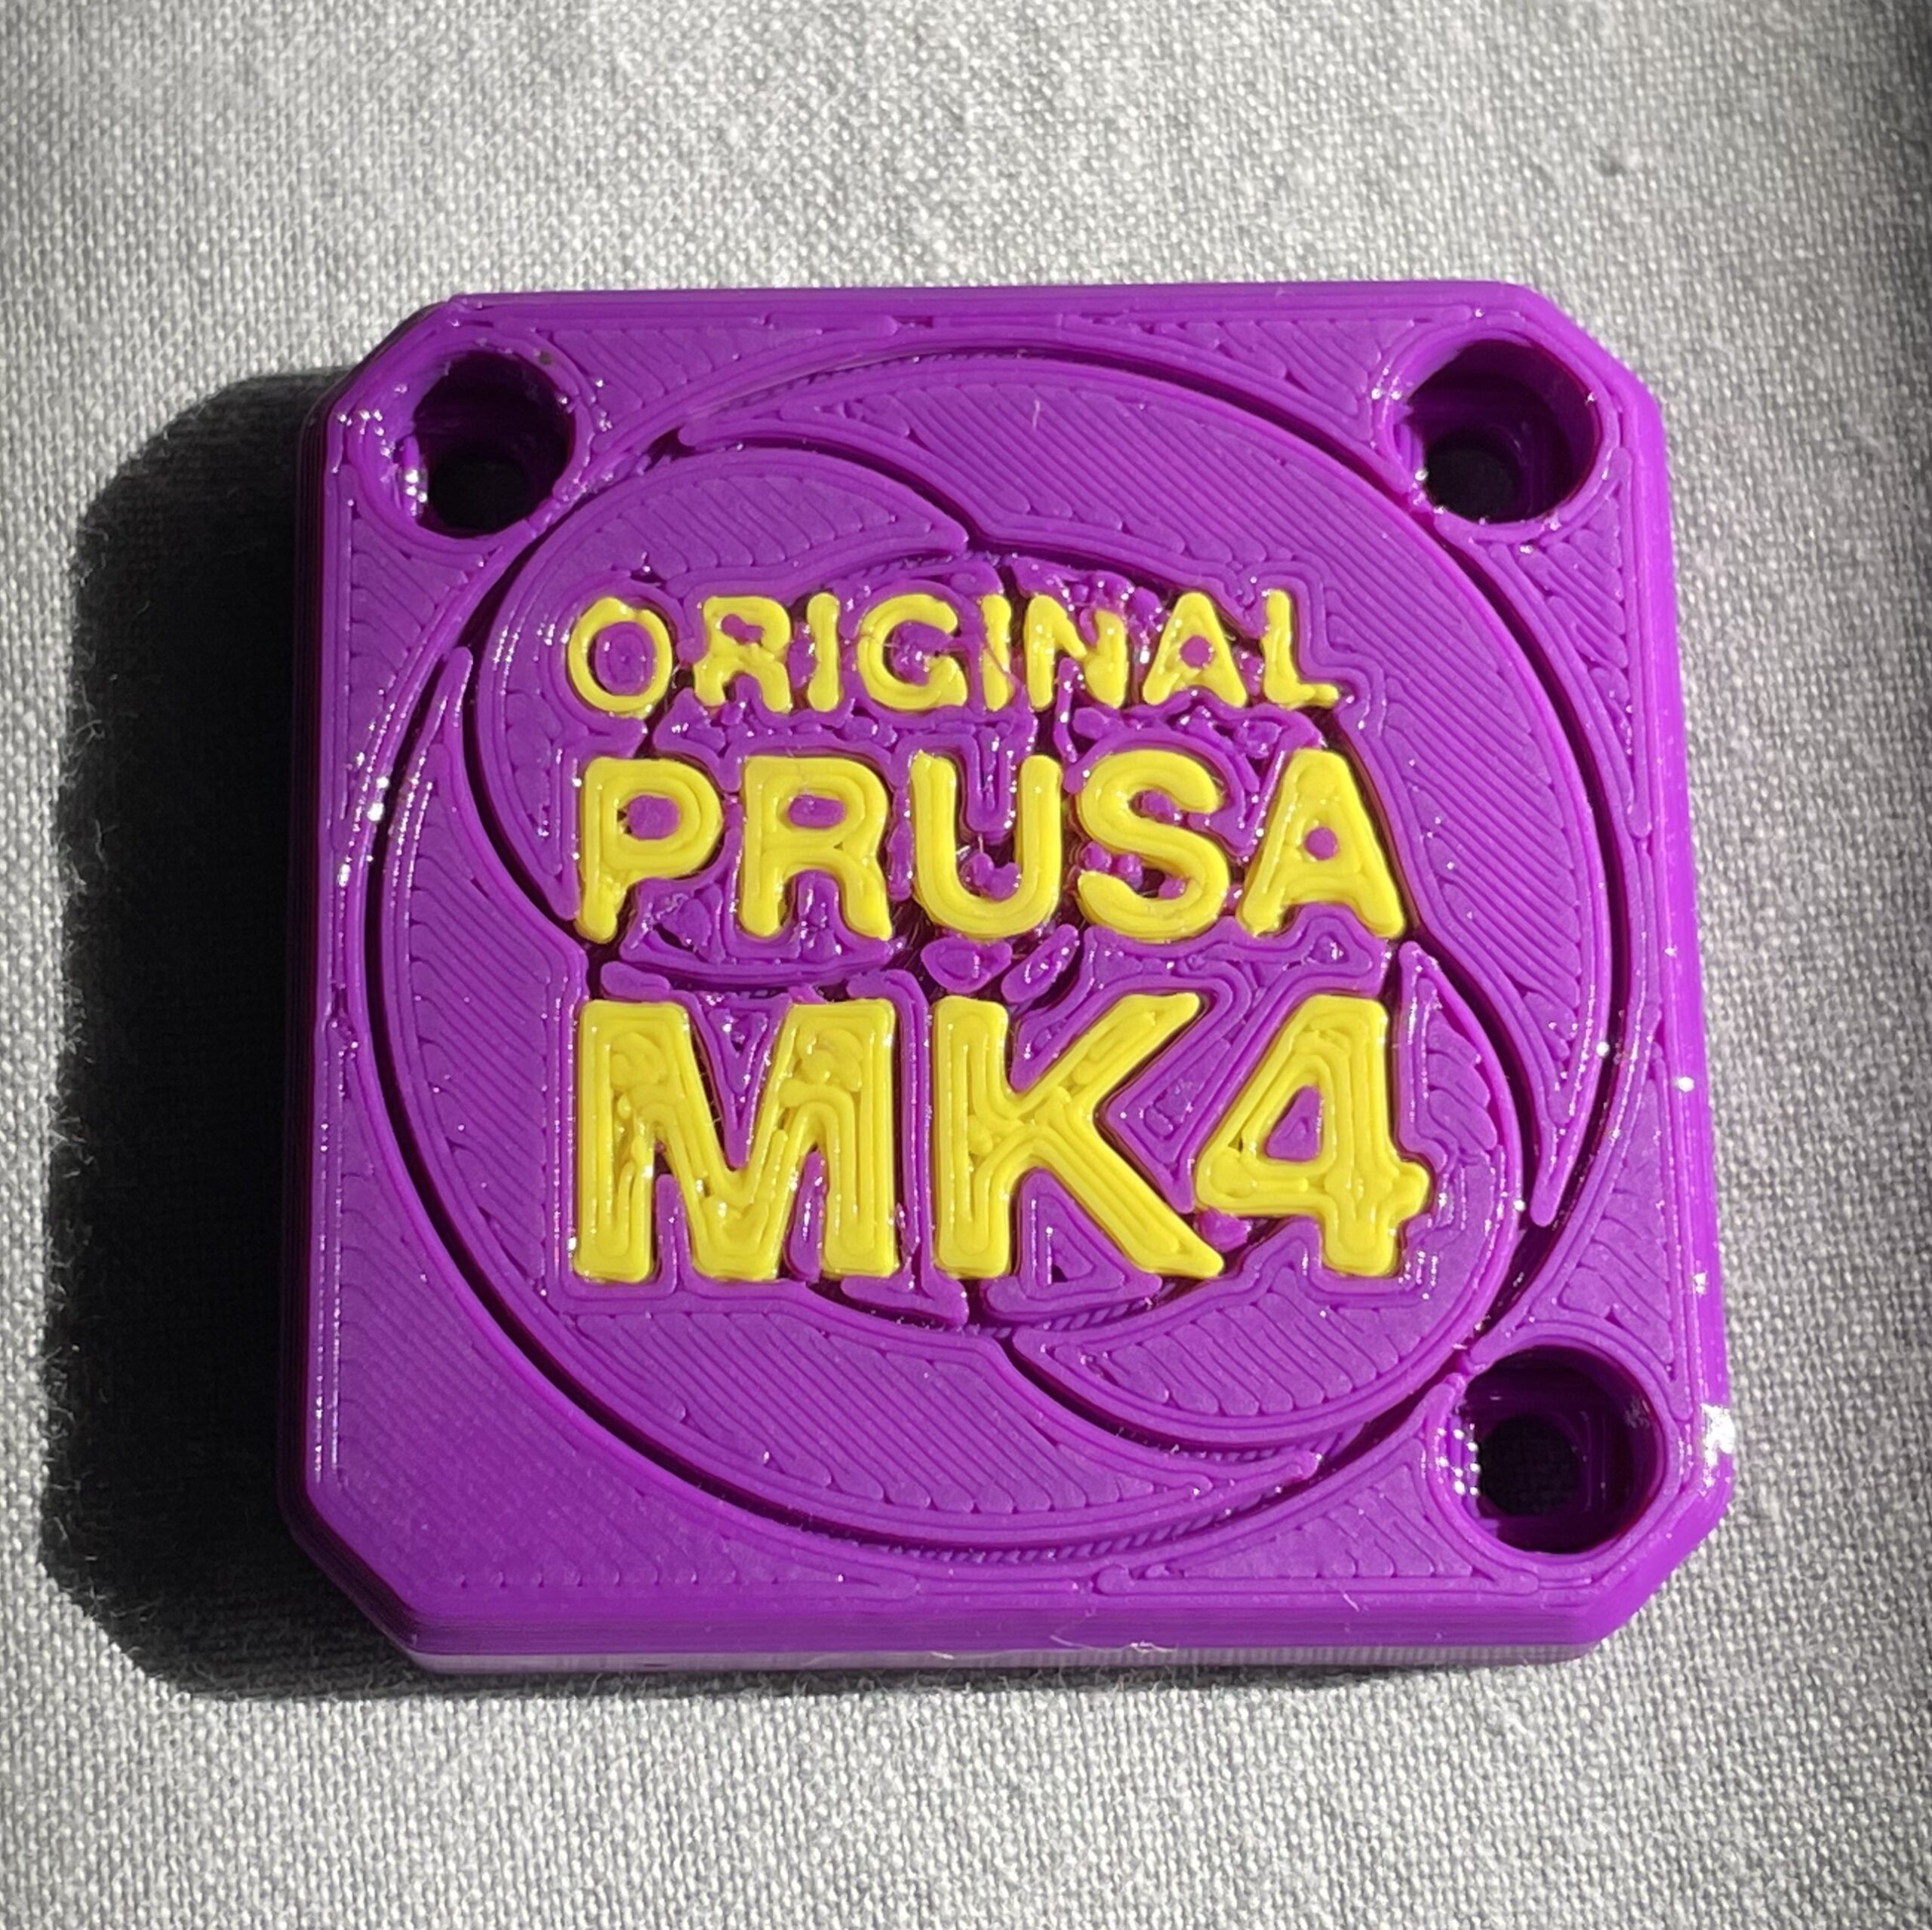
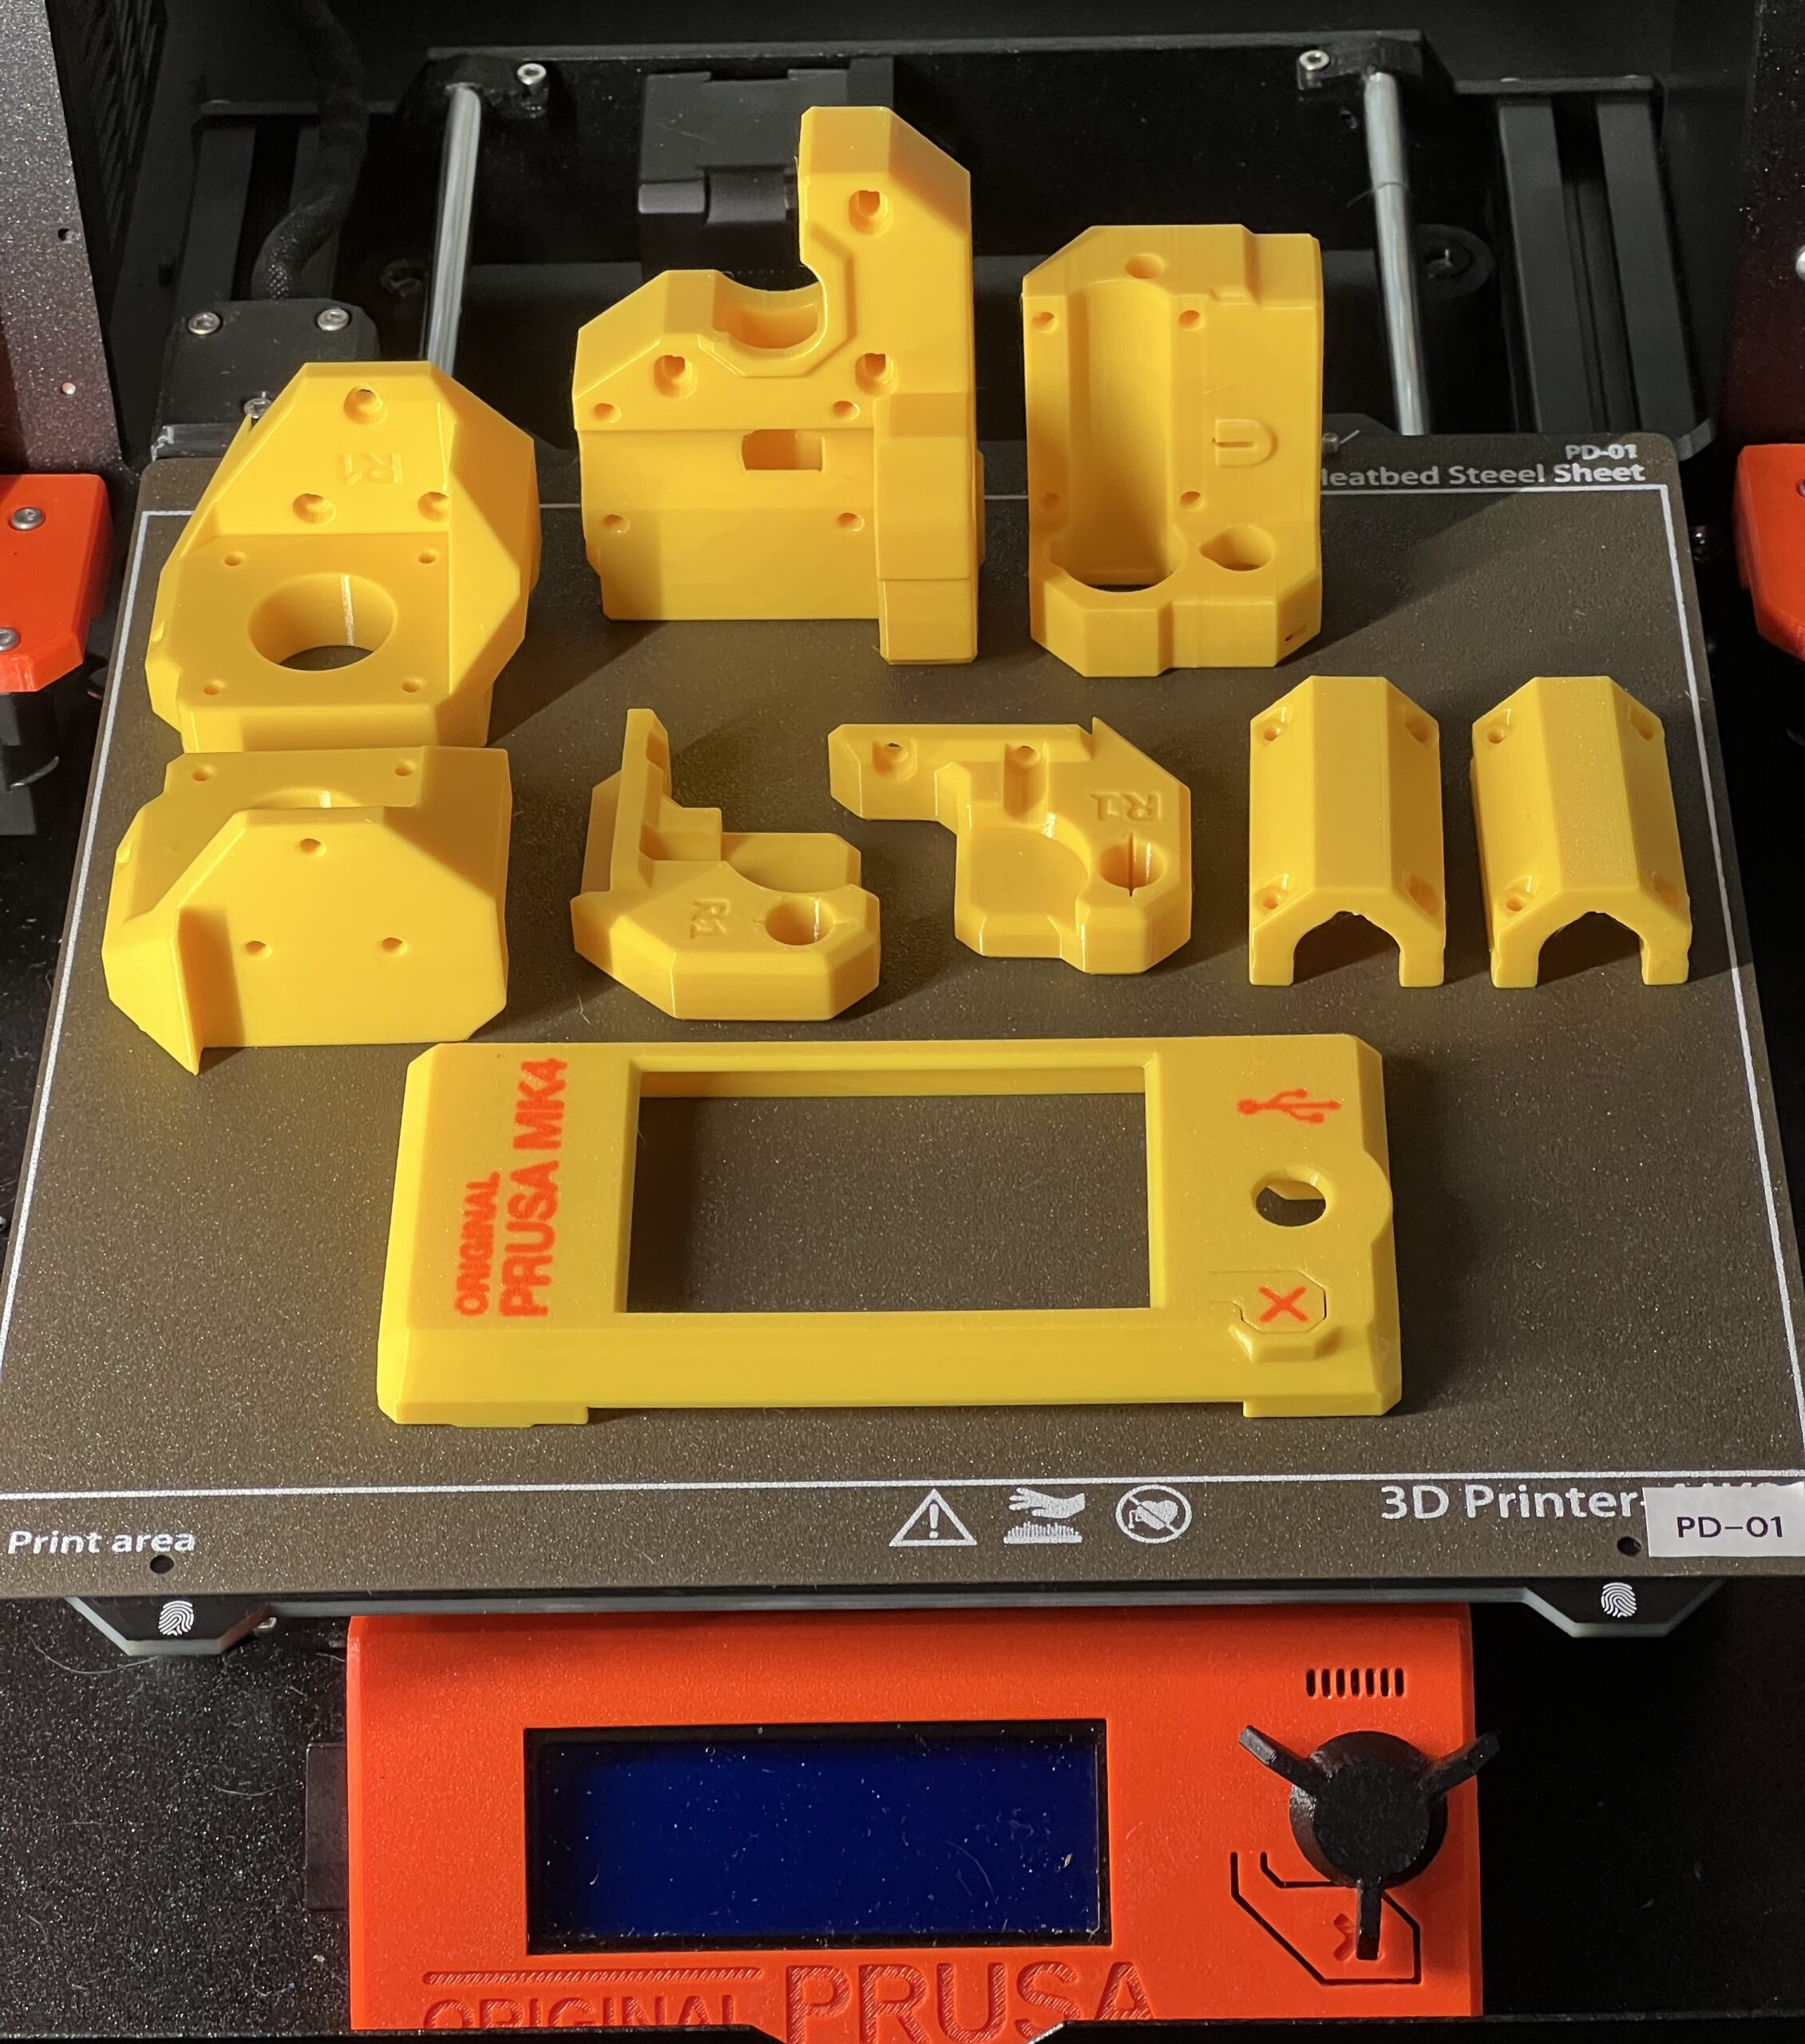
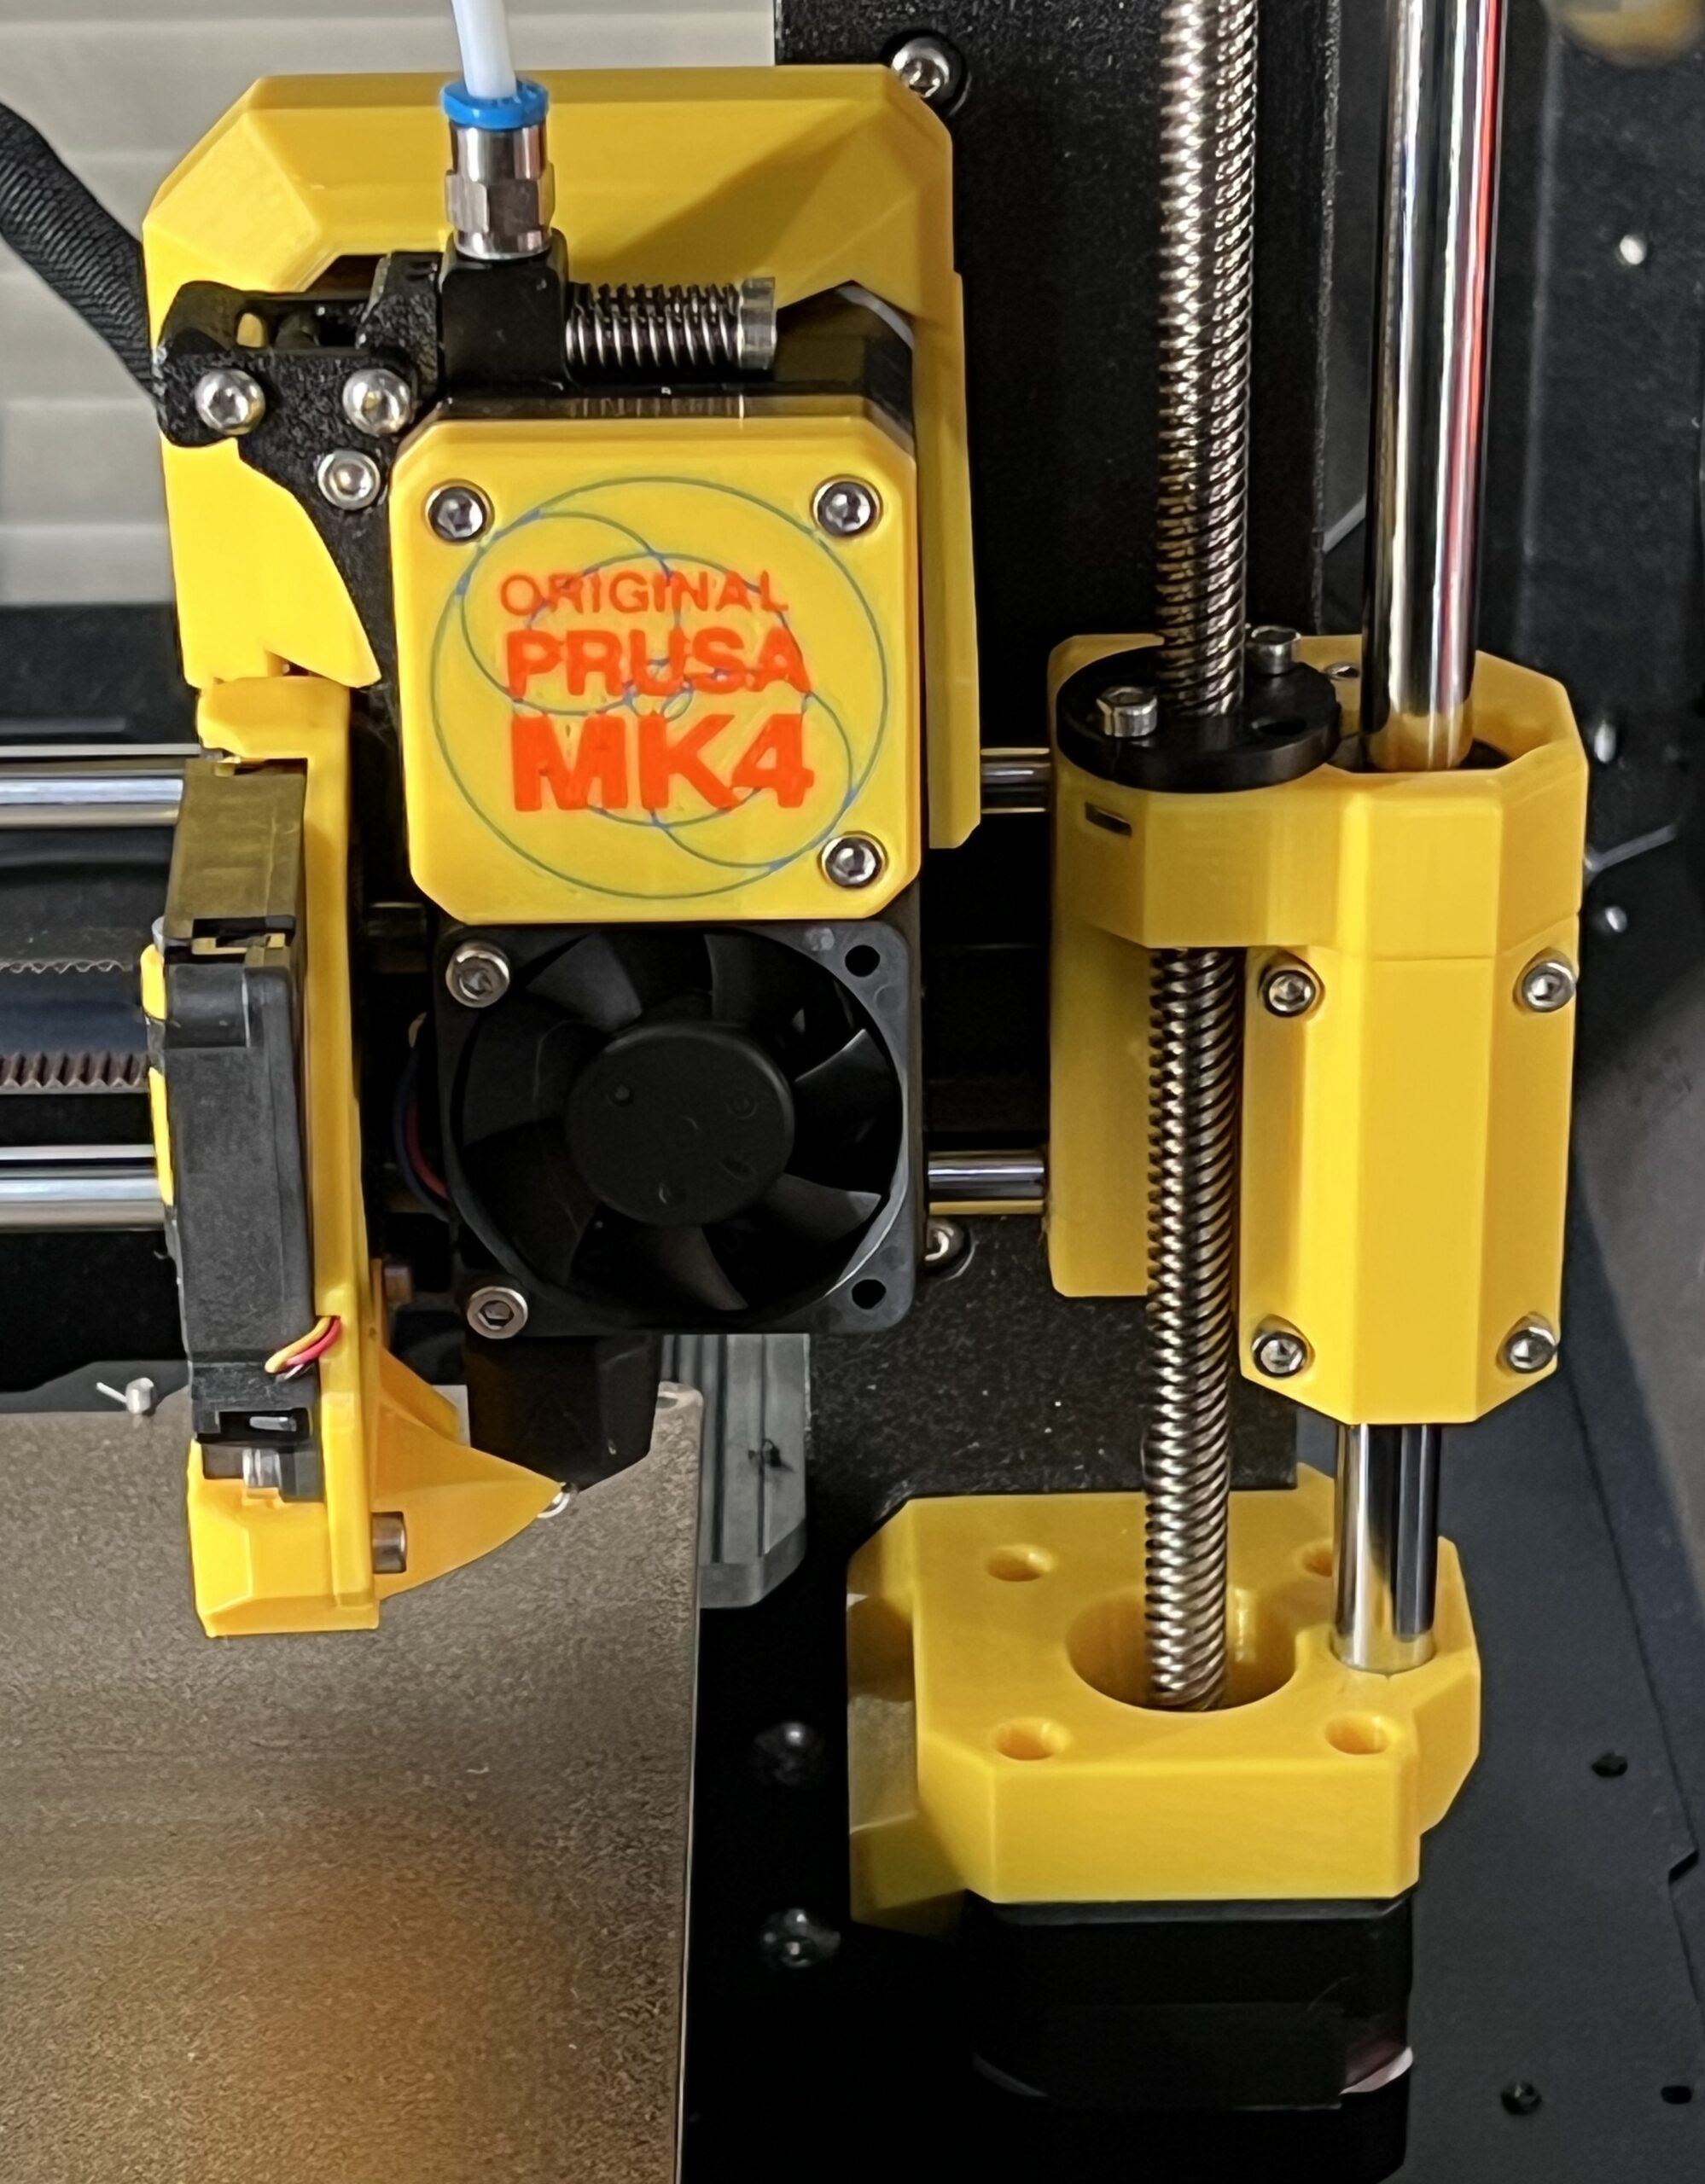
Also, the results of the above attached .3MF file. It's the MK4 version 3 extruder color. I've printed all MK4 parts (excepting the LCD cover, which will be soon) in purple, yellow, or where there is text, in dual color. My MK4 kit arrives today, so I can build it with my custom color parts from day 1, instead of taking it apart later to change.
This part was printed with the manual MMU with wipe tower enabled, on the MINI+.
RE: Manual Multi-Material Extra Unnecessary Purge
Hehe - I did the same. I had a full set of the normally-orange parts printed in yellow (with just a splash of Prusa orange) before the kit arrived, and then added some bits of the tool head later.
RE: Manual Multi-Material Extra Unnecessary Purge
Nice!
Do you happen to have a source for that LCD screen ready to print in dual color? I found it with the normal Prusa “etched” outlines which I could normally quickly use FreeCAD to create matching inlay text for dual color printing, but for some reason that stl wasn’t letting me attach a sketch to the face in FreeCAD and I haven’t tried to figure out why yet.
If someone already has it ready for dual-color printing that would be amazing.
RE:
The attached files are based on version R1 of the LCD cover. If it has been updated since then, the following simple OpenSCAD script should work to recreate it, provided the position/orientation of the cover hasn't changed.
// Makes a separate STL containing the negative of the engravings in the Prusa MK4 xlcd-cover
// Subtracts the original model from three strategically placed cubes

difference(){
    union(){
        translate([63,77,0]) cube([18,53,0.5]); //Lettering
        translate([172,85,0]) cube([18,10,0.5]); //USB
        translate([175,124,0]) cube([8,7,0.5]);  //X
    }
    import("xlcd-cover.stl");
}
RE: Manual Multi-Material Extra Unnecessary Purge
Versions R2 and R3 are oriented differently from the original R1, and they're not engraved. So I re-oriented and repositioned them to match R1, and then subtracted the original lettering file from them. The attached zip contains engraved R2 and R3 versions, and the lettering file that was in the previous zip.
For completeness, my updated OpenSCAD script is:
//Modules to:
//  make lettering from xlcd-cover (R1)
//  subtract R1 lettering from R2 cover
//  subtract R1 lettering from R3 cover

//comment/uncomment as required

//R1_lettering();
R2_engraved();
//R3_engraved();

module R2_engraved(){
    difference(){
        translate([249.3,210,0]) rotate([0,0,180]) import("xlcd-cover-R2.stl");
        R1_lettering();
    }
}

module R3_engraved(){
    difference(){
        translate([124.3,105,0]) rotate([0,0,180]) import("xlcd-cover-R3.stl");
        R1_lettering();
    }
}

module R1_lettering(){
    difference(){
        union(){
            translate([63,77,0]) cube([18,53,0.5]); //Letters
            translate([172,85,0]) cube([18,10,0.5]); //USB
            translate([175,124,0]) cube([8,7,0.5]);  //X
        }
        import("xlcd-cover.stl");//R1
    }
}
RE: Manual Multi-Material Extra Unnecessary Purge
Thank you so much!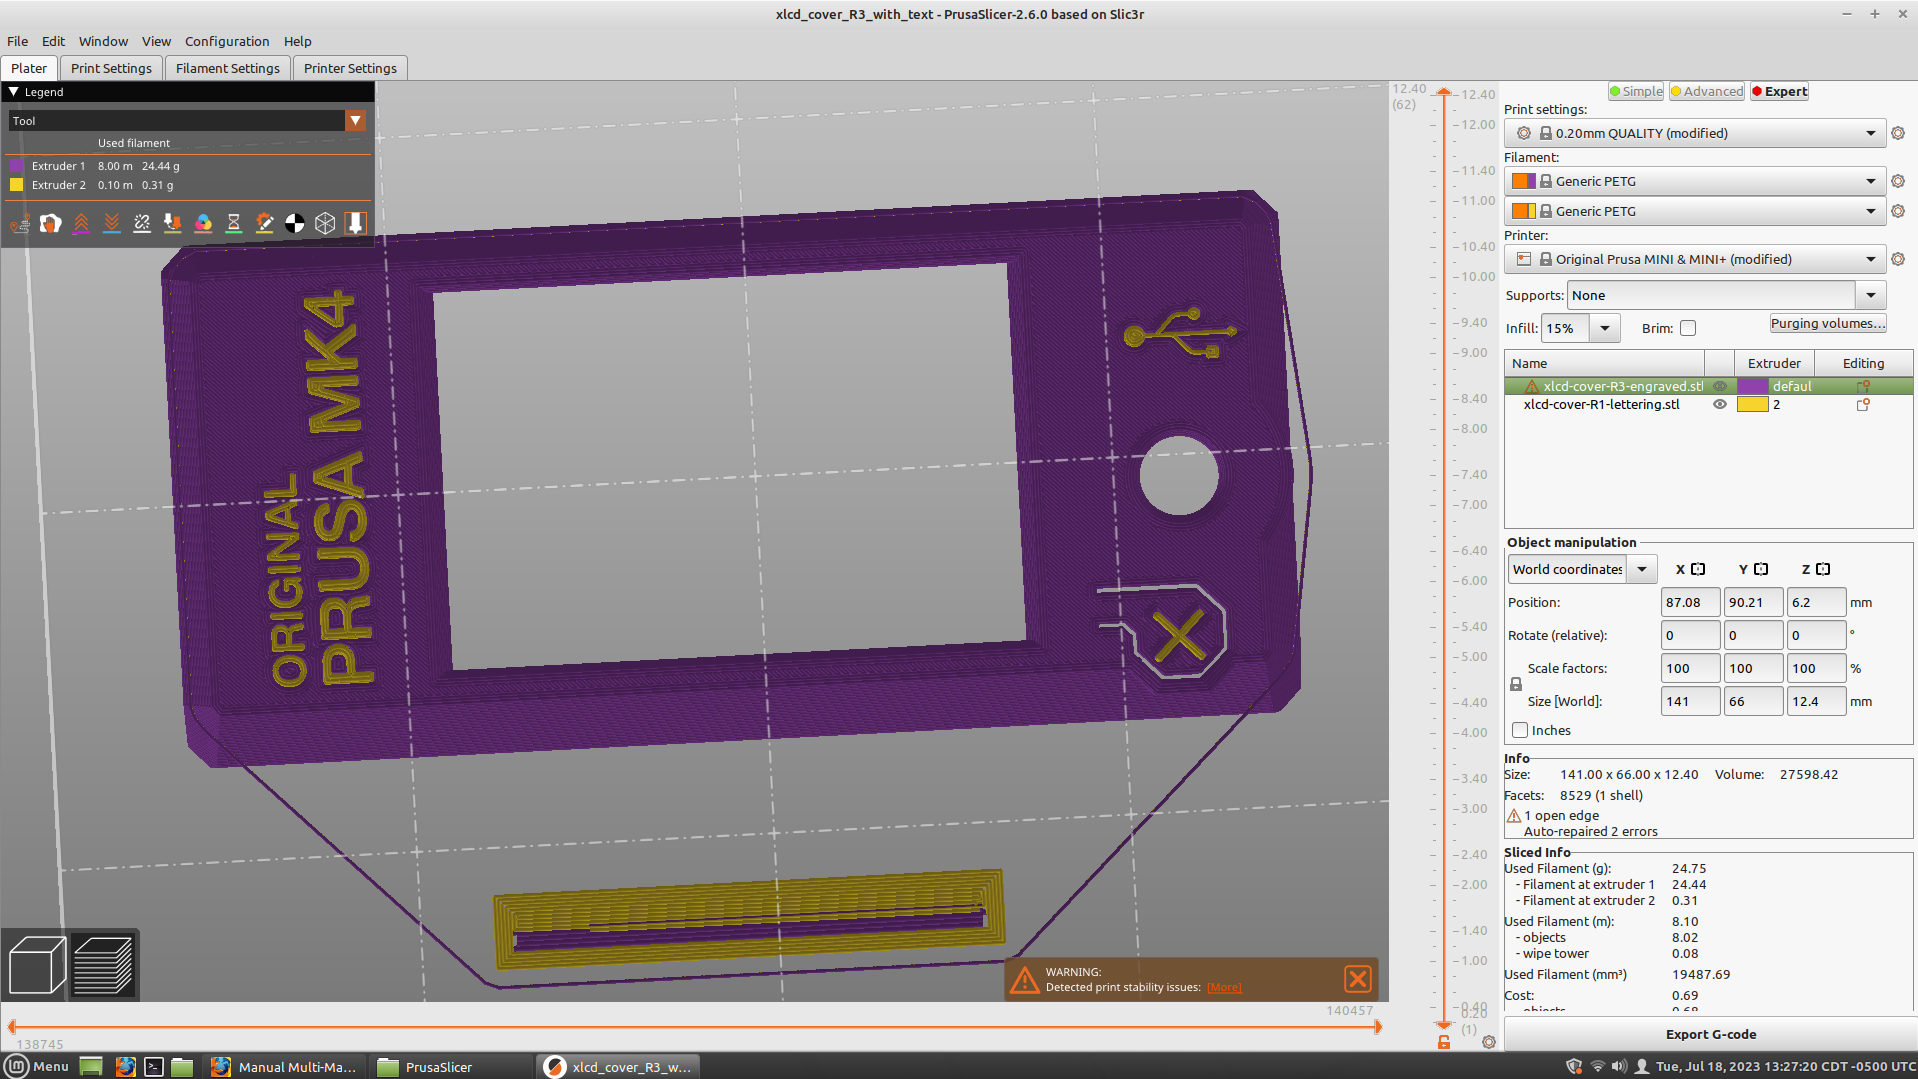
What I had done previously, for the PSU, Electronics Box, and Wifi covers was to open the Prusa model with recessed text in FreeCAD. I used sketcher to draw a rectangle over the text on the front surface of the STL, then extruded it in the Part workbench to fill the depth of text. Unfortunately boolean difference didn't work as that only works on parametric models, not STLs, but I found in the Mesh workbench if I meshed the rectangle I made, I could do a boolean difference in the two mesh models, which got me the text. Sounds complicated, but after I figured out the process it took only about 3 minutes on each remaining part. 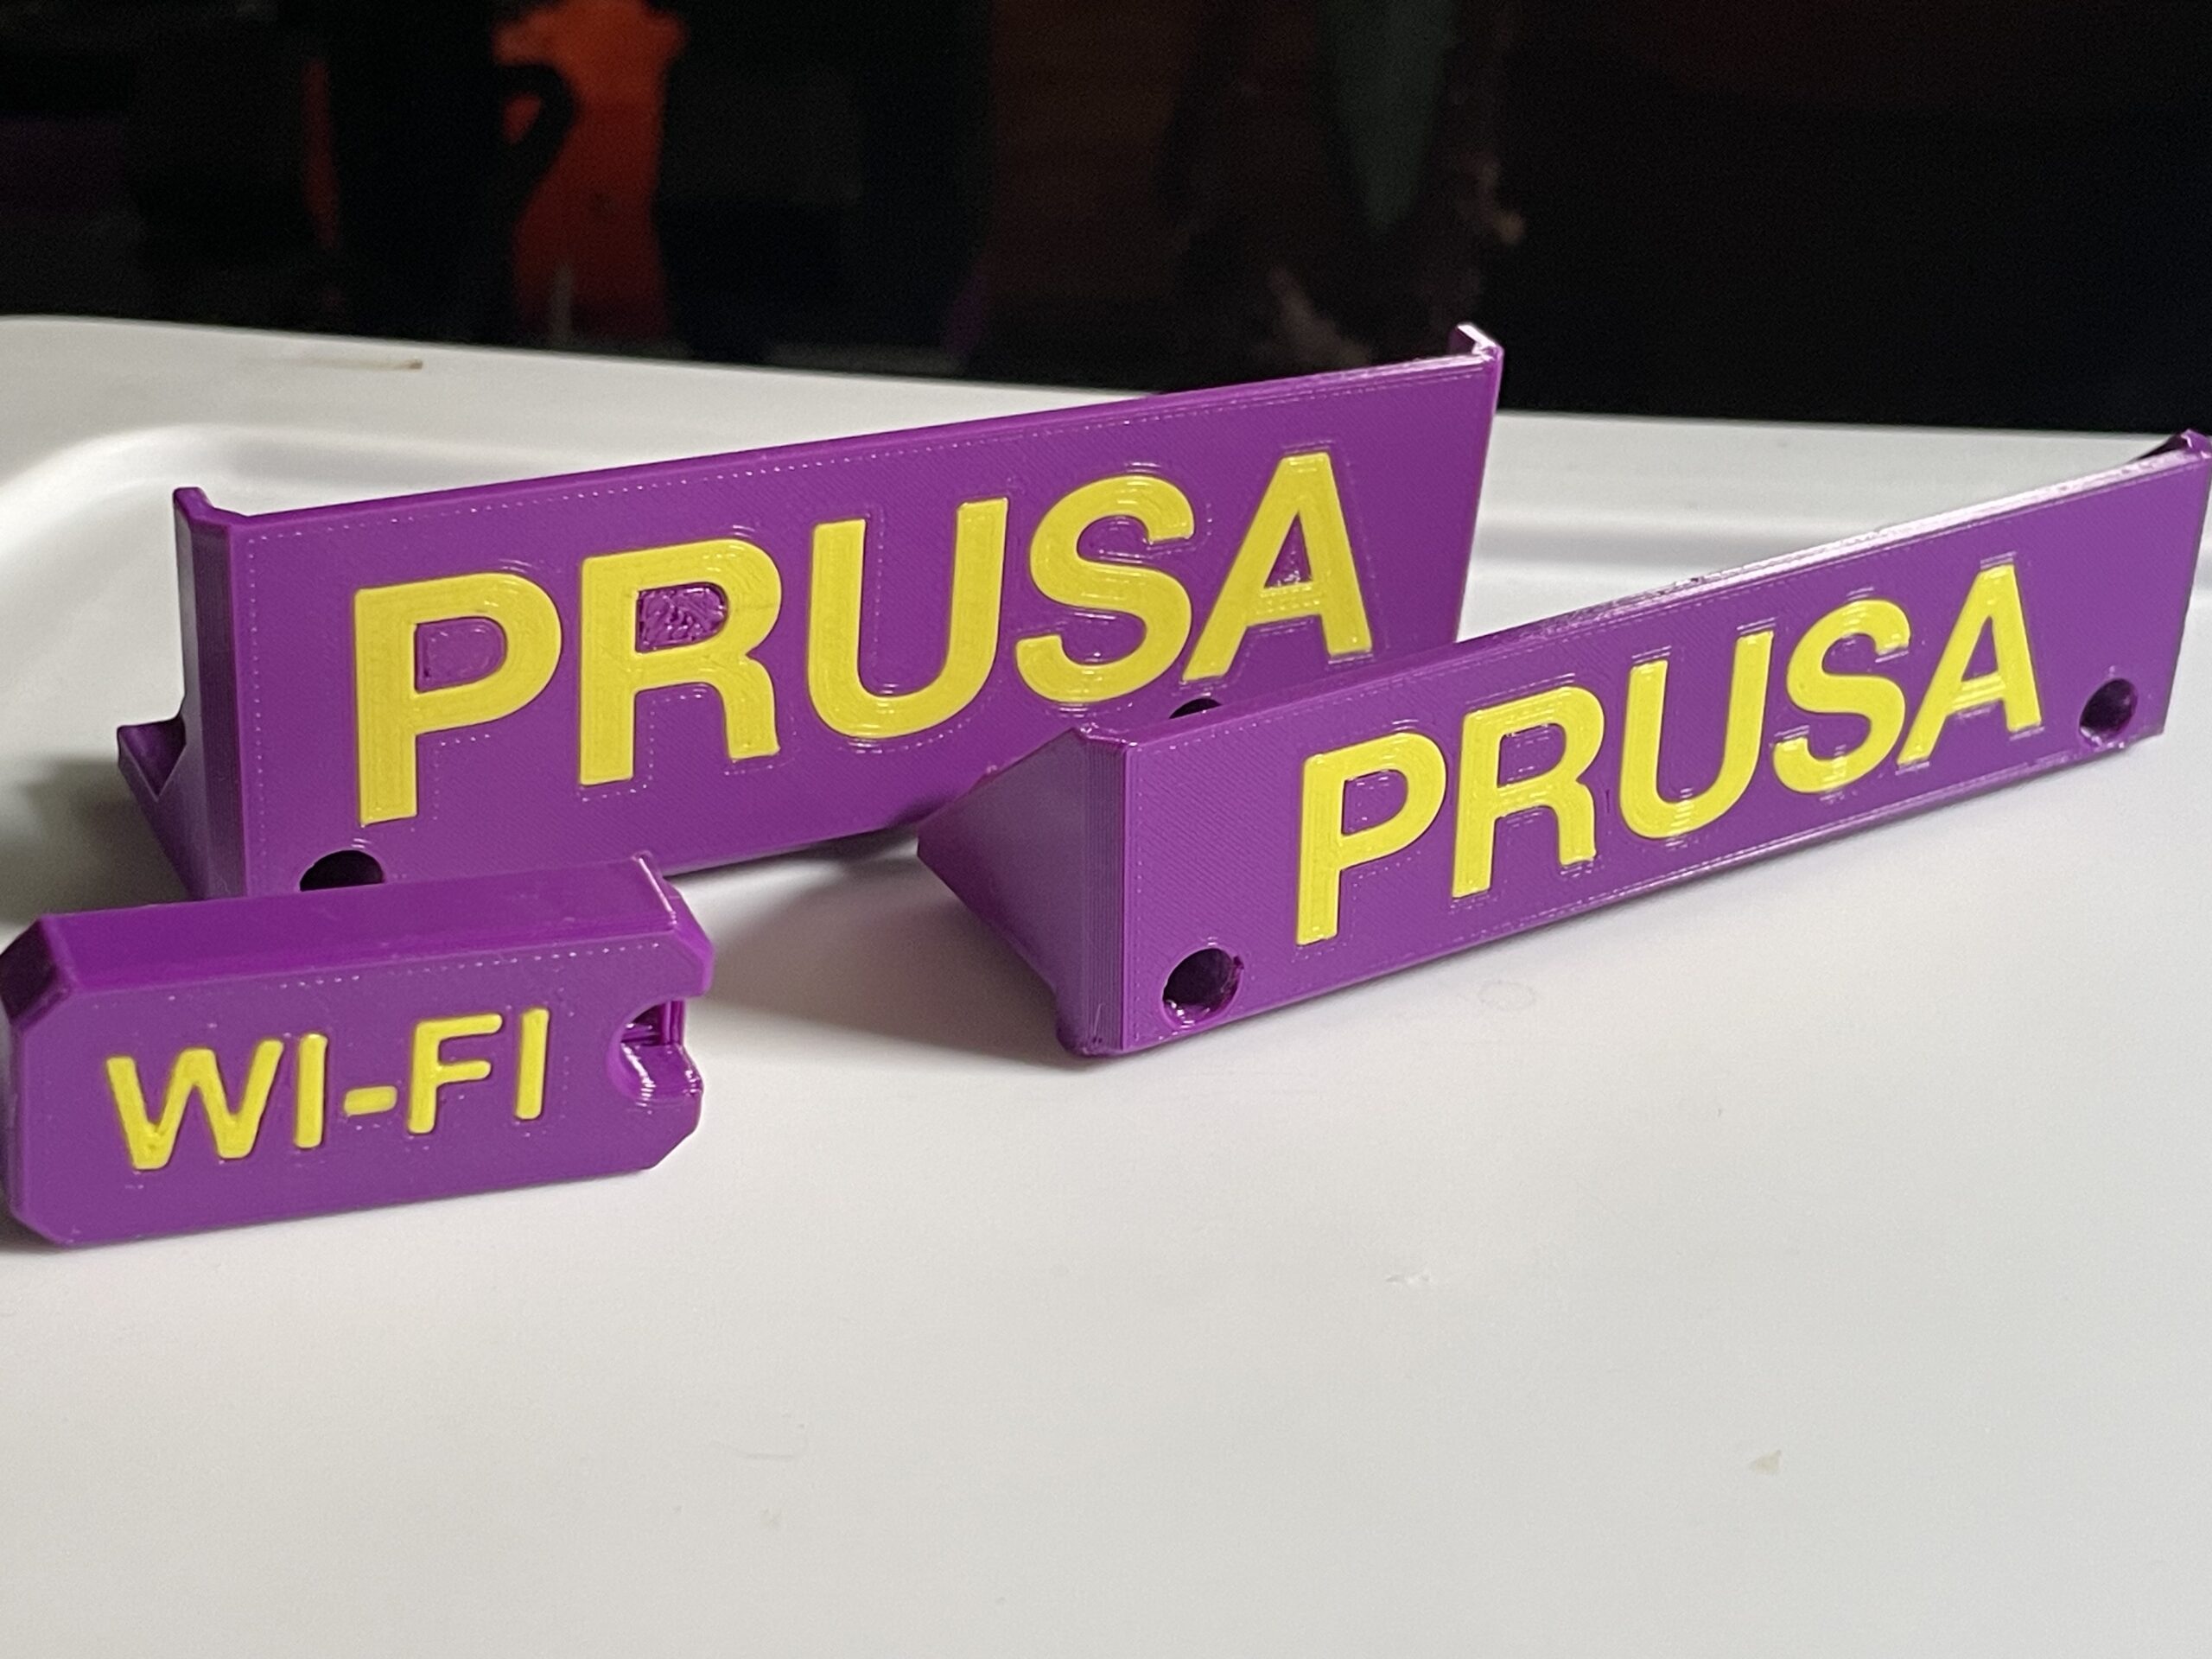
But R3 of the LCD cover, and R3 of the extruder, didn't have engraved text from Prusa, for some reason. I found someone who added the engravings back in on R2/R3 on Printables, but when I tried to use FreeCAD to draw a sketch on the face of the STL, the sketch appeared offset from the face, and I couldn't figure out why as of yet. So this was very helpful!
P.S. While I haven't used OpenSCAD, from reading your script, your script is doing the exact same thing I did in FreeCAD, only I was doing it visually. And for that particular part, FreeCAD used OpenSCAD for me, as the mesh difference tool in FreeCAD actually runs OpenSCAD. I had to download OpenSCAD and point FreeCAD to it. 😆
RE: Manual Multi-Material Extra Unnecessary Purge
Yes, from your description, that's the same approach that I used in OpenSCAD.
Looking at your render in PrusaSlicer, the 'X' appears to be a fraction low - I suspect they've moved the button very slightly upwards compared to the R1 version. I'll modify my script to produce the three components (lettering, USB, X) separately, so that the X can be nudged up to make it more central.
RE: Manual Multi-Material Extra Unnecessary Purge
I nudged the 'X' up by 0.3mm to make it look more centred vertically in the R2 and R3 versions. Updated OpenSCAD file in the zip.
RE:
I didn't even notice, and now I'm 26% through printing it, so I will likely just leave it. But should it not work, or need to be reprinted for some reason, I can do that
P.S. If you don't mind sharing, you could add this on Printables as a remix of the MK4 parts and probably get some Prusameters for it. The remix tab of the MK4 parts was the first place I looked for parts that had text/multi-color ability.
RE: Manual Multi-Material Extra Unnecessary Purge
...or need to be reprinted for some reason...
e.g. - you've printed R2, and your kit arrives with xLCD v27 or newer ... 🤣
Yes, I guess I could upload the files to Printables. I'm loath to duplicate what someone else has already posted, but the model you linked to doesn't include the engravings as a separate file, so I guess it would save someone having to produce them from the engraved model.
RE:
Getting back to the original question on the topic: I wanted to follow up that I think I might have traced it out... maybe.
My error was a combination of two settings, as far as I can tell:
First was that I had not checked "Single-Extruder Multi-Material". The tutorials that I used didn't mention it, but forum posts do. I also followed those other posts for the SEMMU settings.
The second was another setting that was in another post: setting "Retraction when tool is disabled" to "Length" 0. This is, I think, the real culprit. The printer was thinking there was 4mm of space between the filament and the nozzle (when there was no space, since the color change was manual on the same extruder). It wouldn't be in the first color change, but every change after would get an extra purge.
Fixing those two settings got me printing reliably... mostly. (In testing I think I might have found an error in either the slicer or the firmware with ironing a multi-color print. Setting a single model to enable ironing on this configuration creates gcode that caused the printer to literally BSOD.)